Jdesign
-
Posts
4319 -
Joined
-
Last visited
-
Days Won
162
Content Type
Profiles
Forums
Events
Gallery
Store
Posts posted by Jdesign
-
-
Well I spent most of my saturday trying to sort out my steering column issue. It turns out that none of my current options left me a happy camper. I did get myself an early model non-airbag column but the way it fit was very unfortunate. not only did it put the steering wheel angle back at the bus driver position that I hated, it also pointed the face of the wheel a good 5-10 degrees toward the drivers door. Apparently the hole in the firewall is different on the late model airbag cars.
Here is the two columns side by side

Here you can see how dramatically left the column faces

Here is the bus driver angle

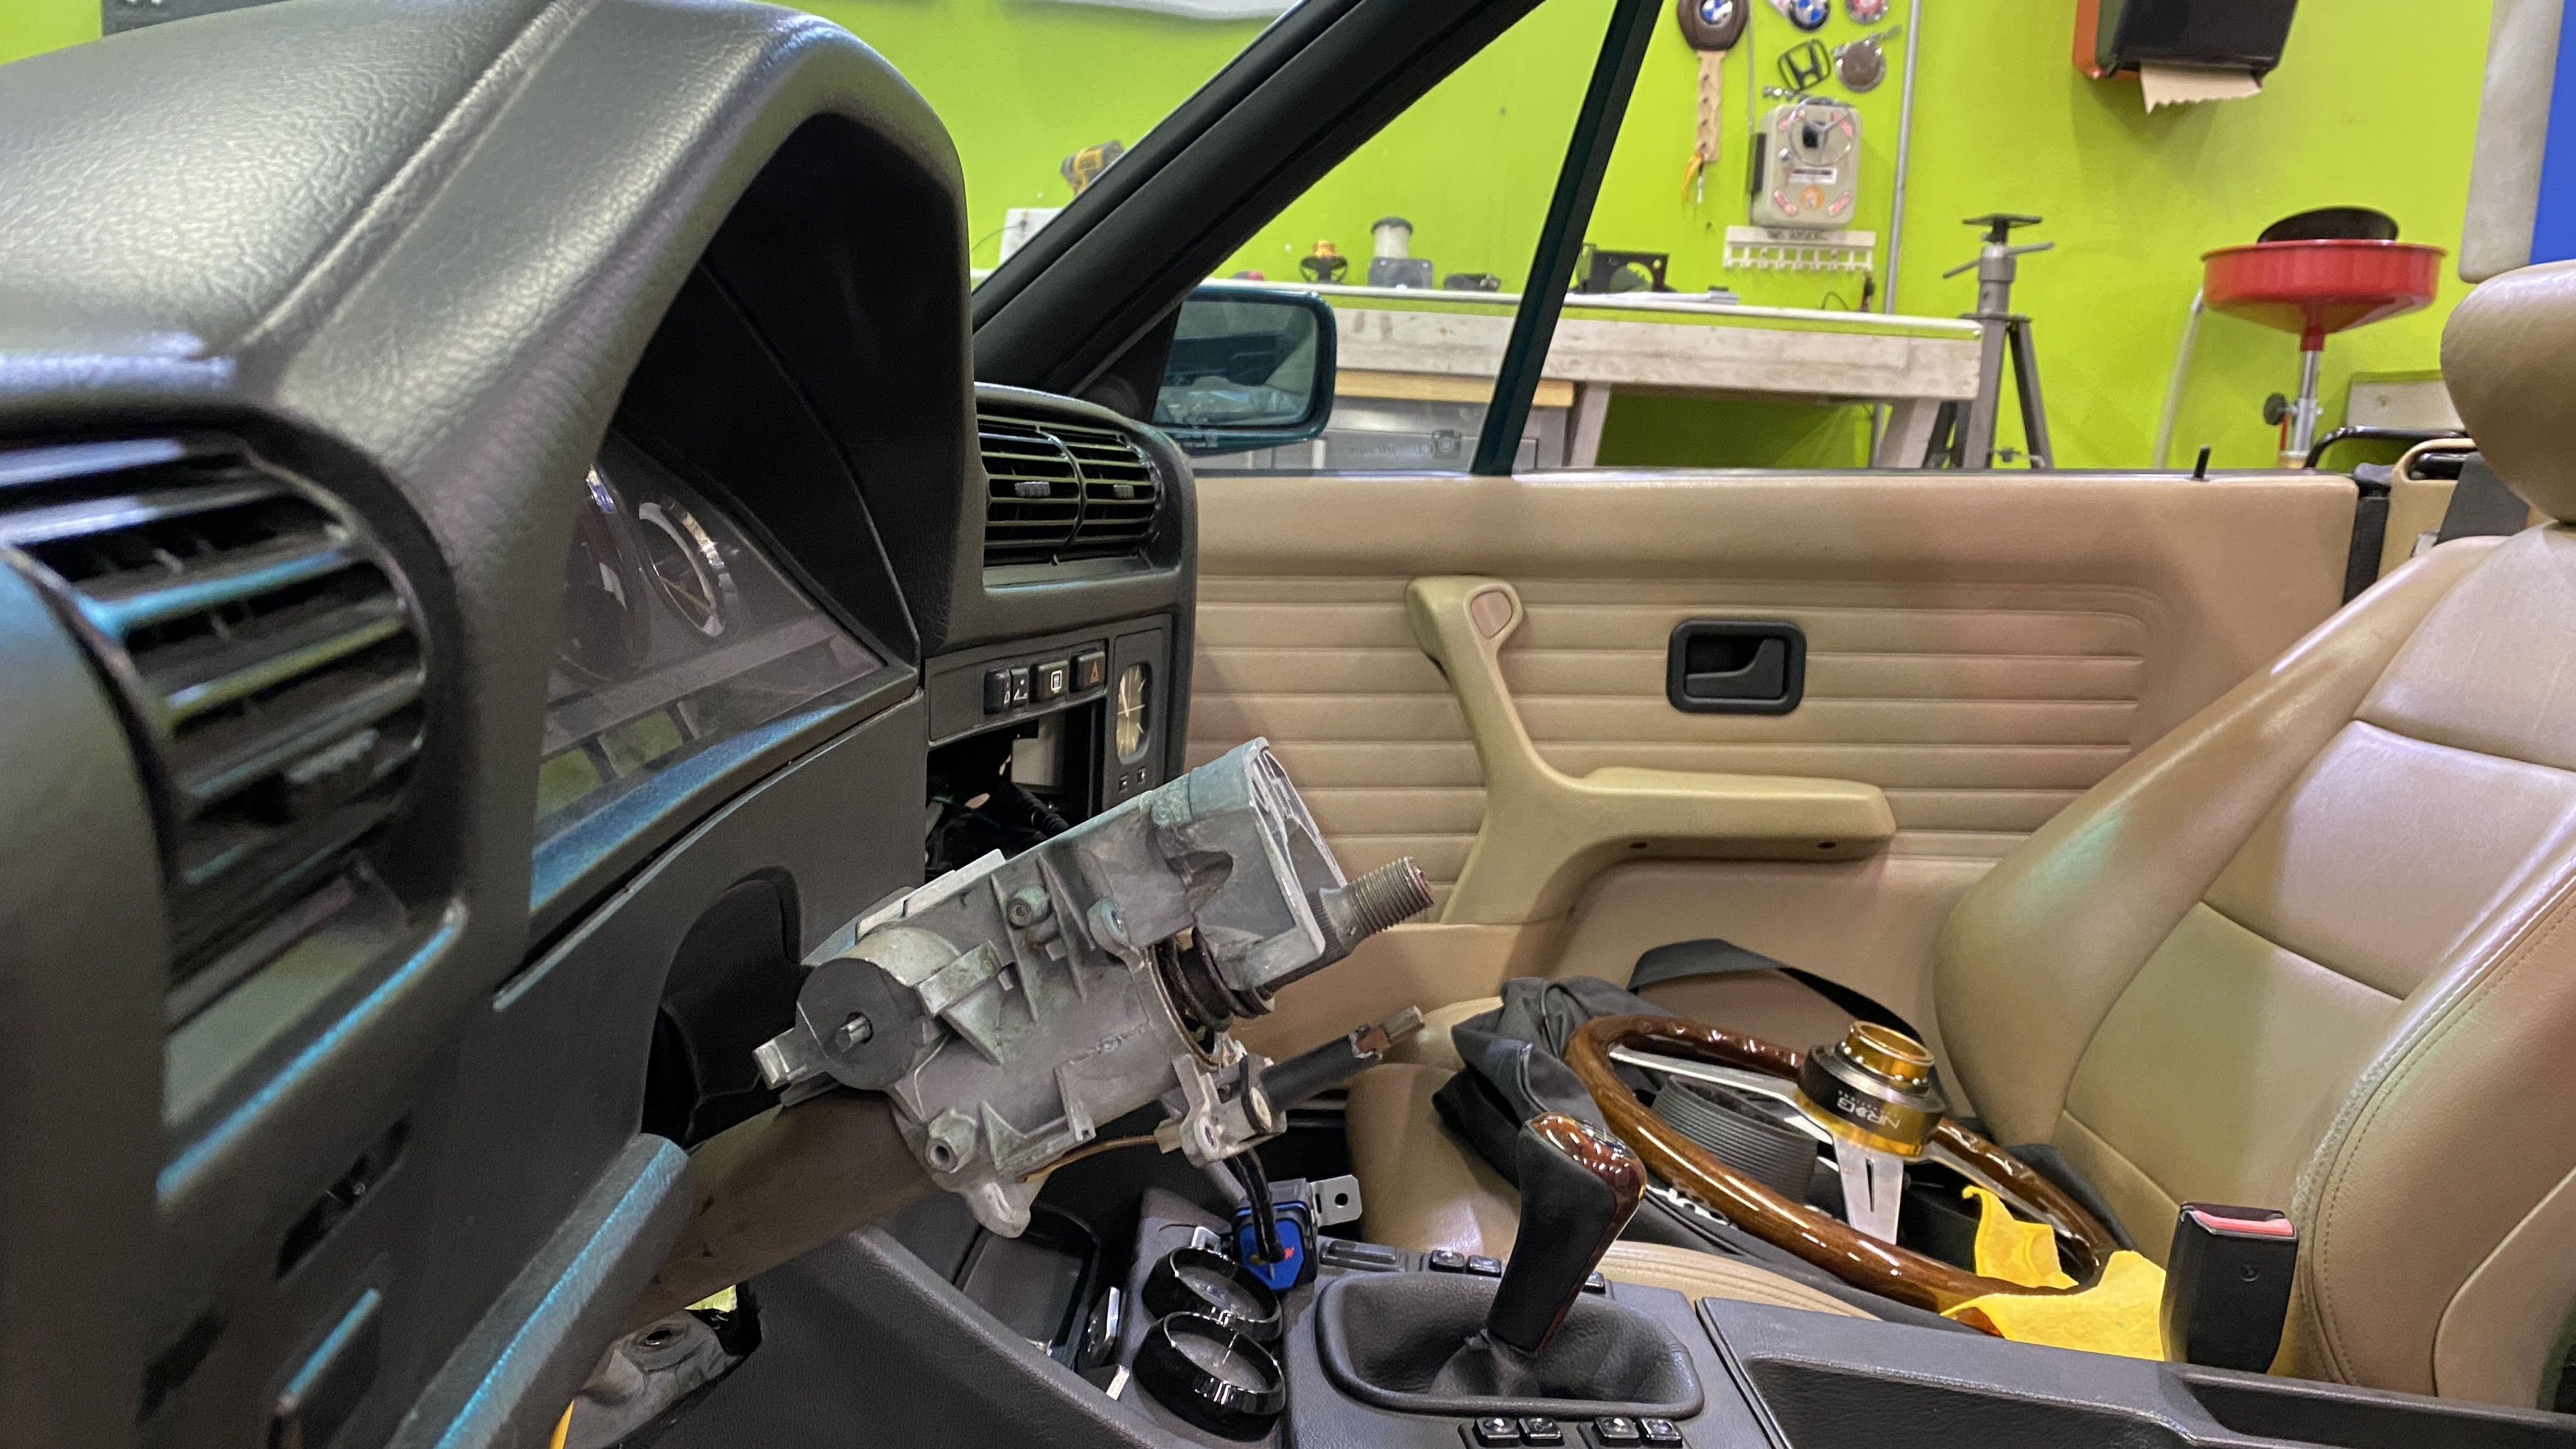
So my plan from here was that it would be easier to make my airbag column work. Below you can see how close one of the masters is to the splines of the column. I drew a line in red that shows where the shaft needs to go. Notice that my line is a "Z" as it not only has to go to the right, it also has to pivot down.
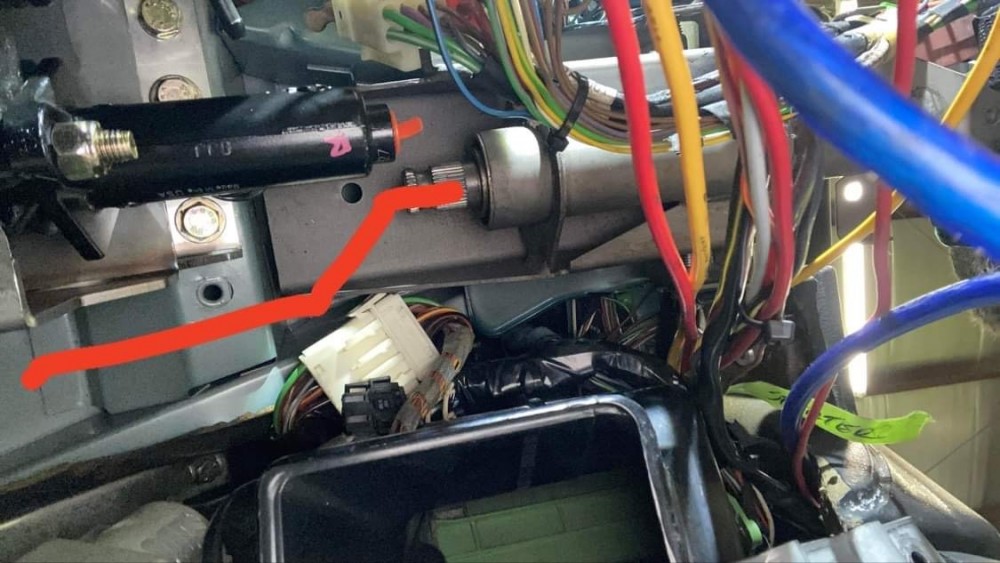
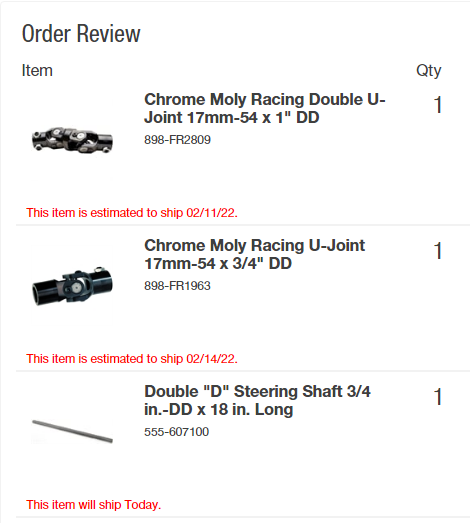
This is my solution; use a flaming river double U joint to make the "Z" and then a D shaft through the firewall and a second U joint to mate it to the Z4 rack. the second part im still not sure I have all the puzzle pieces yet. I previously made an adapter a few pages back in this thread to mate the Z4 to my column, but now I am using a D shaft, I will likely have to make a different adapter. I just ordered everything and will have to figure this out when I have everything in my hands.
If anyone knows the spline count on the shaft of a Z4 rack, please let me know. I looked high and low and found nothing. it measures to 18mm on a caliper, but I had a hell of a time trying to get an accurate spline count. It is NOT the 17mm 54 spline that is commonly used.

-
14 hours ago, m42b32 said:
Thanks!!
I think I fixed the photos, let me know if that works now.
It works! Magnets are cool!
-
On 1/24/2022 at 9:12 AM, YoungCR said:
I don’t see how removing the dash would’ve been helpful except for maybe those 3 bracket bolts? You don’t gain much access with the dash supports still there which you had to work under for most everything. Nice progress!
I agree, It seemed really pointless. I can't imagine someone doing it and gaining much from it.
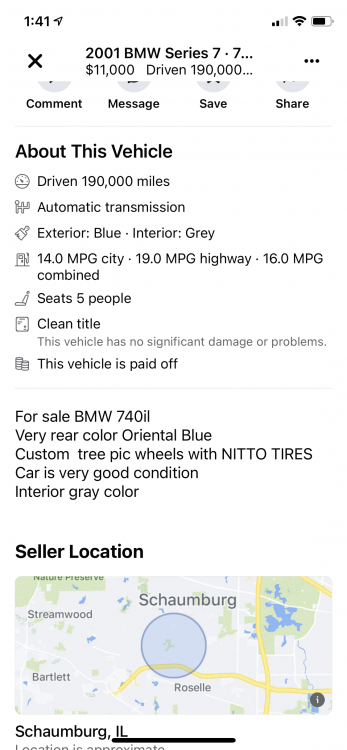
I tried to mount the column and it seems to run into the master towards the center of the car. I have a few leads on a early model column, but I am also considering a flaming river shaft to join the rack to the column in hopes to clean all of it up under the dash and in the engine bay.
-
-
I started on the more frustrating part of the brake upgrade. So far I haven’t determined that I can use my airbag column per garagistics instructions. But they also said I need to remove my dash, and I proved that was a lie already.
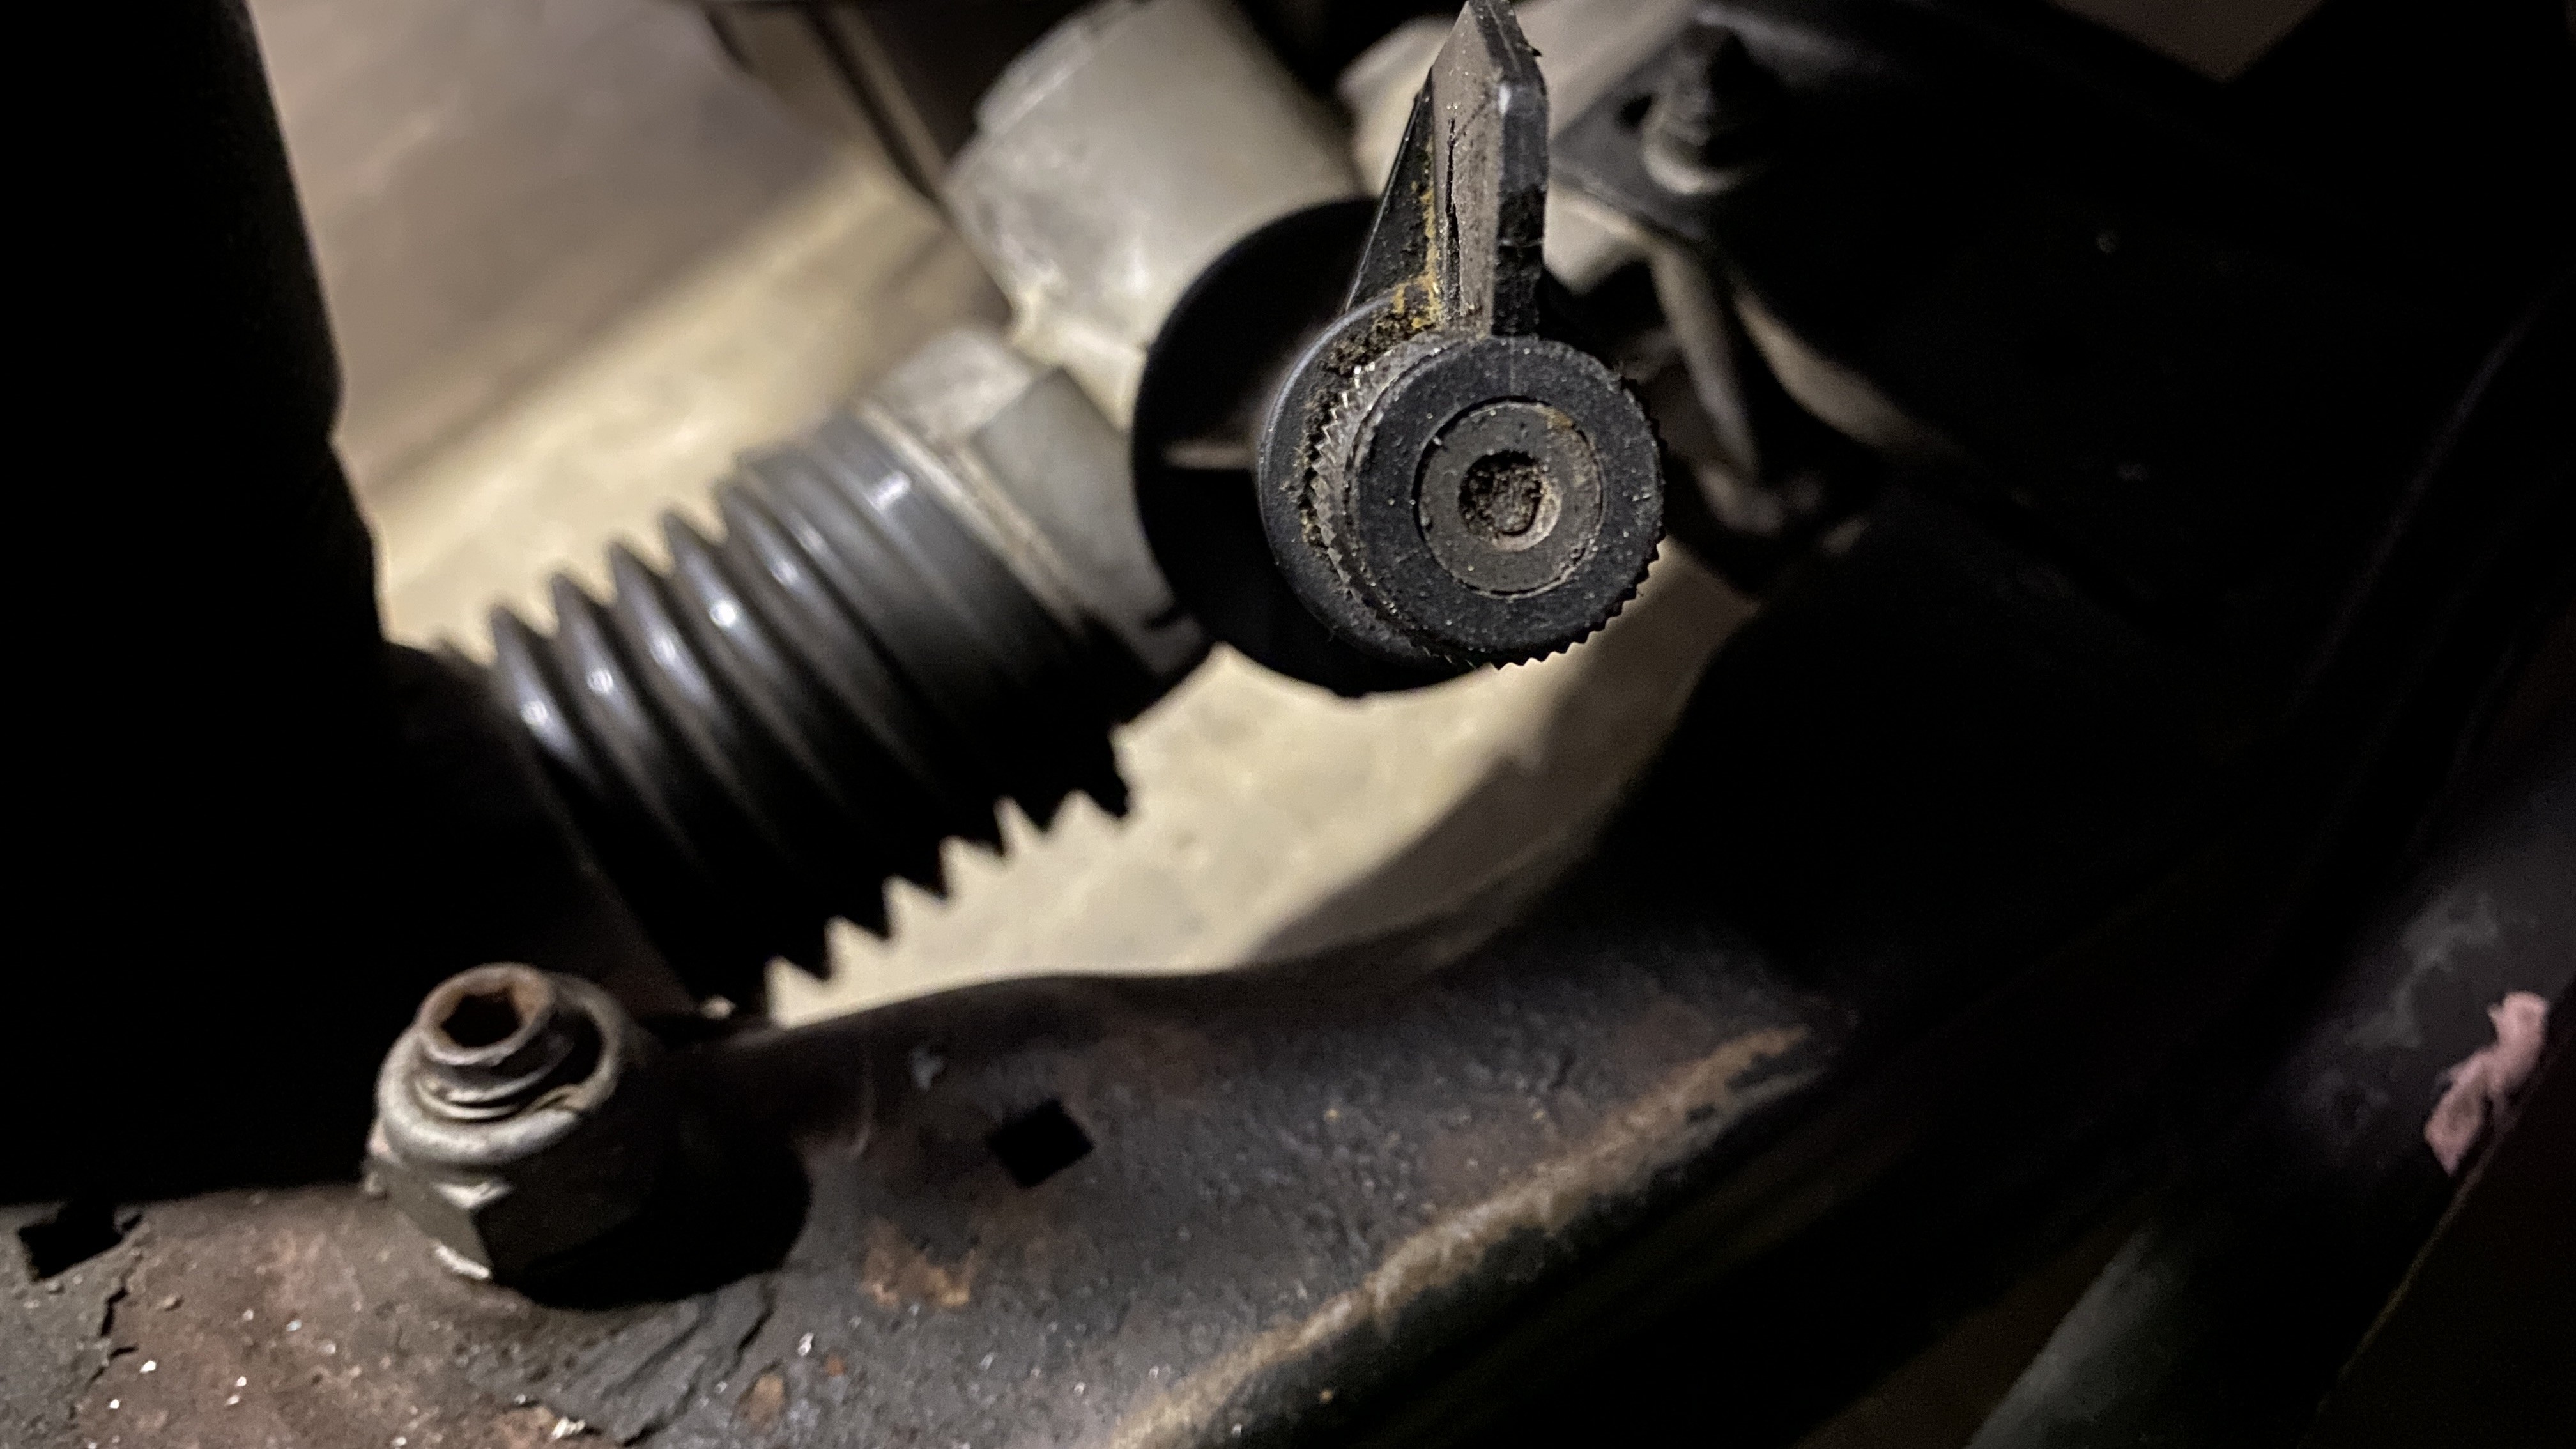
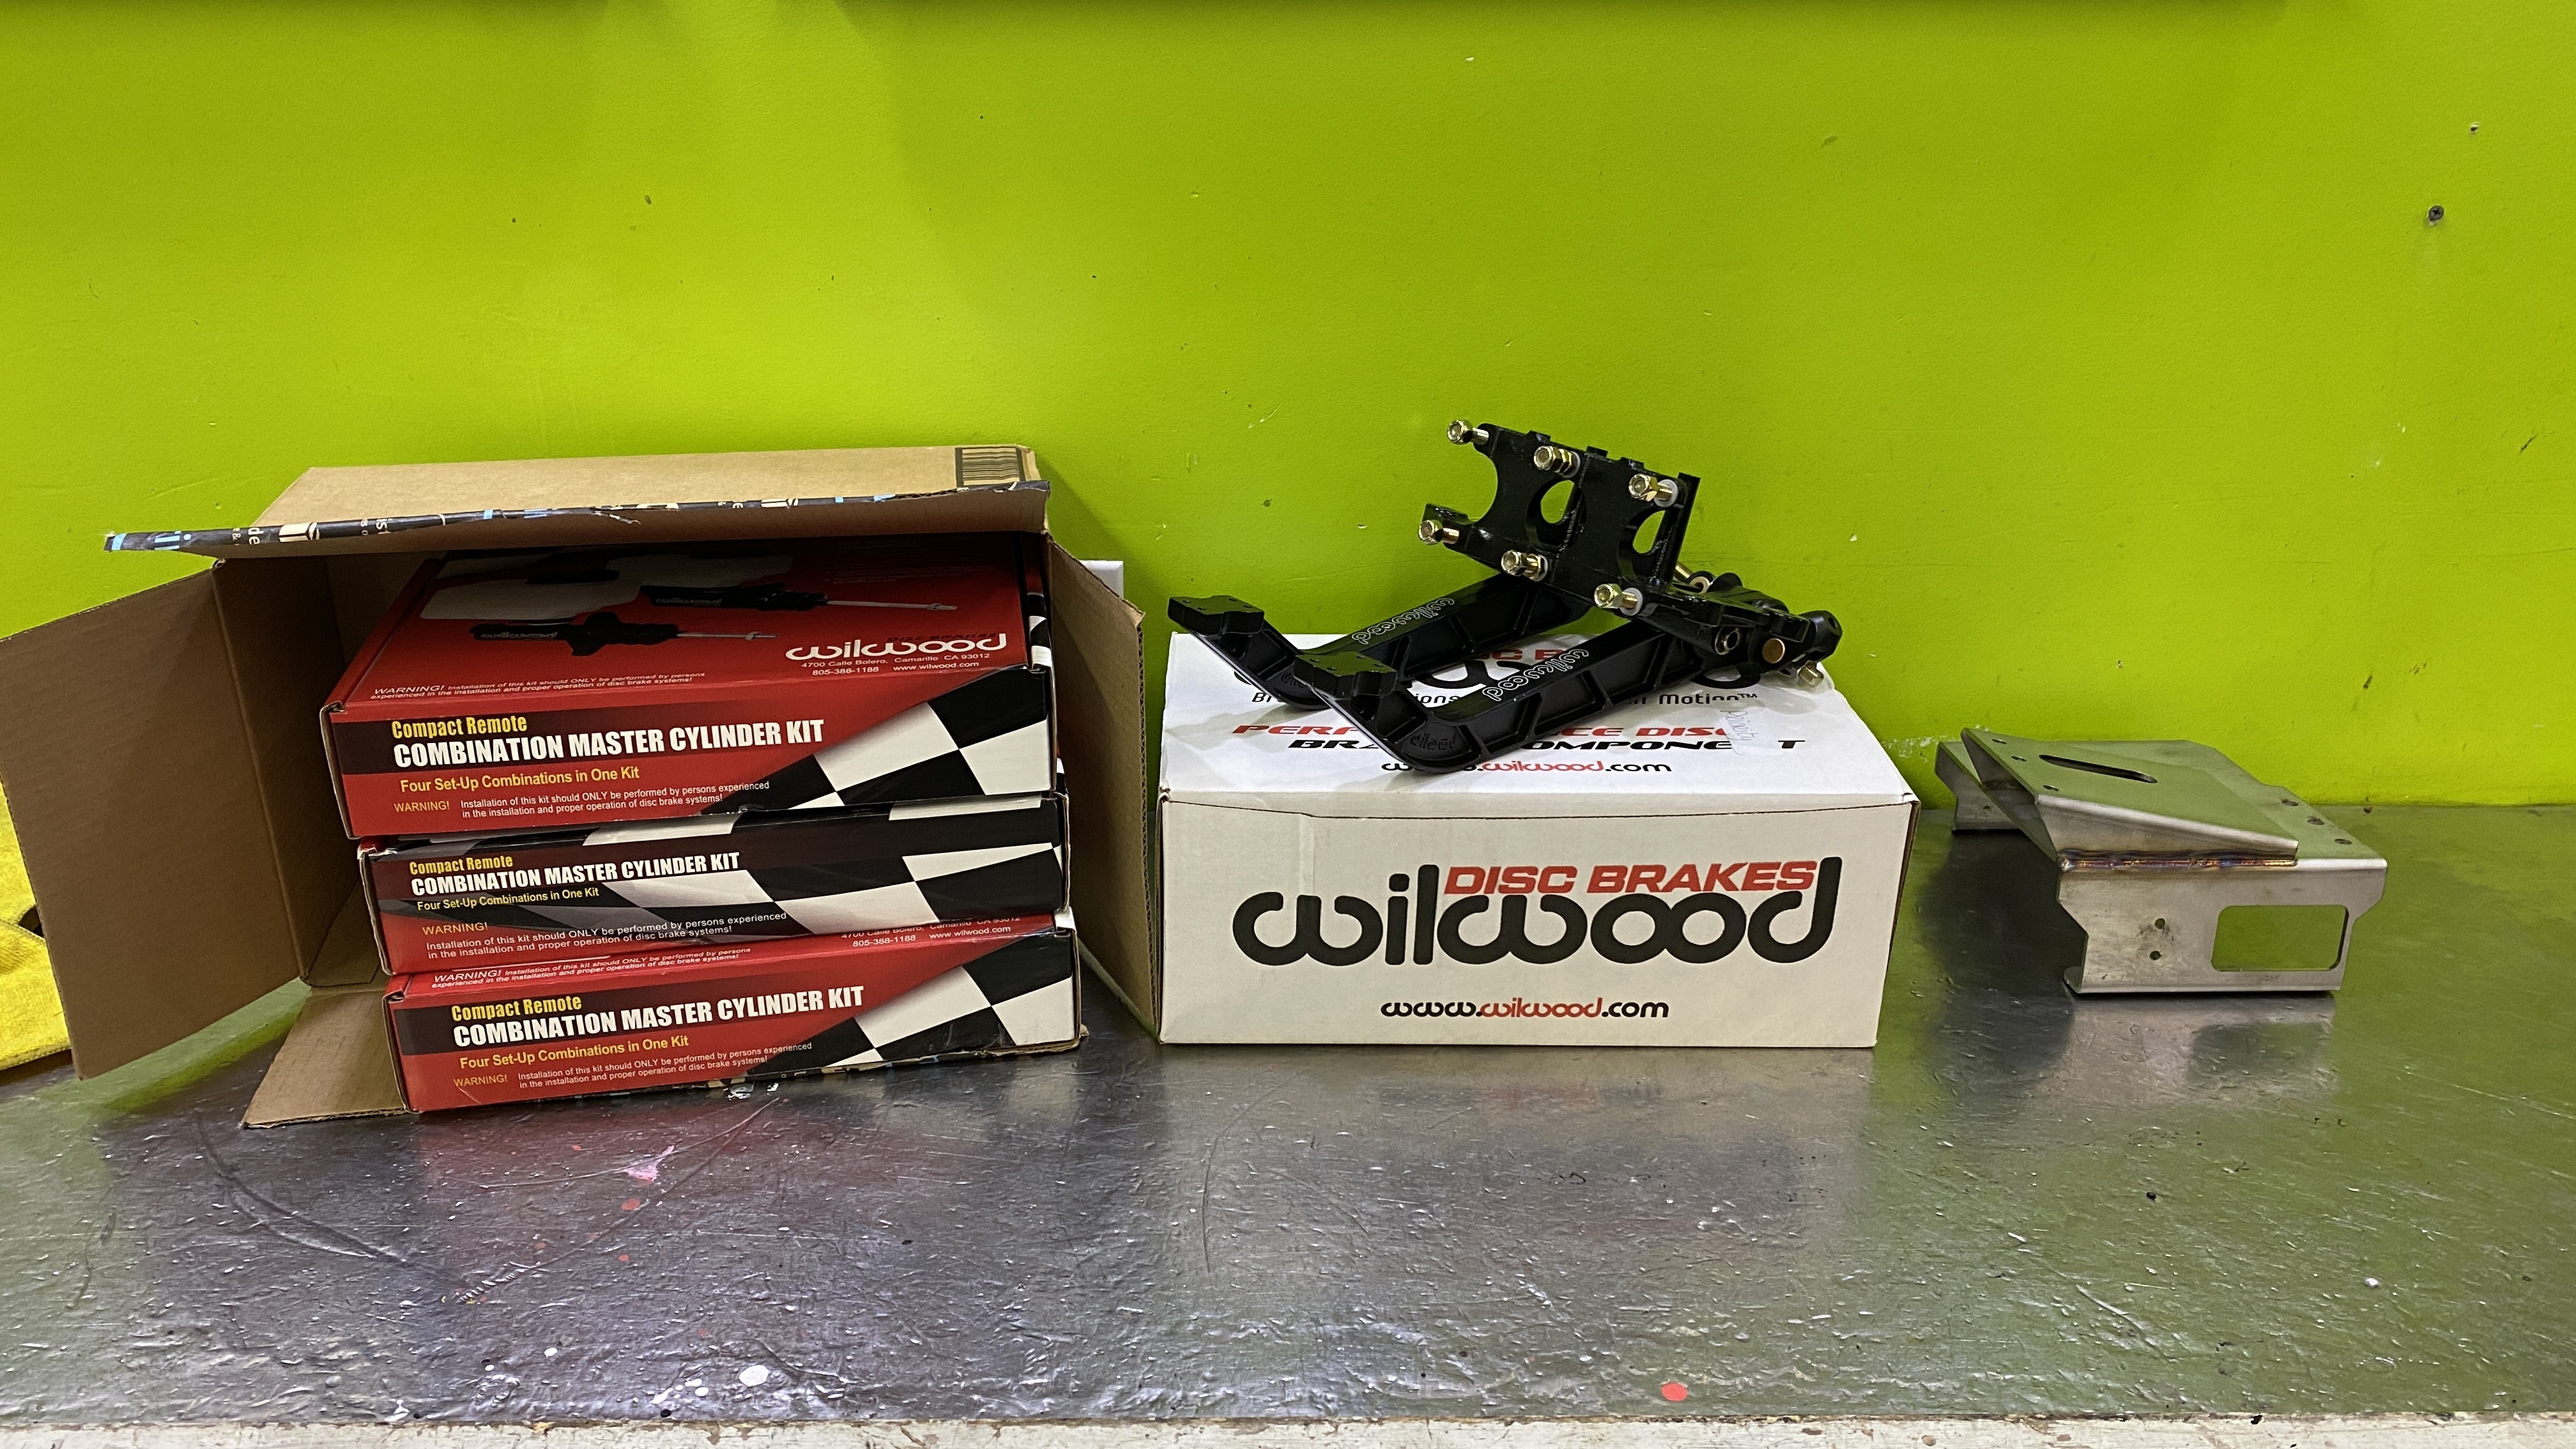
Here is all the factory parts out of the car..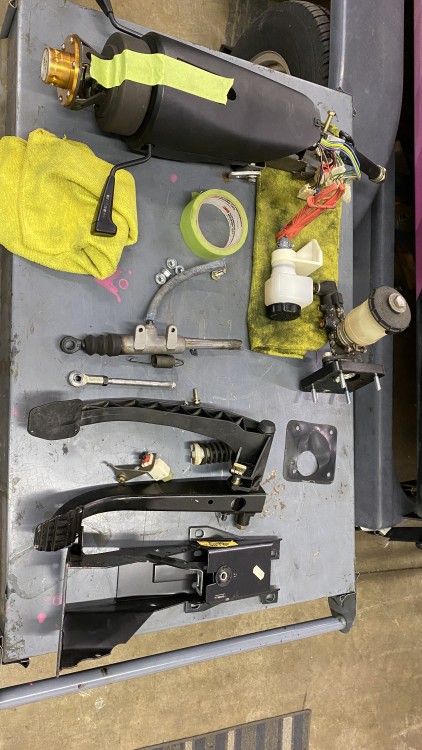
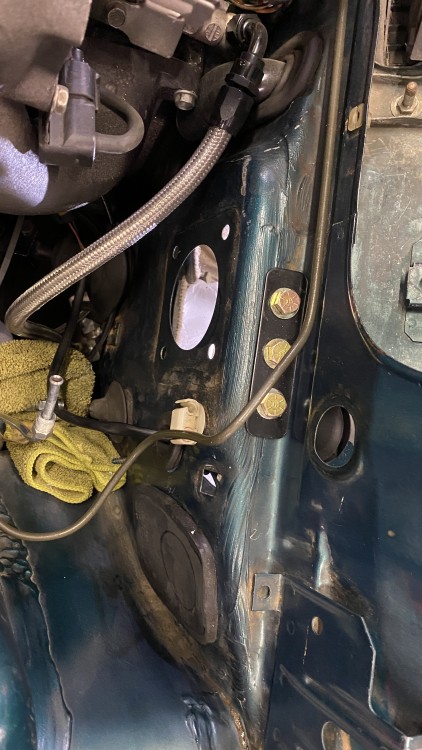
This is a shot of the garagistic bracket mocked up before I drill the holes in the firewall. I later noticed before I drilled the holes that I was off by 1 bolt and had to shift the whole thing to the left. I’m glad I noticed before drilling.
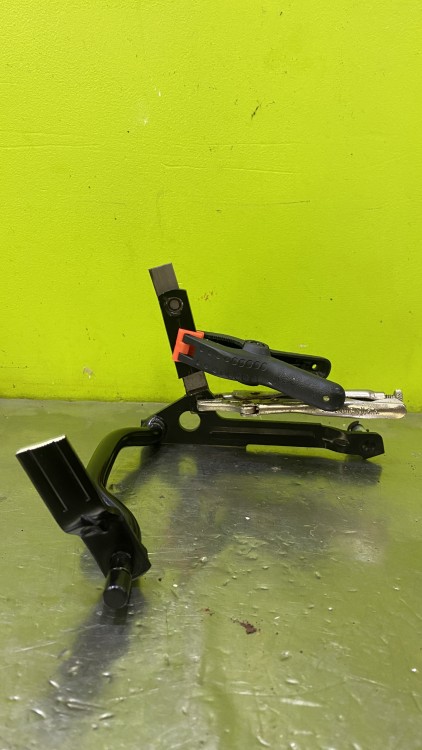
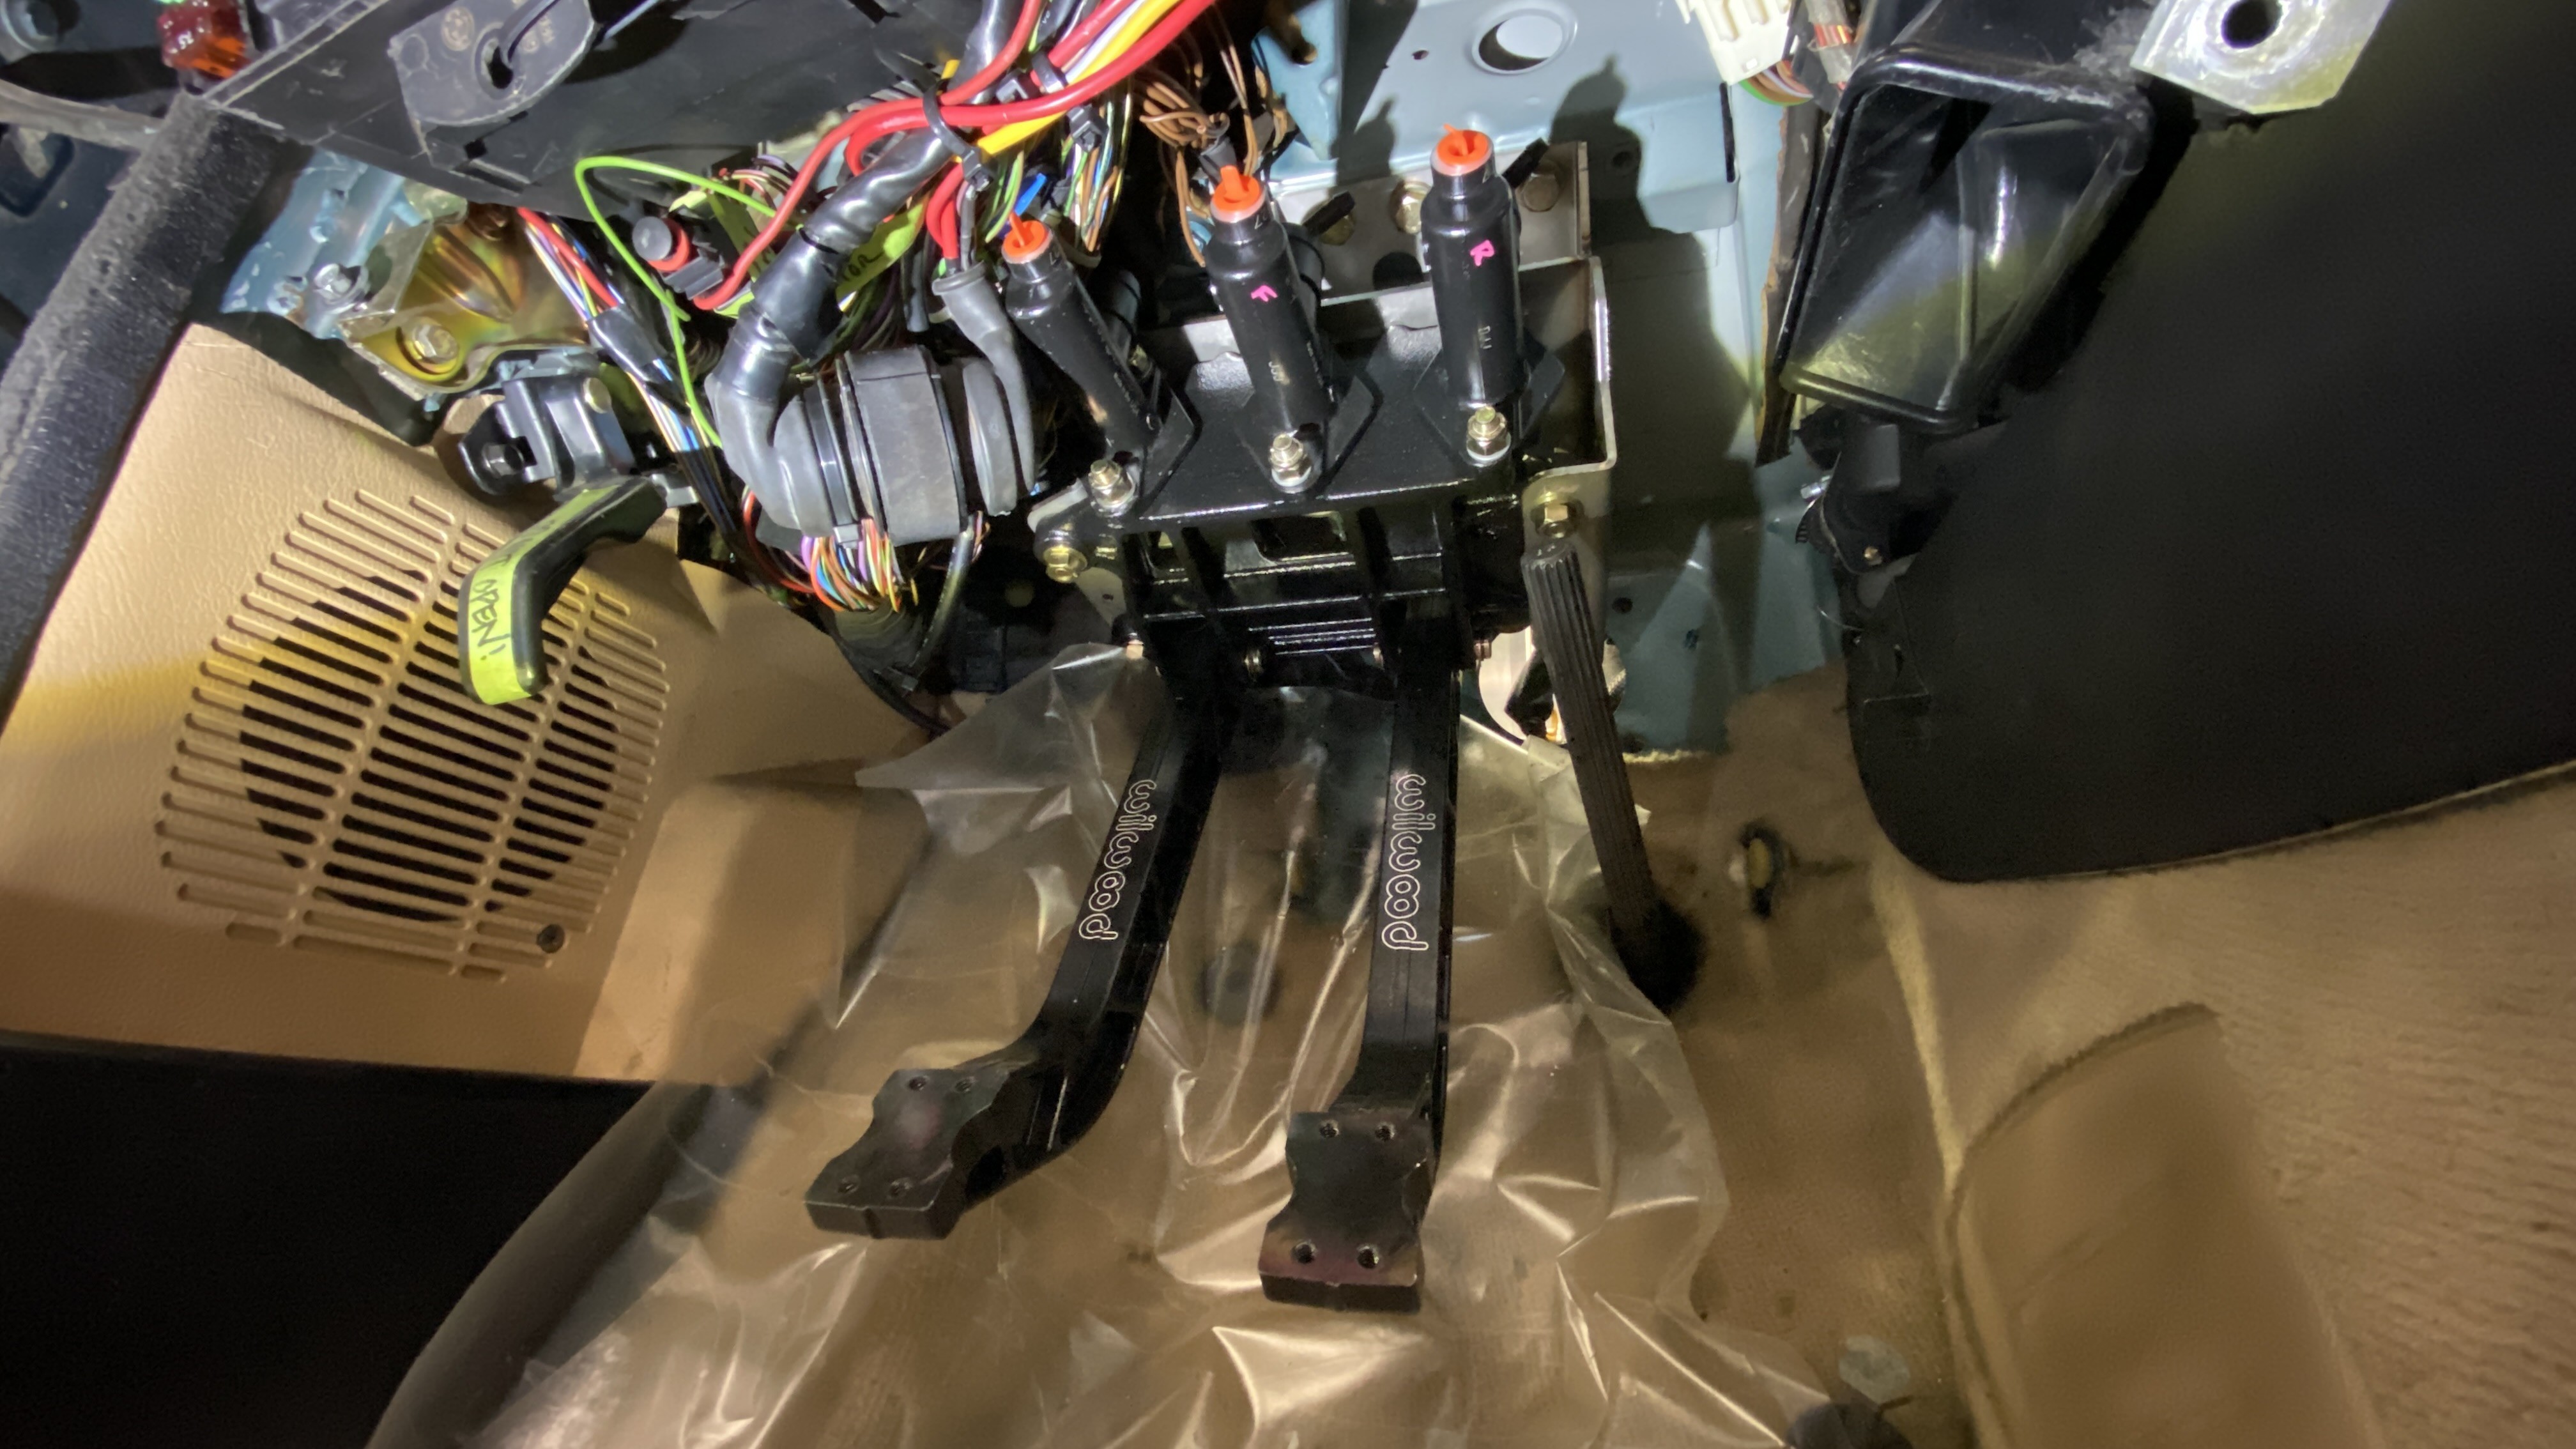
I also have to modify the throttle lever. Originally the throttle cable exits far to the left of the pedal assembly. I had to cut the cam portion of the lever as it hits the clutch pedal if you don’t. I plan on welding it above the pivot of the pedal itself. That’s what you can see mocked up here. What’s nice about this is that the cable will now exit right behind the manifold and give it a cleaner look.
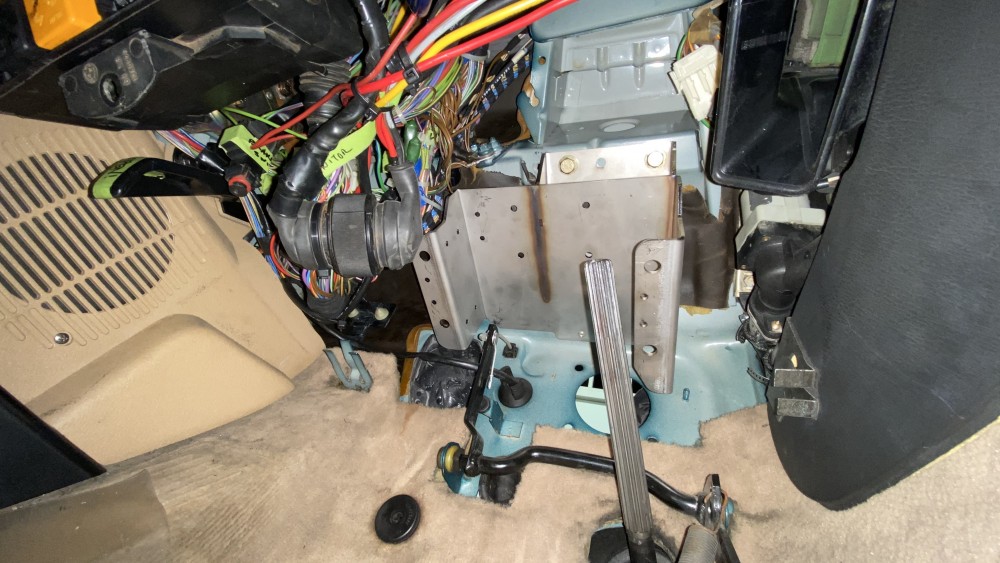
The pedals in their final resting place. Unfortunately they will probably come back out a few more times as I route the brake lines and reservoir lines.

here’s a shot of the bracket and bolts that you have to drill into the firewall.
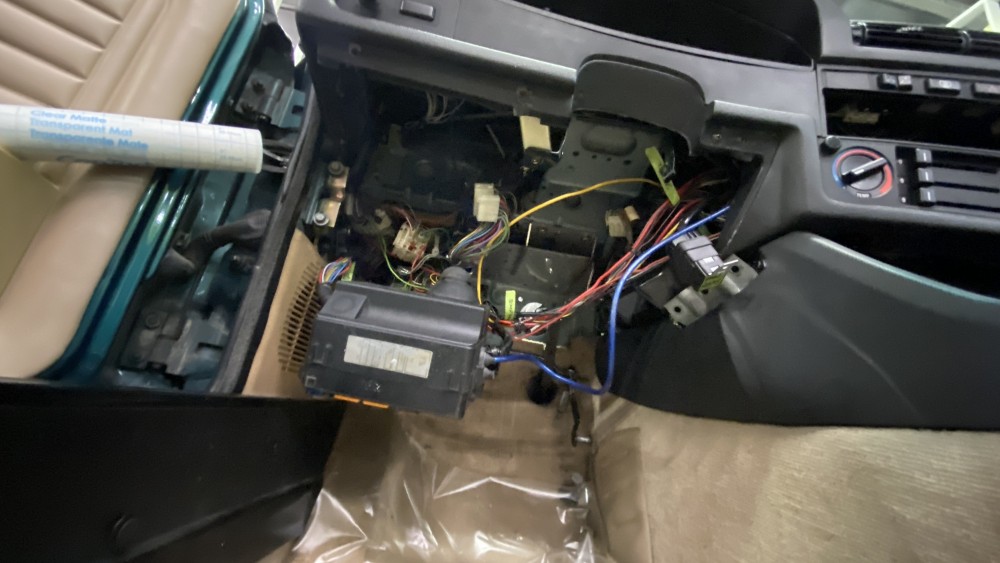
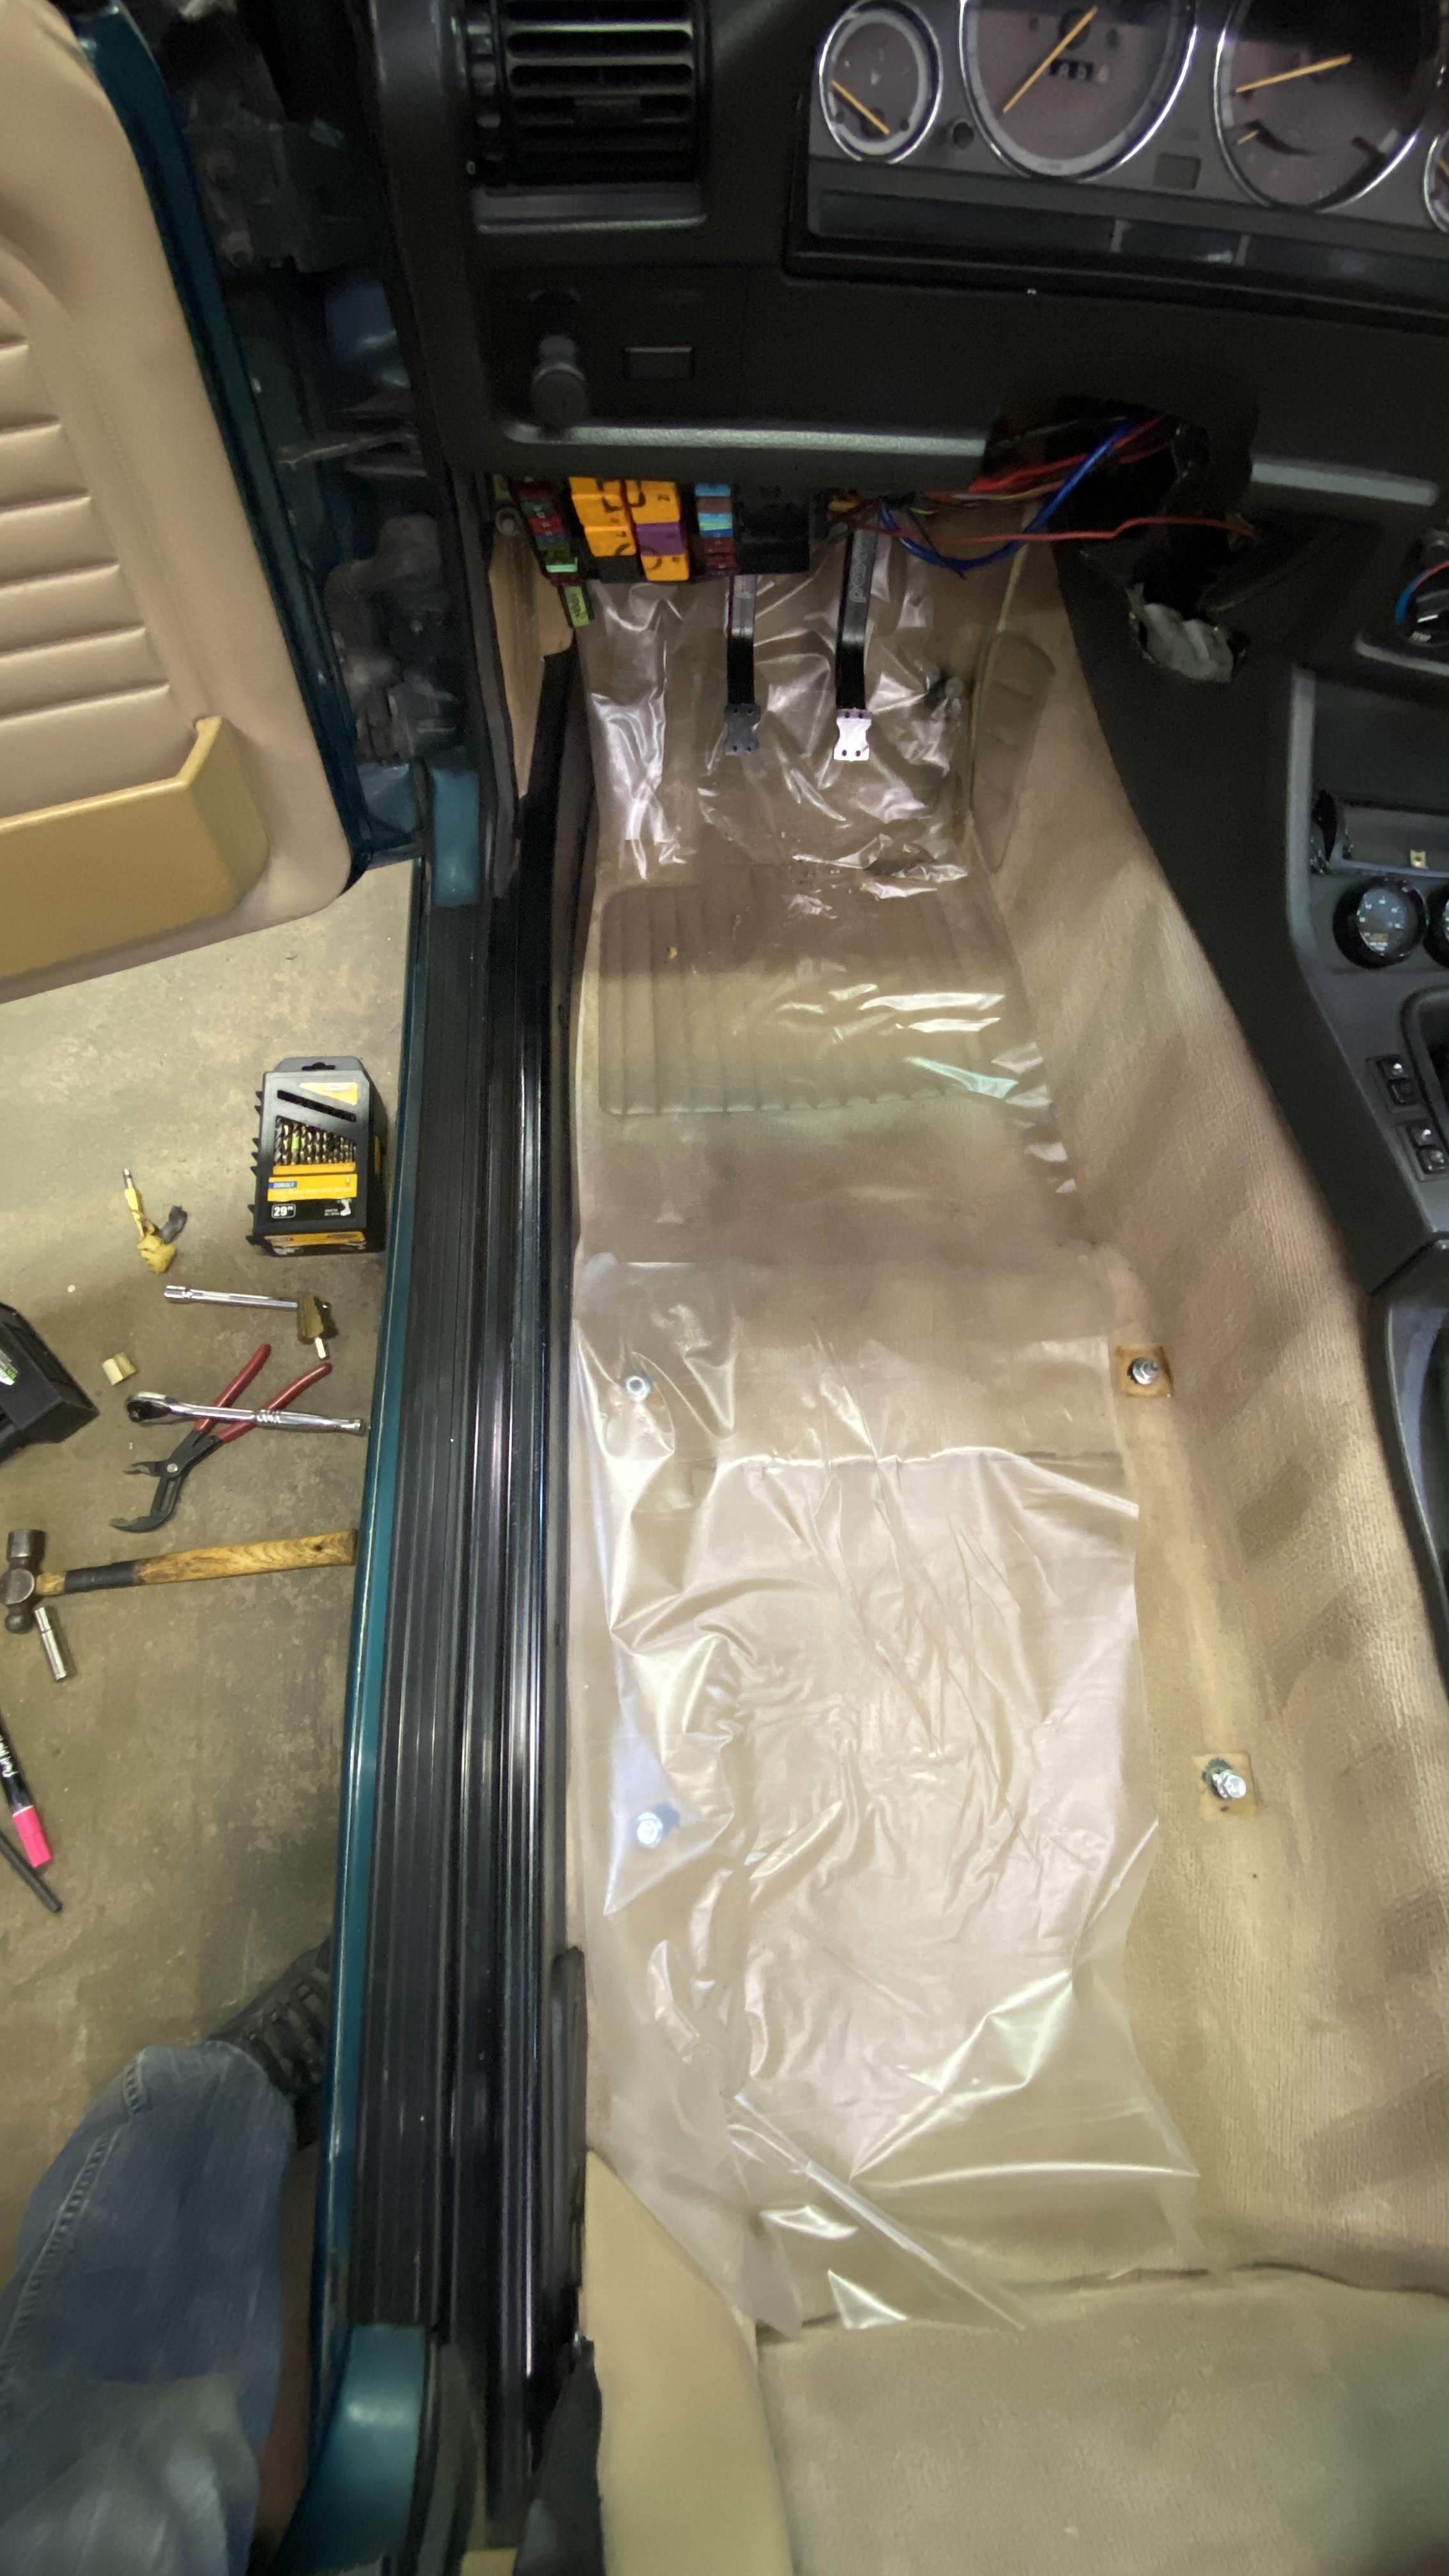
This last picture is just a picture of my carpet. I used drawer liners to protect the carpet from getting dirty as I’m crawling out from under the dash 40 some times fitting everything. I use this stuff all the time to protect surfaces. It doesn’t leave any residue and is around $3 for an entire roll of it.

-
-
Calipers are all painted and I cleaned up the hardware. I was going to get new pad guides instead of cleaning them but they were $80 and I realized I was just being lazy.
I have yet to start digging under the dash, that’s next.
- YoungCR, KaiserRolls, m42b32 and 3 others
-
 6
6
-
On 1/16/2022 at 10:34 AM, P_Roloff said:
Someone buy it:
Someone did! Not me though.
-
5 hours ago, YoungCR said:
@johnprusinski might have some tips, I remember he had some choice words about that garagistic setup.
He already mentioned to me that it’s a huge PITA.
-
-
LOOOOOOOONG overdue update on this car.
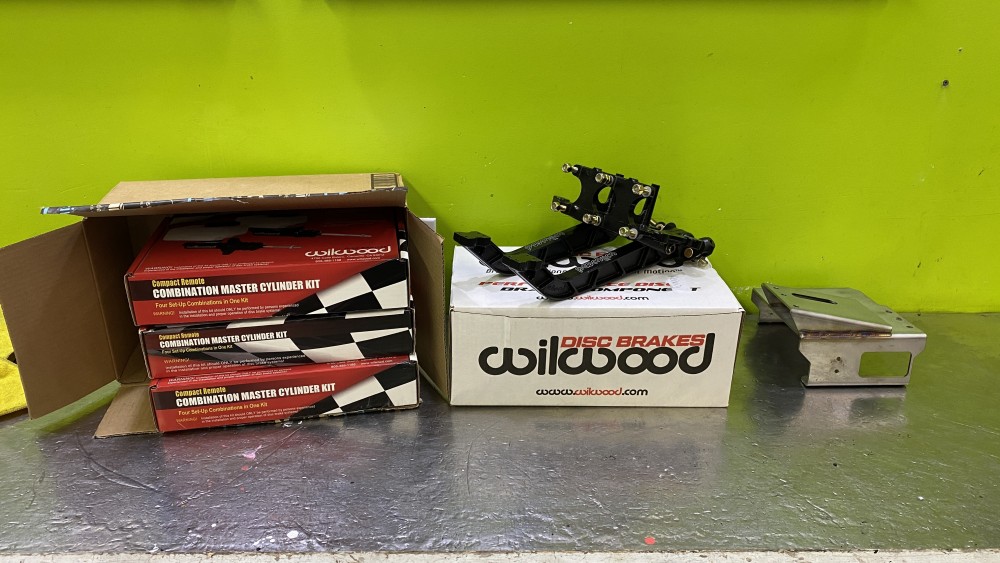
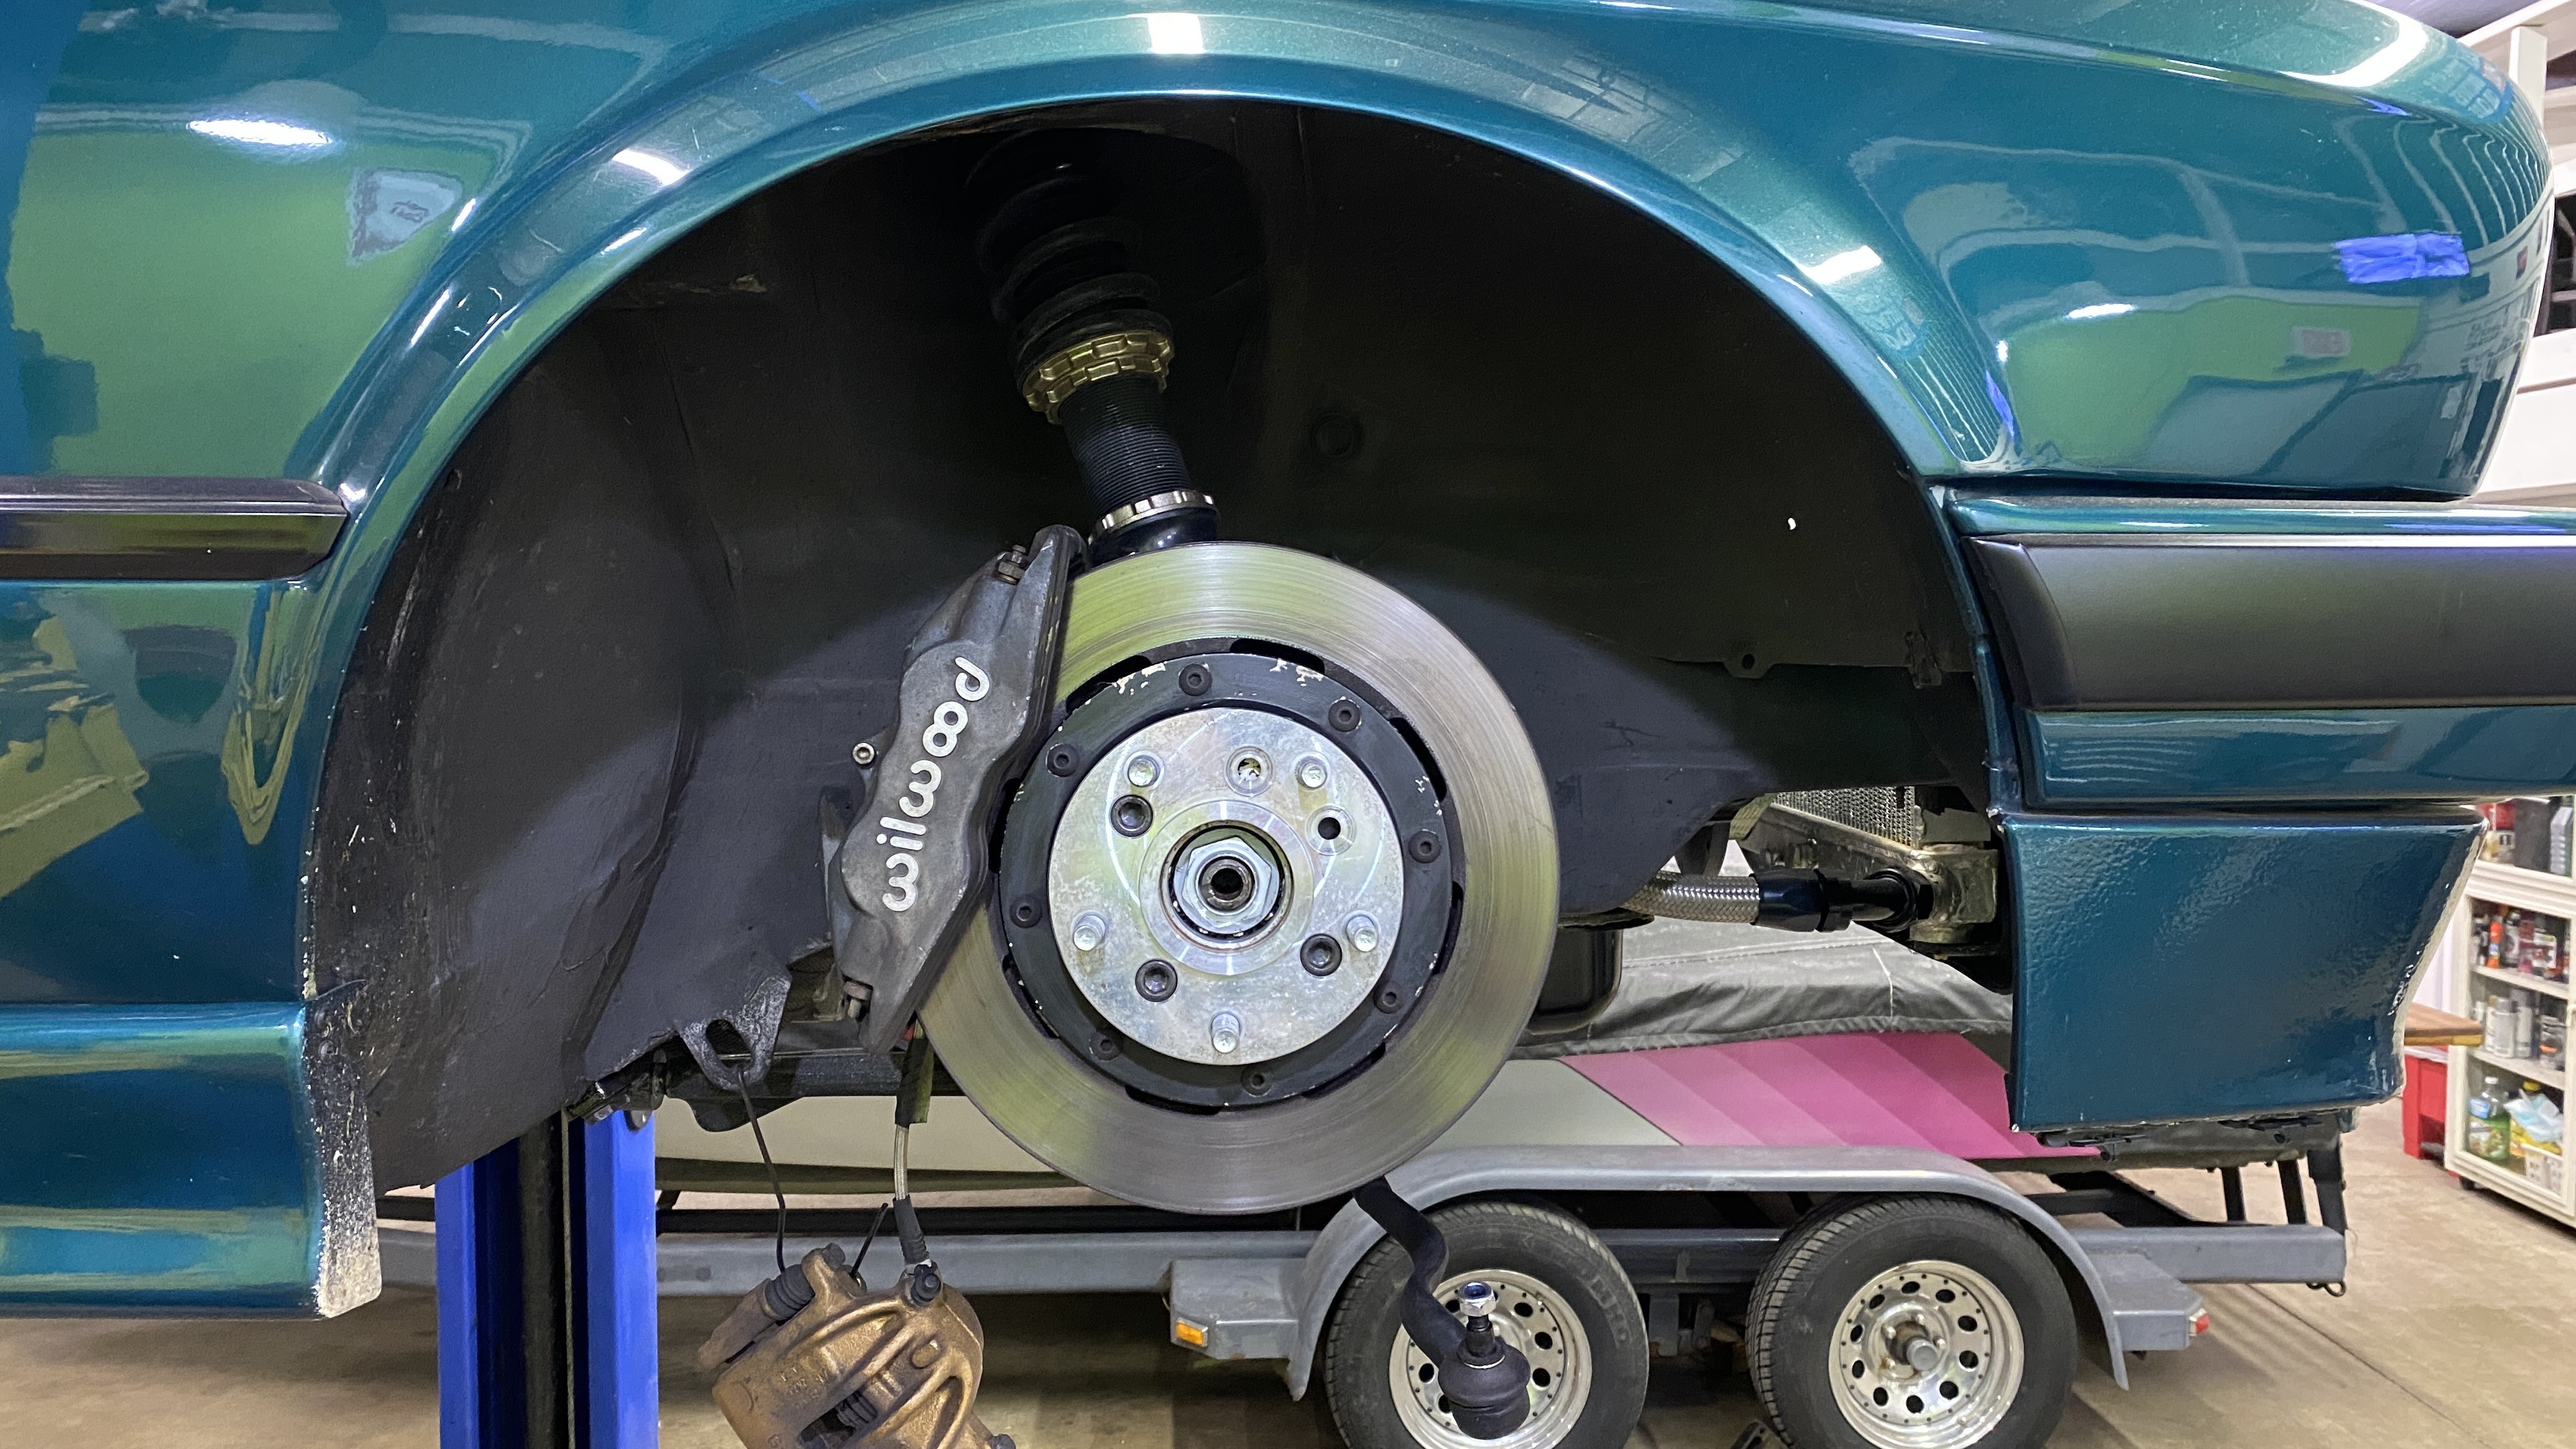
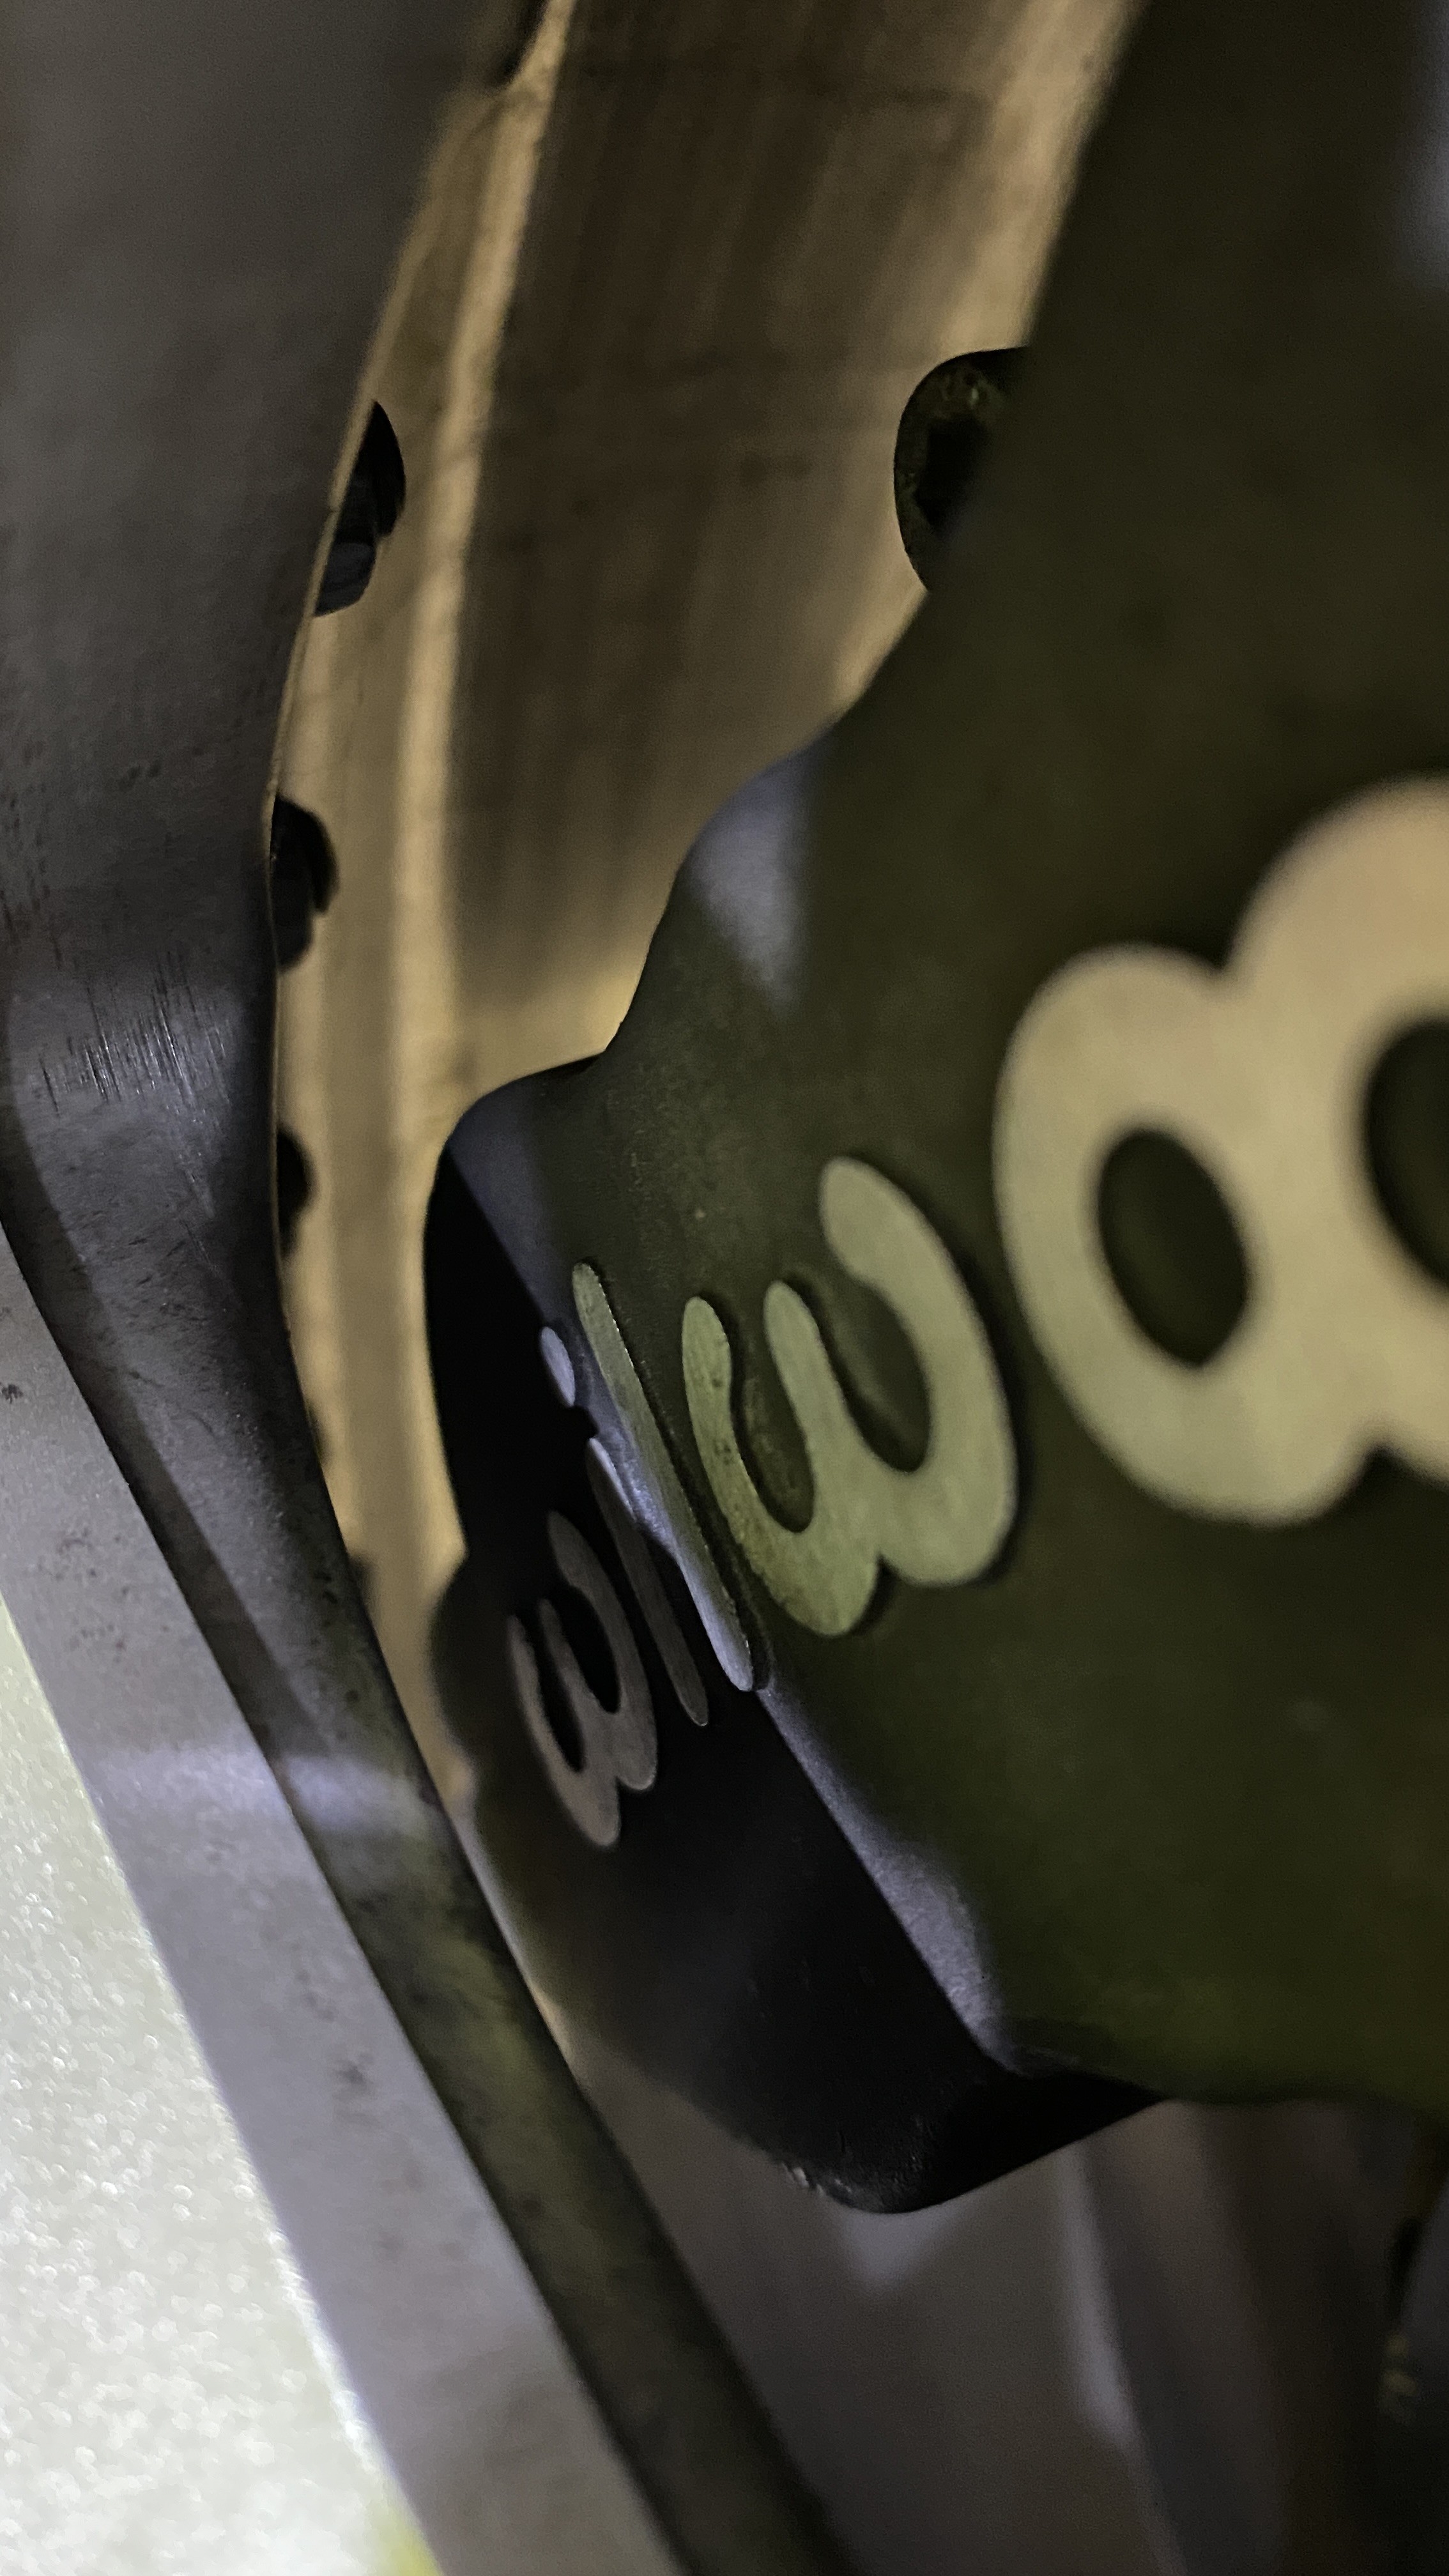
I got all the parts I need to swap the brake system(I think). I called Wilwood and figured out the exact calipers I got from @DrLeadFoot because I needed to get an idea of what size masters I should run with the pedalbox and the calipers front and rear. Despite everything I read on the internet(5/8ths F&R), I wanted to be certain. It turns out, due to the size and stroke if the rear Calipers, Wilwood suggests a 3/4th master for the rear. The front calipers are an older design (cast with raised Wilwood logo) which I actually prefer but still utilize the same parts as the new design (cast with printed logo) and wilwood said a 5/8ths is perfect for them.
So here is what I ended up getting;
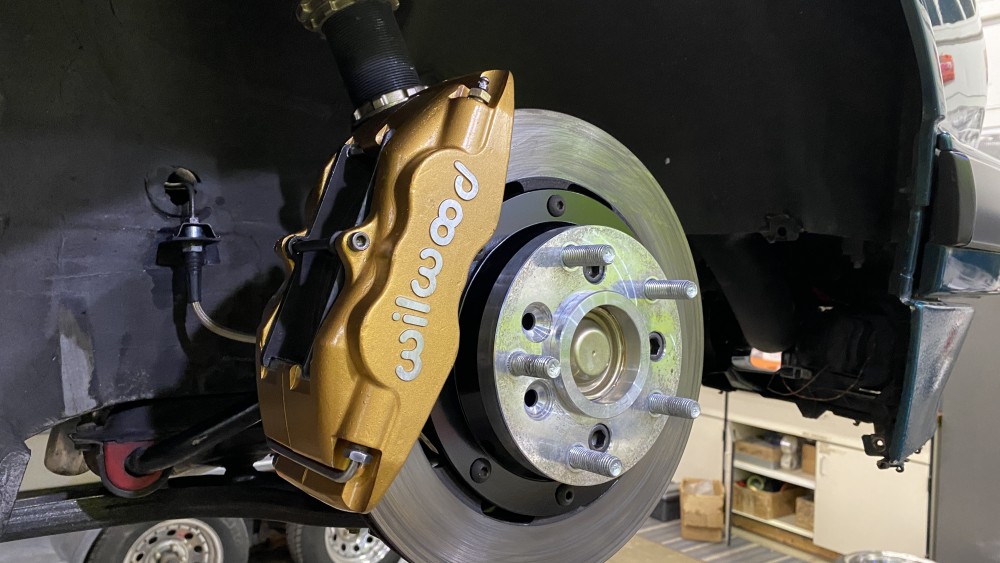
- Wilwood 4 piston Forged Superlites
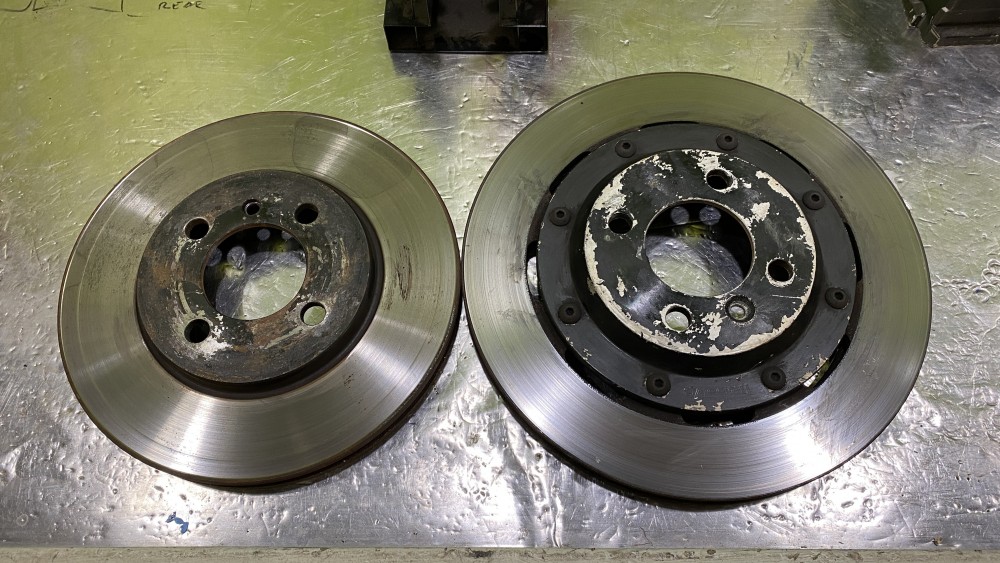
- Wilwood 11.75" Ultralite 2 pc rotors
- Wilwood BP-20 pads
- Wilwood 340-11299 pedal assembly
- Wilwood 5/8th master for the front
- Wilwood 3/4th master for the rear
- Wilwood 3/4th master for the clutch
- Garagistic mounting bracket
- Wilwood bias valve
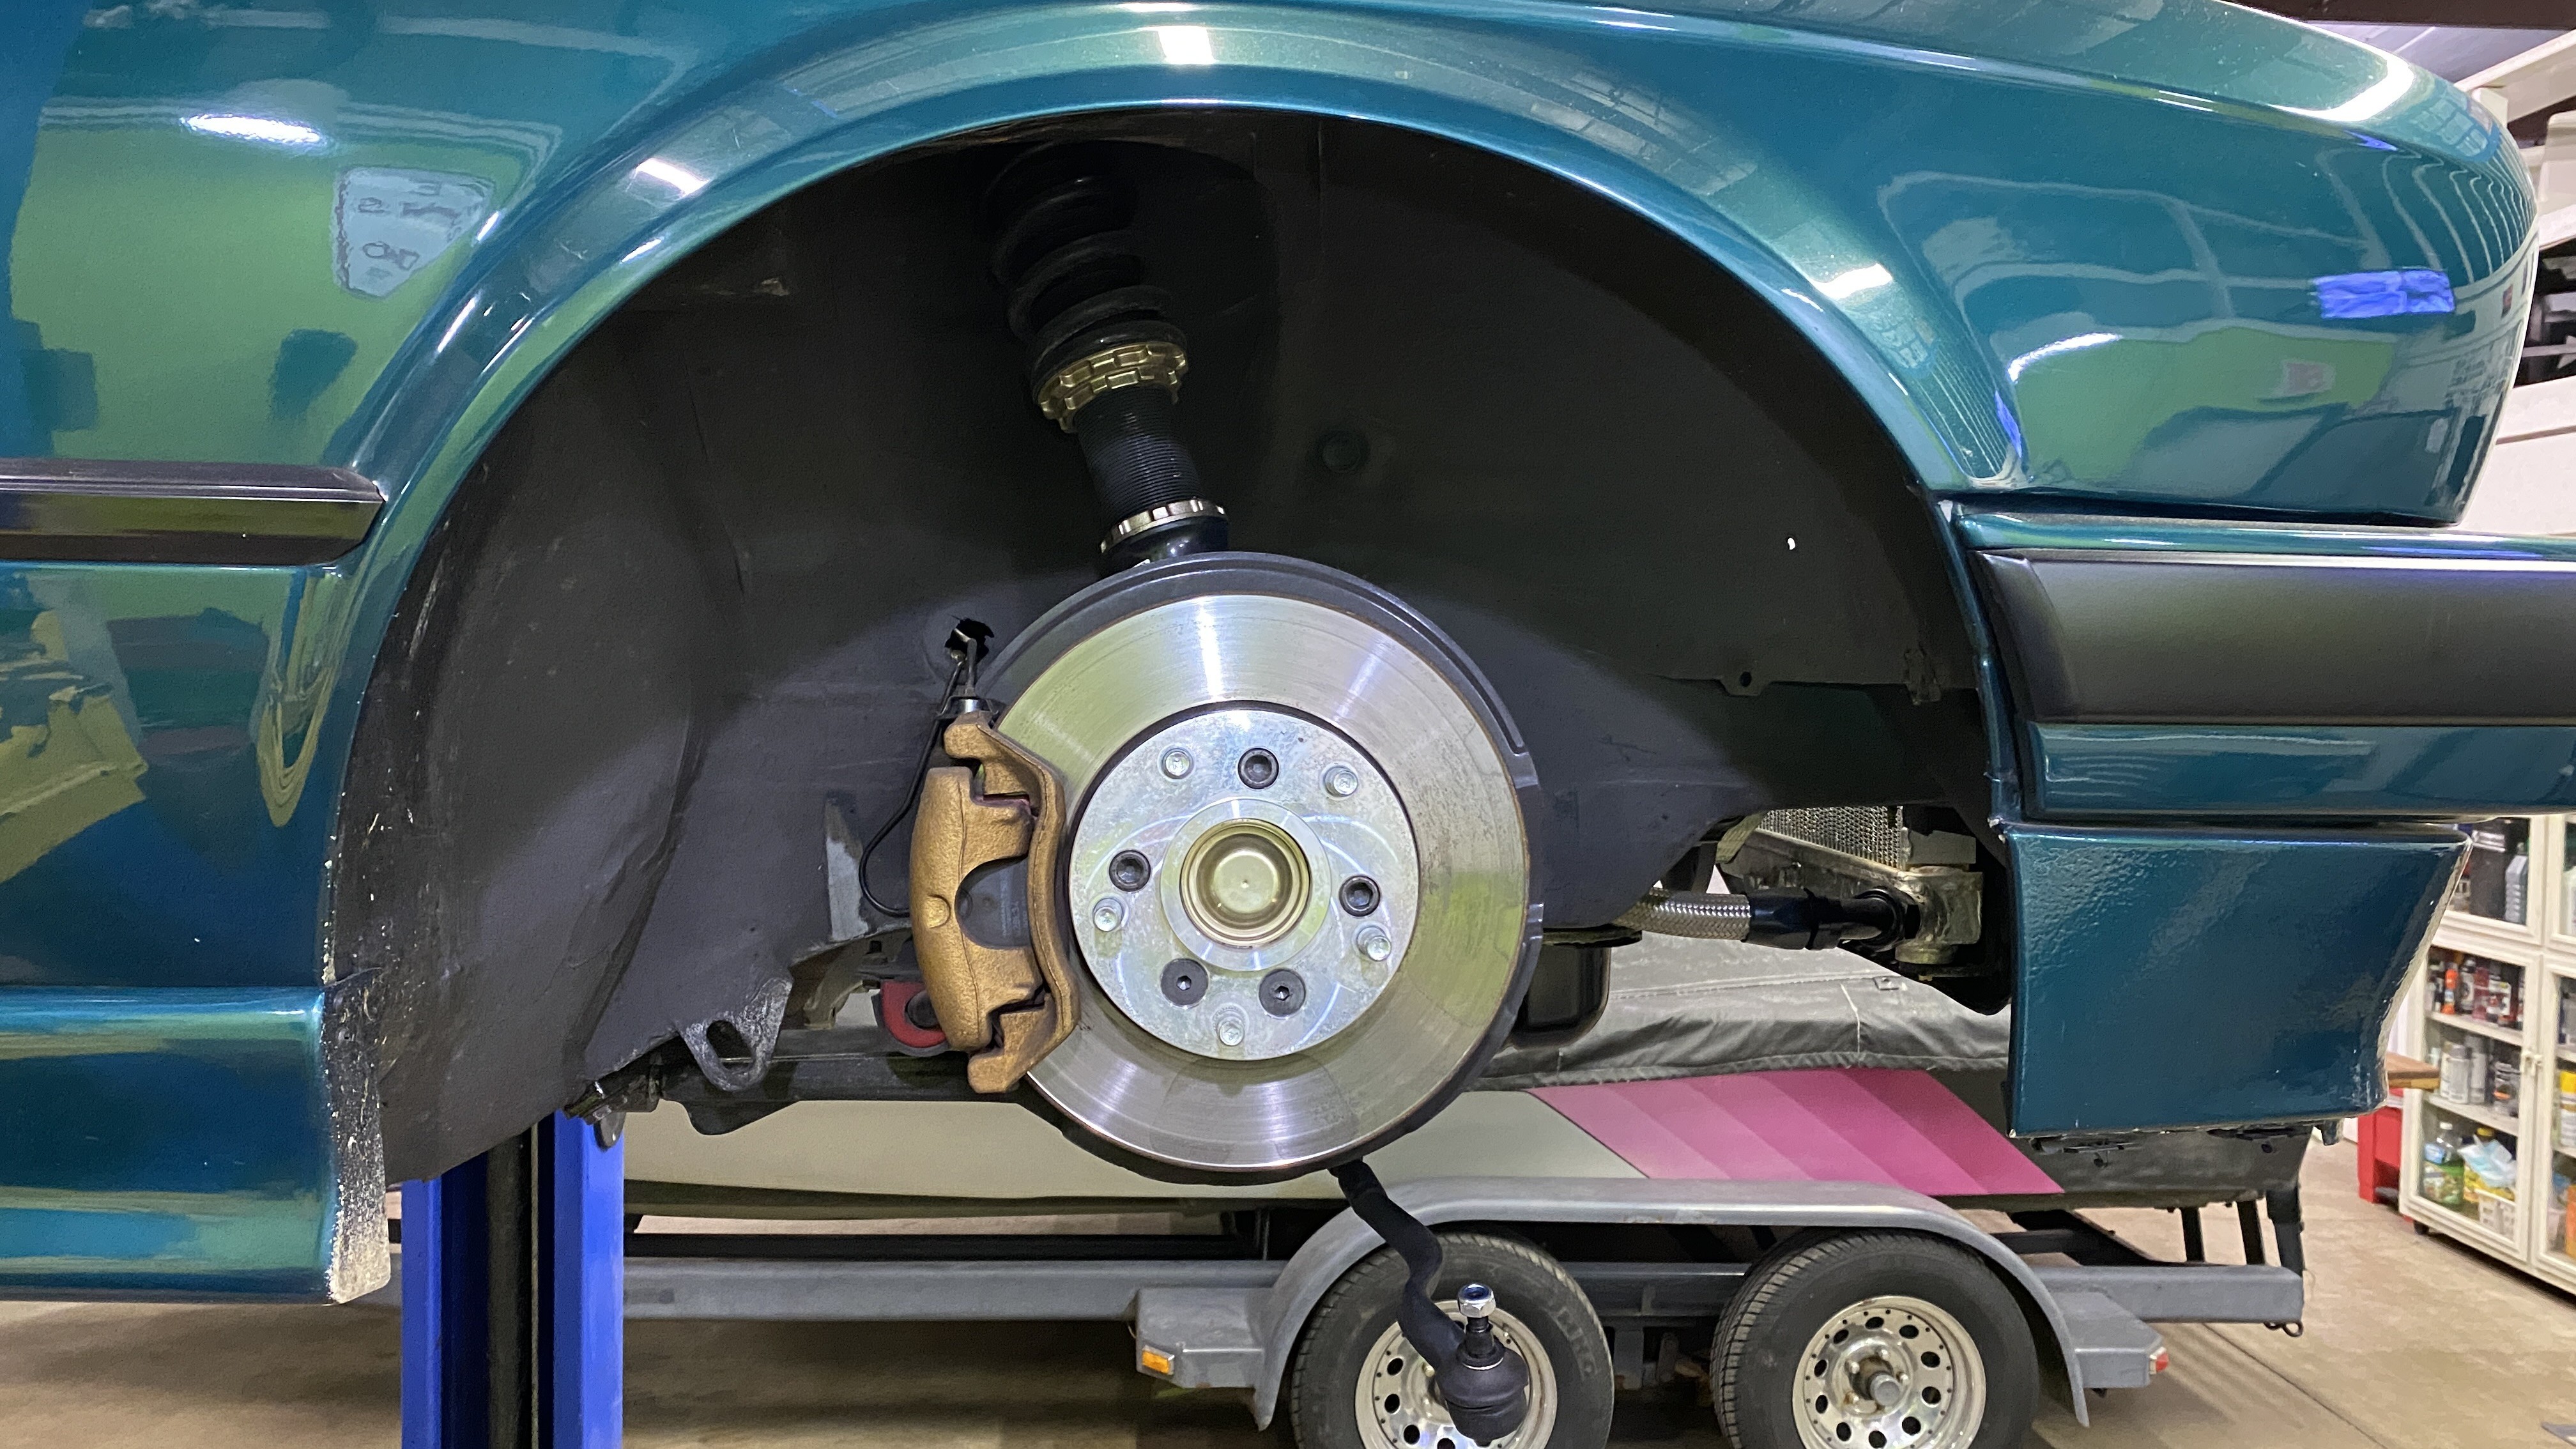
Size comparison of the rotors
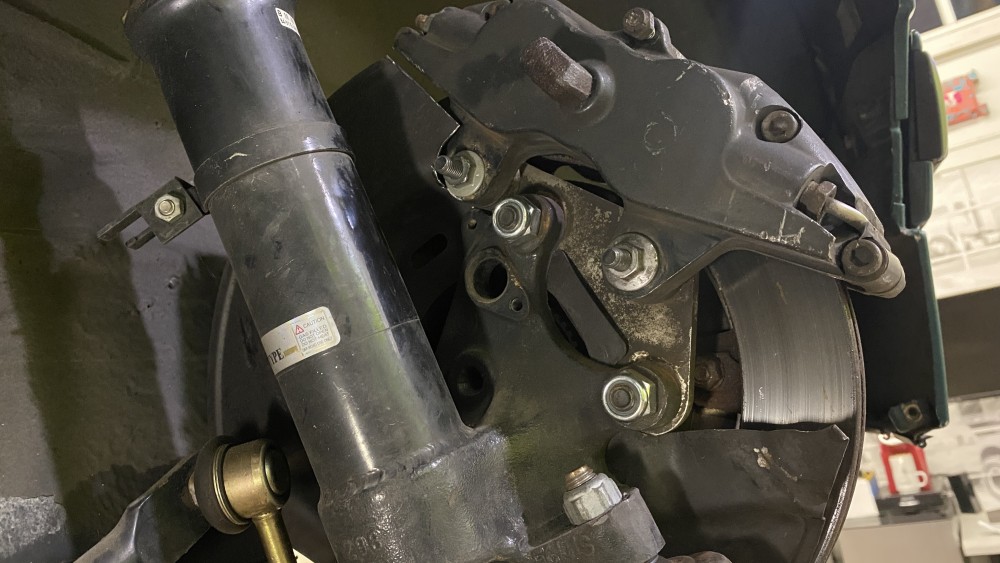
The old brake setup

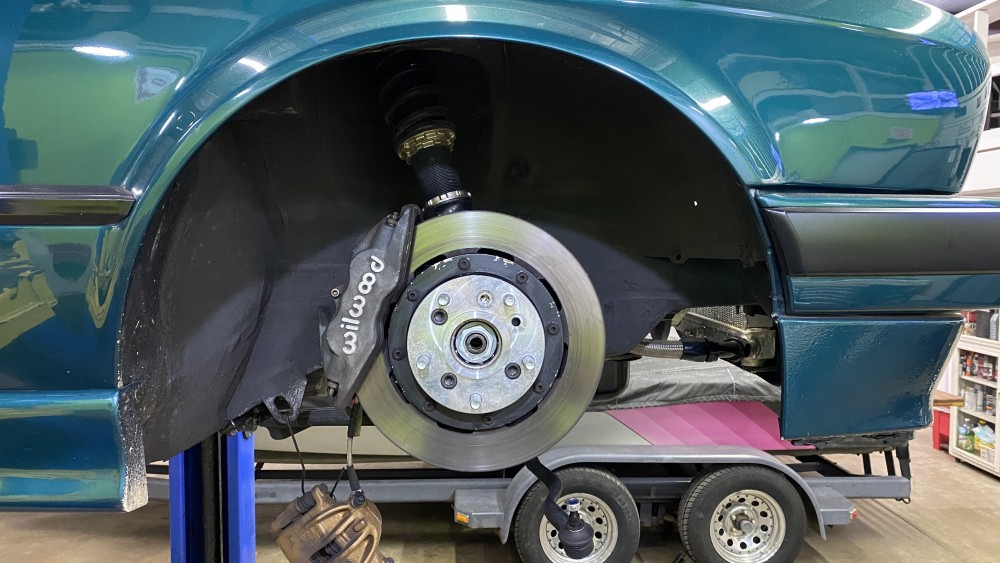
The new brake setup
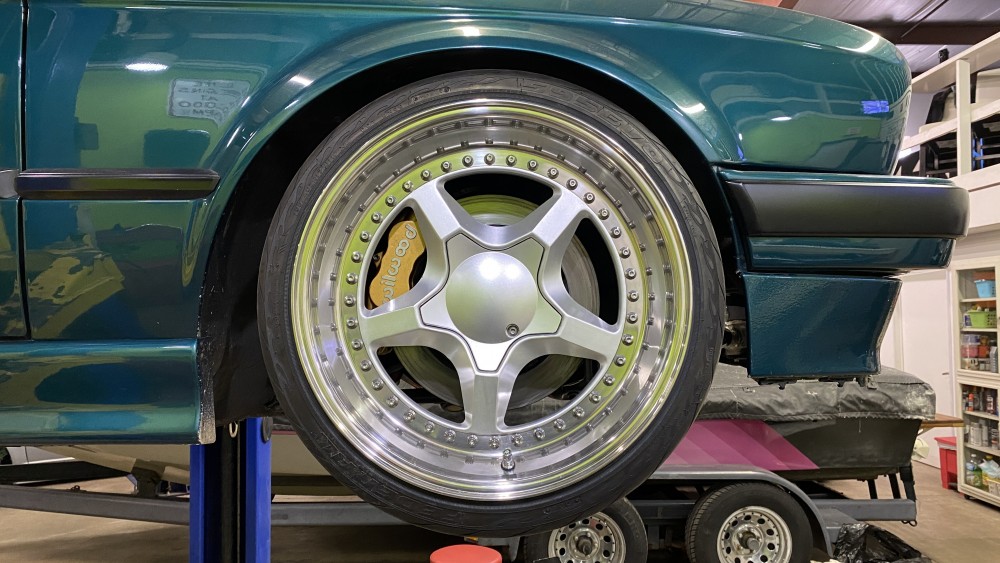
And a test fit with my wheels
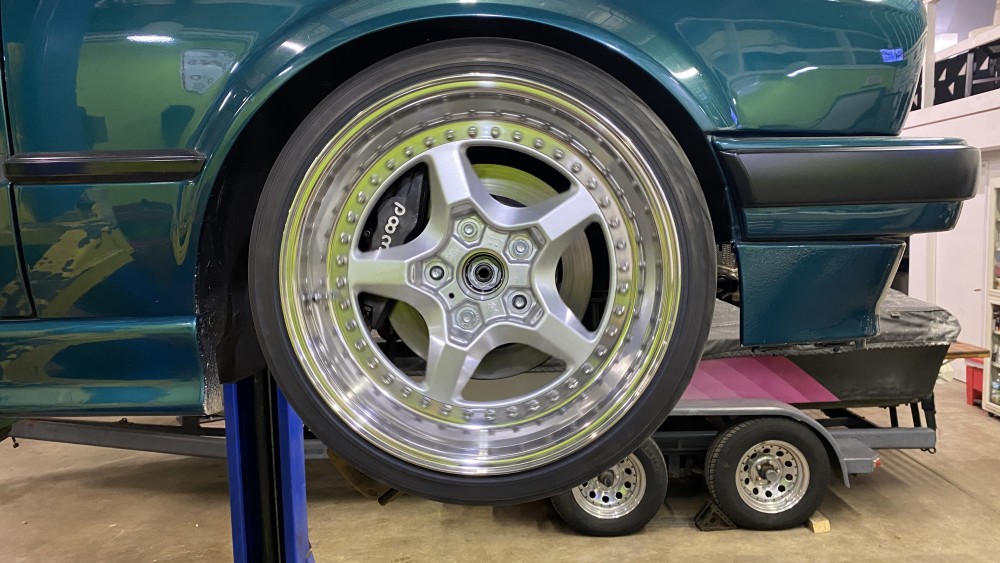
Super stoked that these fit with ample room left

It took me about a good 3 hours to fit everything and trim the heat shields and find hardware that would work for mocking up.
As of now I only have the rotors and calipers installed just to mock them up. They will be coming back off and the new rotors will go on, the hats and calipers will be painted and rebuilt before finally assembly.
The next steps now is to get the pedal box to fit in the car. It says on the garagistic site that I need a non-airbag steering column, which I am going to soon learn the reason behind.
-
-
Mine is shipped! Latvia package showed up 3 days early! That gta shirt is awesome! That e30 is a wonderful color too. 😄
-
Still waiting on the last item to ship mine out. Tracking says Jan 3. Latvia should be closer. Maybe think of it as a New Years gift ? ¯\_(ツ)_/¯
-
-
-


-
-
-
Late to the game this year. Count me in!
-
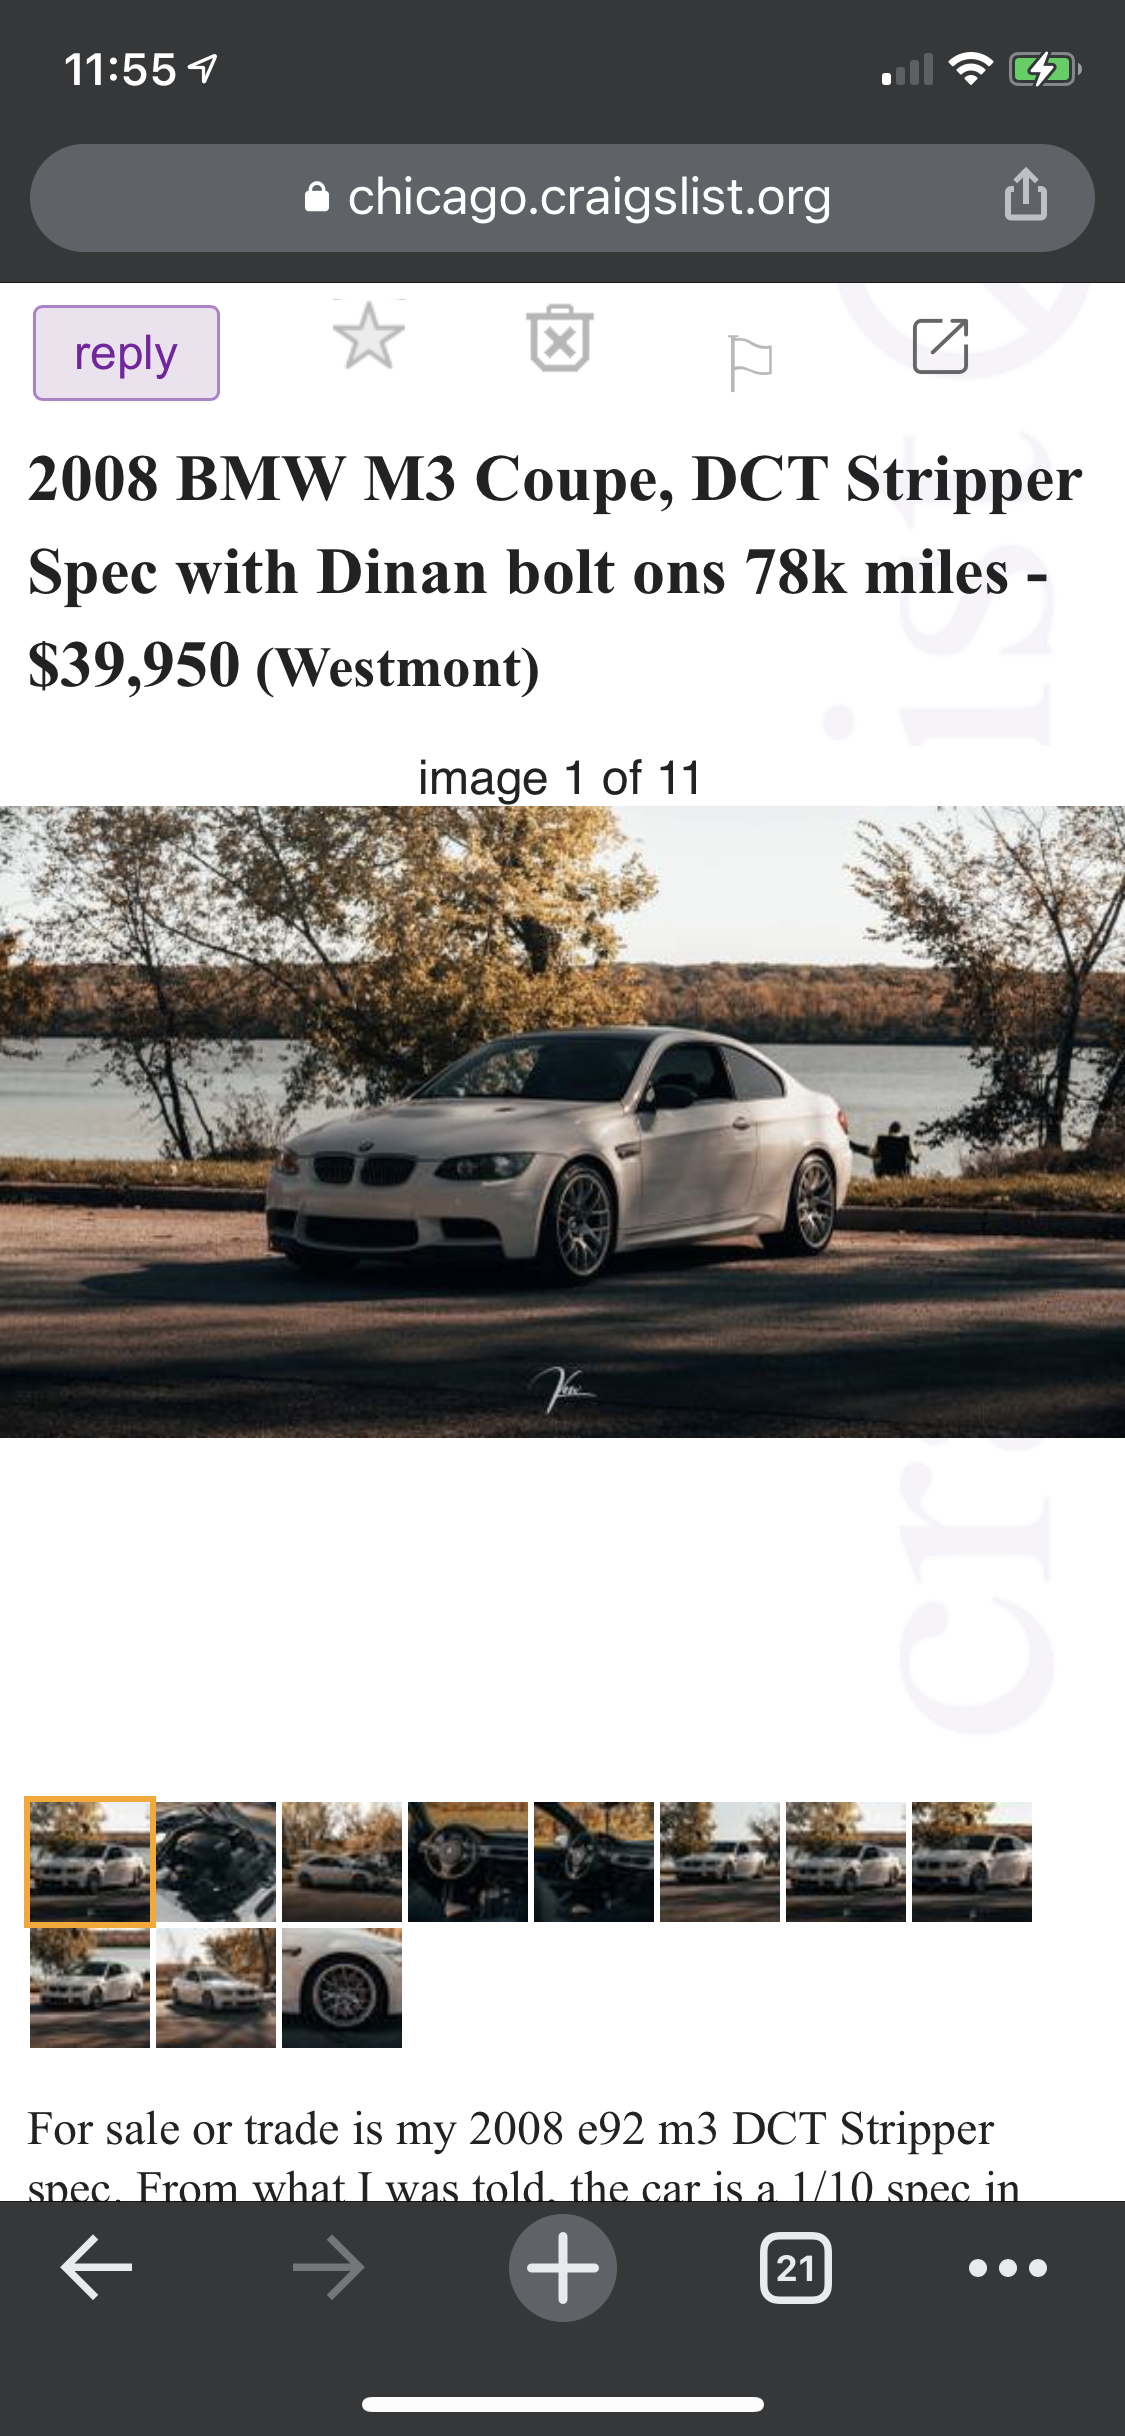
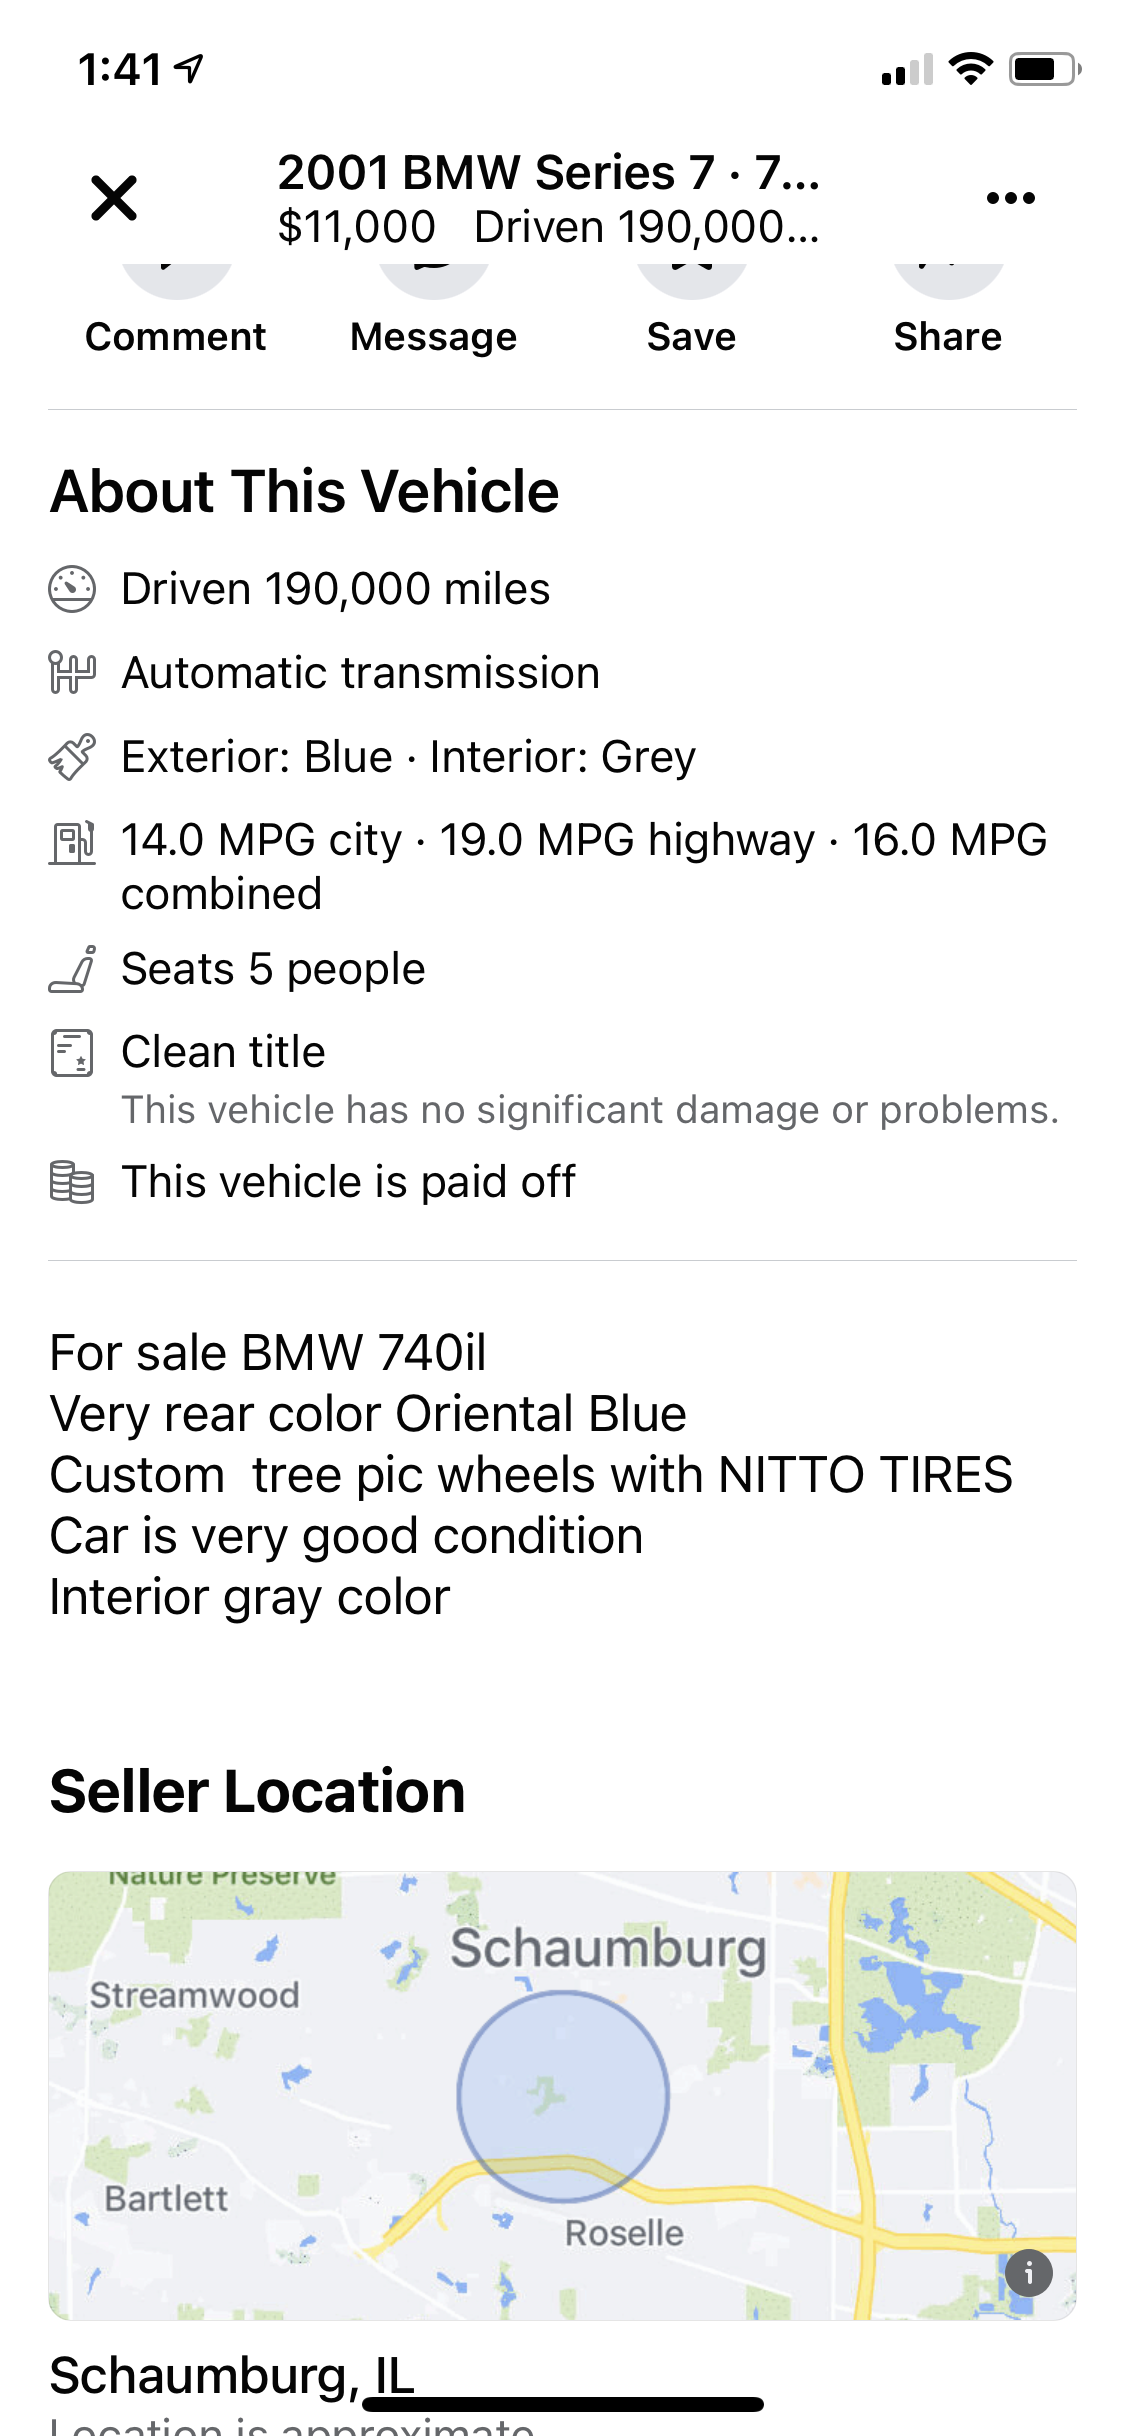
this is awesome. I’m sure it’s expensive.
https://chicago.craigslist.org/nch/cto/d/gurnee-1934-bmw-309/7392146189.html -
CUSTOM TREE PIC WHEELS!

-
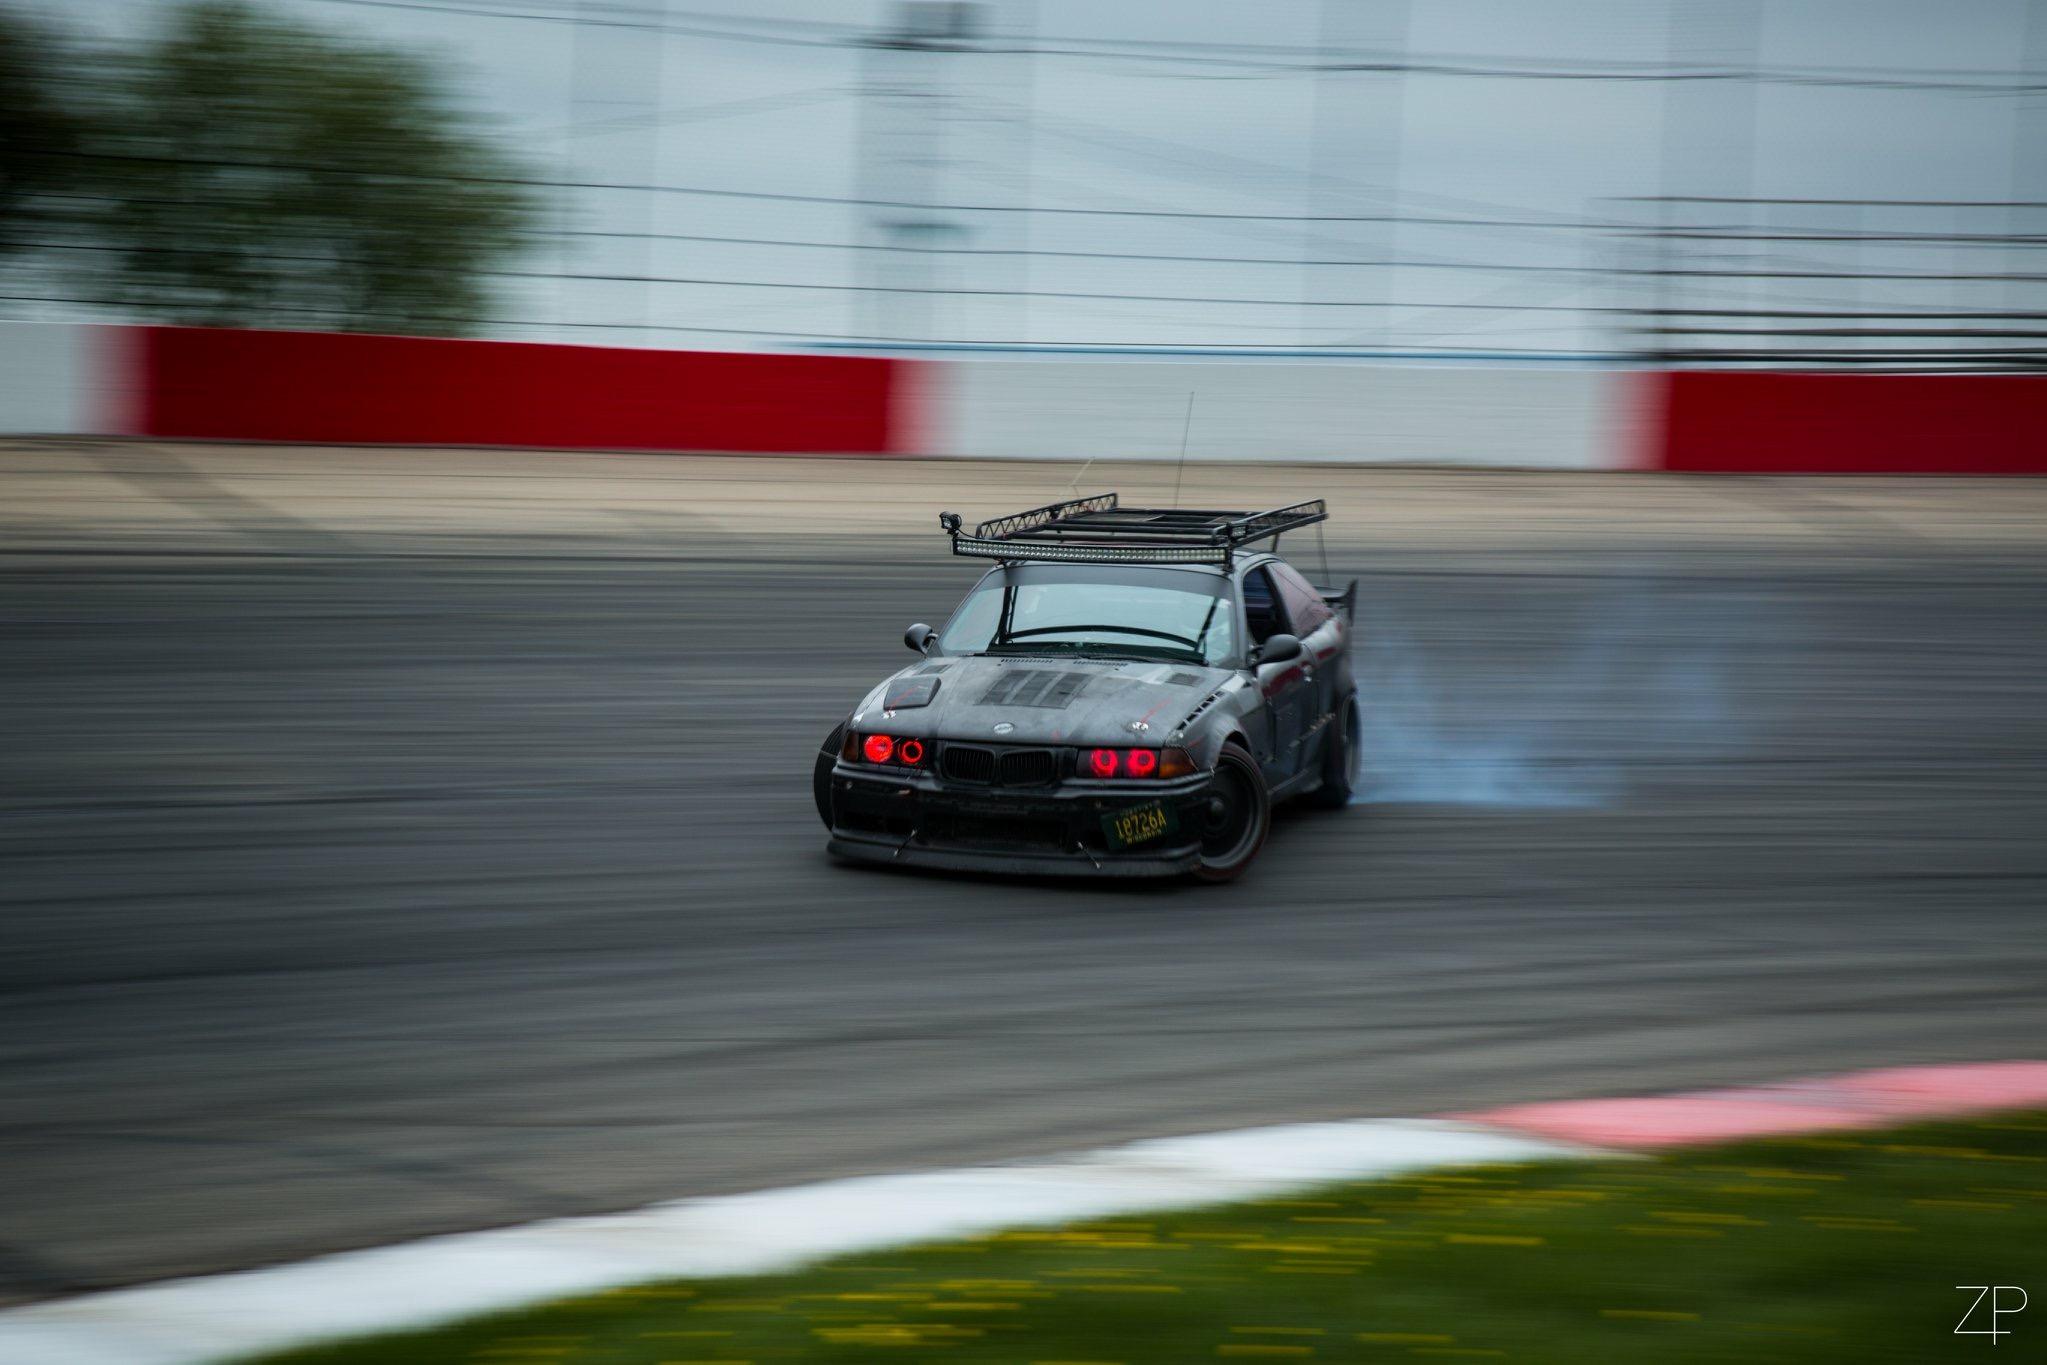
My friend took the footage he had and posted it on his youtube channel. Figured I would share.
- patsbimmer1, m42b32 and rampelsauce
-
3
-
2 hours ago, gilber33 said:
Mind sharing them as route in google maps or something??
I marked all the roads that were epic, but they are not really in a cohesive route per say. I was back-tracking a bunch, just trying to hit anything that looked squiggly on the map. I also am guilty of enjoying myself so much i forgot to mark some.


Long-ish
in Members BMWs
Posted
Where is that epic sideways pic I saw on FB?