Tkuhn
-
Posts
302 -
Joined
-
Last visited
-
Days Won
13
Content Type
Profiles
Forums
Events
Gallery
Store
Posts posted by Tkuhn
-
-
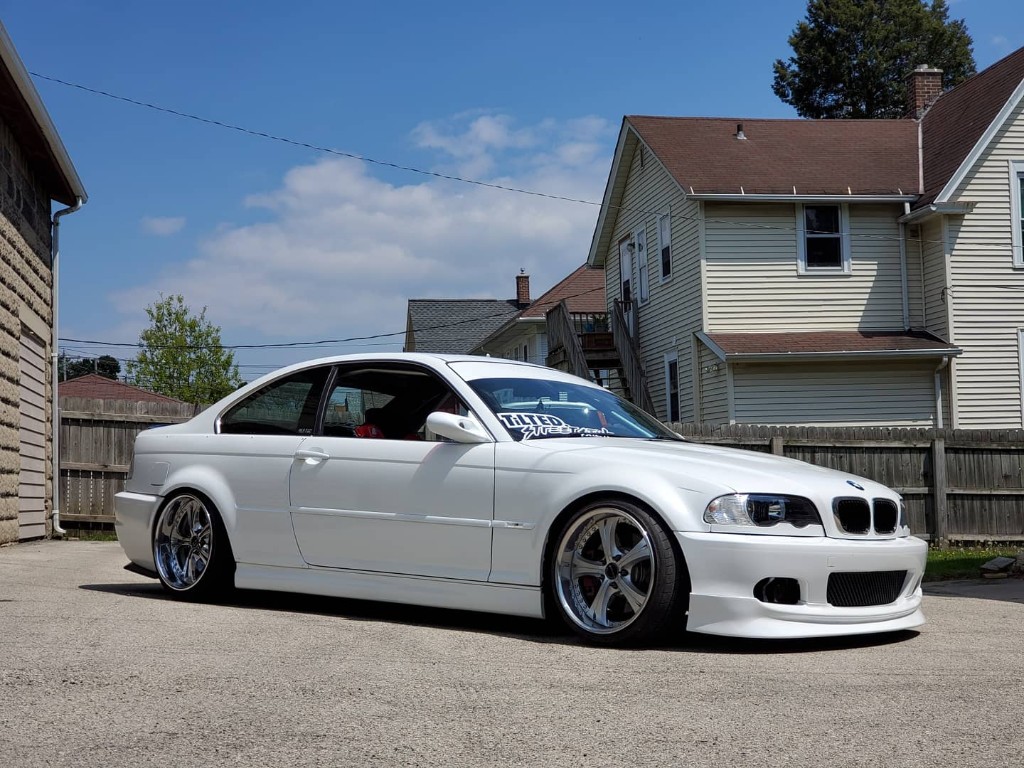
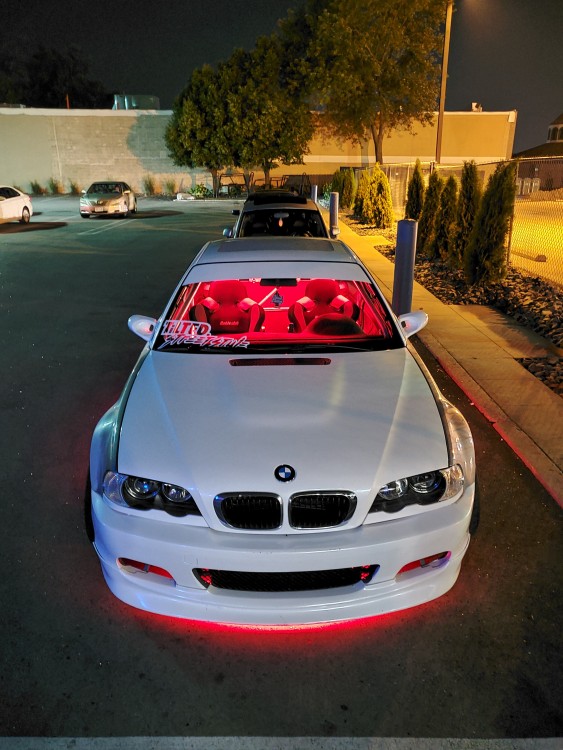
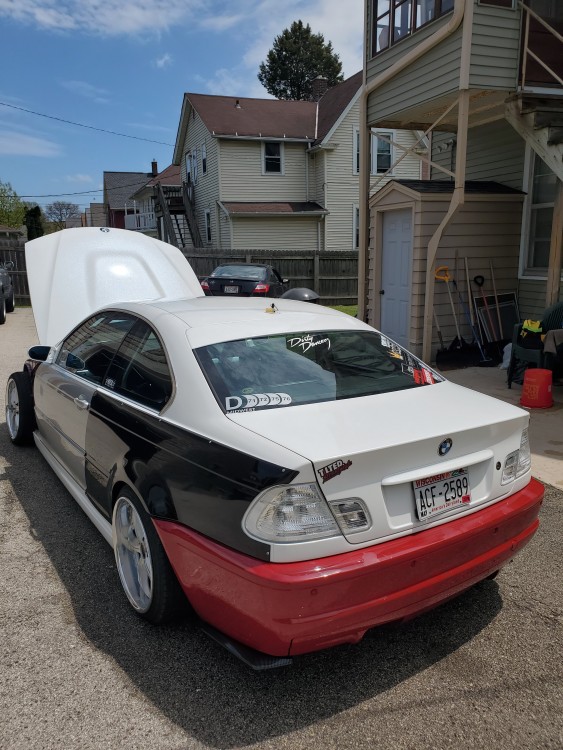
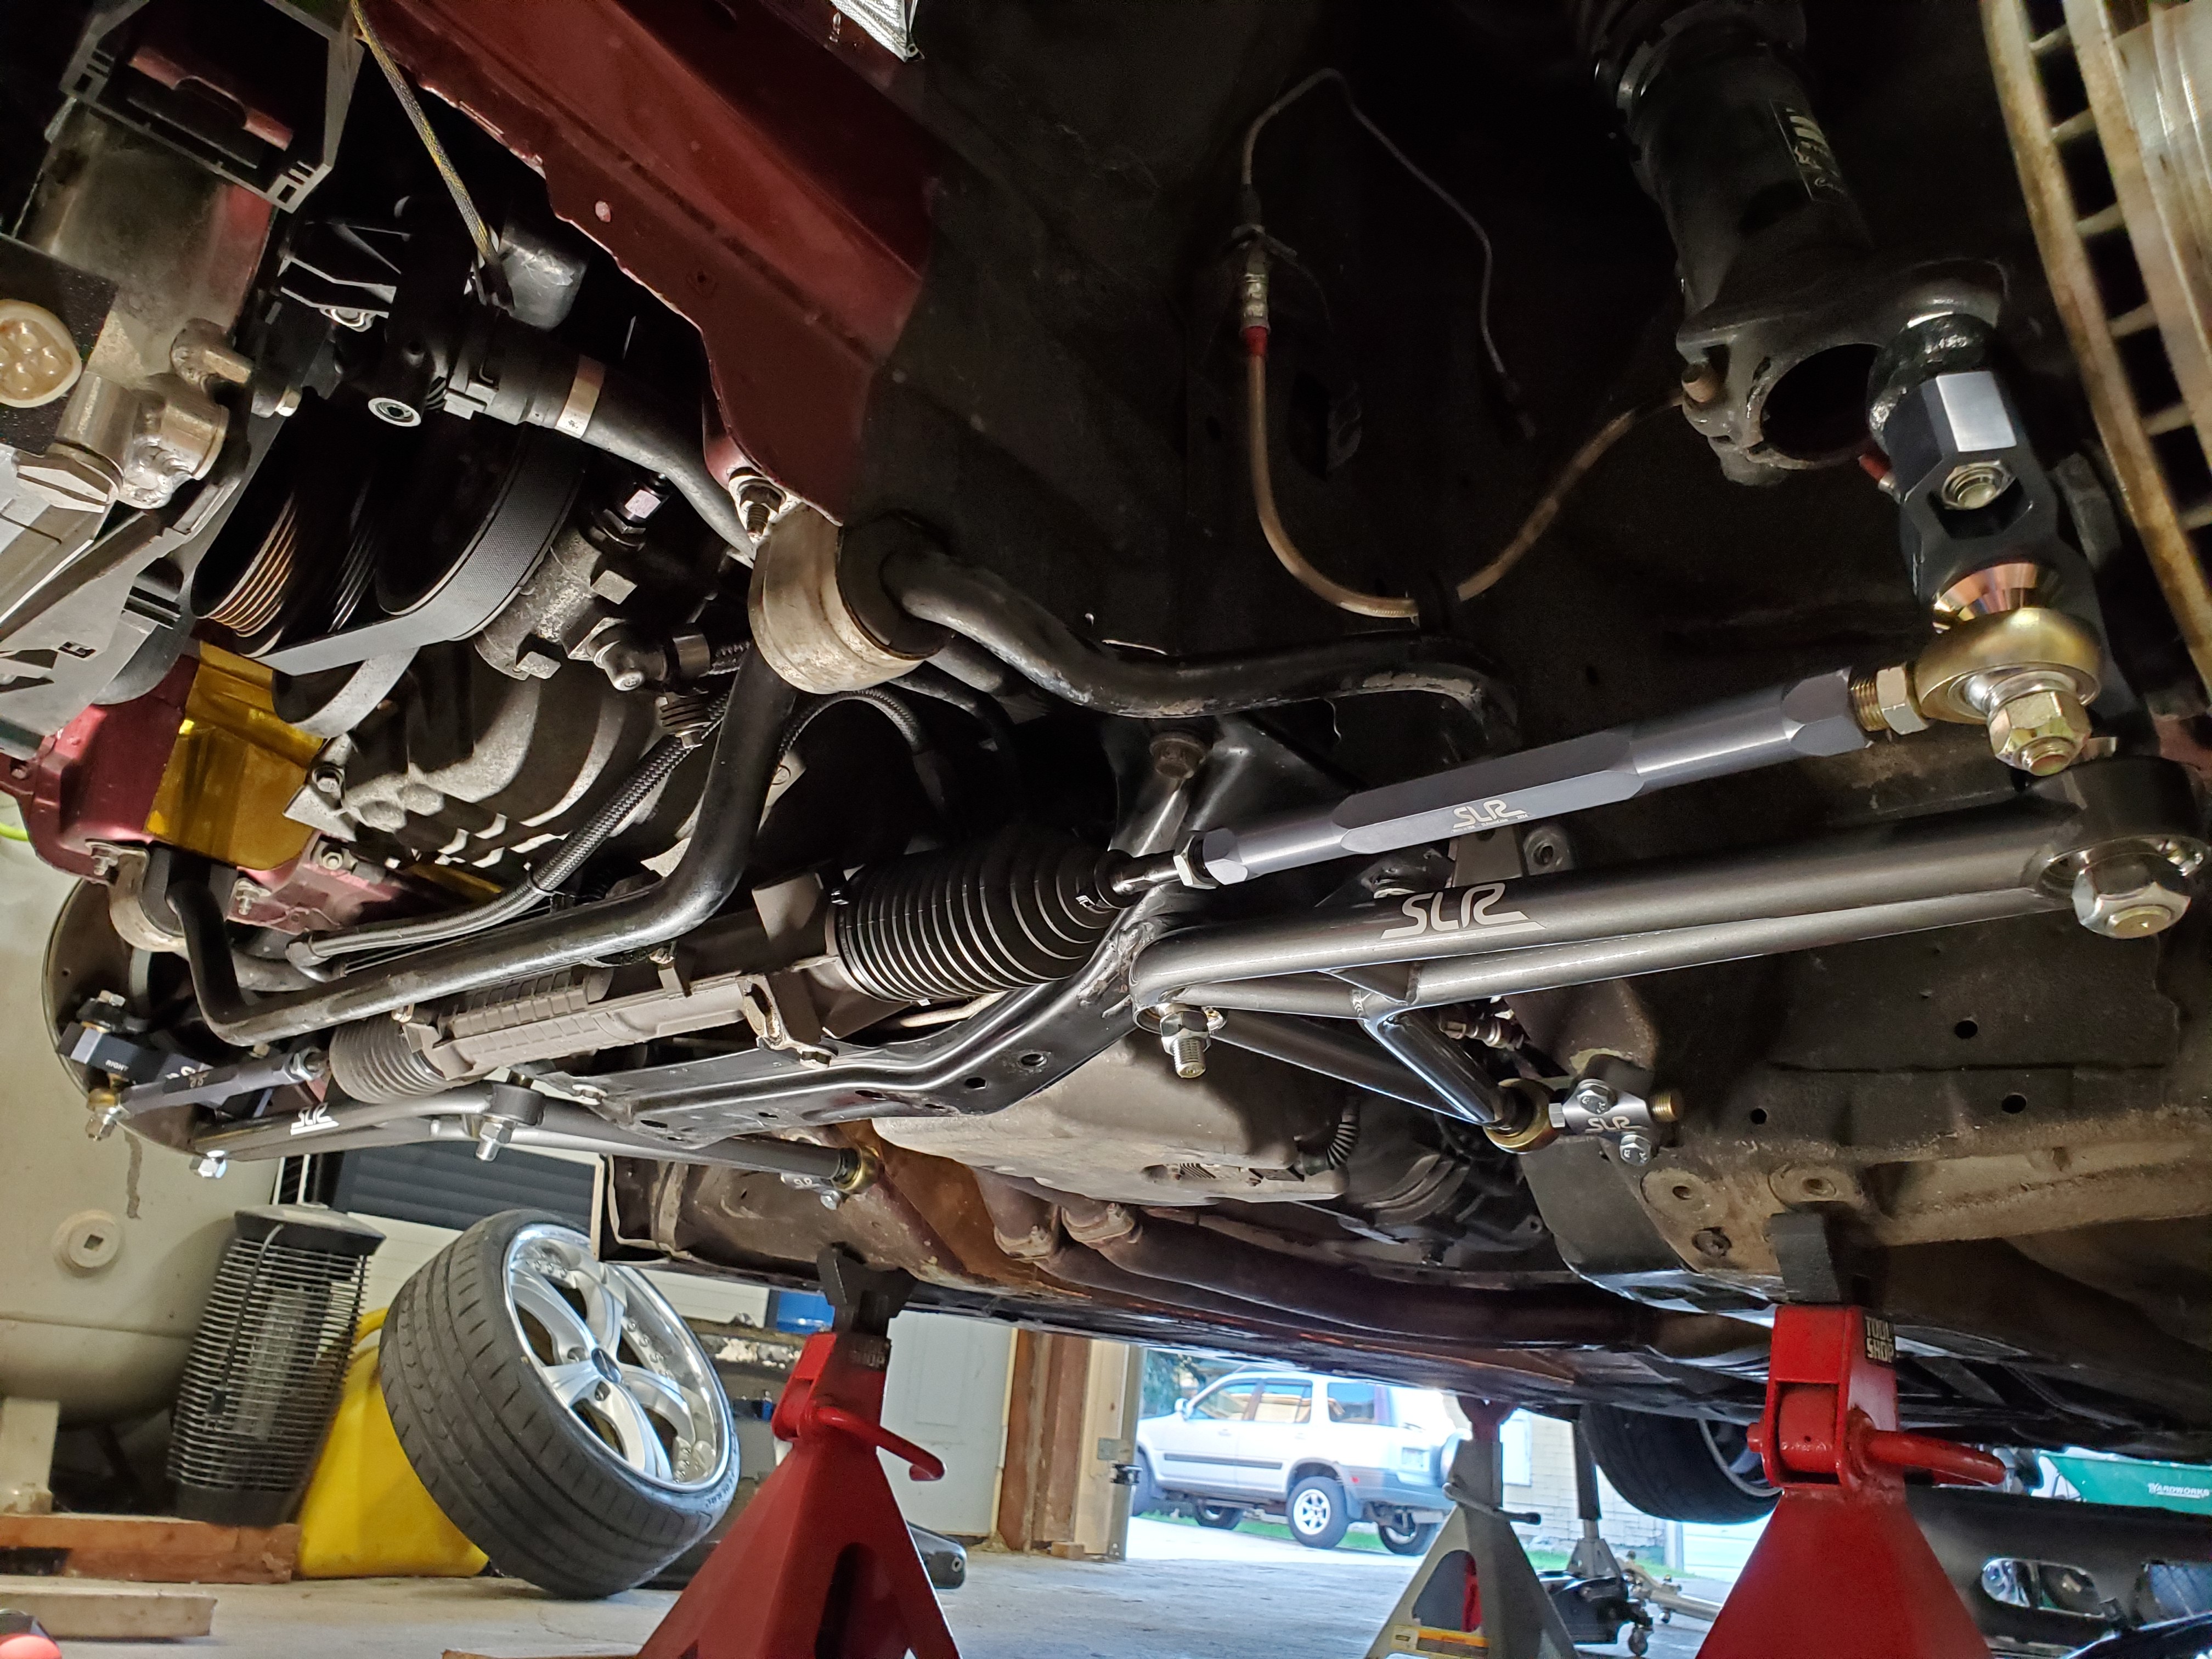
Update!
Received the new SLR kit and got it installed the same day!
The quality and build of this kit is out of this world.

And fhe fit is right in par with everything else about it. I cannot believe I waited this long to purchase one.
Here is a photo of one installed.

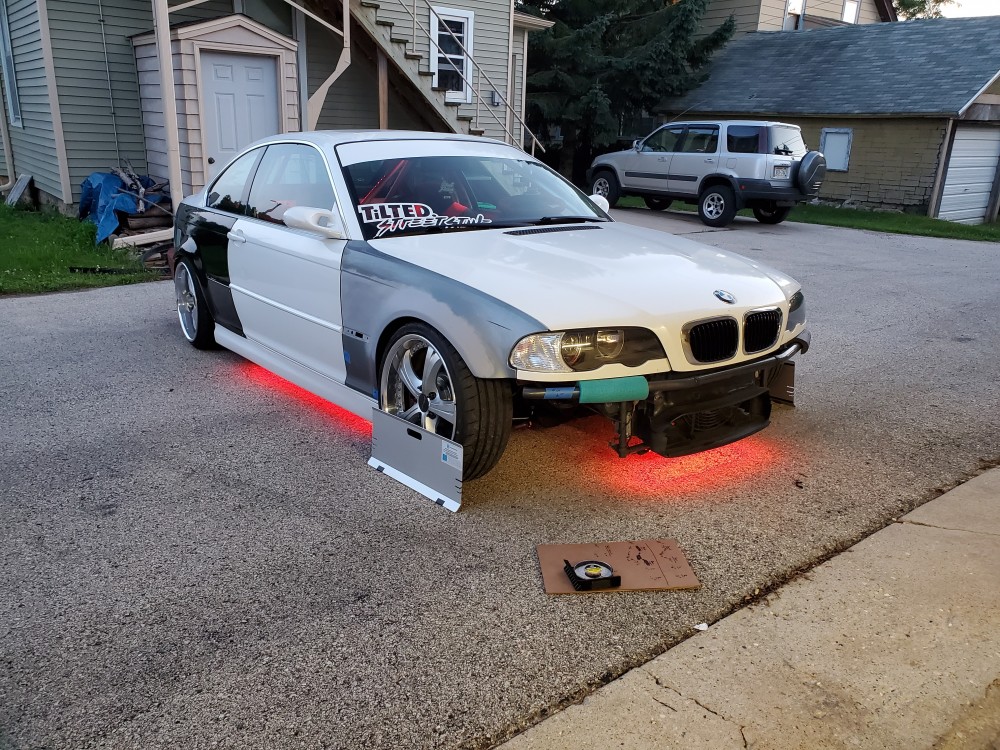
And a photo of the wheels on at full lock, mind you this is without the lock stops that keep the barrel from making contact with the lower arm. Its just insane what this kit is capable of.
Once I had the lock stops dialed it was time for a good ole driveway alignment.
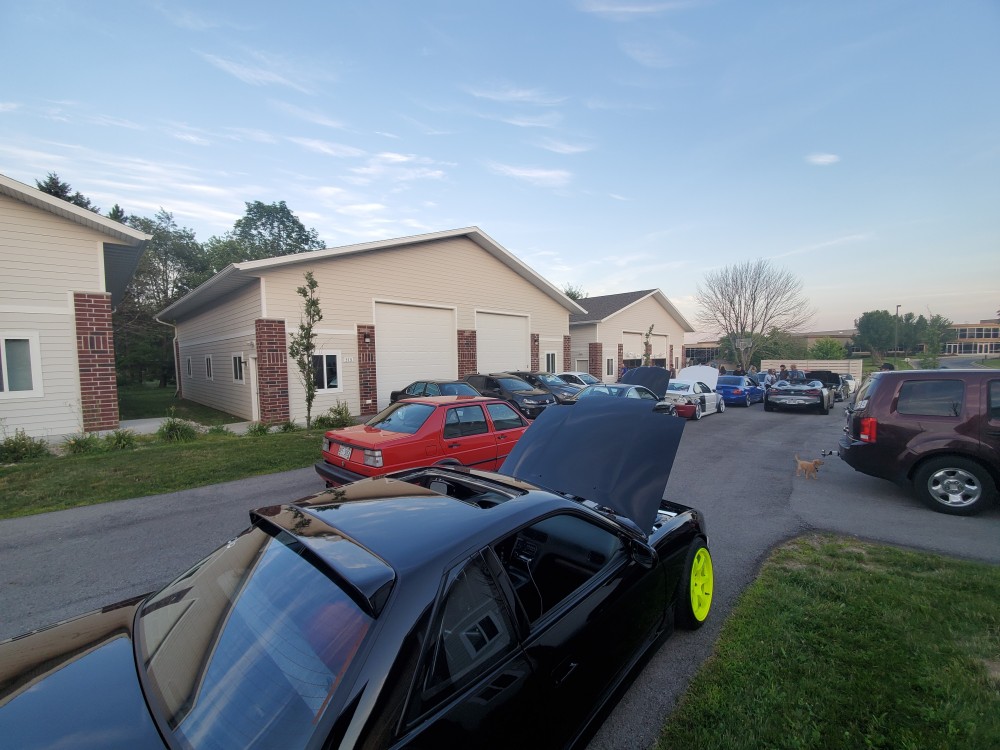
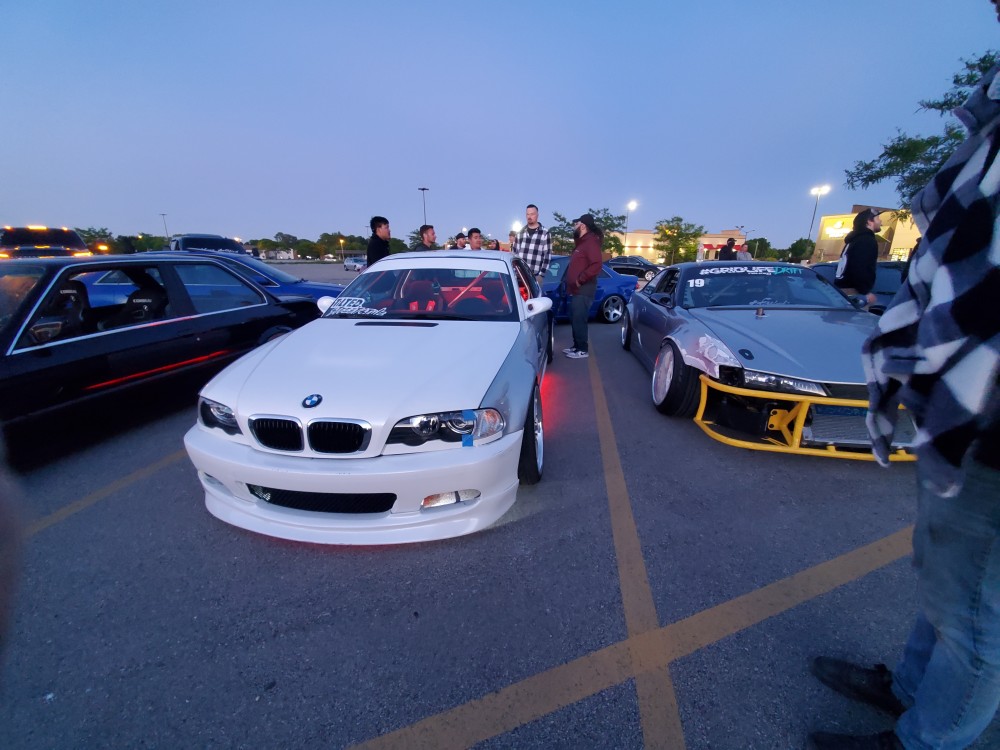
Went to a shop get together/party with the Pnuespeed guys (who we get our tires from) and they announced the big news of a rebranding! They are adding wheels, clutches, suspension and lots of other automotive parts to their arsenal and it will all be available through Track Day Direct.
Here's a photo from the get together
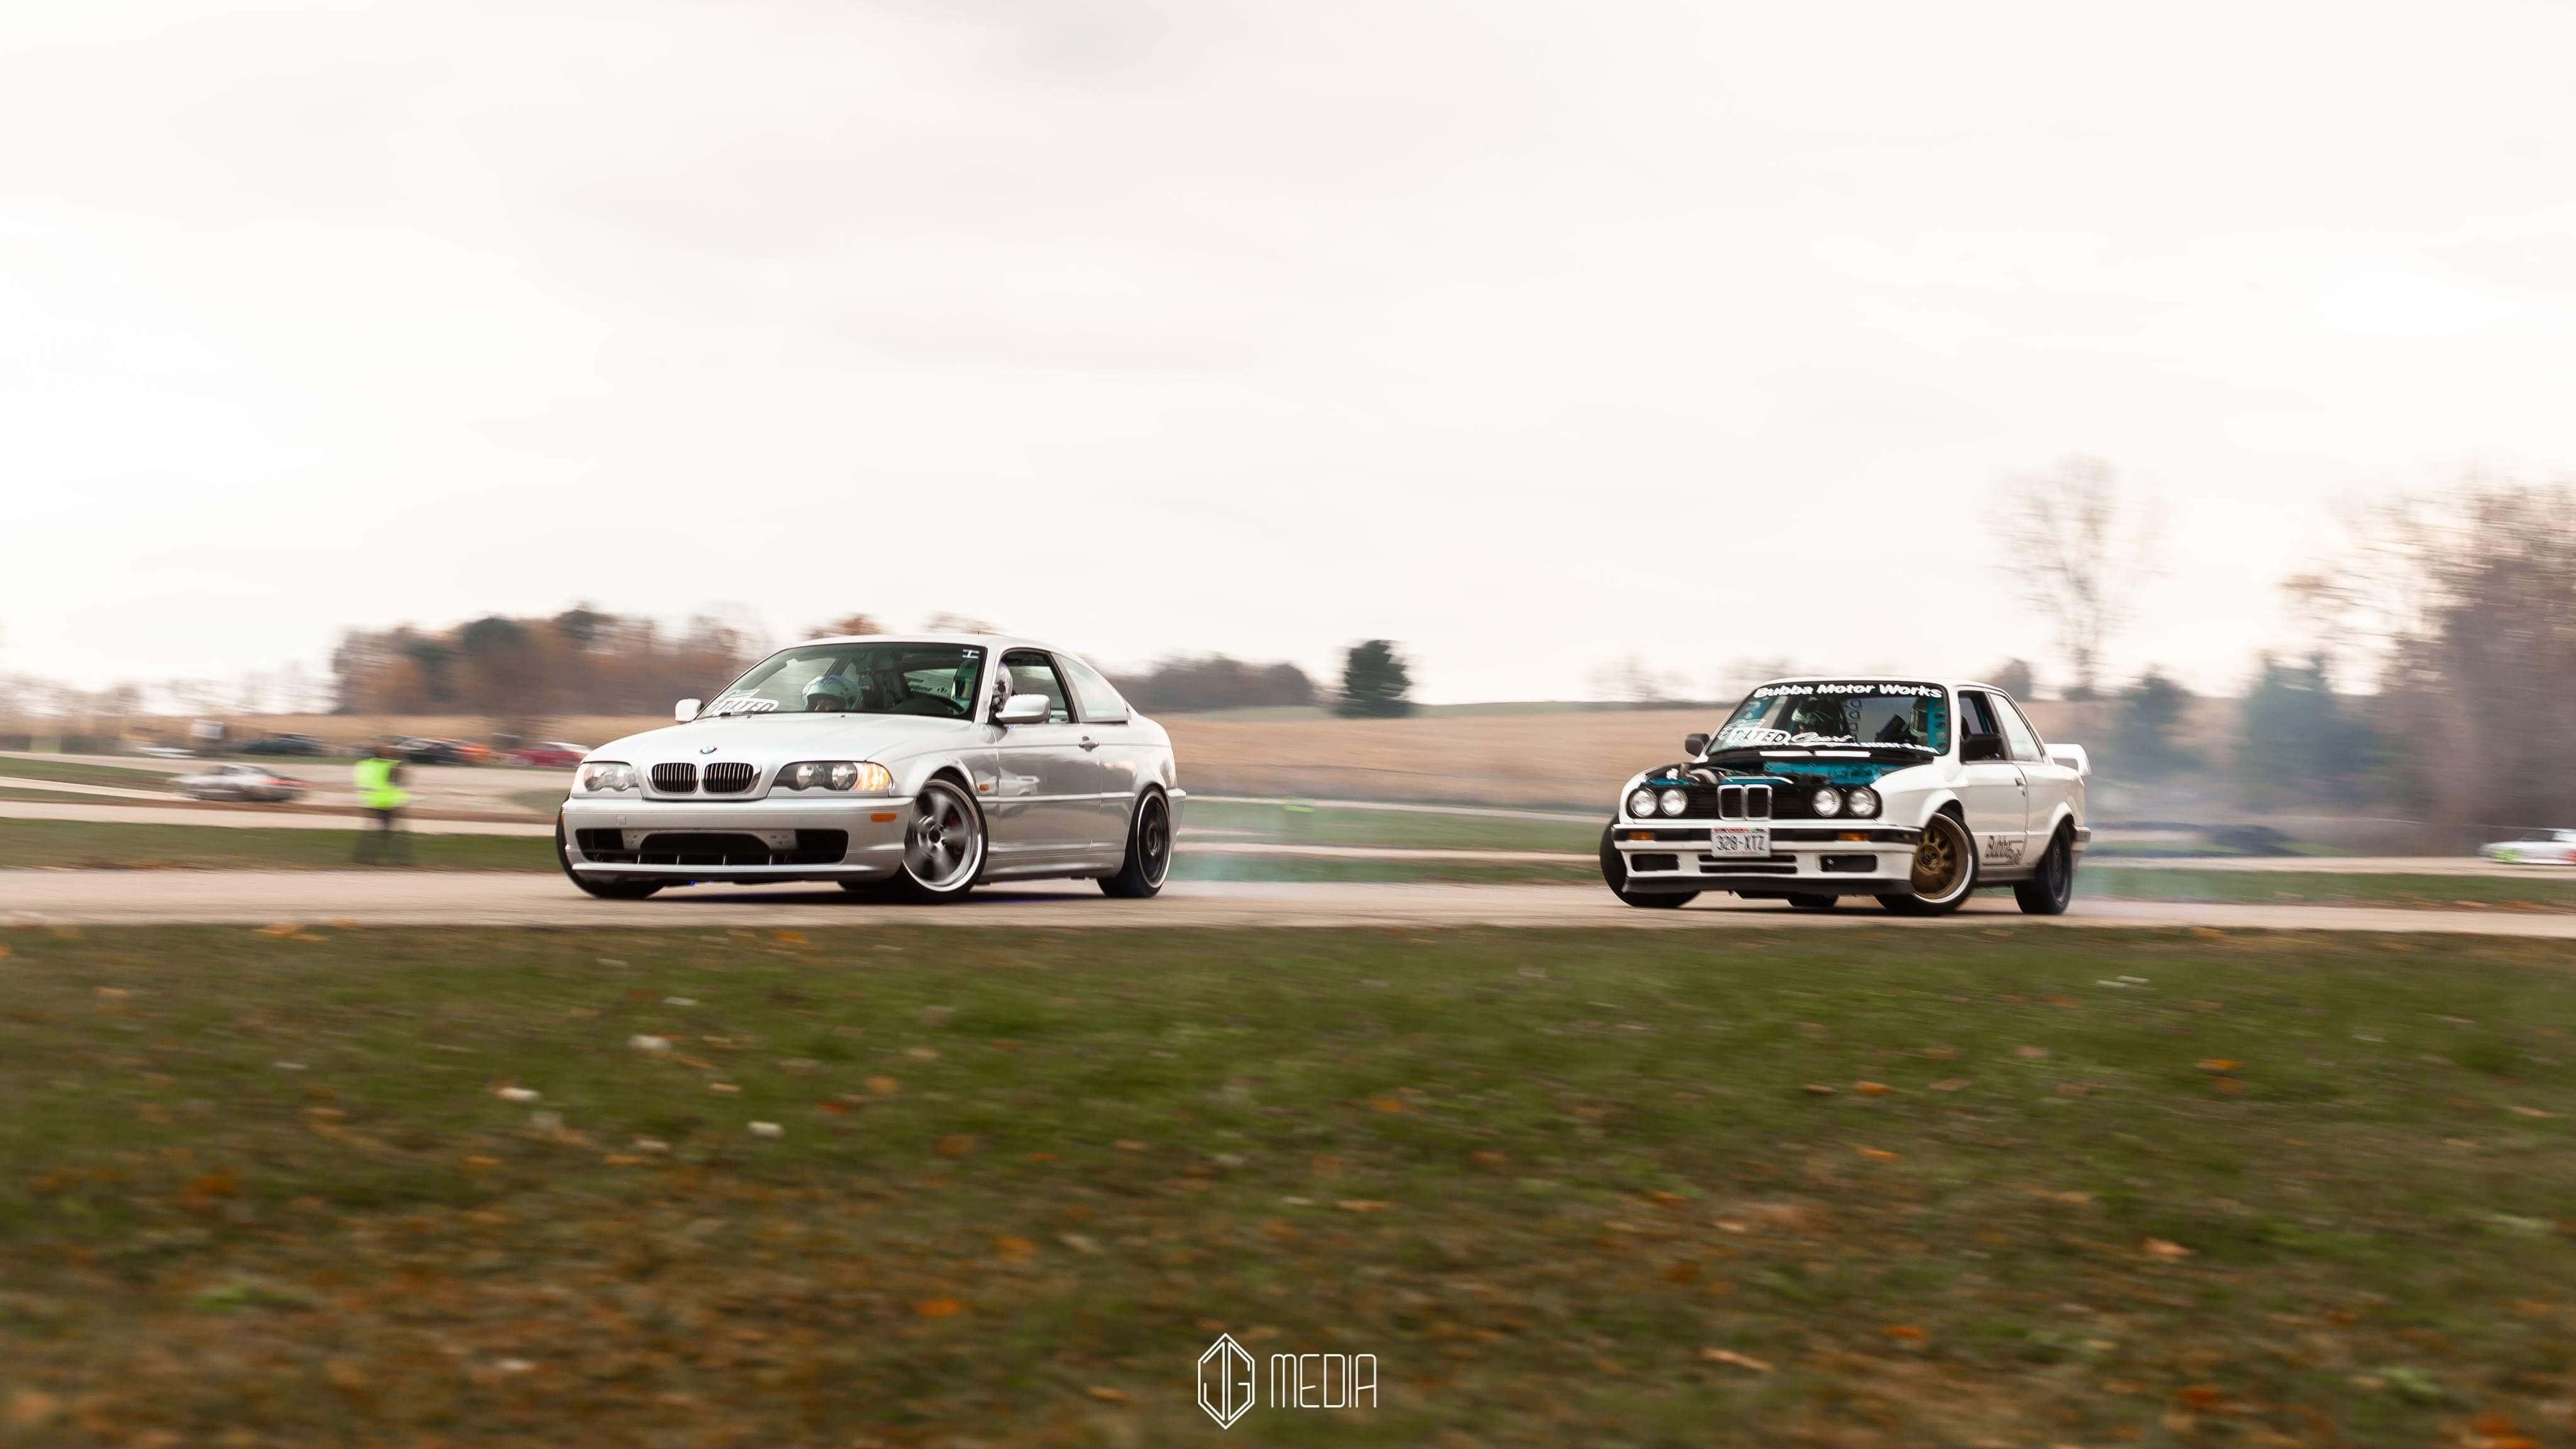
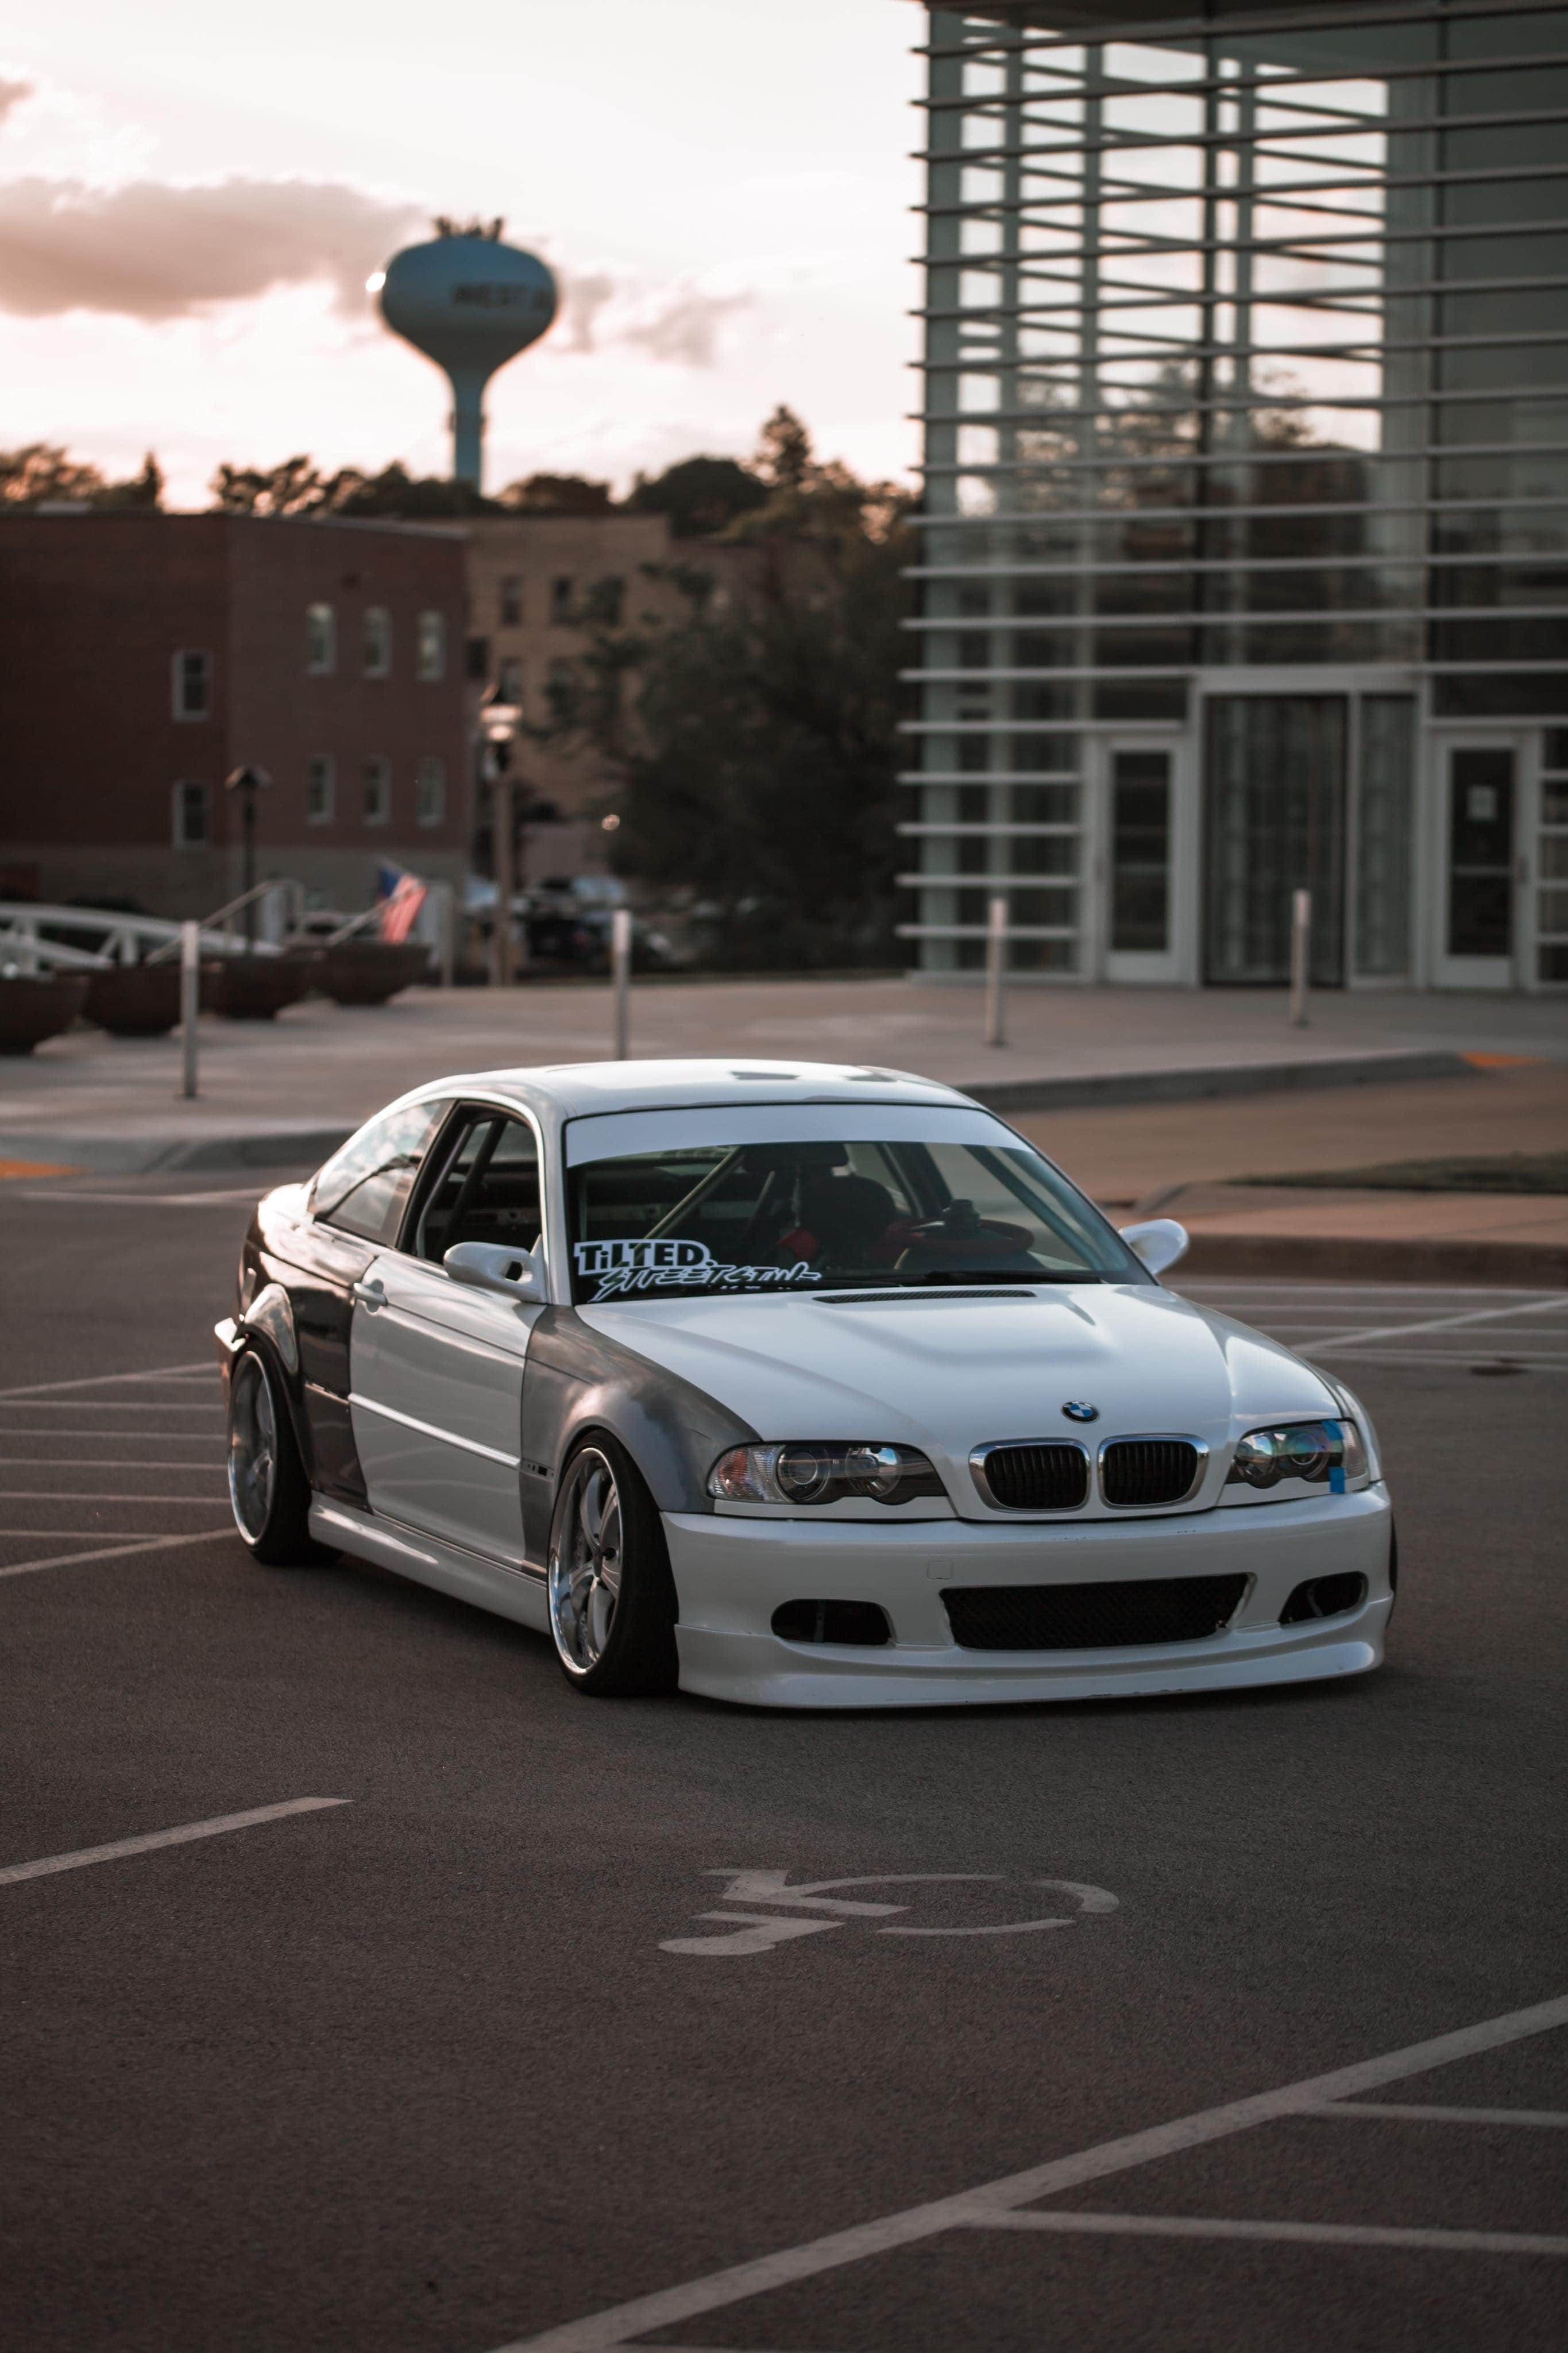
And after the shop party we went for a cruise to get ice cream in Milwaukee and I snagged a few pics!
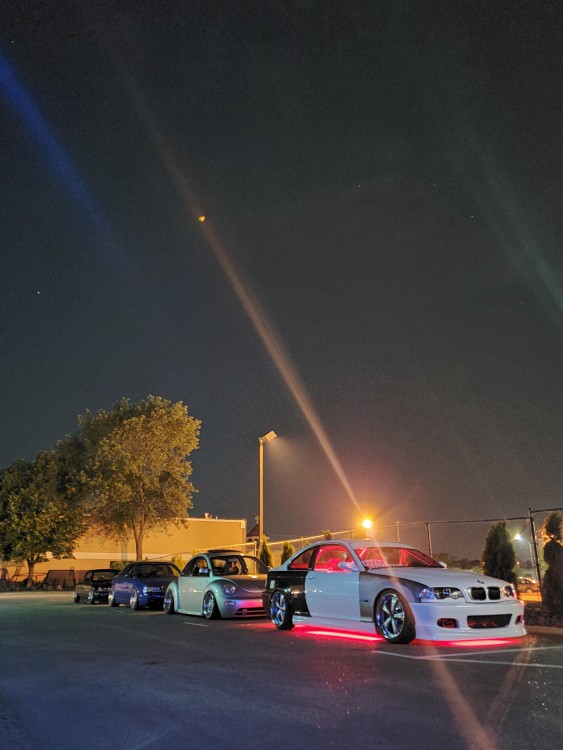
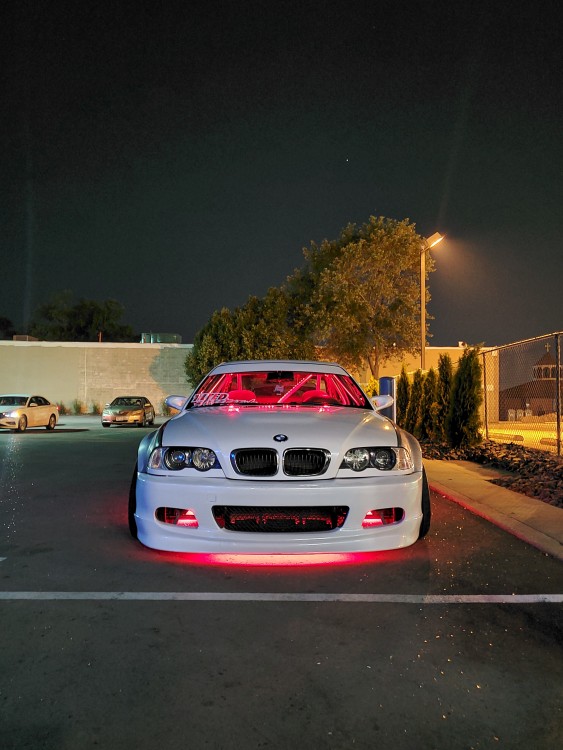
It was really nice getting to go for more than a 10 minute cruise! Hopefully after getting the sway bar set up sorted out/parts ordered ill be able to make it to an event this year lol.
-
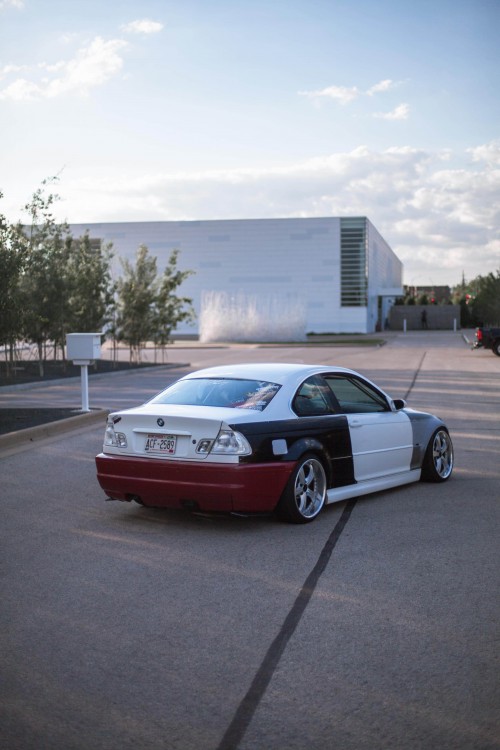
Been a minute since I updated.
Got some photos from a shoot with a friend. Unfortunately this was before I lowered the rear haha.

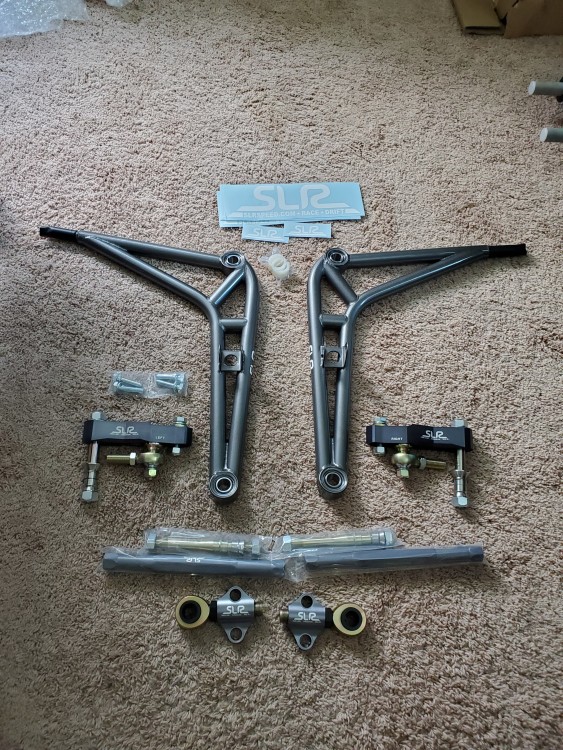
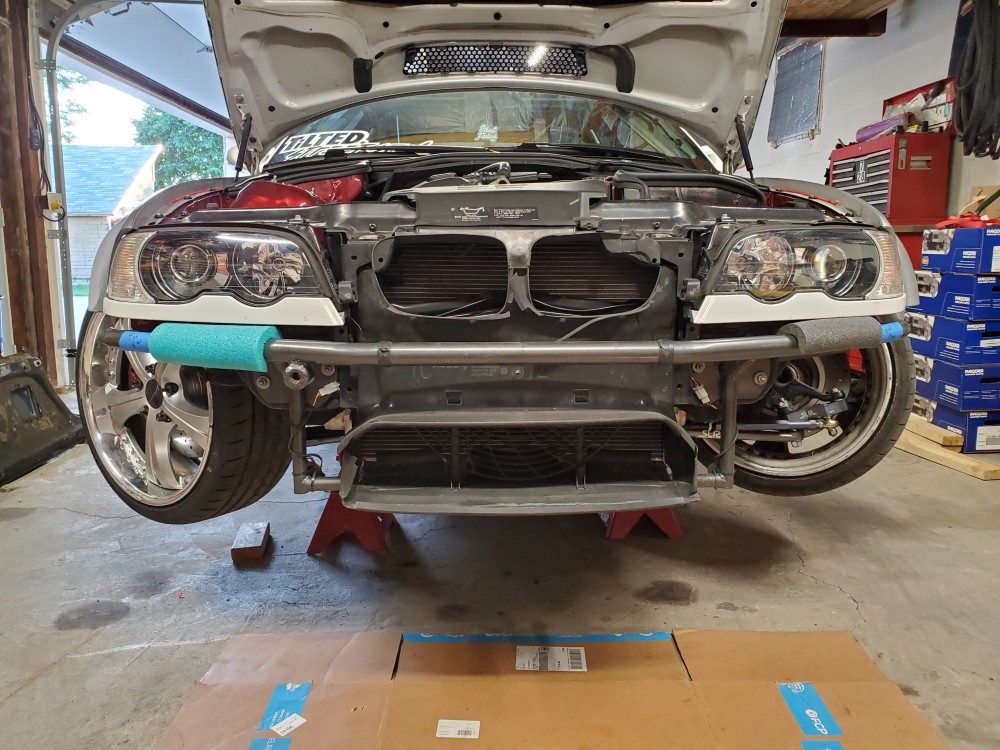
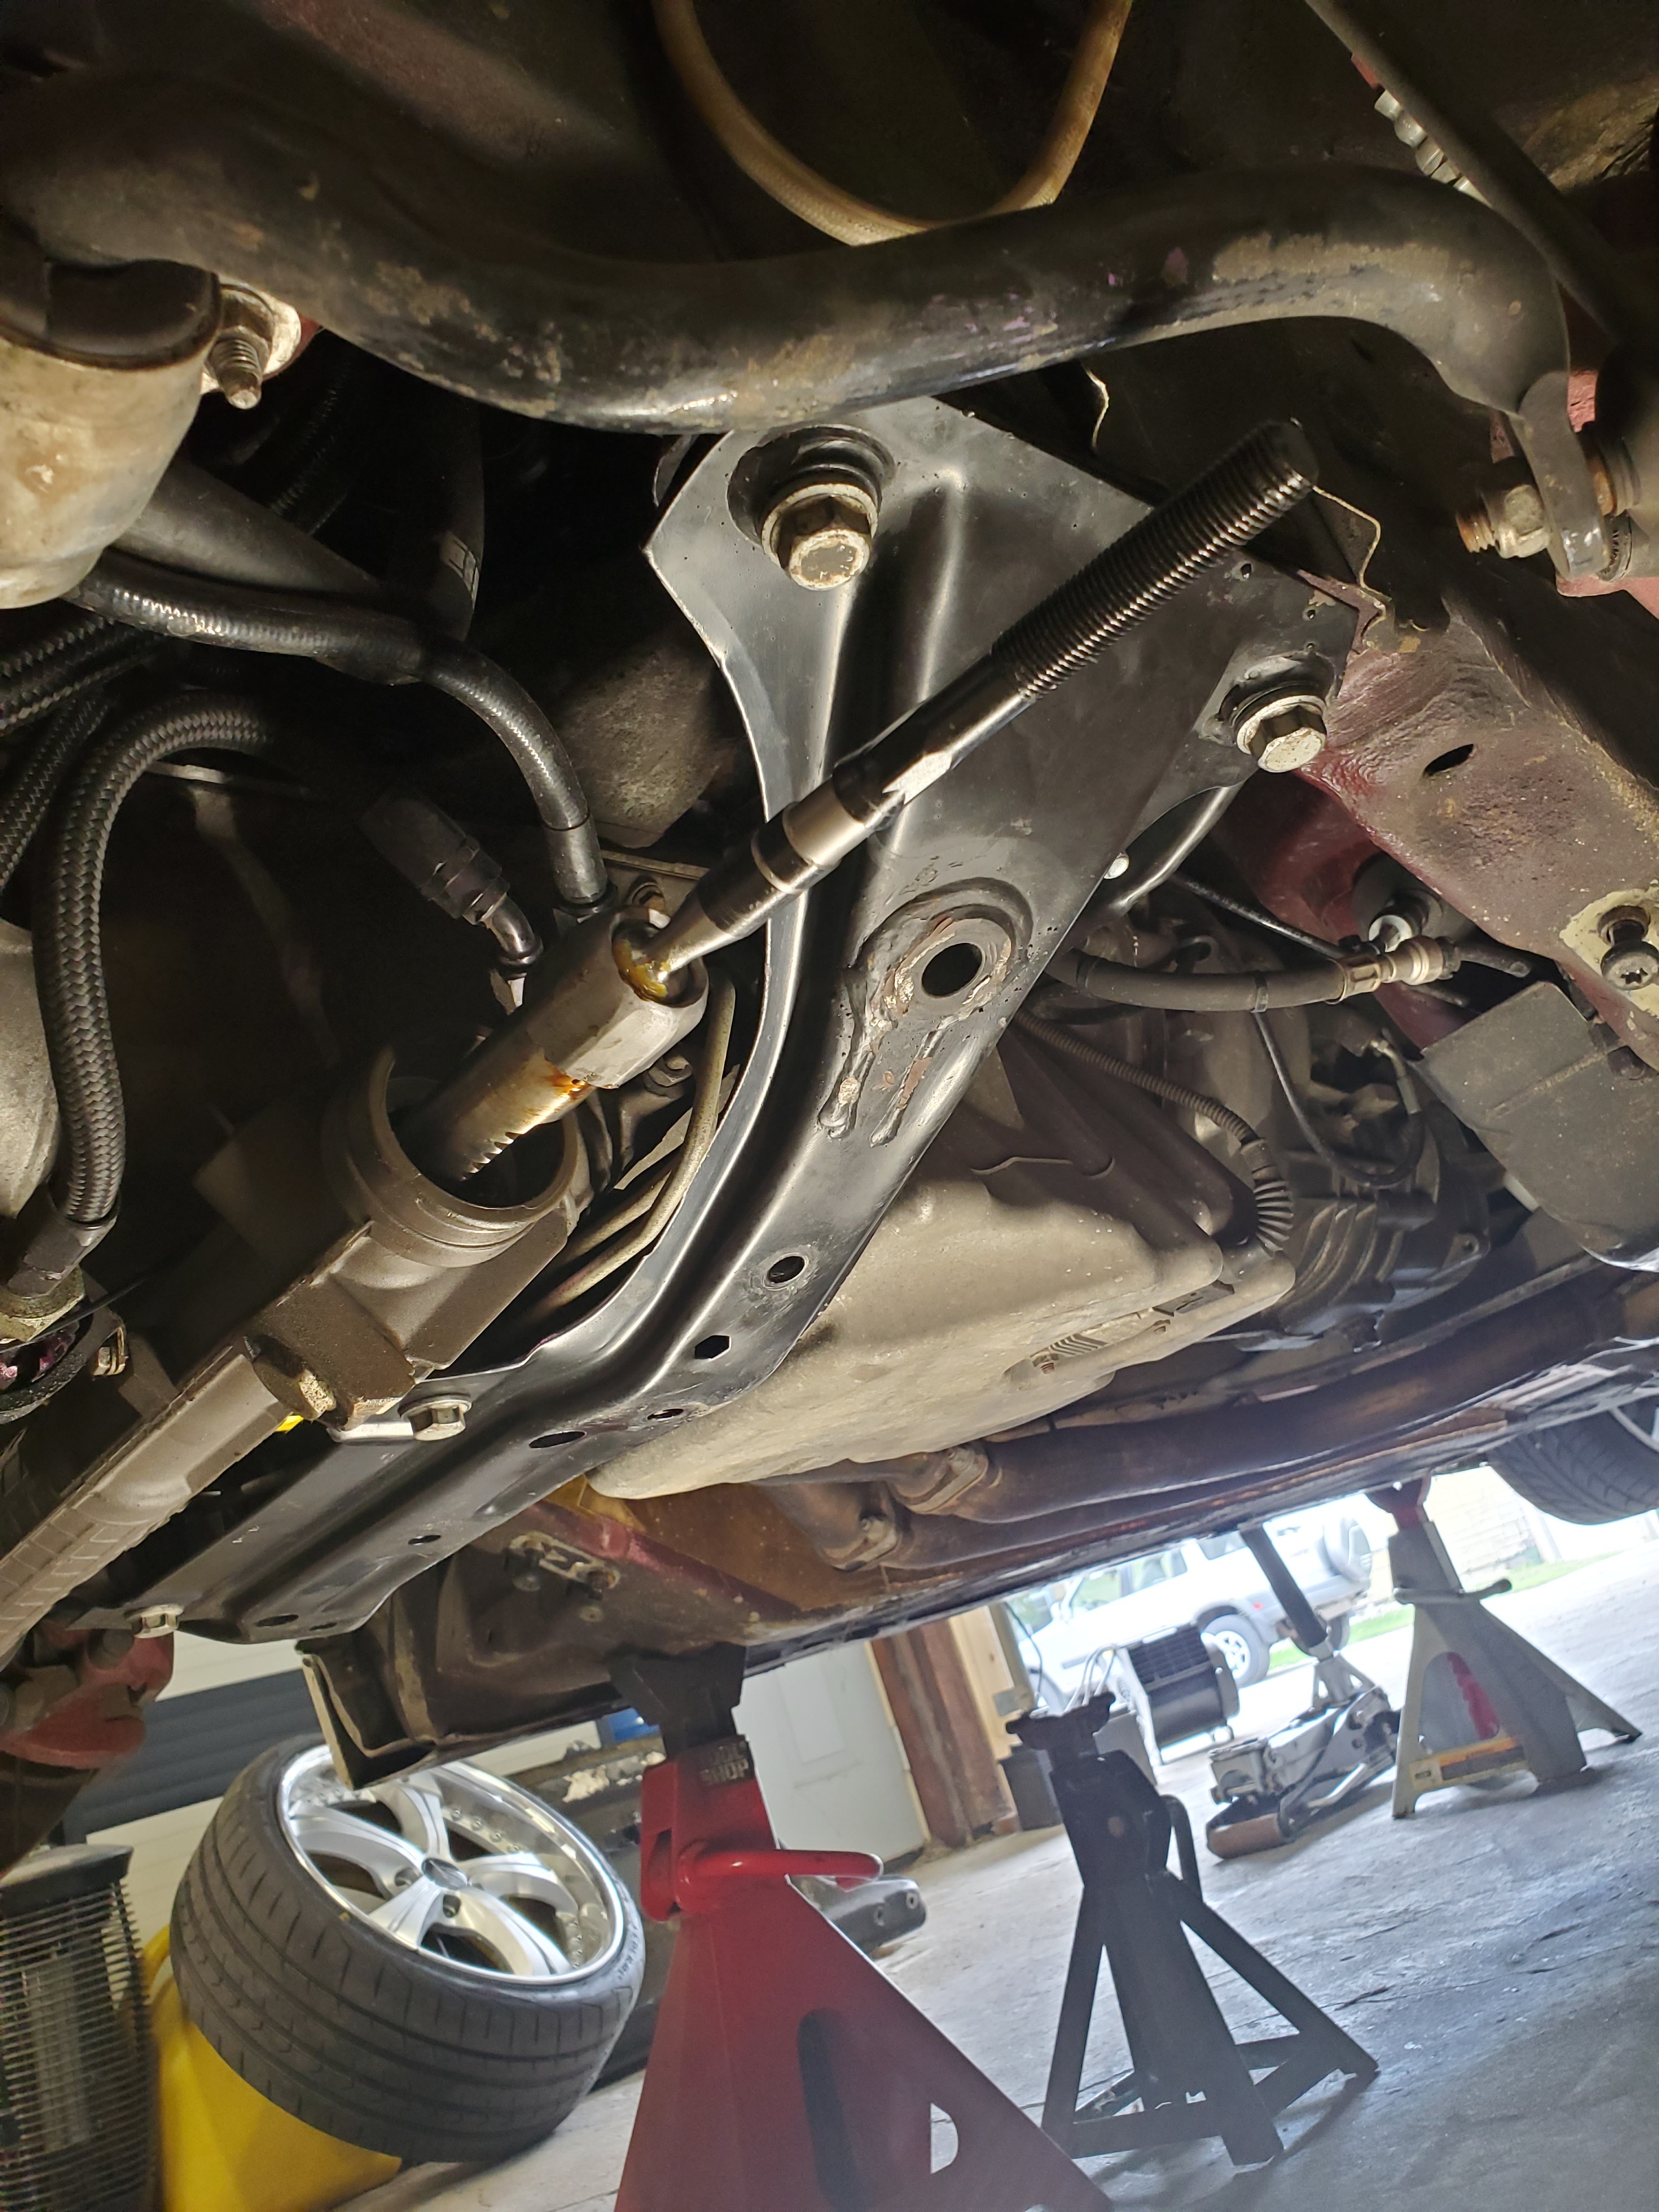
New SLR ultra angle kit should be here tomorrow! So I pulled the MG kit off the car along with swapped in a factory subframe.
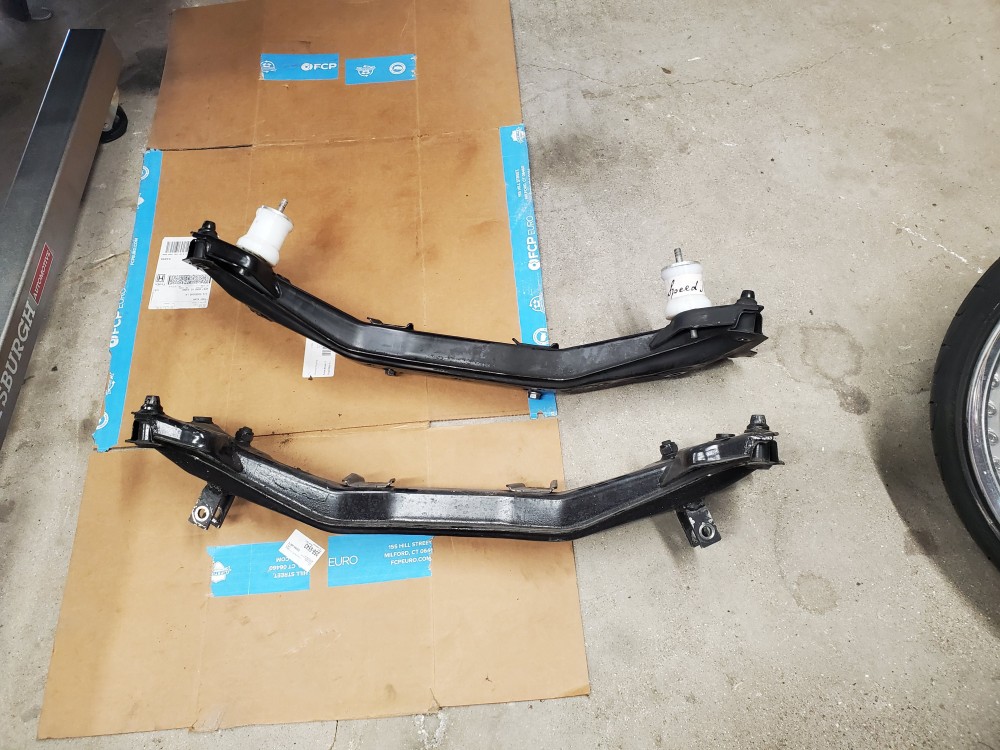
Installed new inner tie rods while everything was apart.

Picked up a used UUC dssr as well and got that installed while the car is down for a few days, excited to hopefully feel the difference
More updates soon hopefully!
-
20 hours ago, patsbimmer1 said:
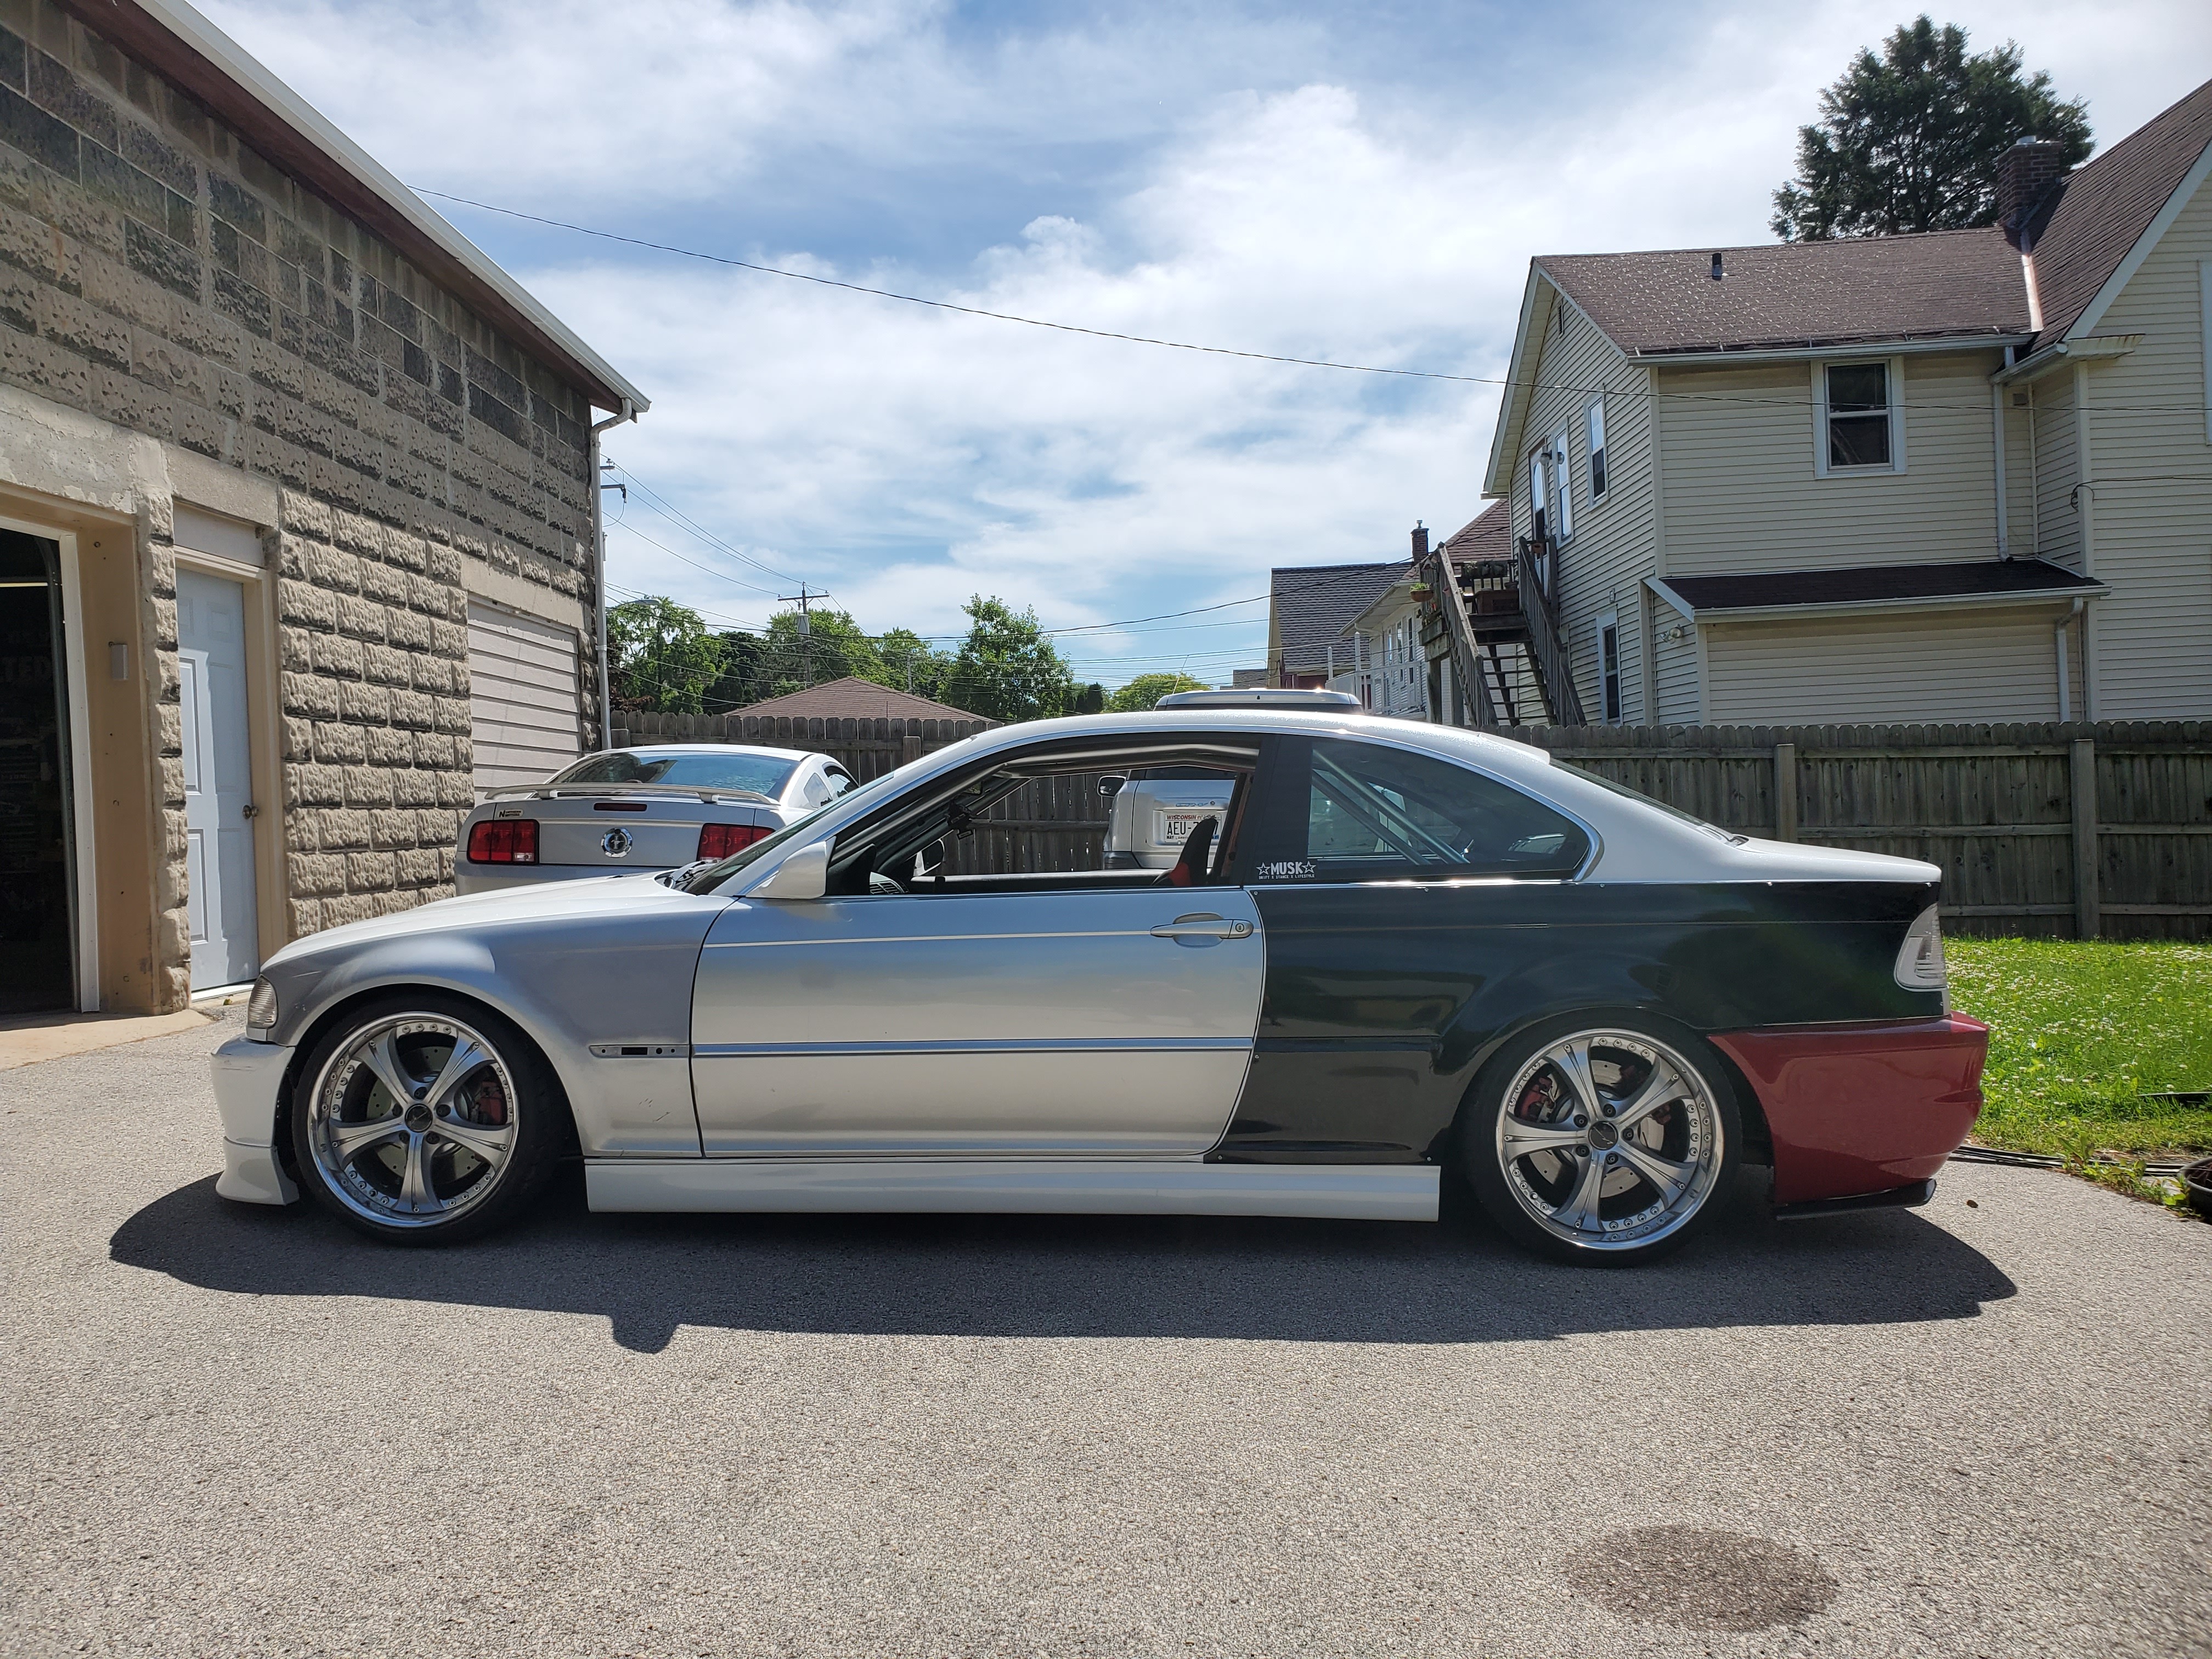
I see a livery when I look at this car and I wish I was talented enough to share it. I'm seeing white/dark red/ dark grey.
Id love to see it if you made it come to life! Haha but I cant wait to get it in all white.
-
Small update:
Got the parts in to replace my tensioner. I went with the updated hydraulic one, which is nice because the pulley is replaceable rather than the whole unit unlike the mechanical style.
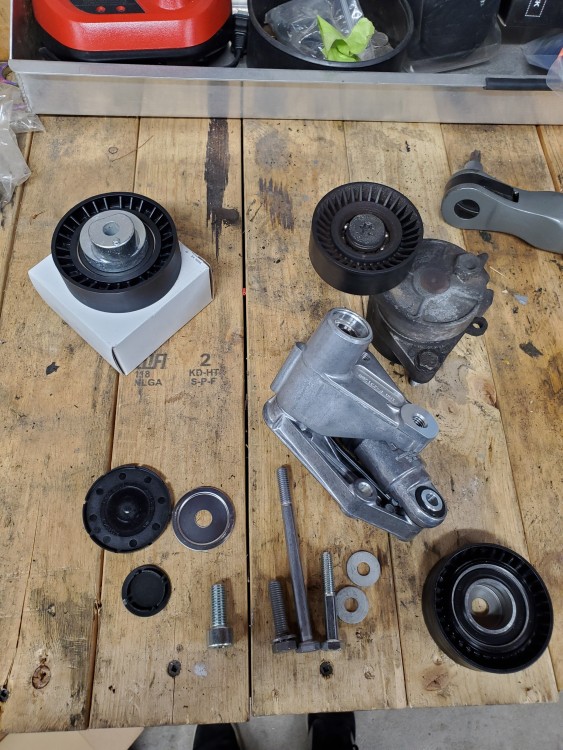
I also replaced the belt while I was in there and it's cheap.
I also adjusted the preload on my coils (because I realized I never did it) and then went ahead and lowered the rear now that I have the room to.


-
7 hours ago, SteelBlue said:
Is that Brock’s 240?
Yes
-
UPDATE
Totally have been slacking on the updates again now that there's no major things going on.
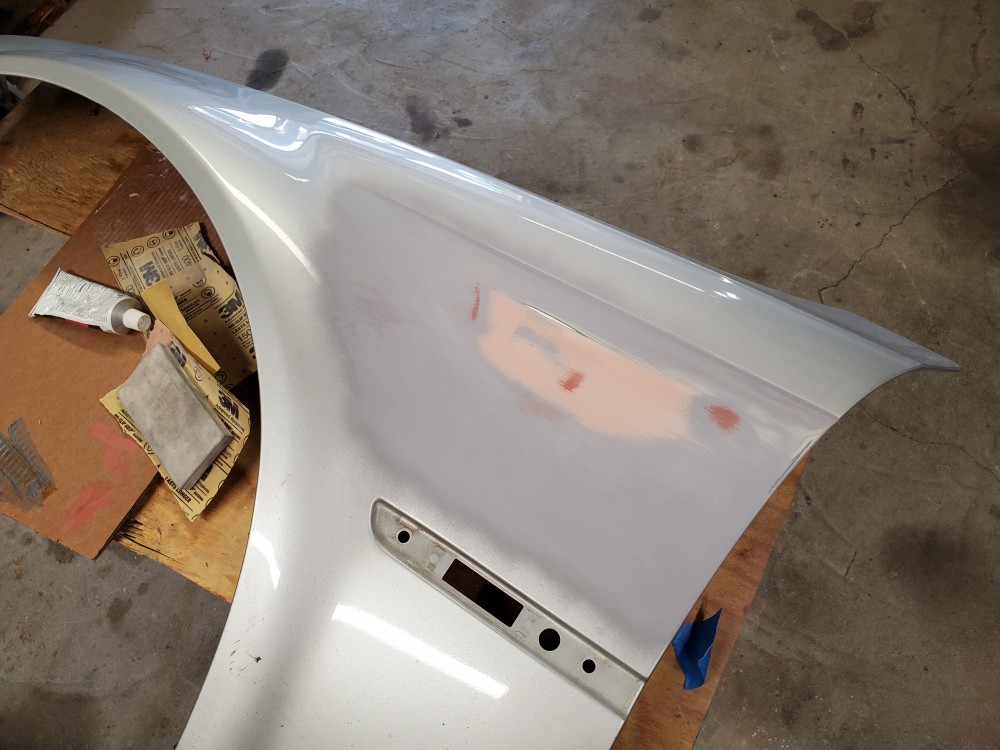
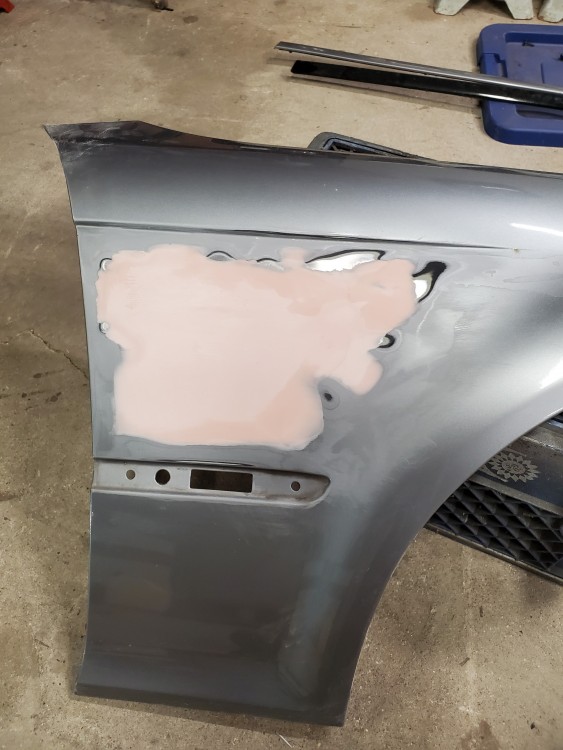
Finished shaving the driver side fender and got it primed and put on the car.
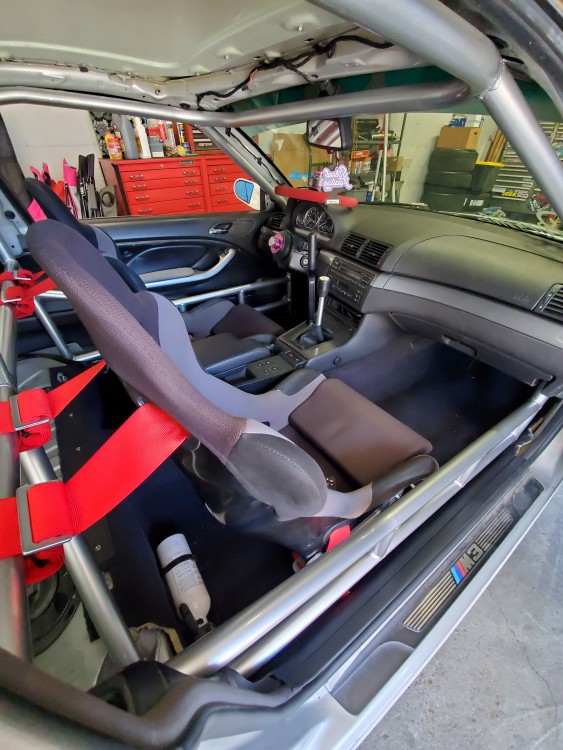
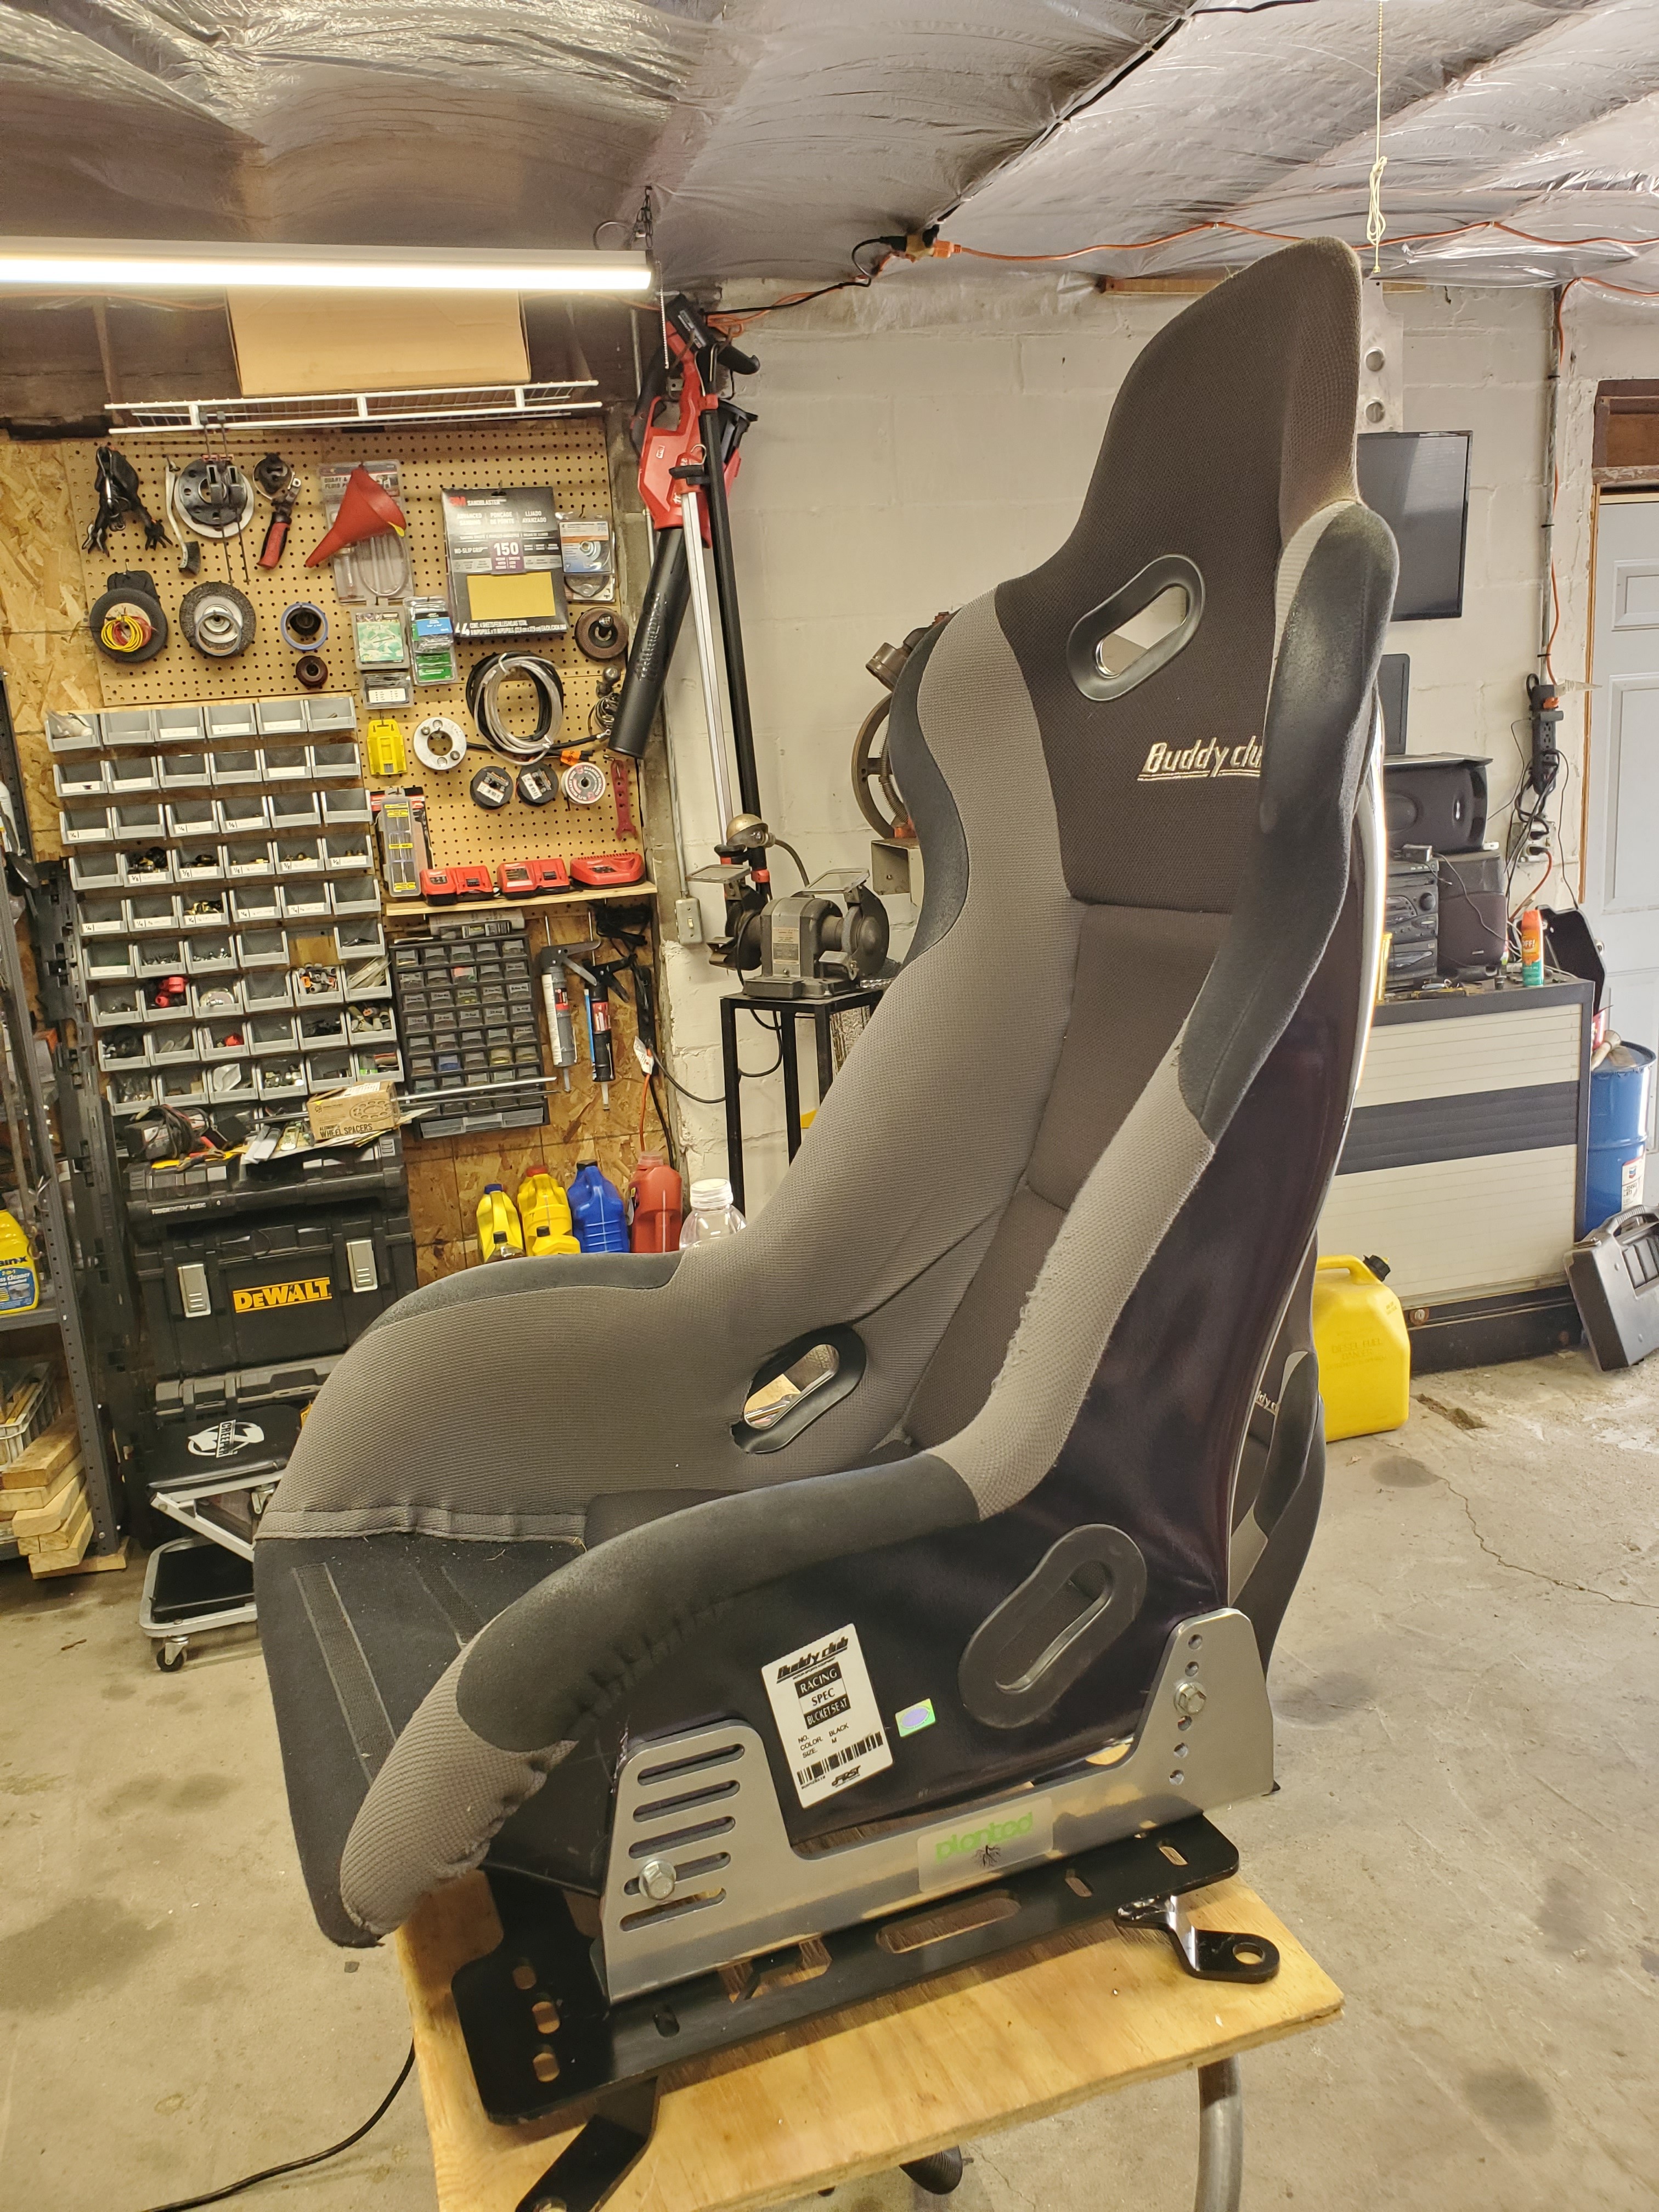
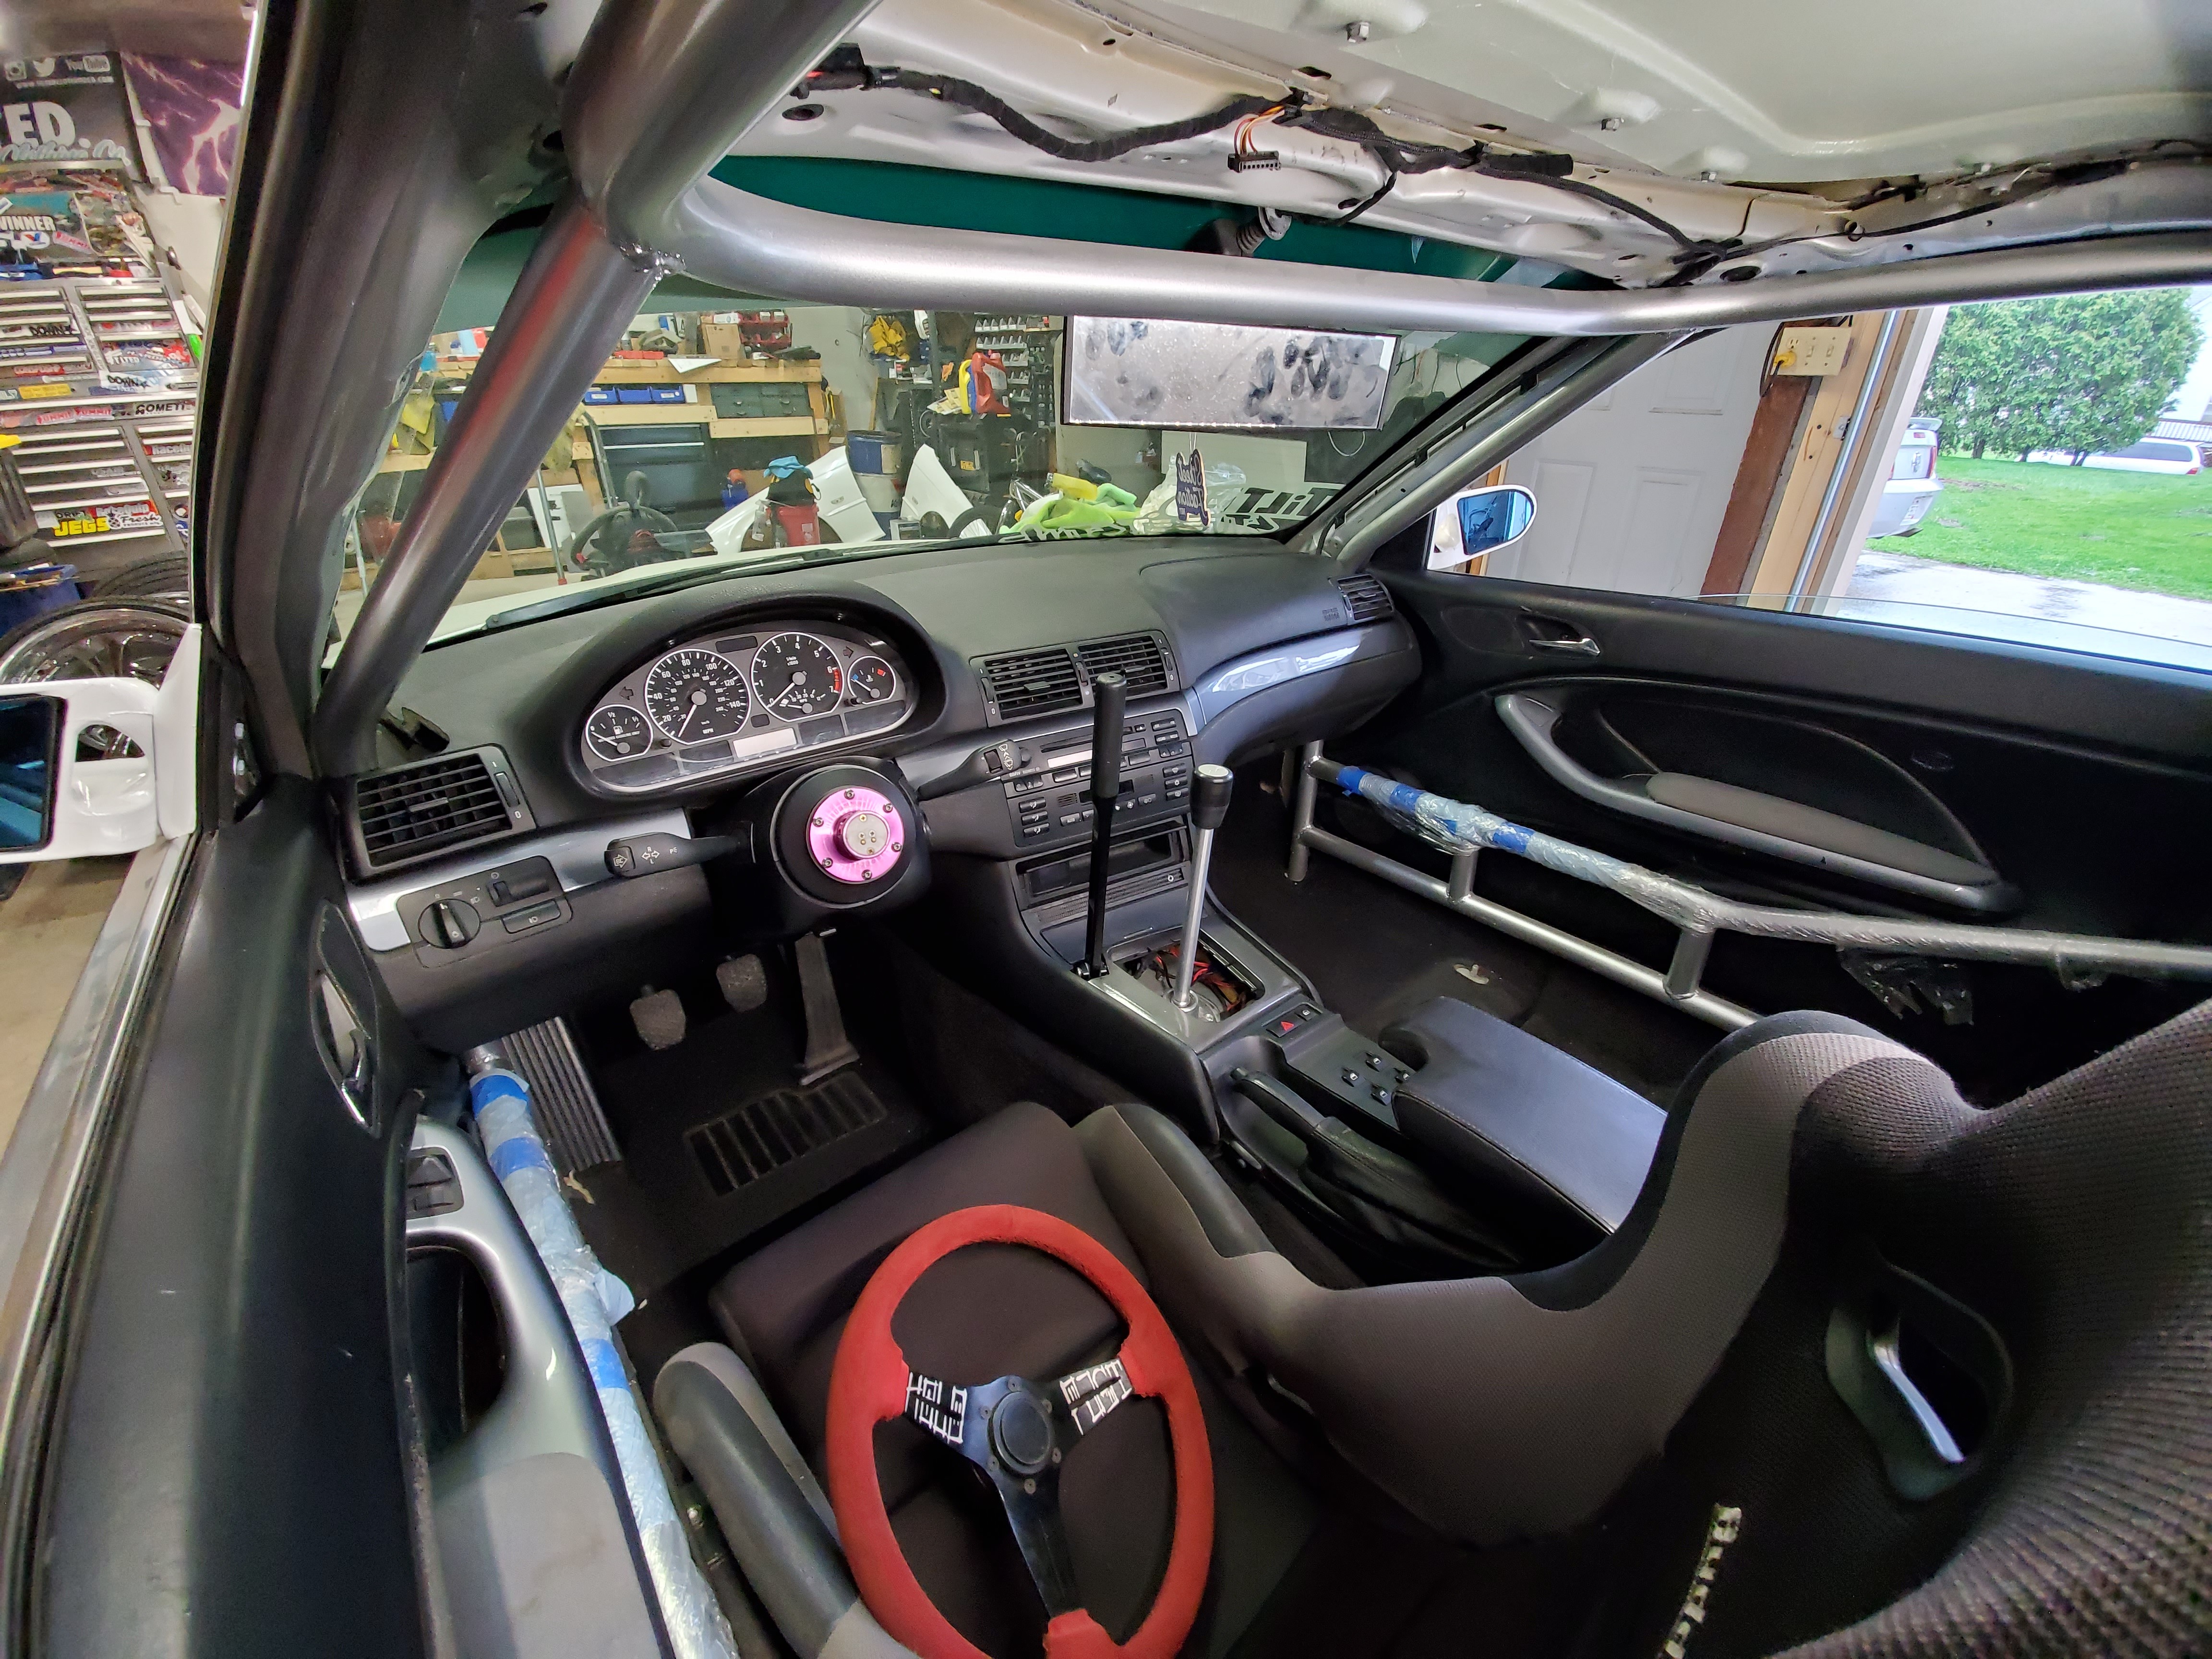
I tried putting in the passenger seat with the home made seat bases and brackets that I had from before and it just was not going to work. So I finally splurged on some real swat brackets and bases.
Planted steel bases with planted aluminum side mounts.
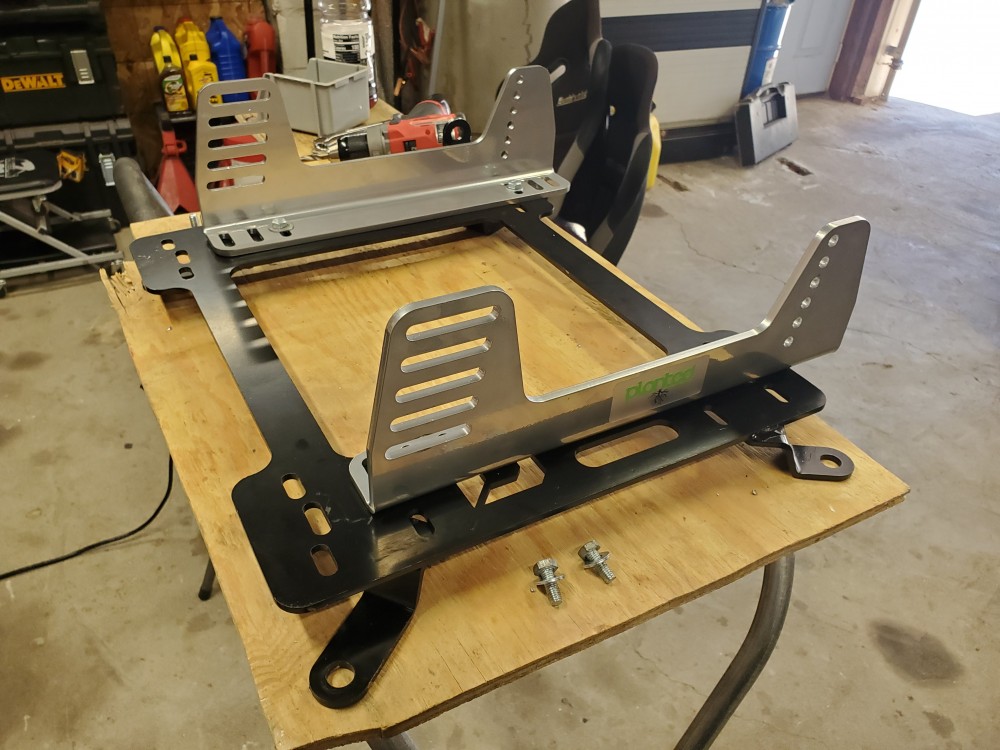
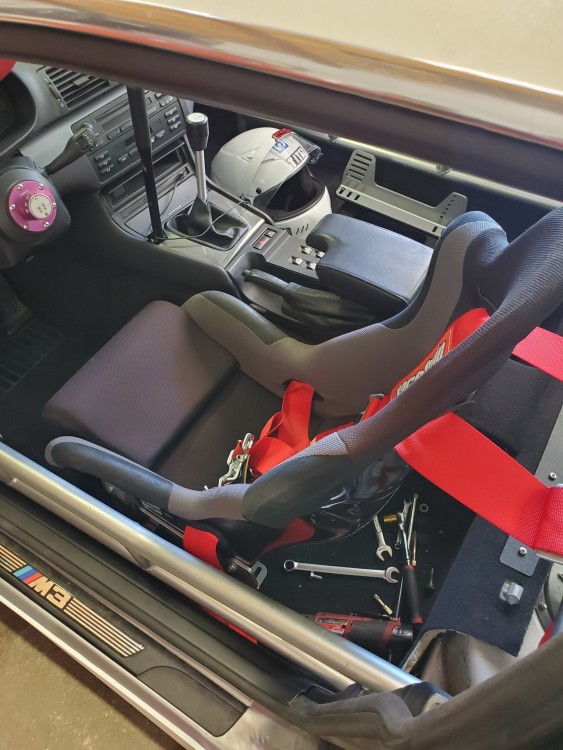
Here is the seat mounted. I really liked that they give you so much room to play with and drill your own holes in the seat mount baseplate.

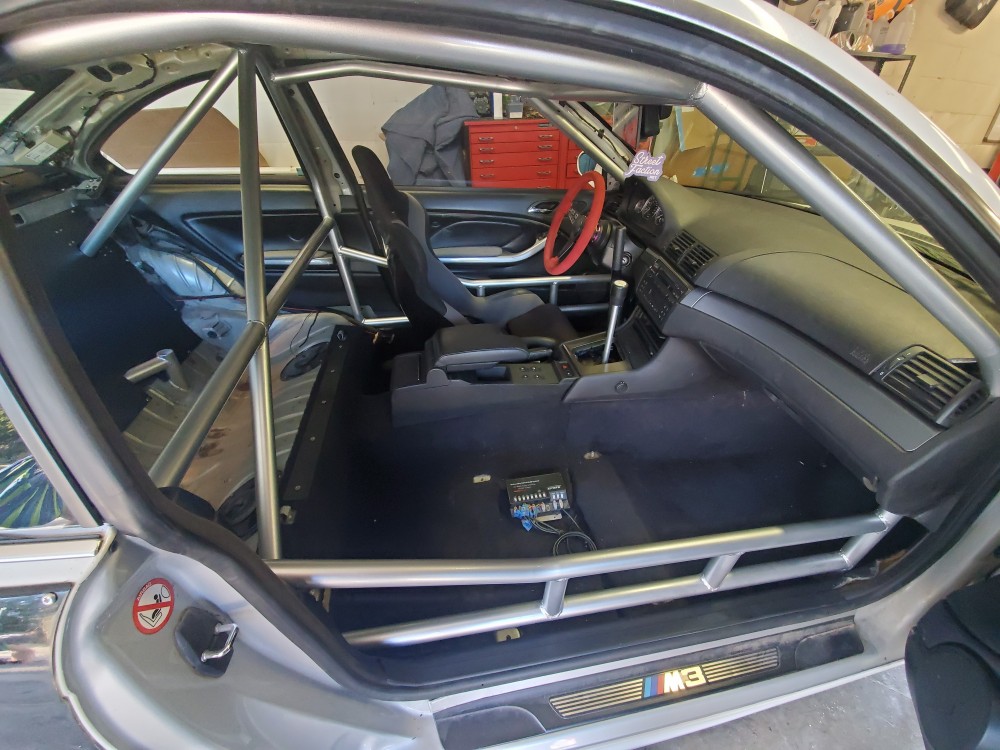
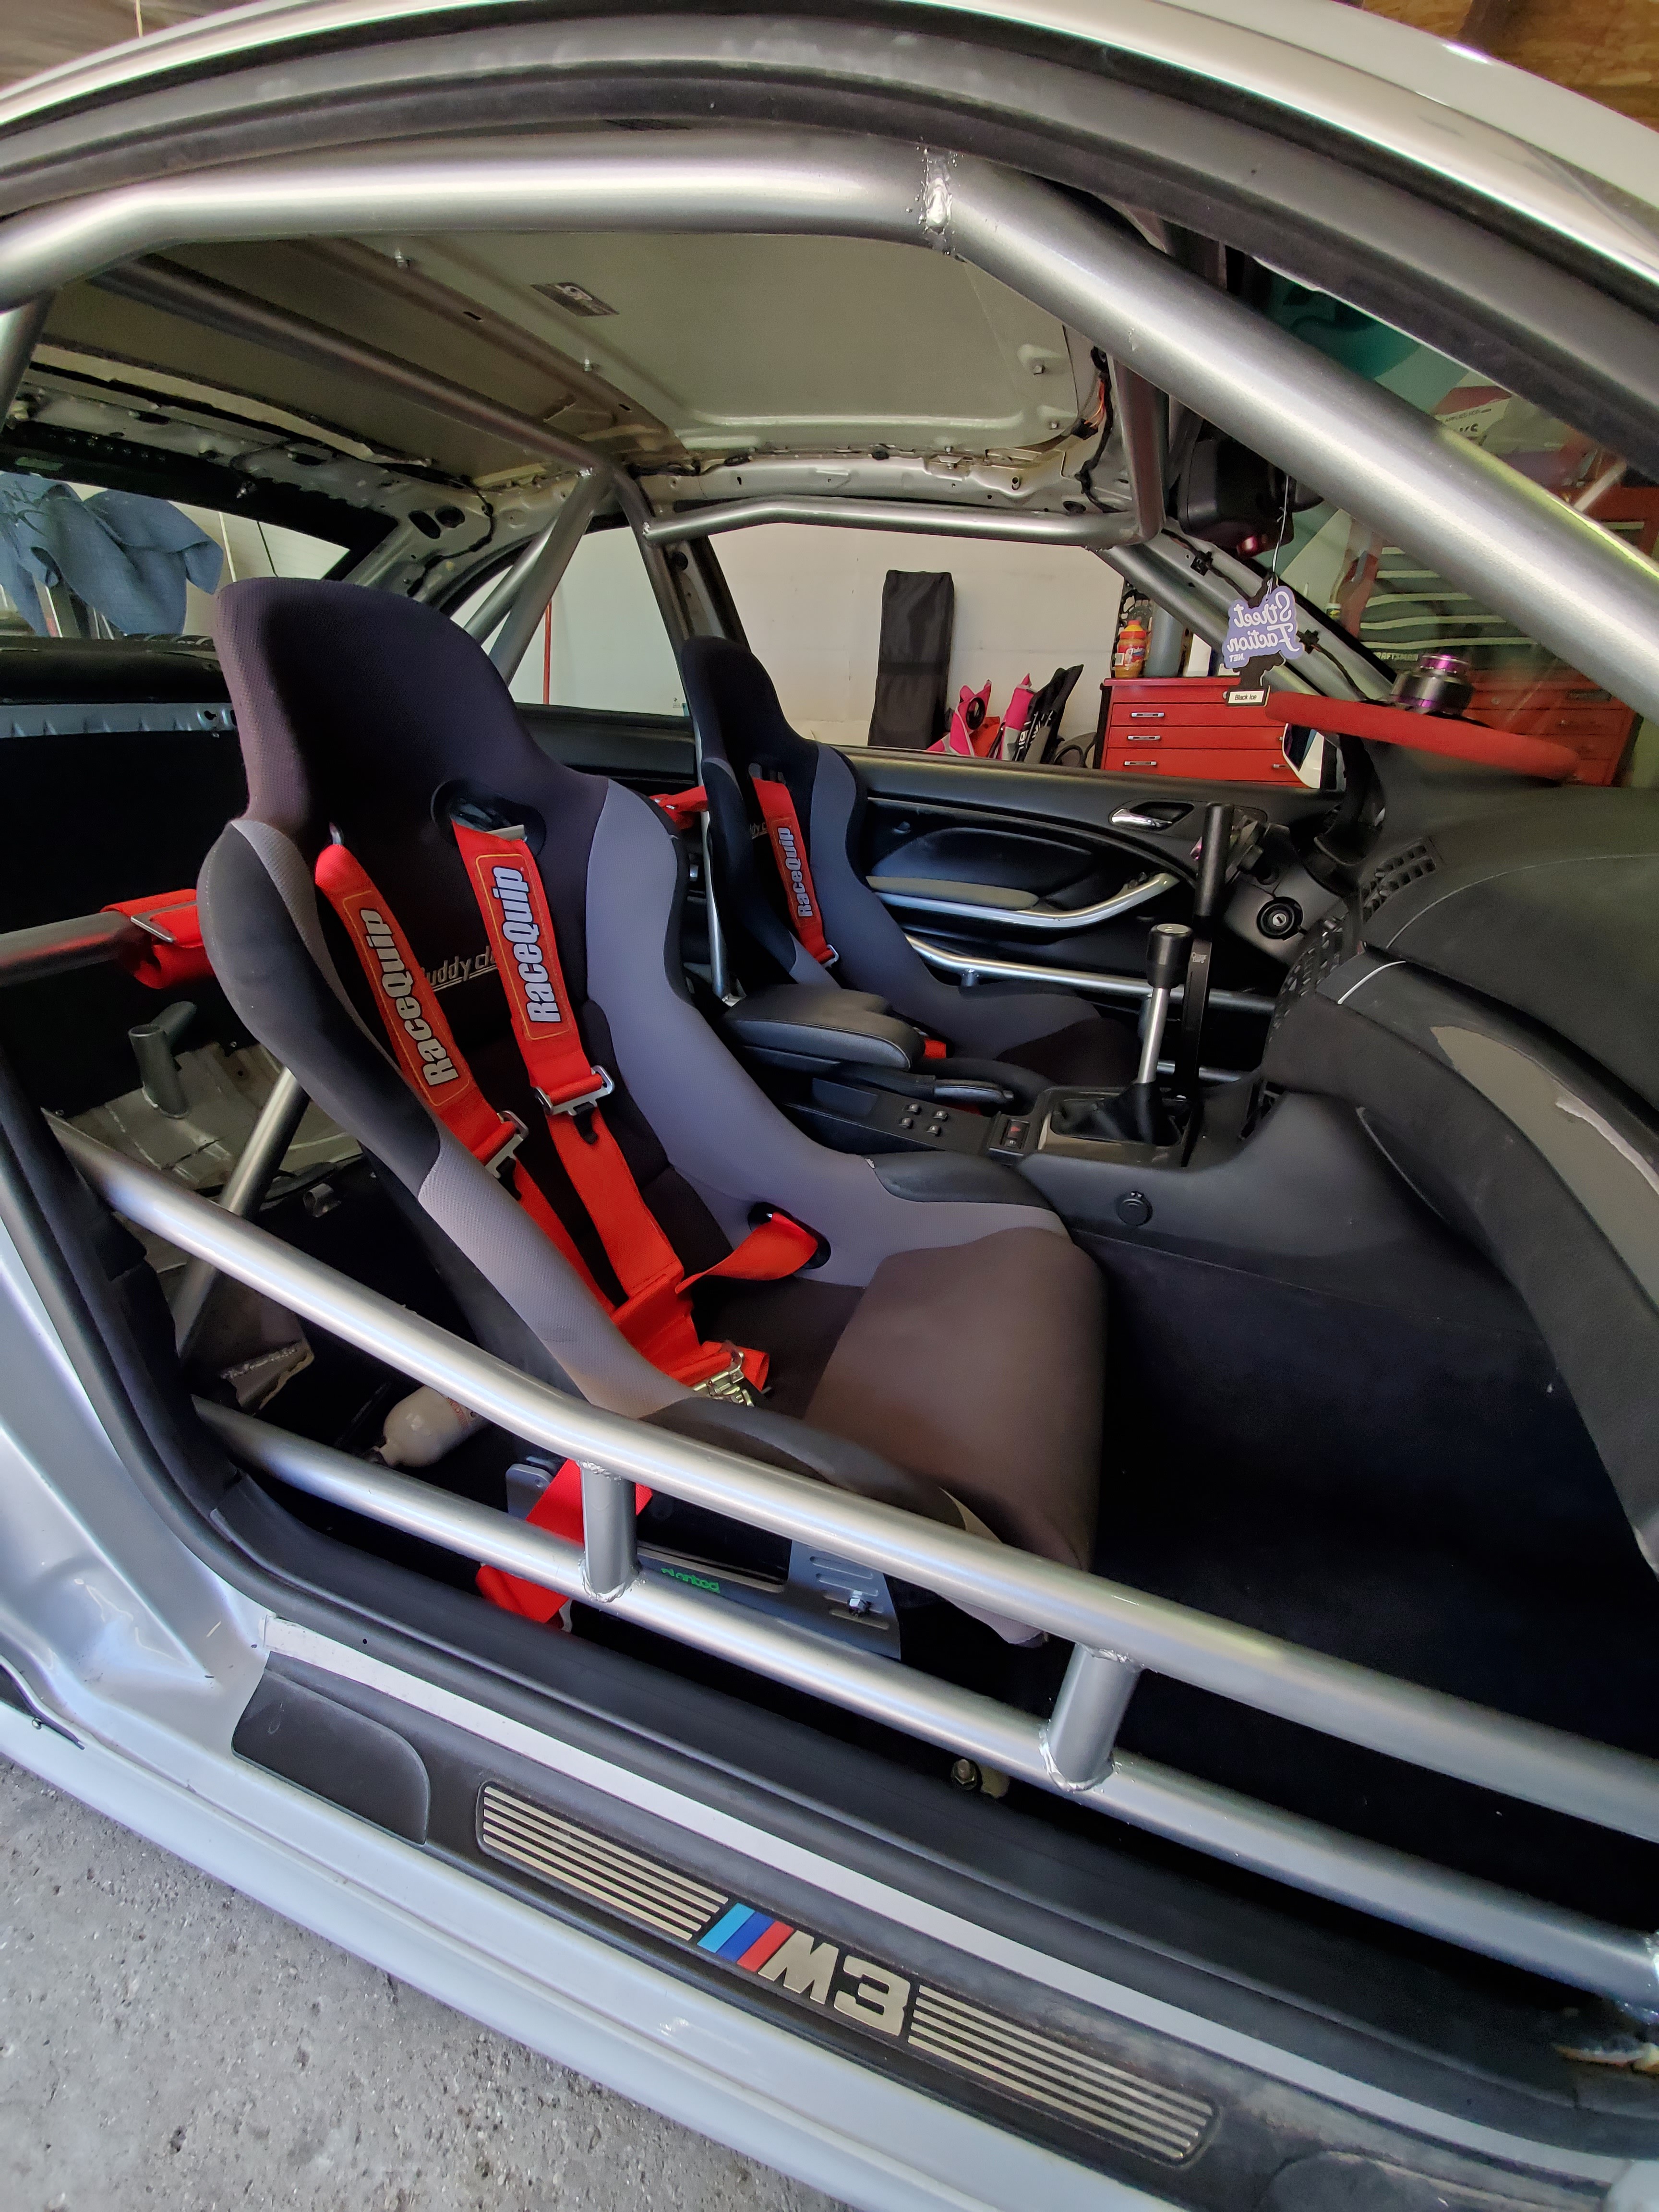
And here is both seats finally mounted in the car, with much better seating positions compared to before as well.

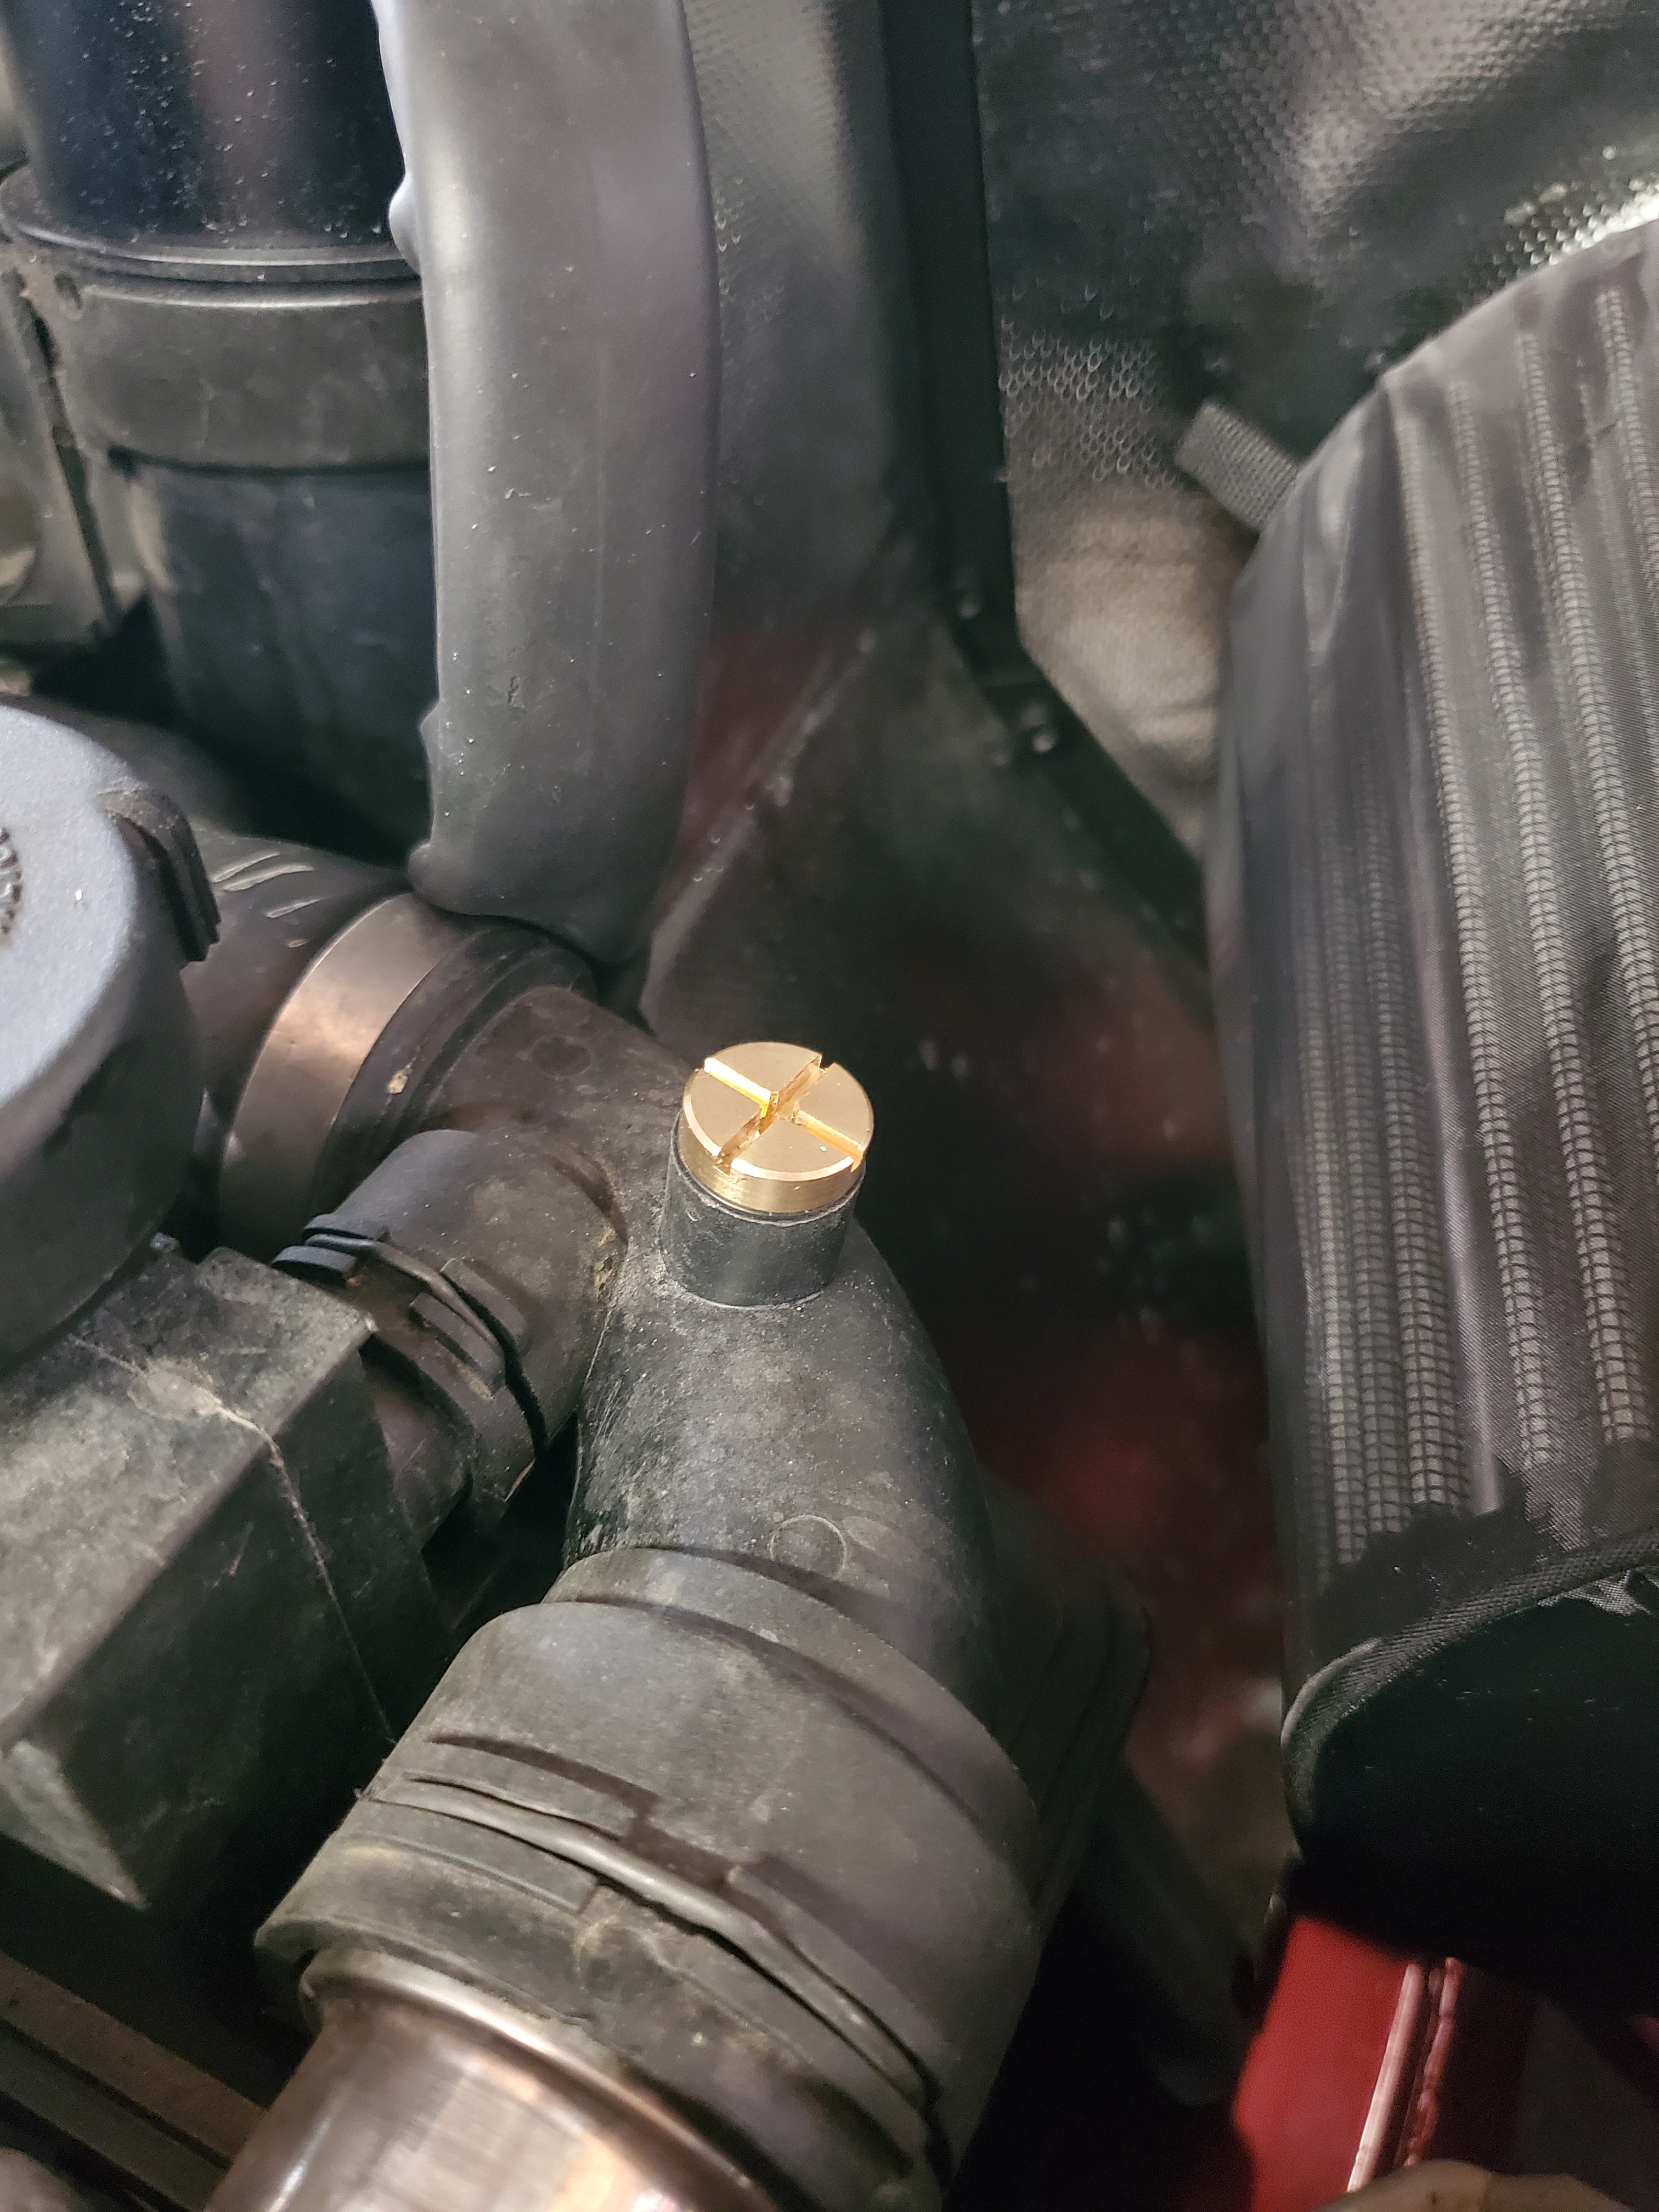
On to something smaller, I finally upgraded to the brass bleeder screw rather than the plastic one.

Was able to get out to a "meet" last weekend at the old forest mall in fond du lac so that was cool to get the car out for a bit.
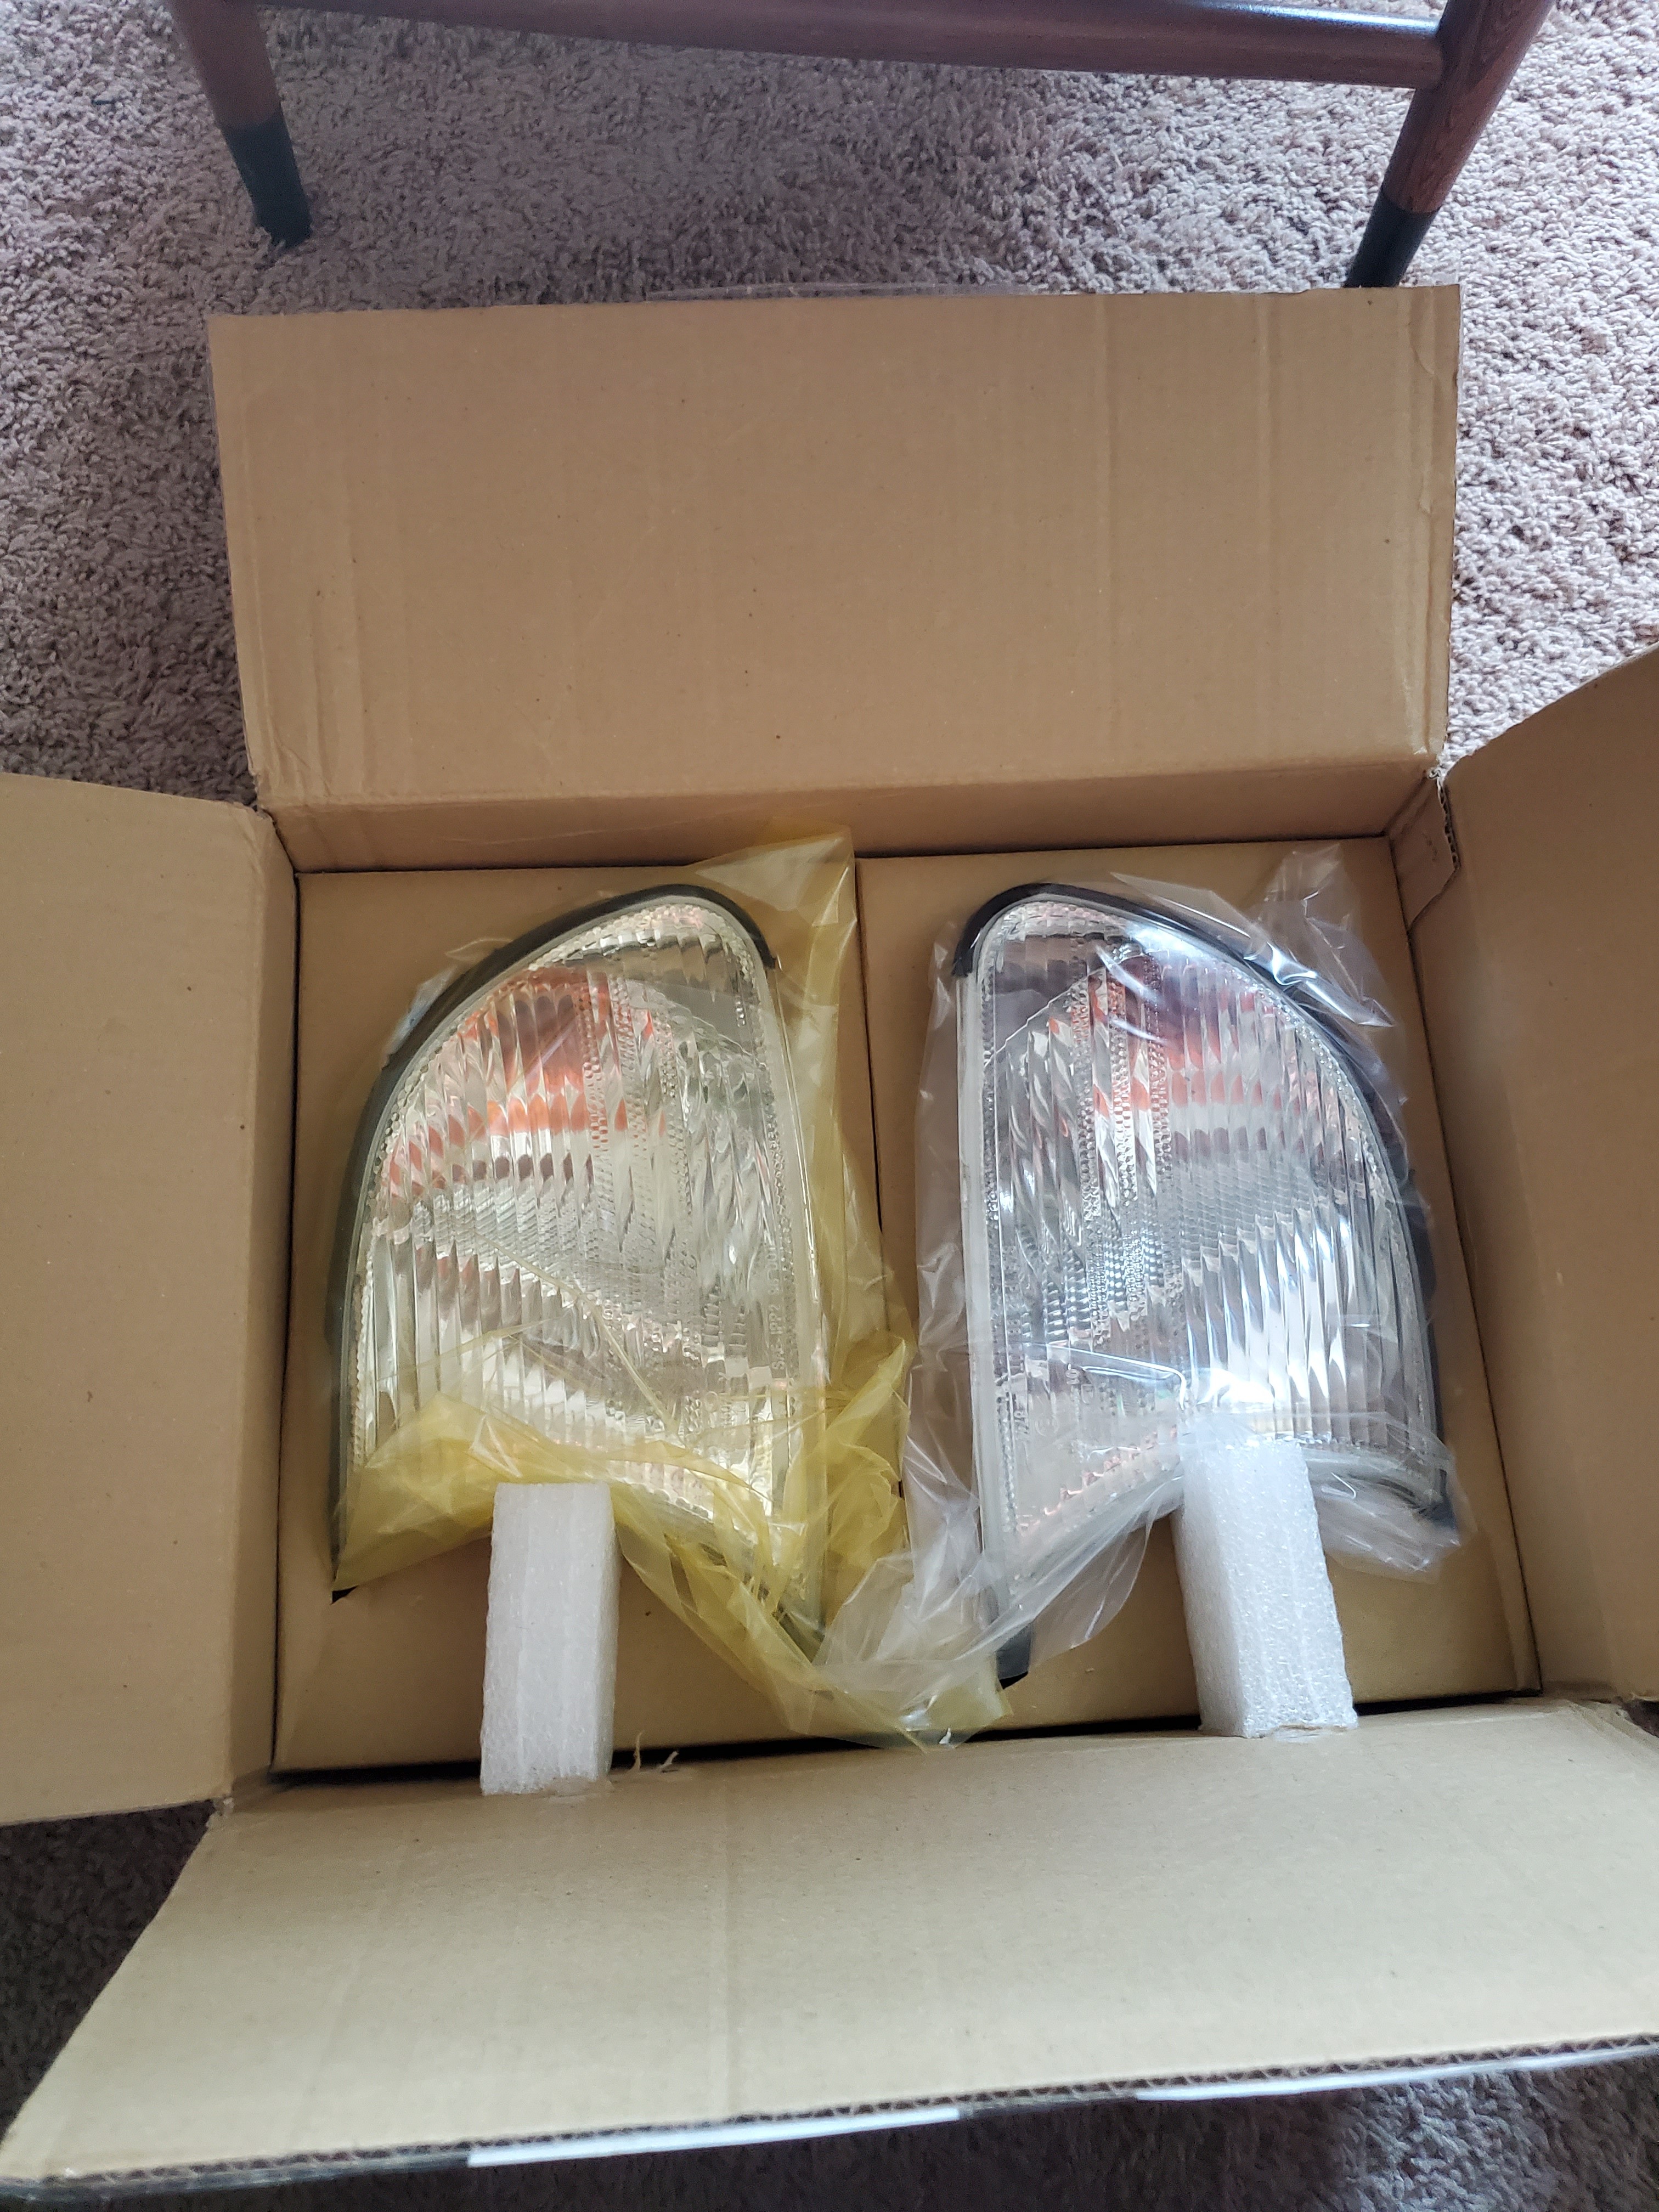
I also ordered some new DEPO clear front marker lights since I broke the tab on my left side one (thus the painters tape lmao).

I also decided to take care of the worn out idler and tensioner pulleys. But soon found out that the tensioner pulley I ordered was for the hydraulic tensioner, and i have the mechanical one. After doing some reading it appears the hydraulic one is the upgrade that BMW put in place so I got one on order.
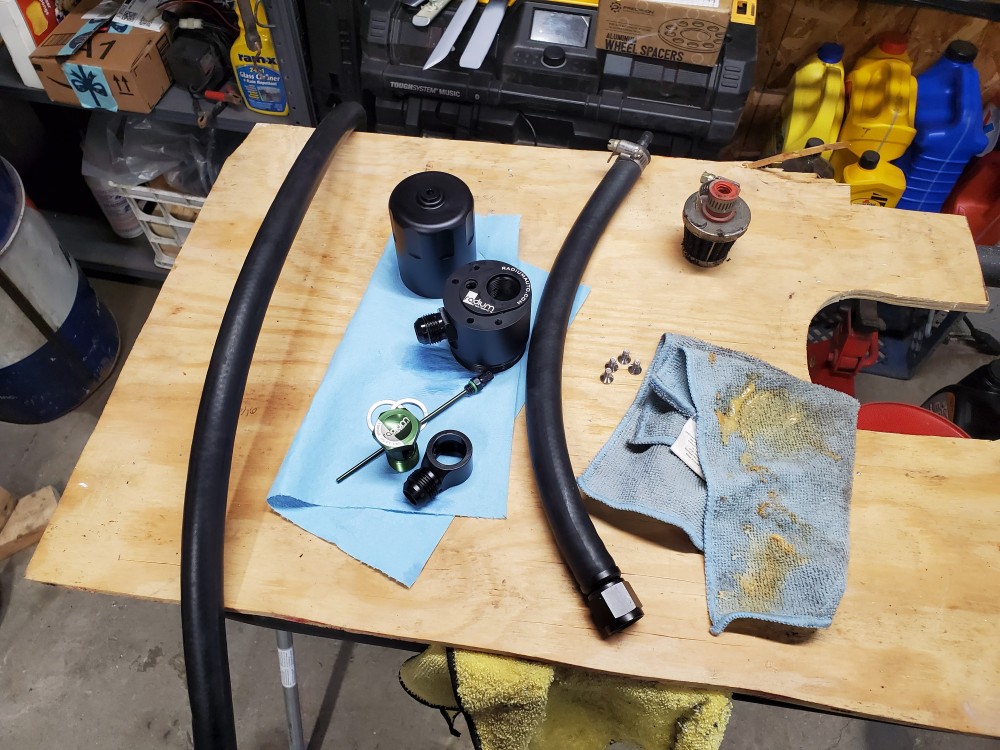
And while I was discouraged about not getting that simple job done I decided to completely clean out the catch can and all the lines for it.
Thats it for now! I am waiting on a few new parts to show up that I am excited to share once they come in!

-
11 hours ago, KaiserRolls said:
Ahh gotcha. Been struggling to find quality stuff in larger sizes
I'm sure if you contacted vivvid they could get you a larger size
-
49 minutes ago, KaiserRolls said:
Where did you order your clear vinyl from?
From Amazon, but it is vivvid brand vinyl and worked out really well!
-
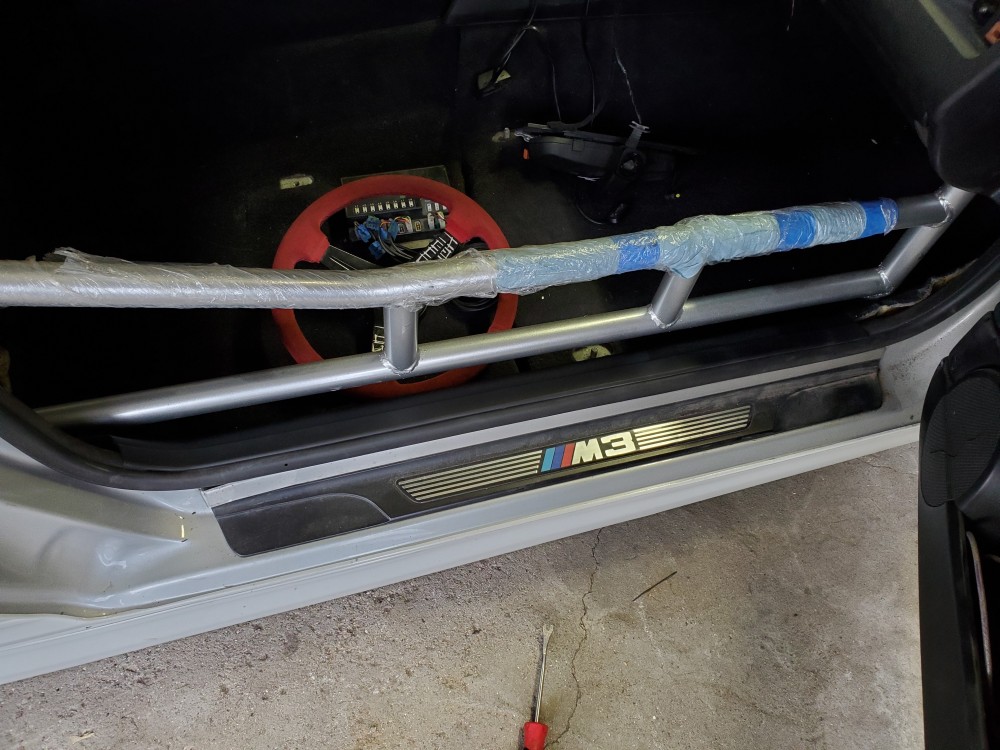
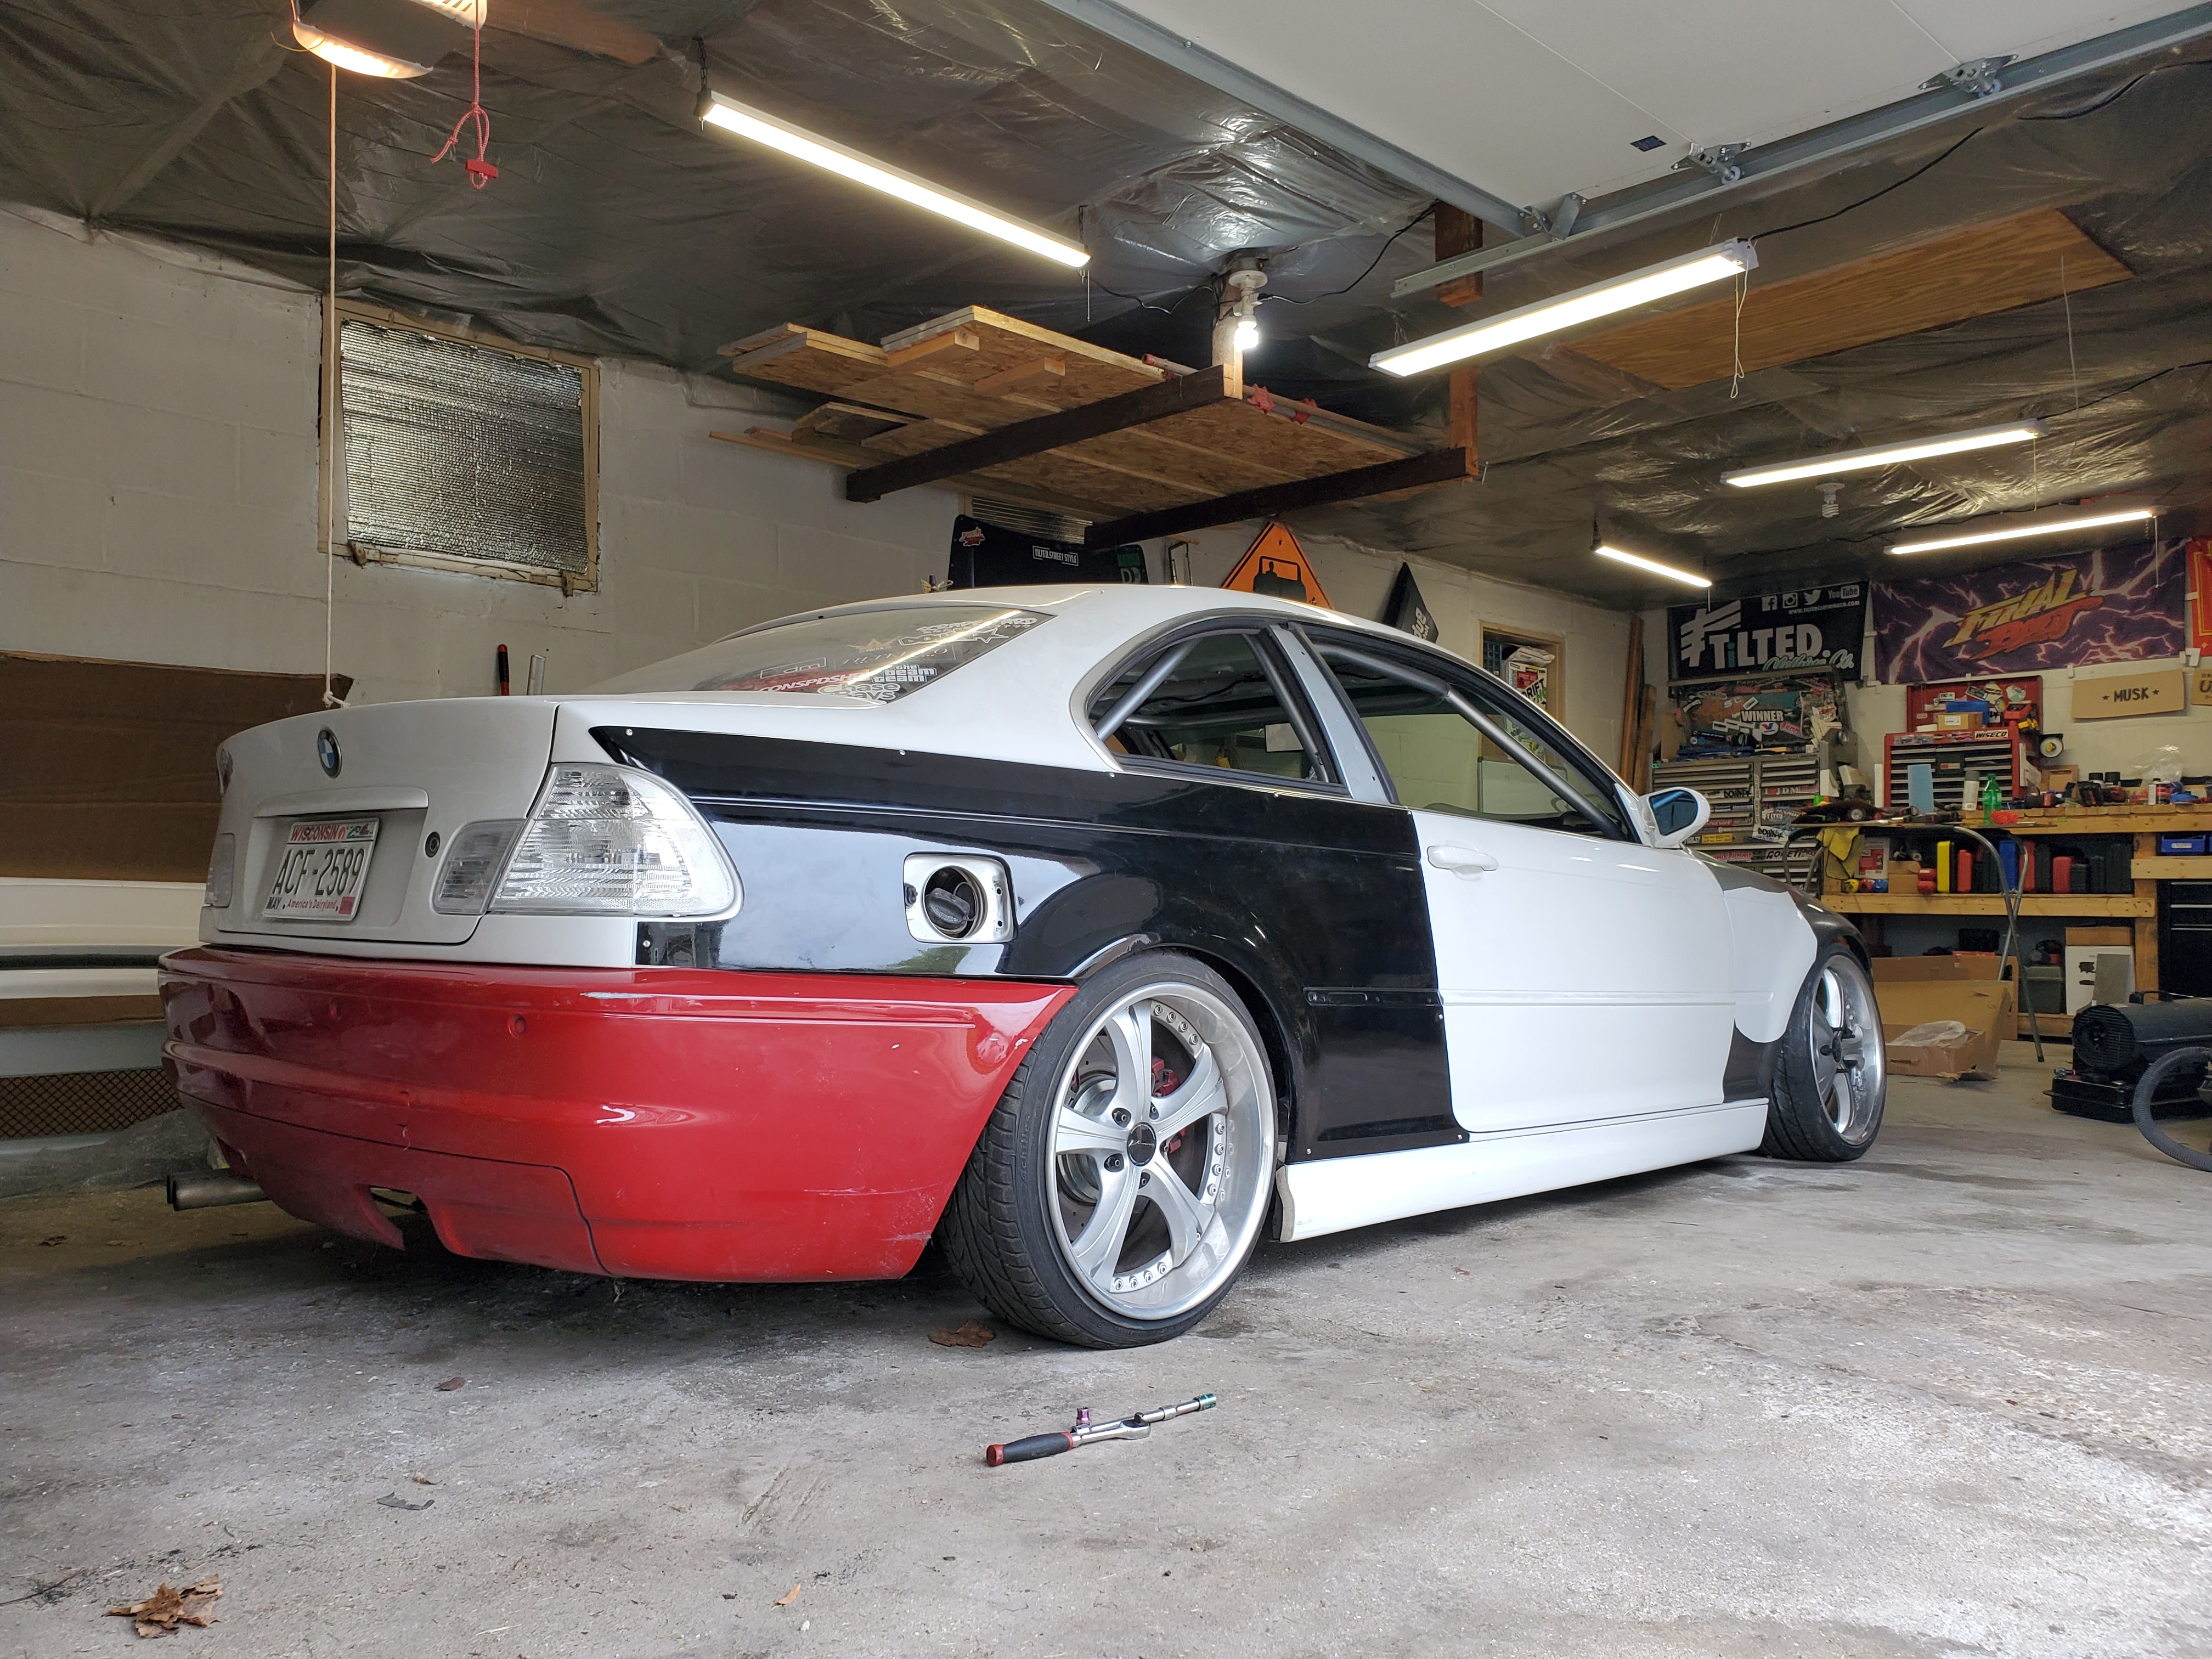
Finally got around to putting the clear vinyl on the cage to protect it. Obviously can't see much in the photo but its nice to have the cage fully exposed and not covered.
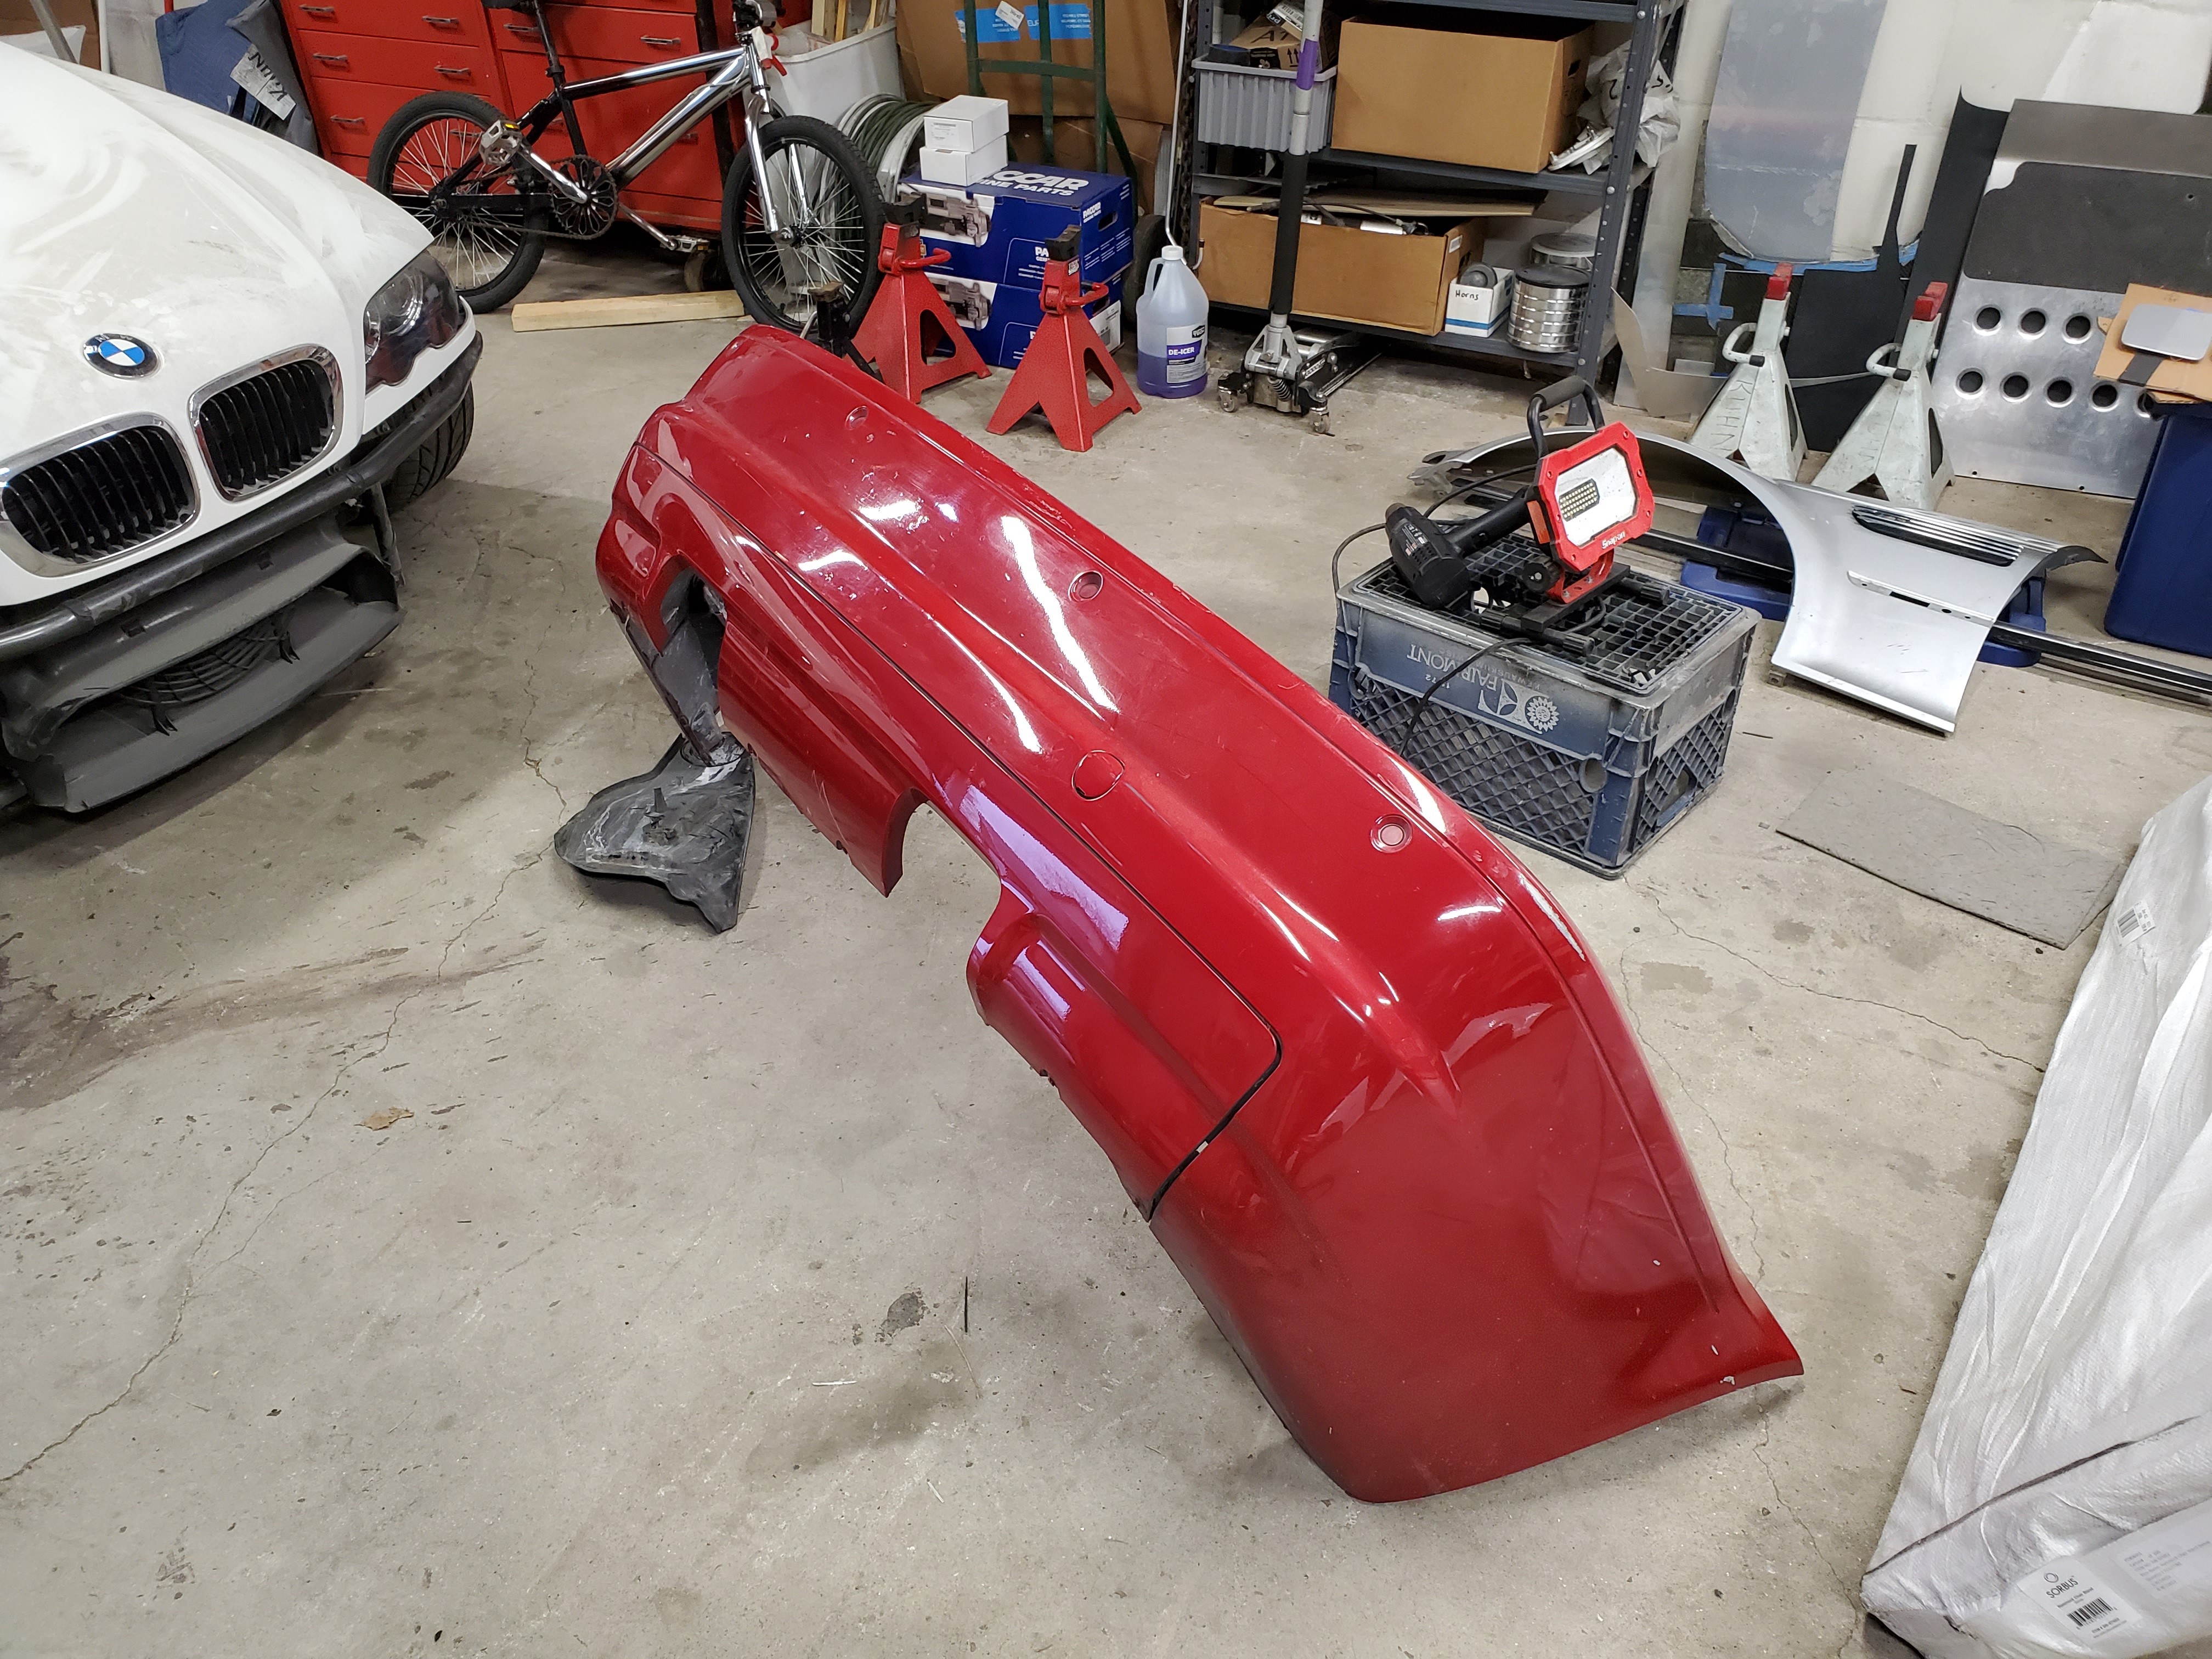
Also ordered these rear bumper extensions off of ebay, and I am pleasantly surprised with how they look!
Hard to get a decent photo with my phone of them but it was a decent $25 gamble lmao.
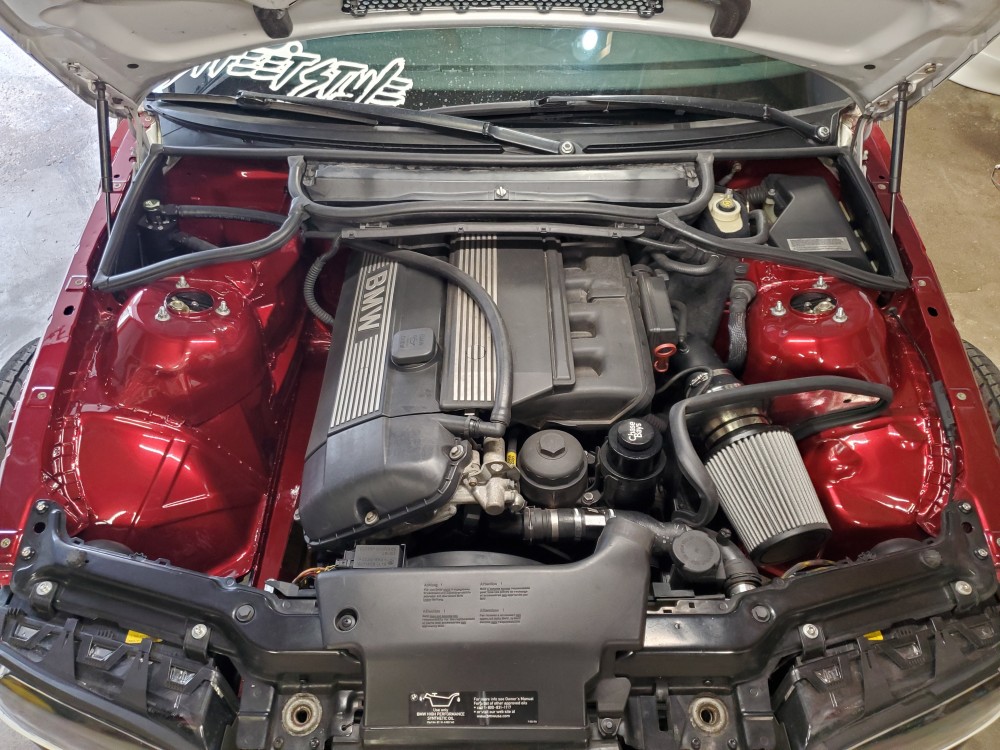
And also finally got the car and engine bay washed.

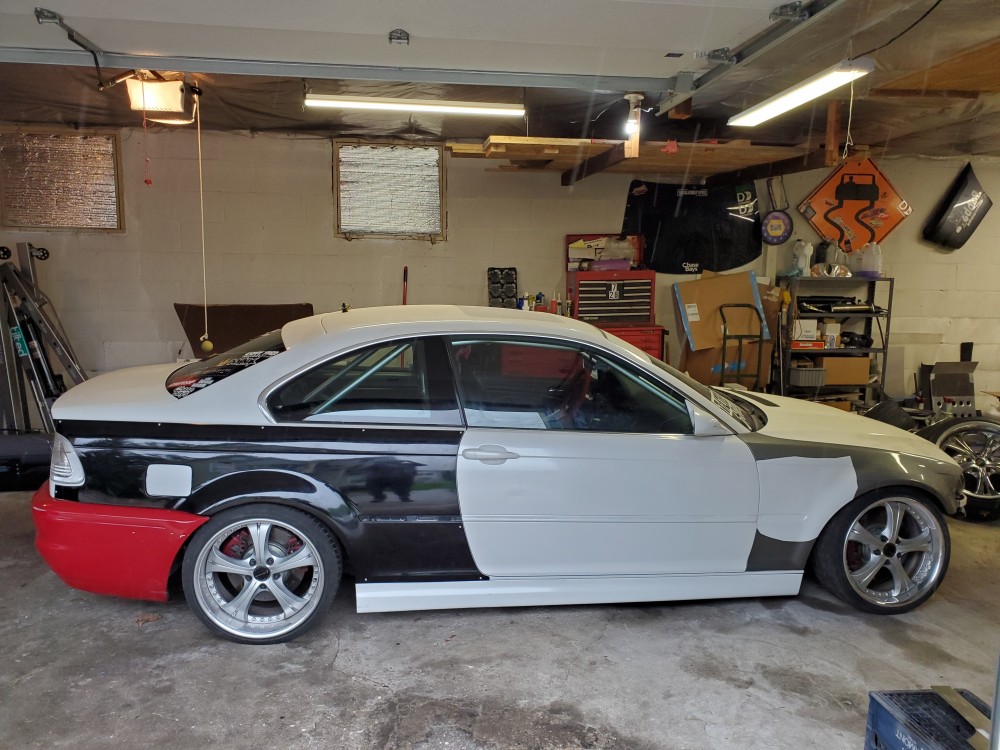
Just a few things left to tidy up before its ready to drive, even though it will be 5 different colors lol.
- KaiserRolls, Jdesign, SteelBlue and 1 other
-
 4
4
-
11 hours ago, SteelBlue said:
I don’t know why, but I kind of like how it looks as is.
it looks like a drift car thats for sure lol. I can't wait to be able to get some wrap ordered!
-
12 hours ago, Jdesign said:
Is that scotch-weld stuff the same as panel bond?
I wouldnt say the same, it has metallic pieces in it and im not sure if panel bond does. It does come up down the list when you search panel bond, but panel bond and scotch weld are both 3M products. I believe panel bond is more for gluing 2 surfaces together like a quarter panel. Or if you were trying to mold a over to a car? I'm no body guy lmao
Definitely do NOT have the patience for that stuff thats for sure.
-
52 minutes ago, HipMF said:
I was going to say that the standoffs will break, but I'm going going to revise that and just say that they might break.
Anyway, it could be worse.

I dont believe it will be a problem. Its the same way a friend did his and that was over a year ago.
-
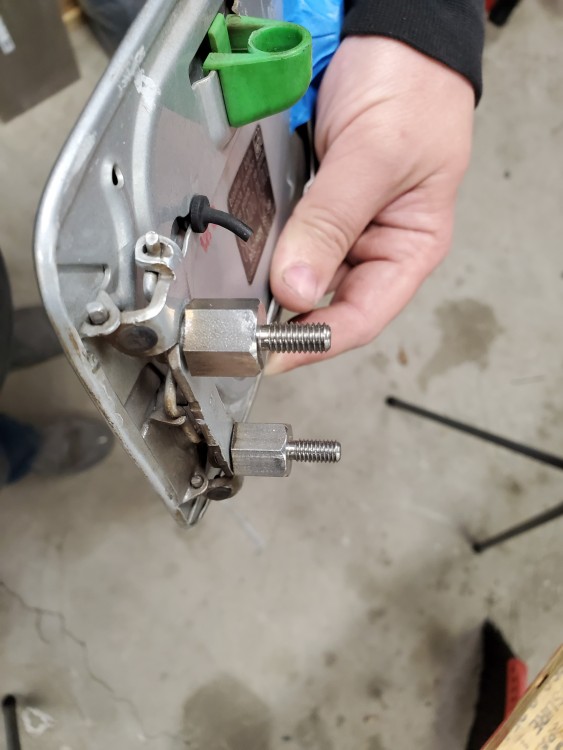
13 minutes ago, B C said:
What are you threading the standoffs into on the quarter panel side? Did you epoxy some nuts inside the panel? Looks great
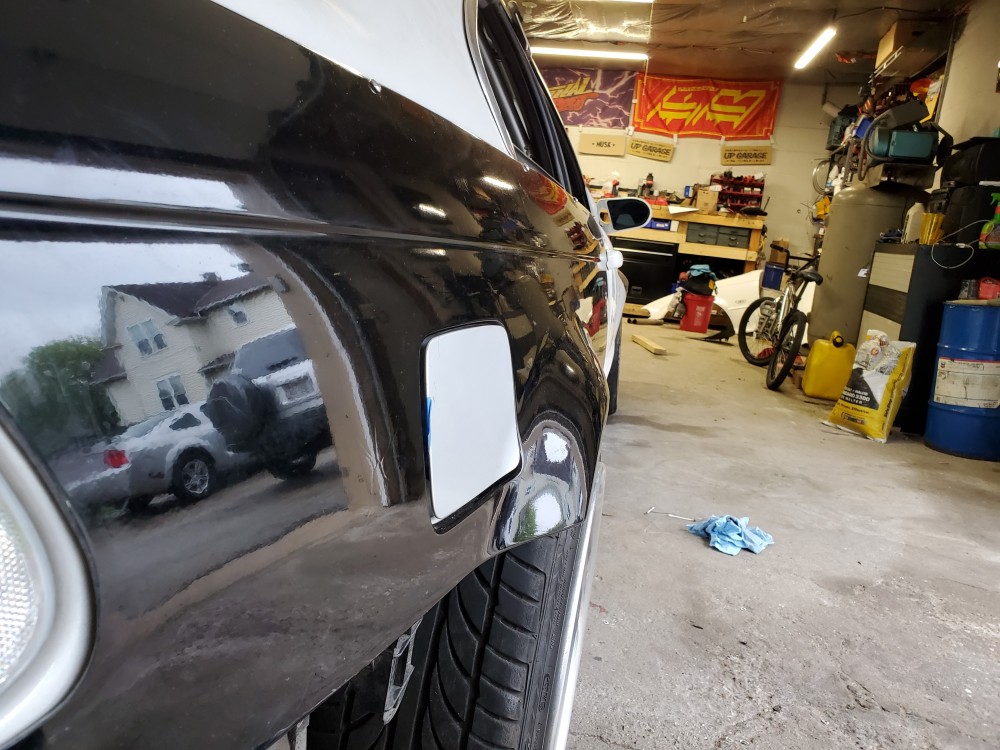
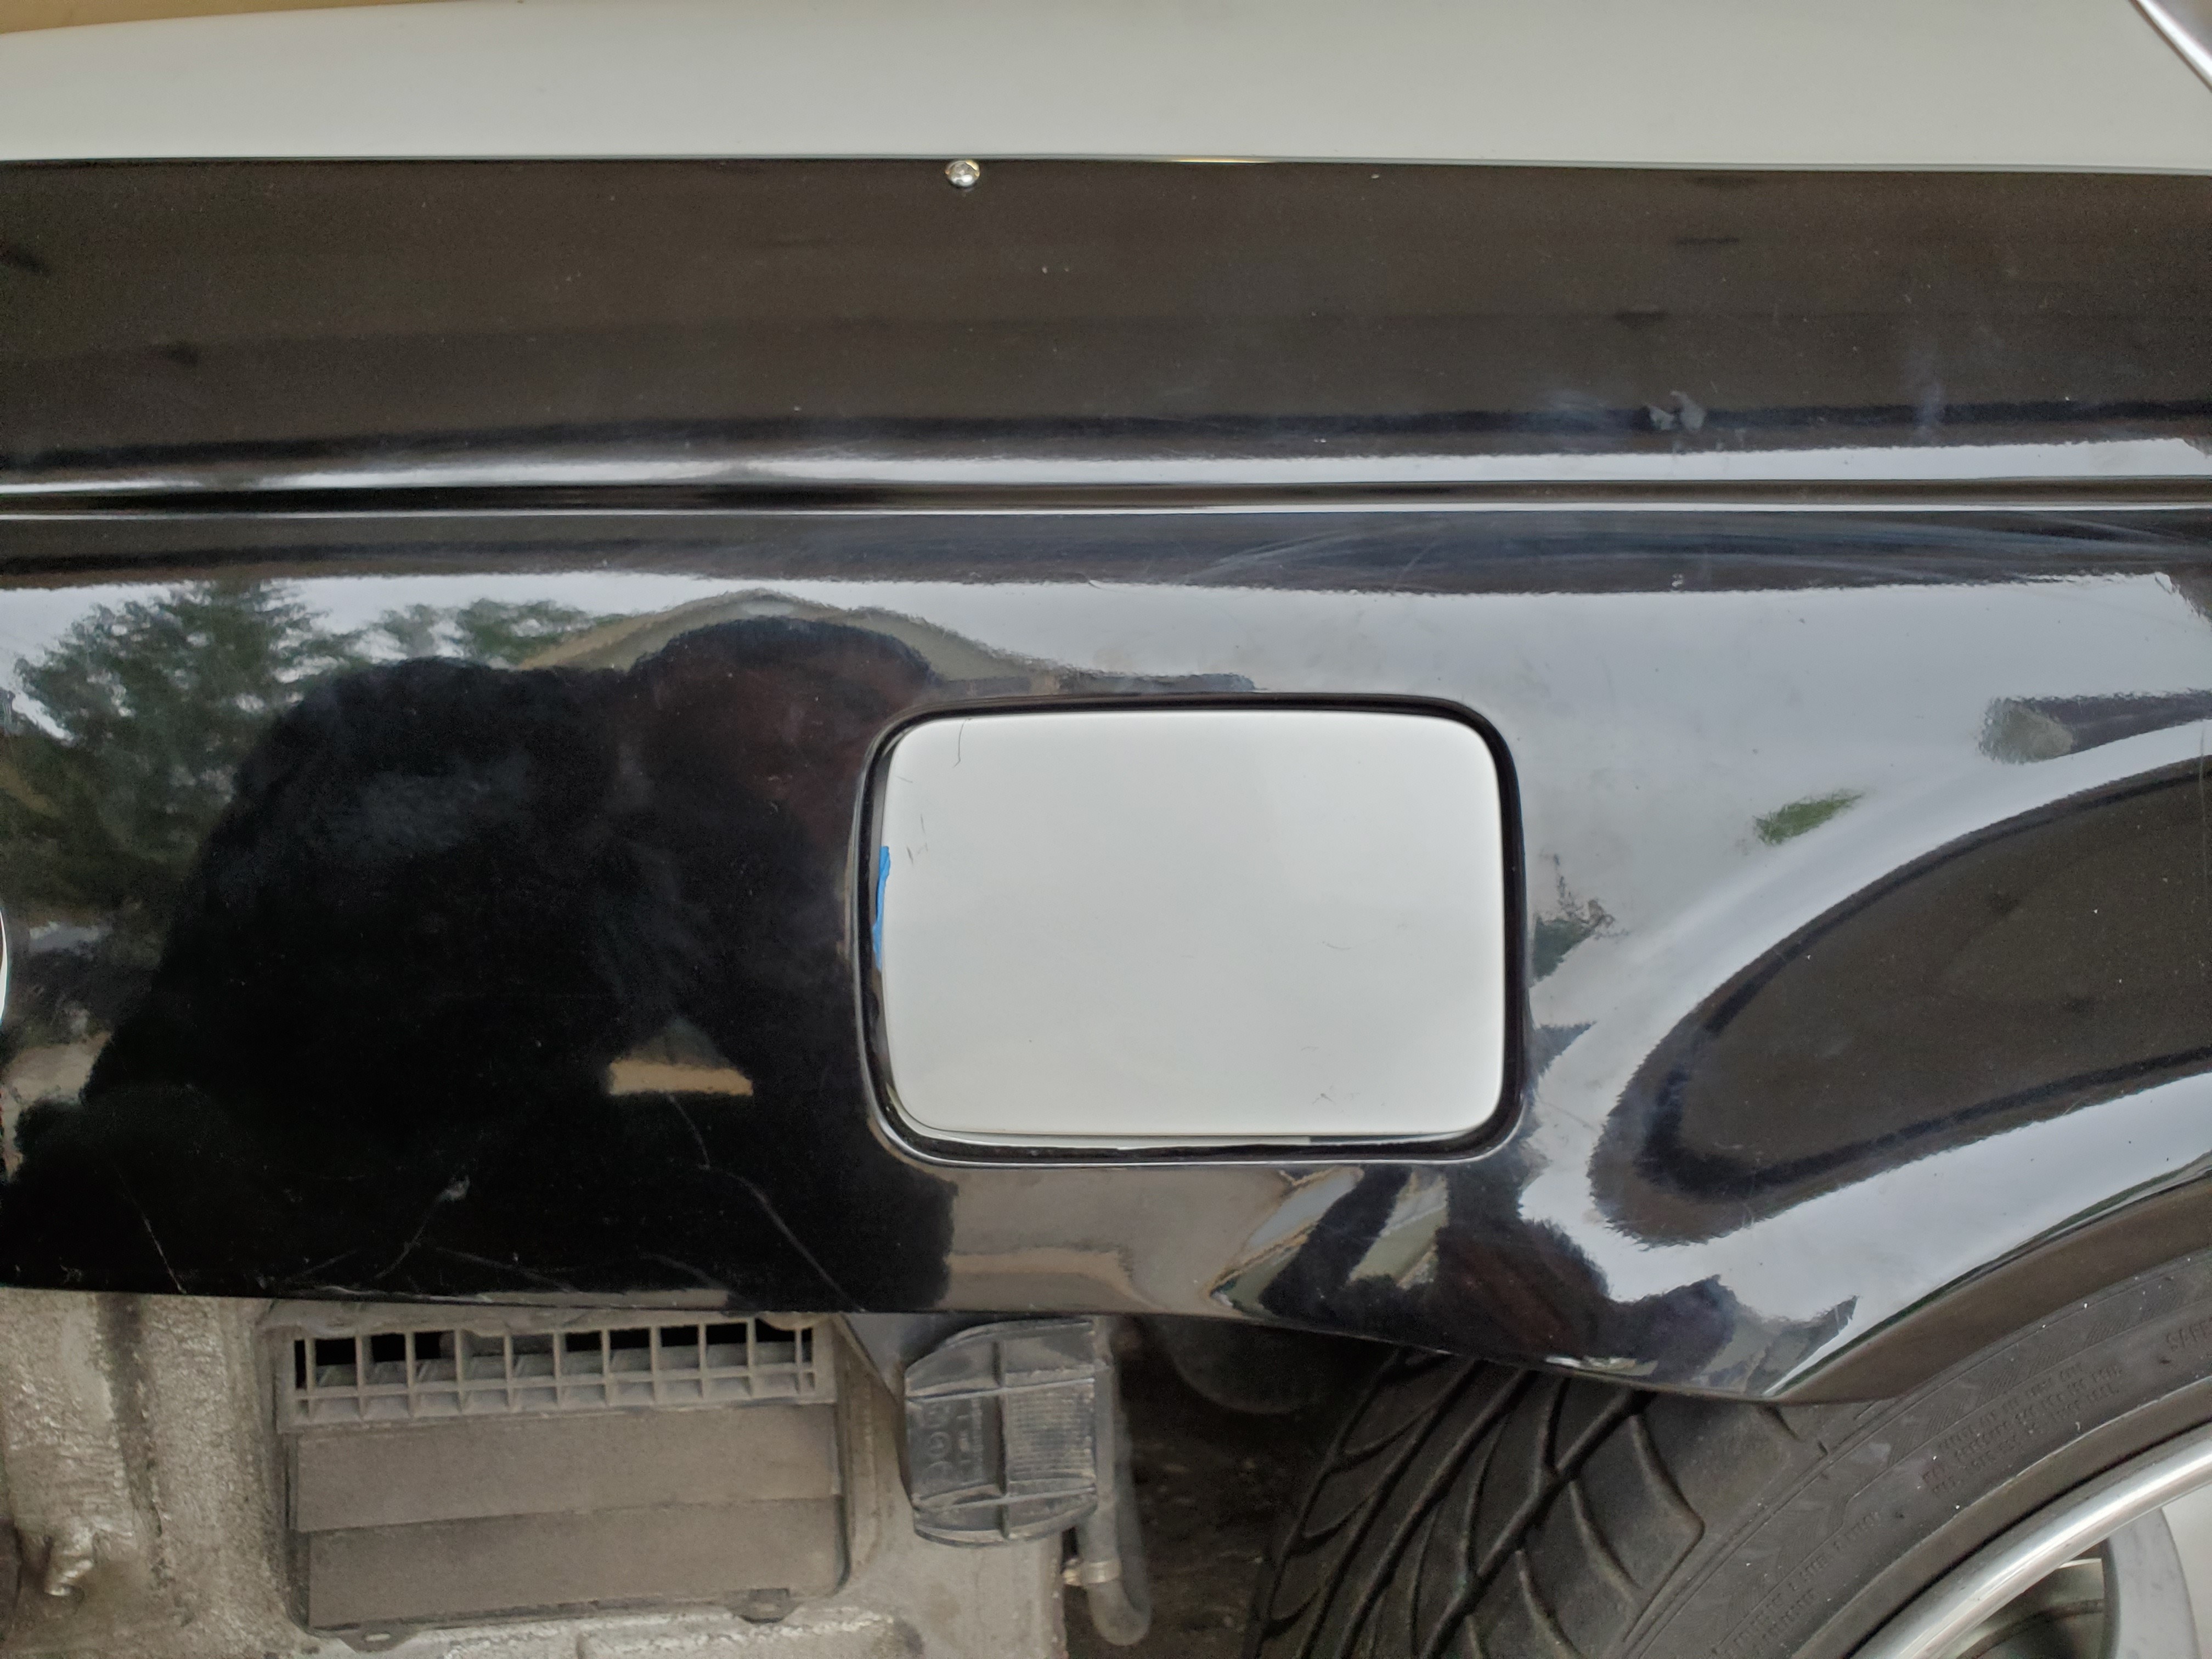
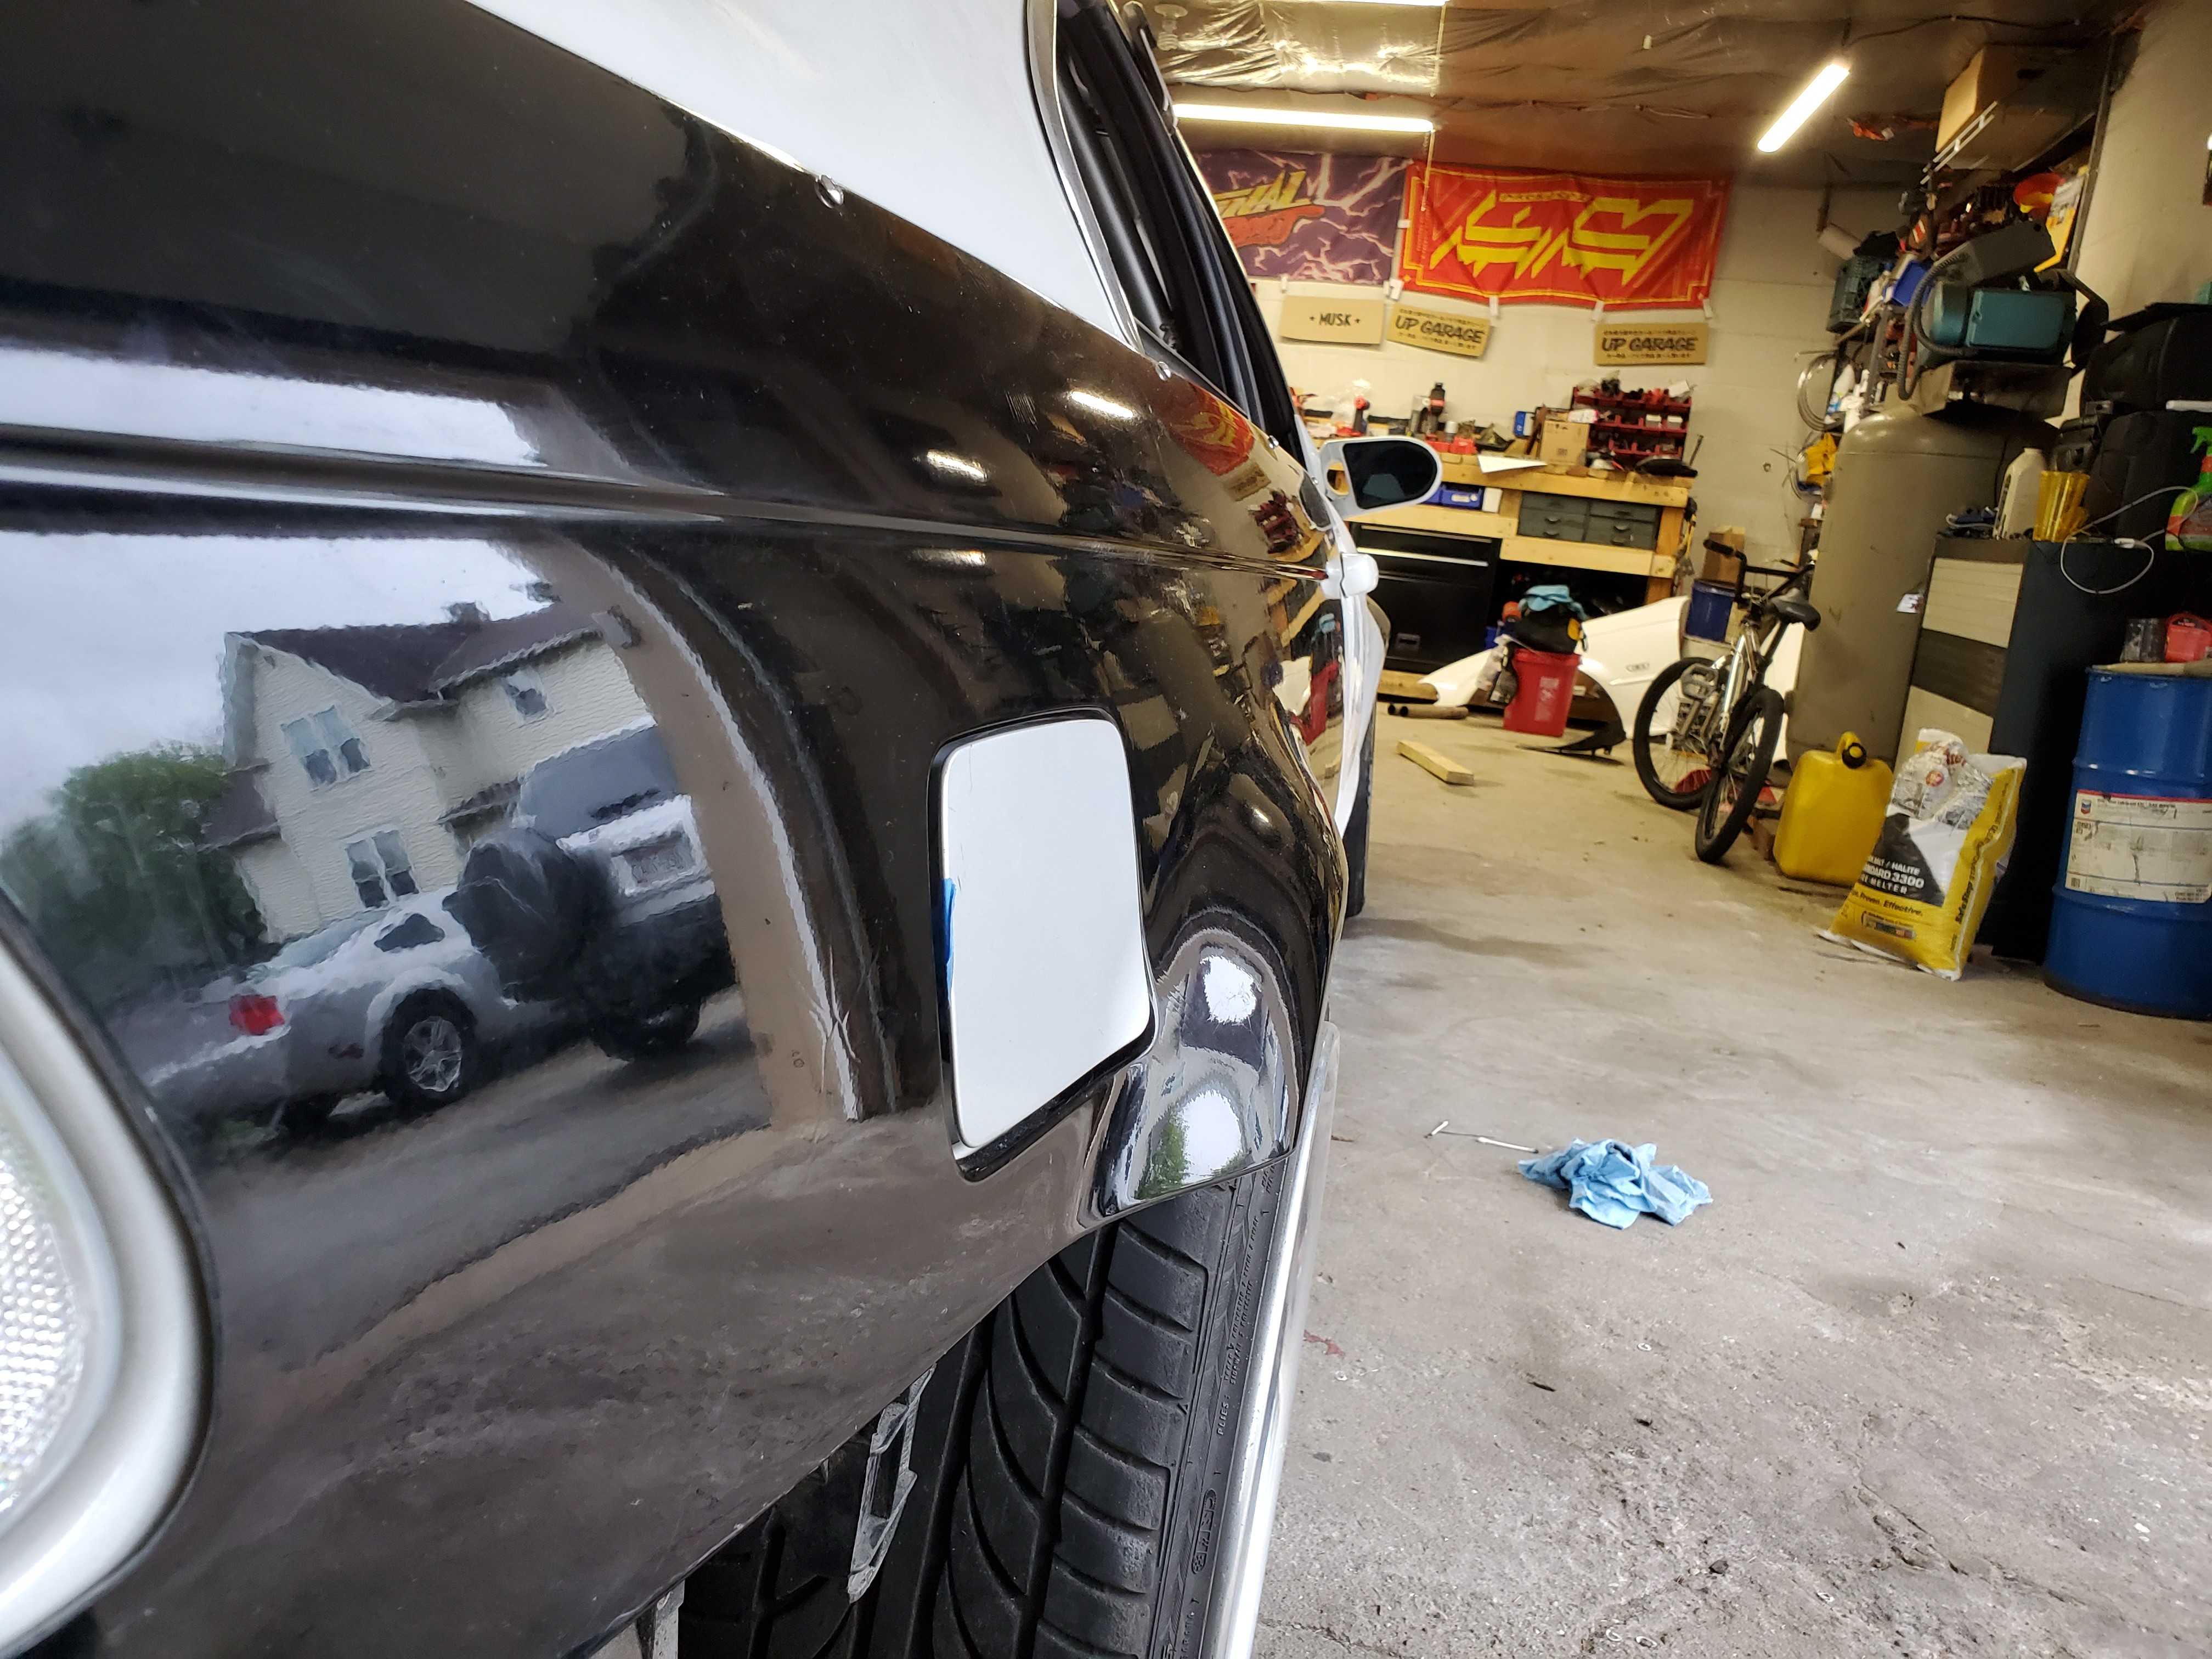
The standoffs are threaded onto the gas door hinge because the hinge has studs. And the studs have nuts that go inside the quarter panel. That's how it is factory i just had to space it out for obvious reasons haha
-
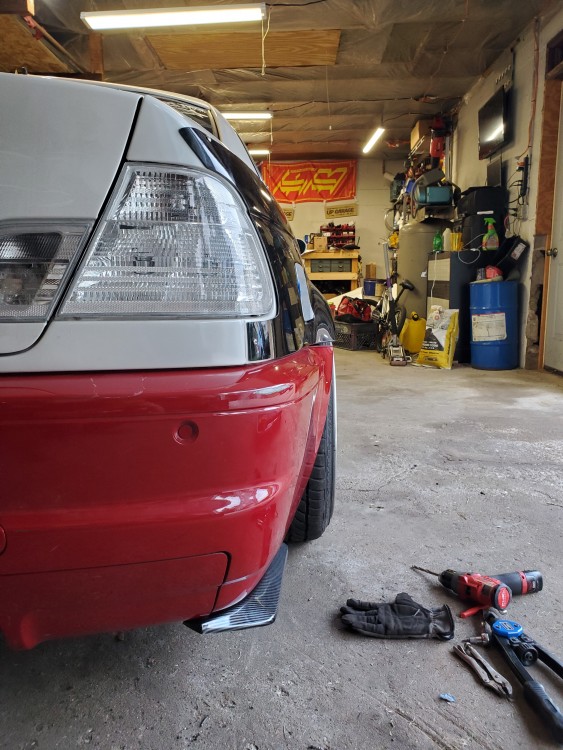
Update.
So here is my solution to there not being an exhaust exit on the M bumper (that I currently can make work and that I like).
Not super proud of it but it will work for now.
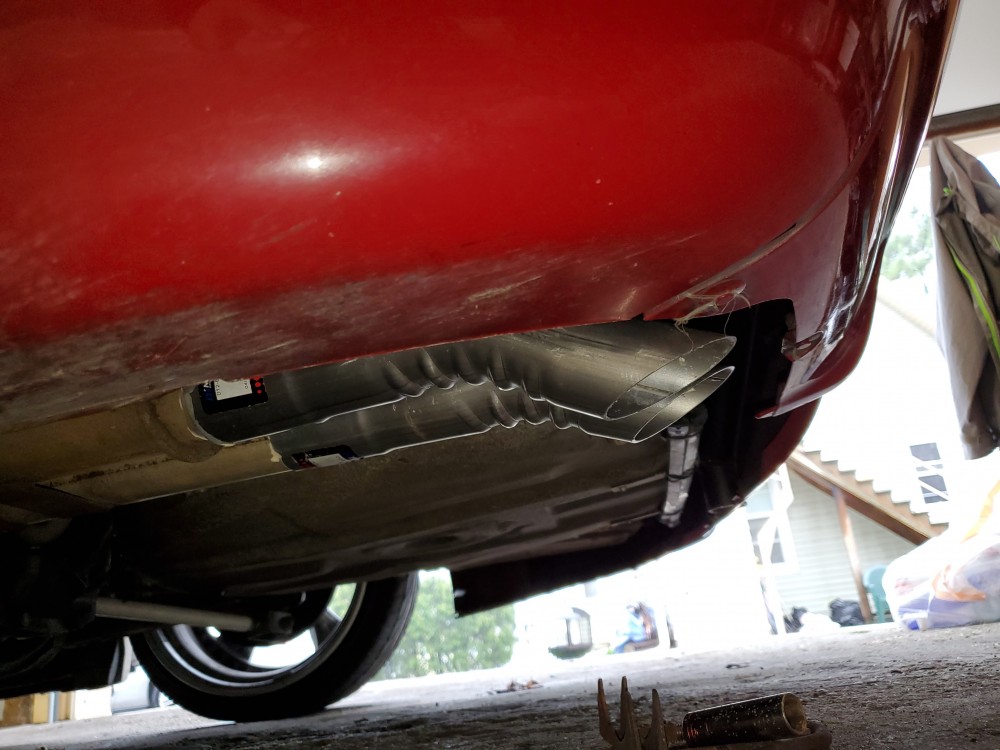
You can't see it from looking at the car at all so thats cool with me, and it will do until its time to make a real exhaust.
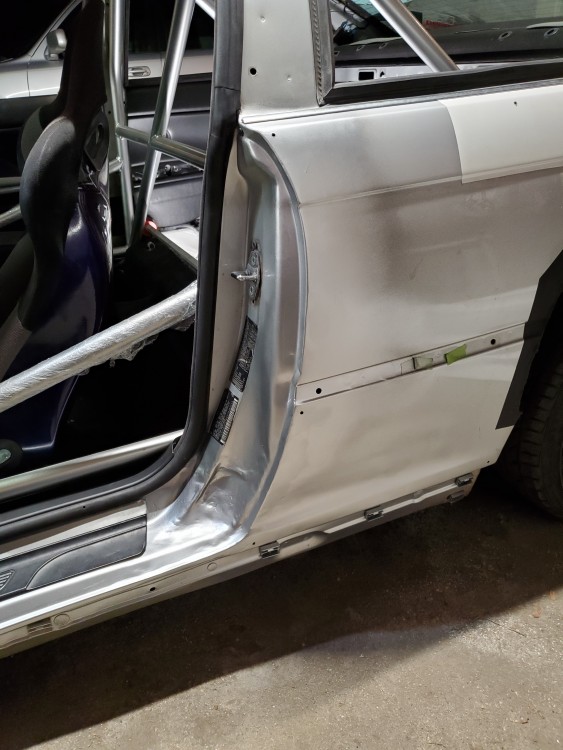
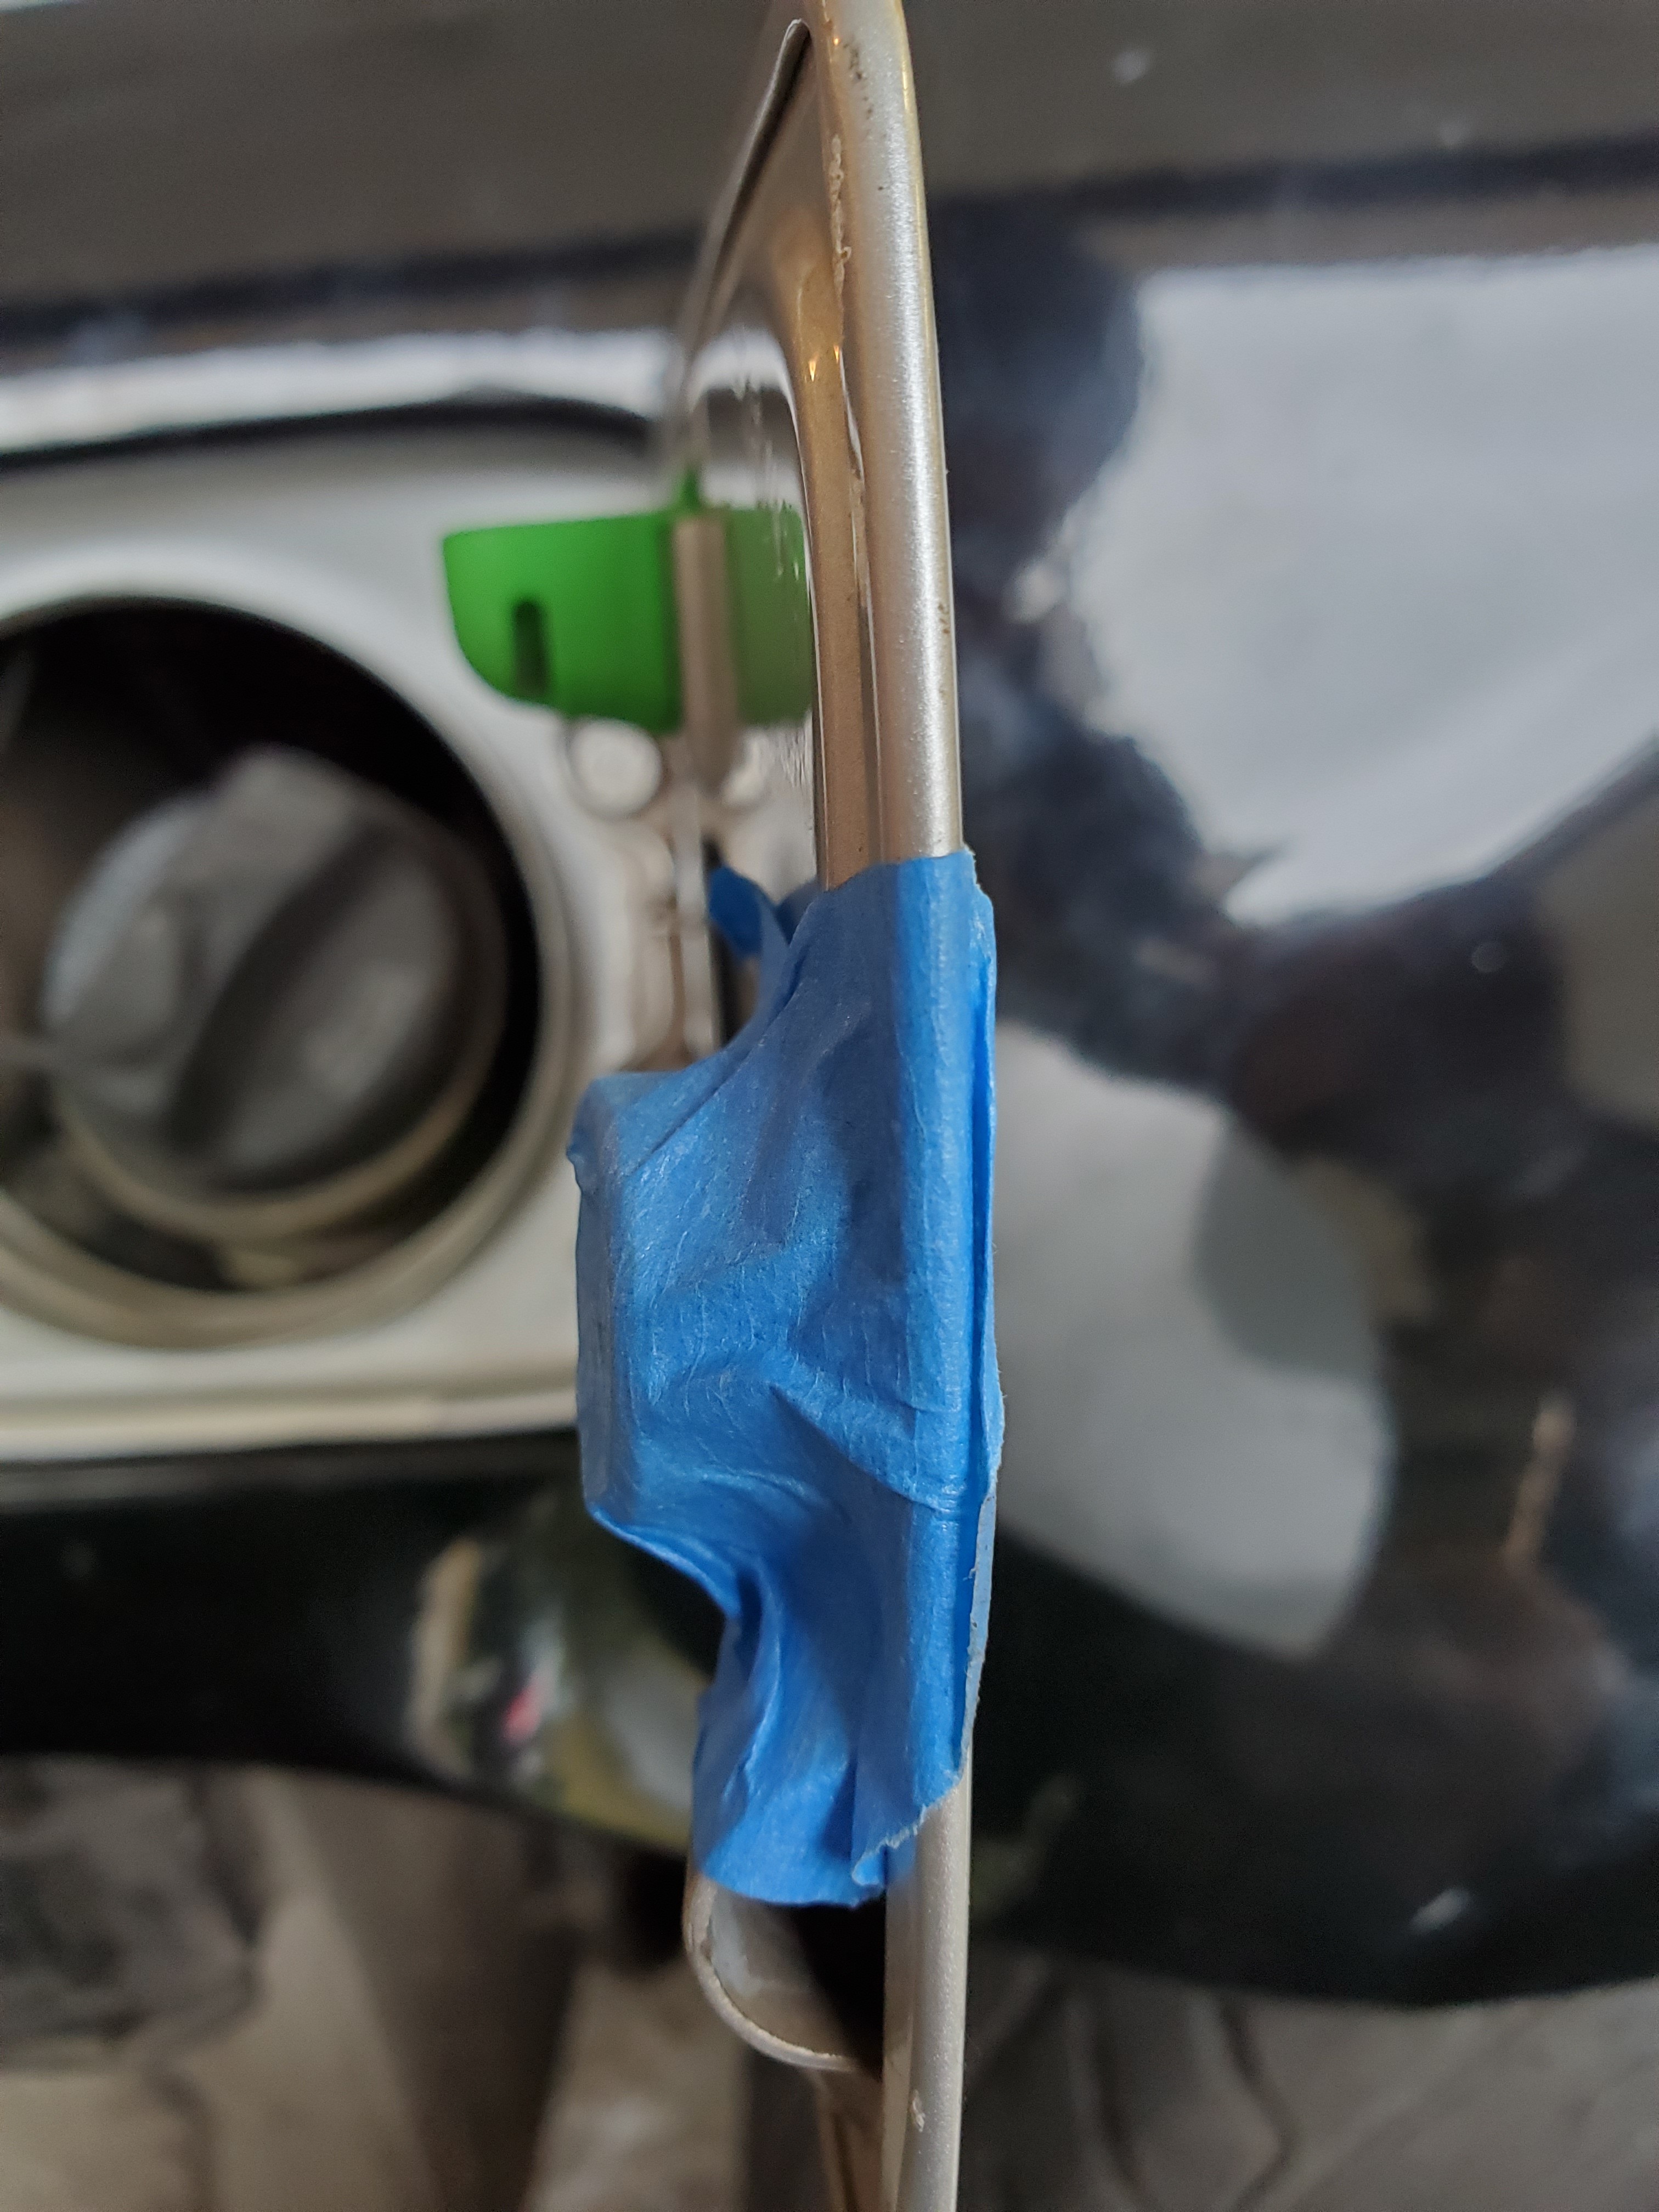
Next i tackled fitting the gas door.
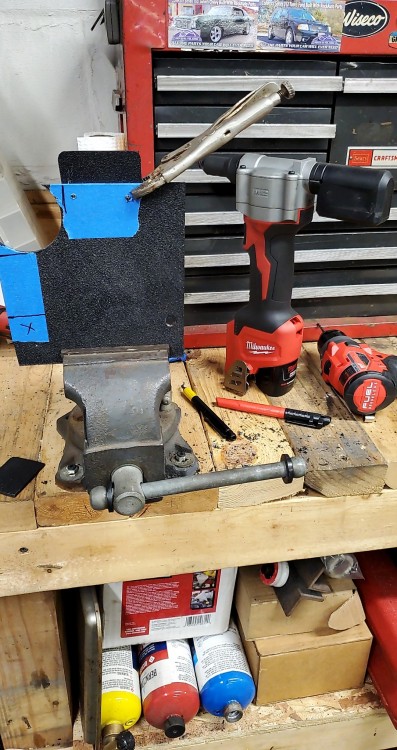
I drilled some new holes that would work with the M door layout. And trimmed up the standoffs I bought to make the door fit the overs correctly.
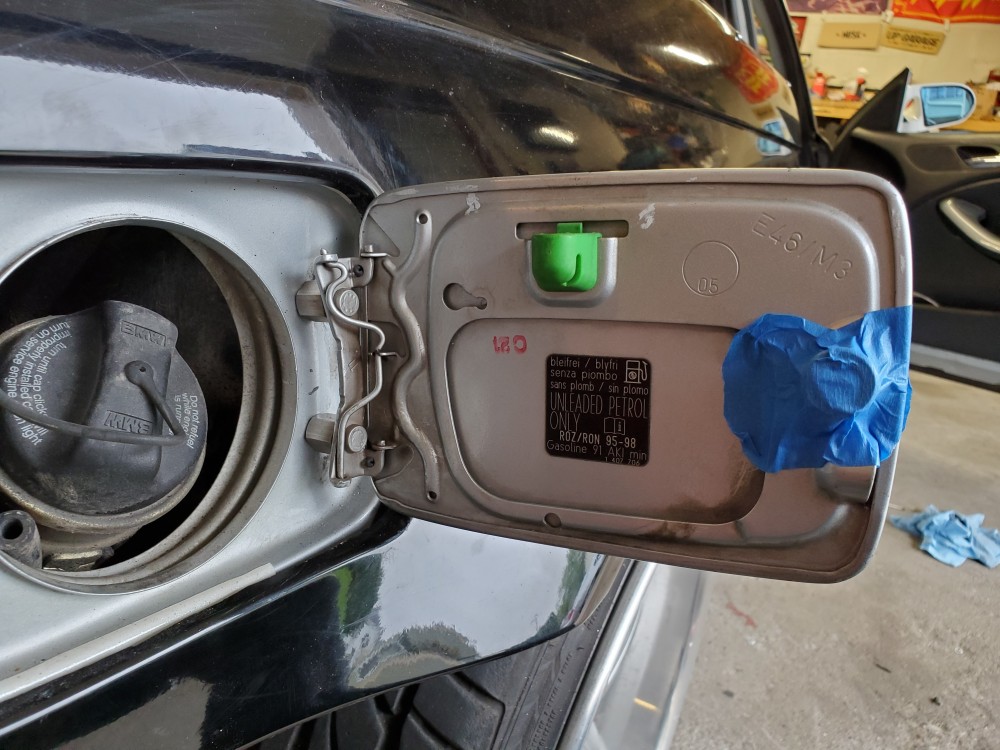
I also found a spacer that I had laying around that I trimmed down until it was the right size to sit against the original non-M push button thing. I need to decide how I want to attach it yet. Most likely some sort of epoxy.

And here is the fit when closed!

My girlfriend deep cleaned the dash and interior which was VERY NEEDED! I'm so glad she has the patience for that because I dont.

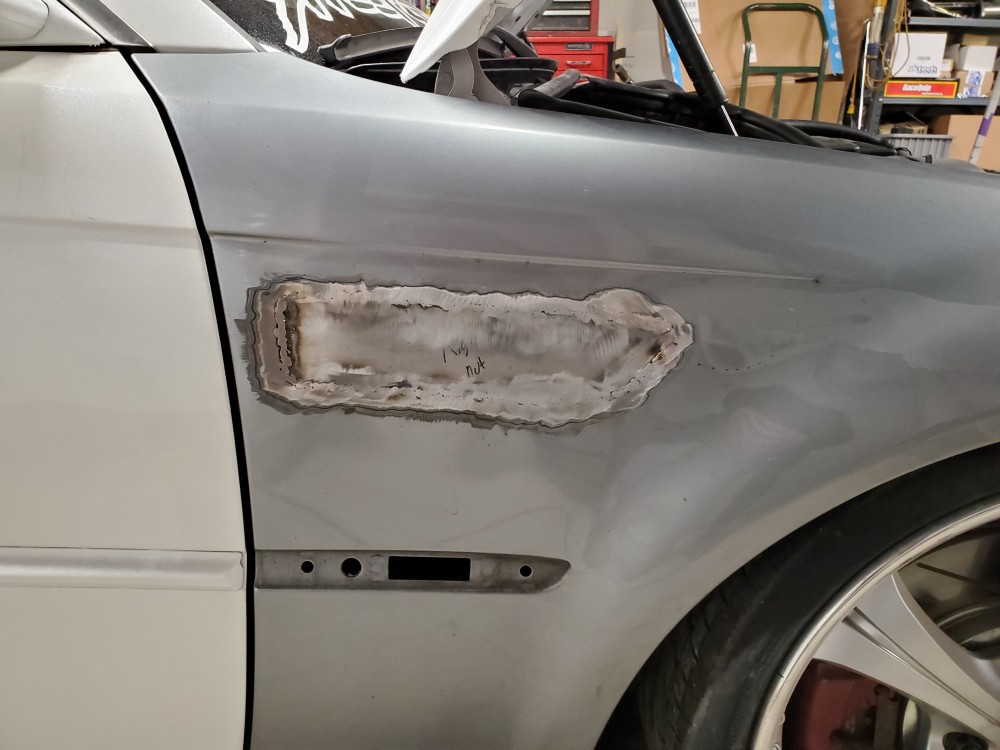
I also started on shaving the driver side fender. I chose to use 3M scotch-weld to "weld" in the piece of metal to shave the vent.
Here is the patch panel held in on the outside with hot glue. I then put painters tape over it to keep it in place for sure. I used the hot glue because its easily removeable.
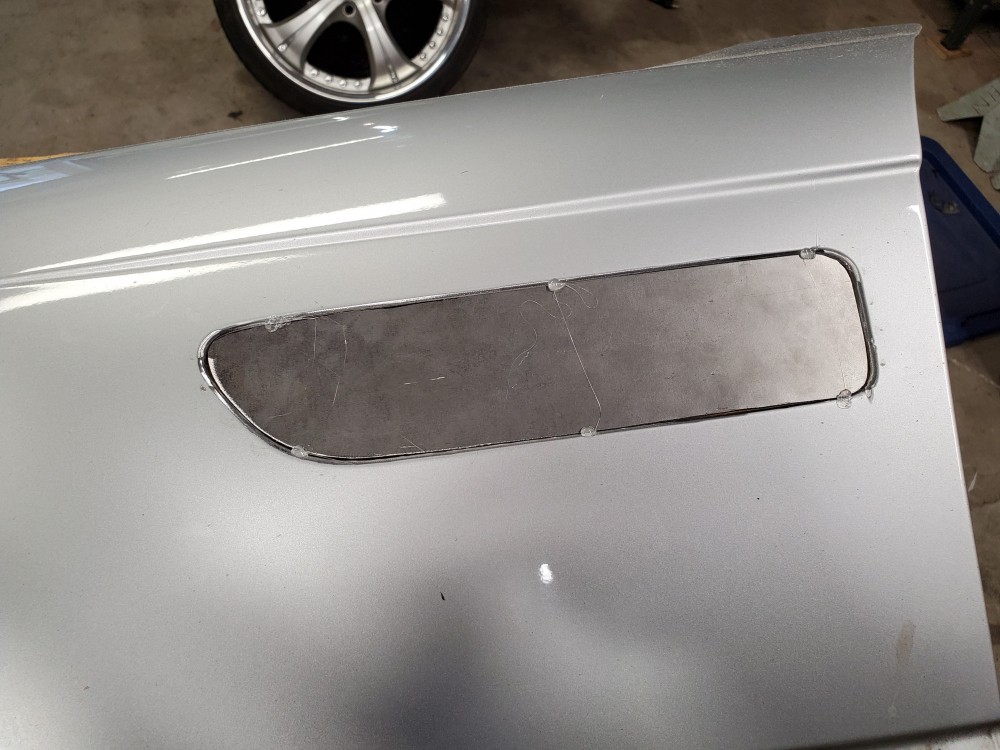
And here is from the inside.

And here it is with the scotch-weld mixed up and applied.

Honestly I think this is going to work out really well. After 12 hours we will see!
Finally got the windows cleaned on the inside as well then installed the rear quarter glass.
Still alot more little stuff to do so hoping to keep picking away at it.
-
2 hours ago, B C said:
Any chance you could share a picture of the inside of the M bumper? I’ve always been curious to see how the diffuser is mounted.
How’s the power on the M54 for drifting? Is there any need/want for more?
I can shoot you one once its off again. It clips in on the top and push pins on the bottom.
And its gets the job done haha but there's always a want for more but I'm not sure the direction I want to spend money to go.
-
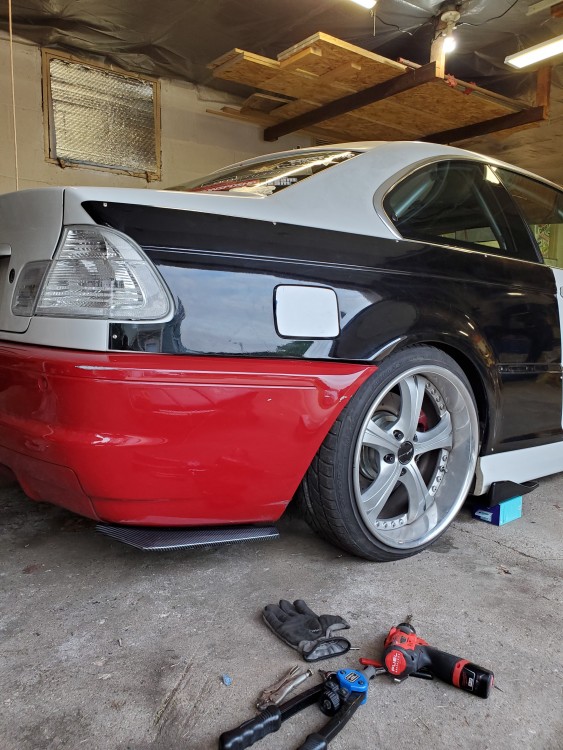
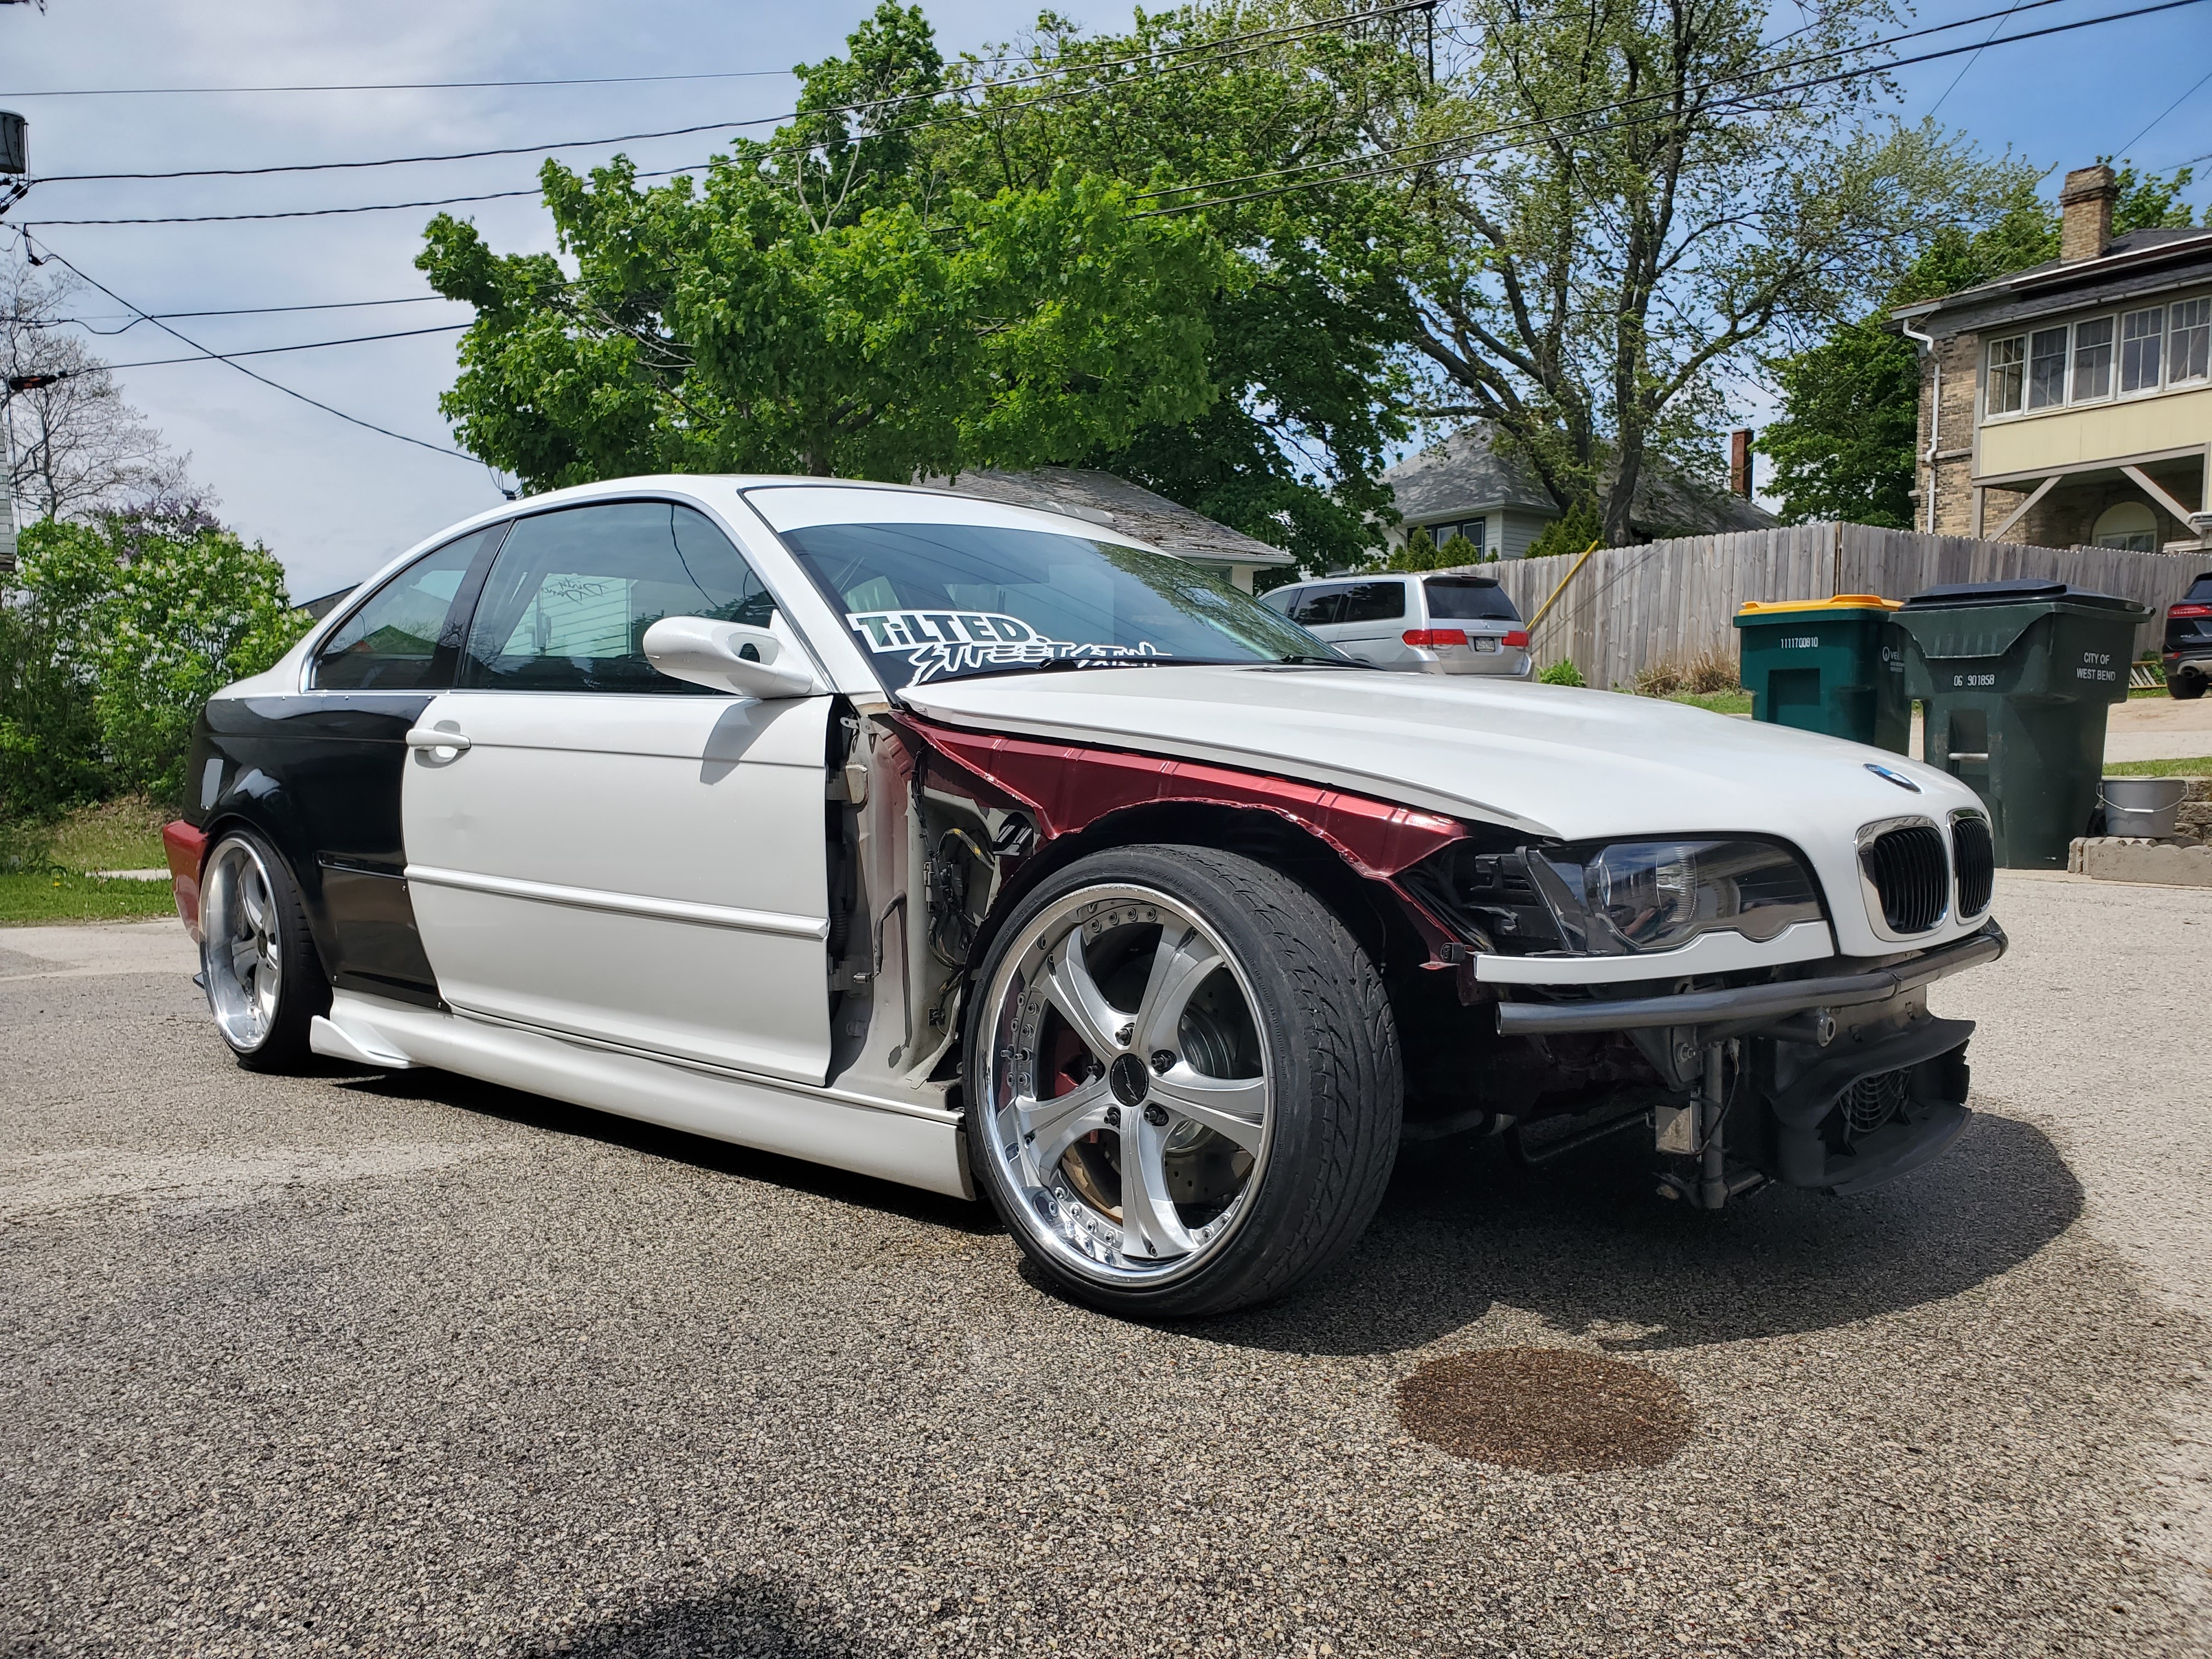
Picked up a M bumper this past week locally for a really good deal. It even came with the diffuser and crash bar, although I don't need the crash bar and its an aluminum one rather than carbon kevlar since it was off a 2001.
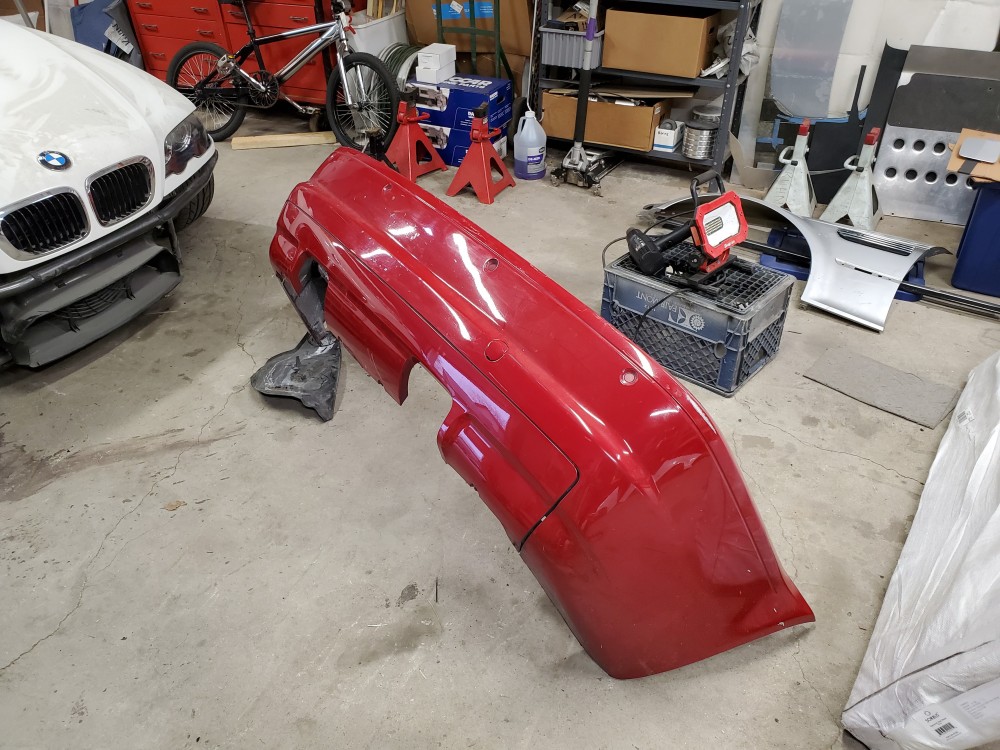
Here's a photo of it somewhat mounted. I have to do some work with the exhaust, and would really like to have the openings in the diffuser shaved. I definitely don't want a dual exhaust and would rather shave the openings and make a new opening farther to the left for the exhaust in the future.

I really like how it looks especially since I was between finding a M bumper or finding a lip for my non-m bumper (which is very difficult to do)
-
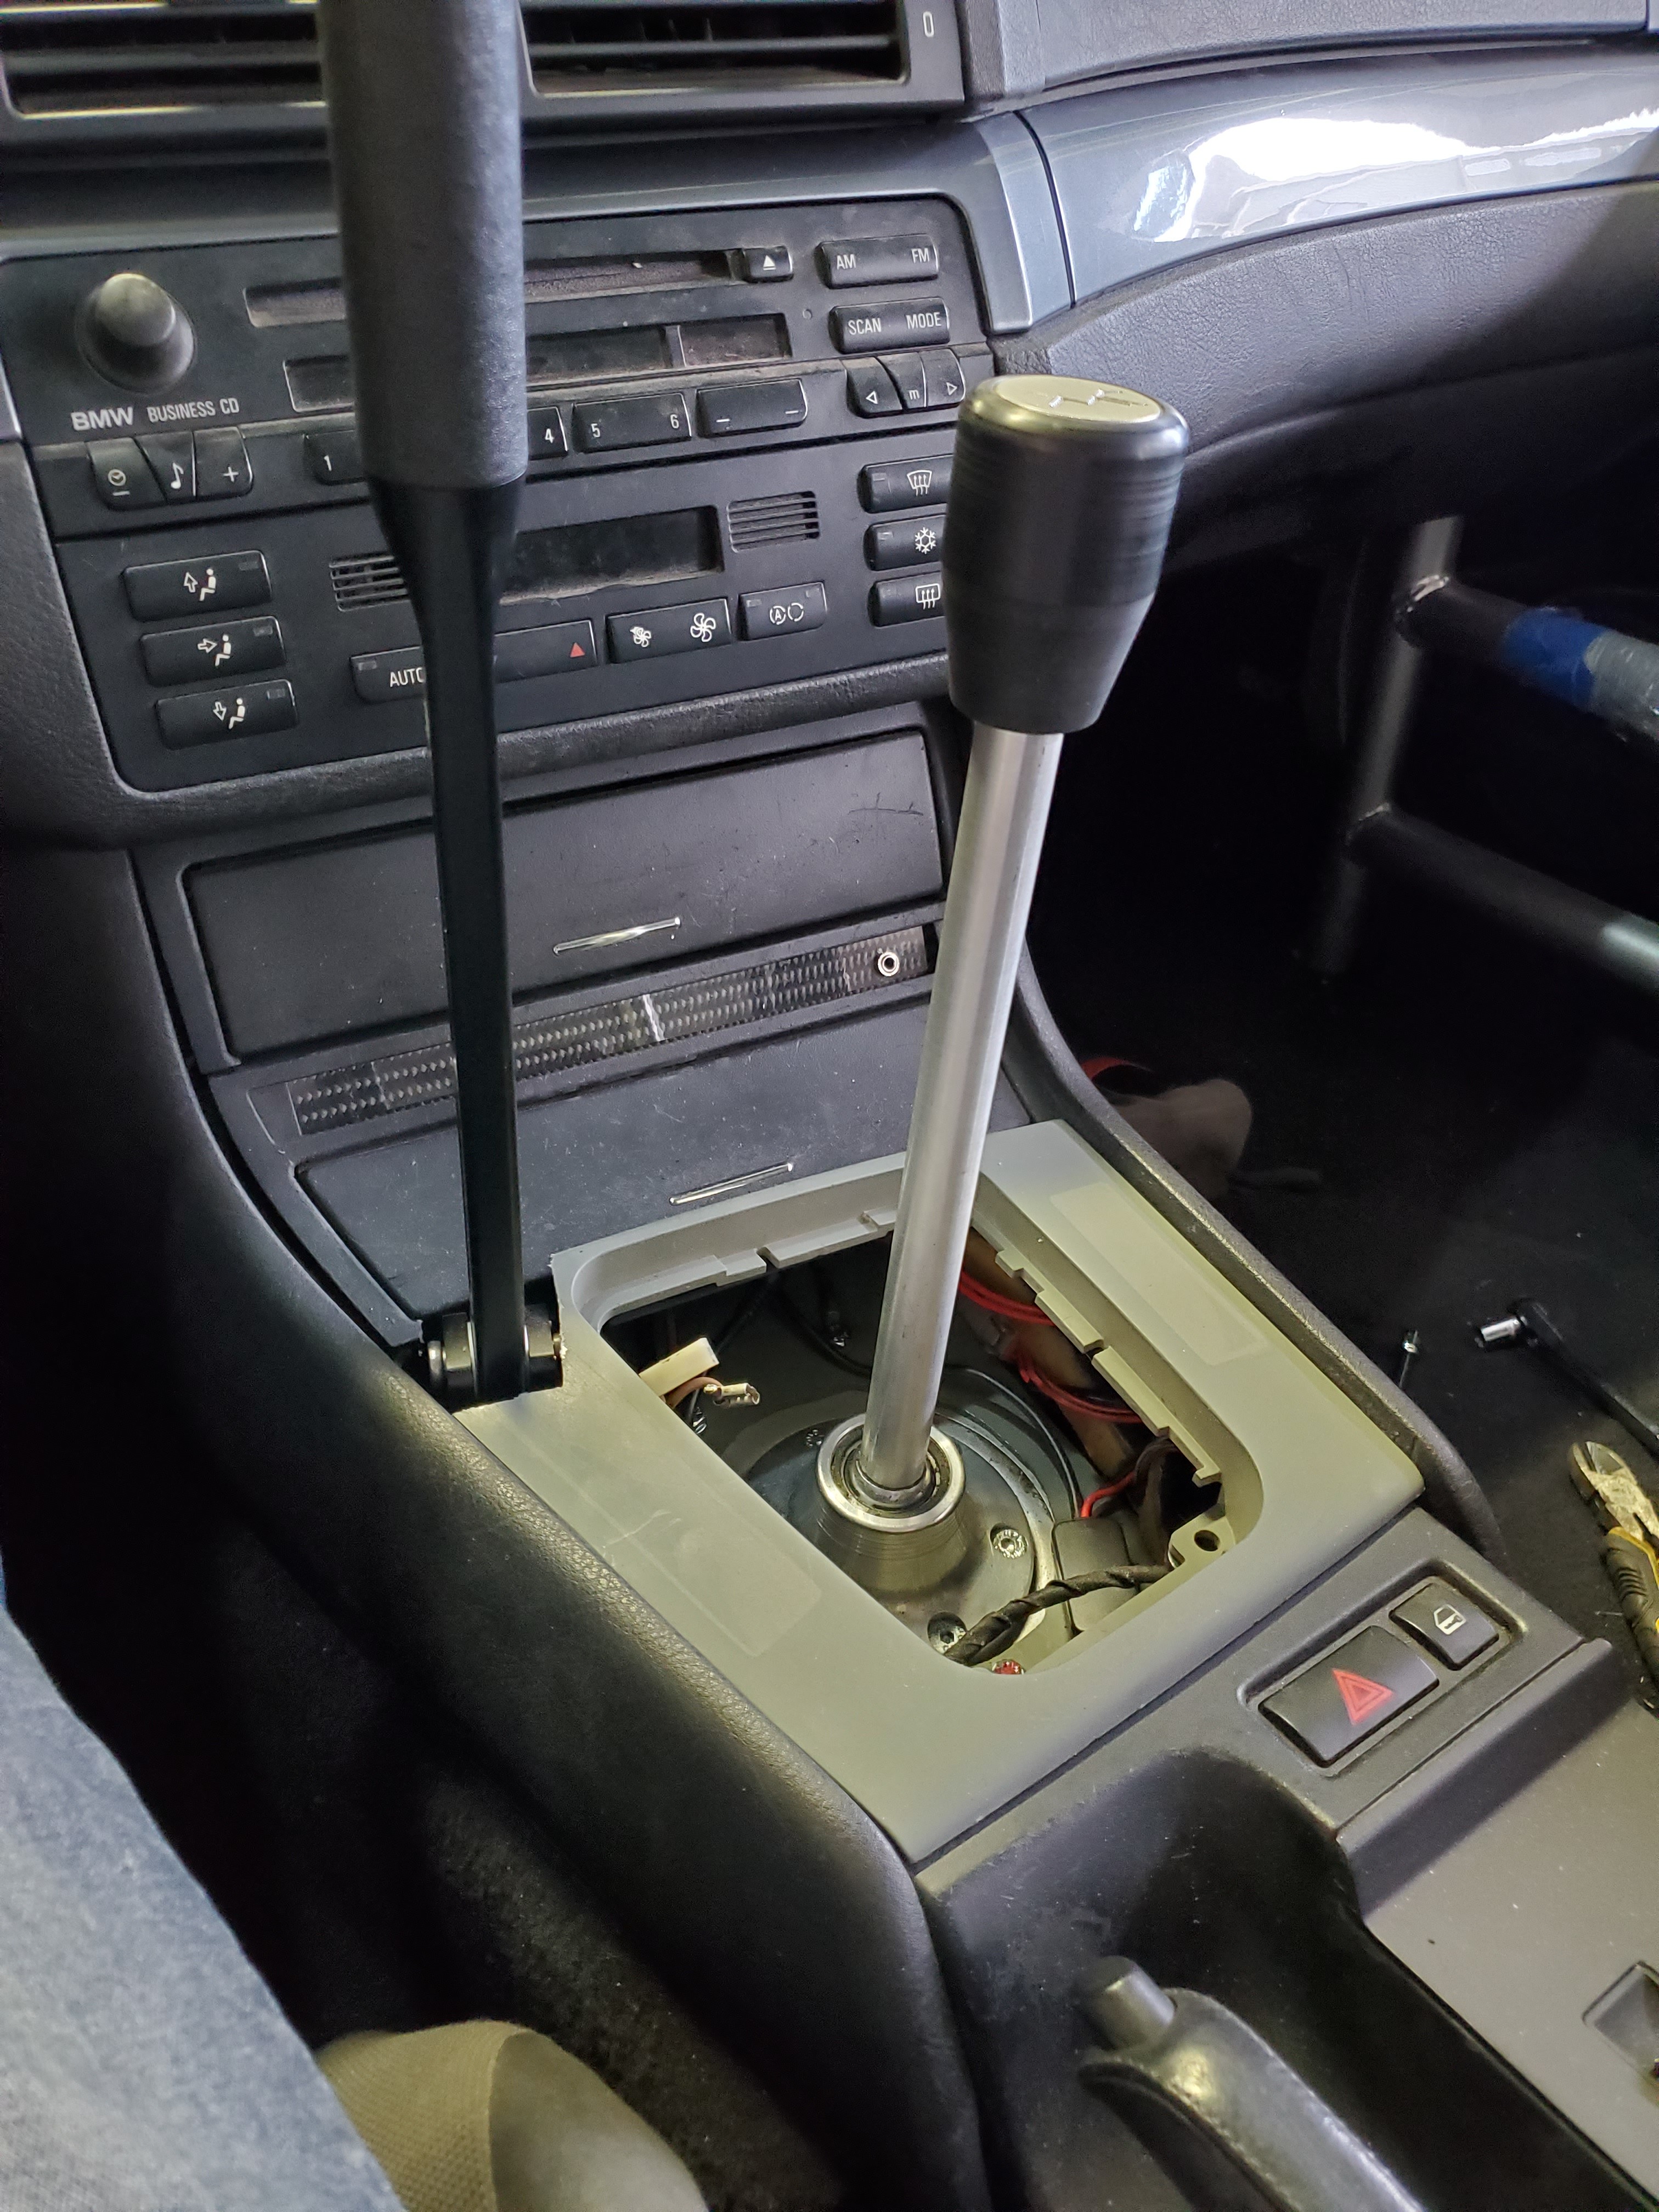
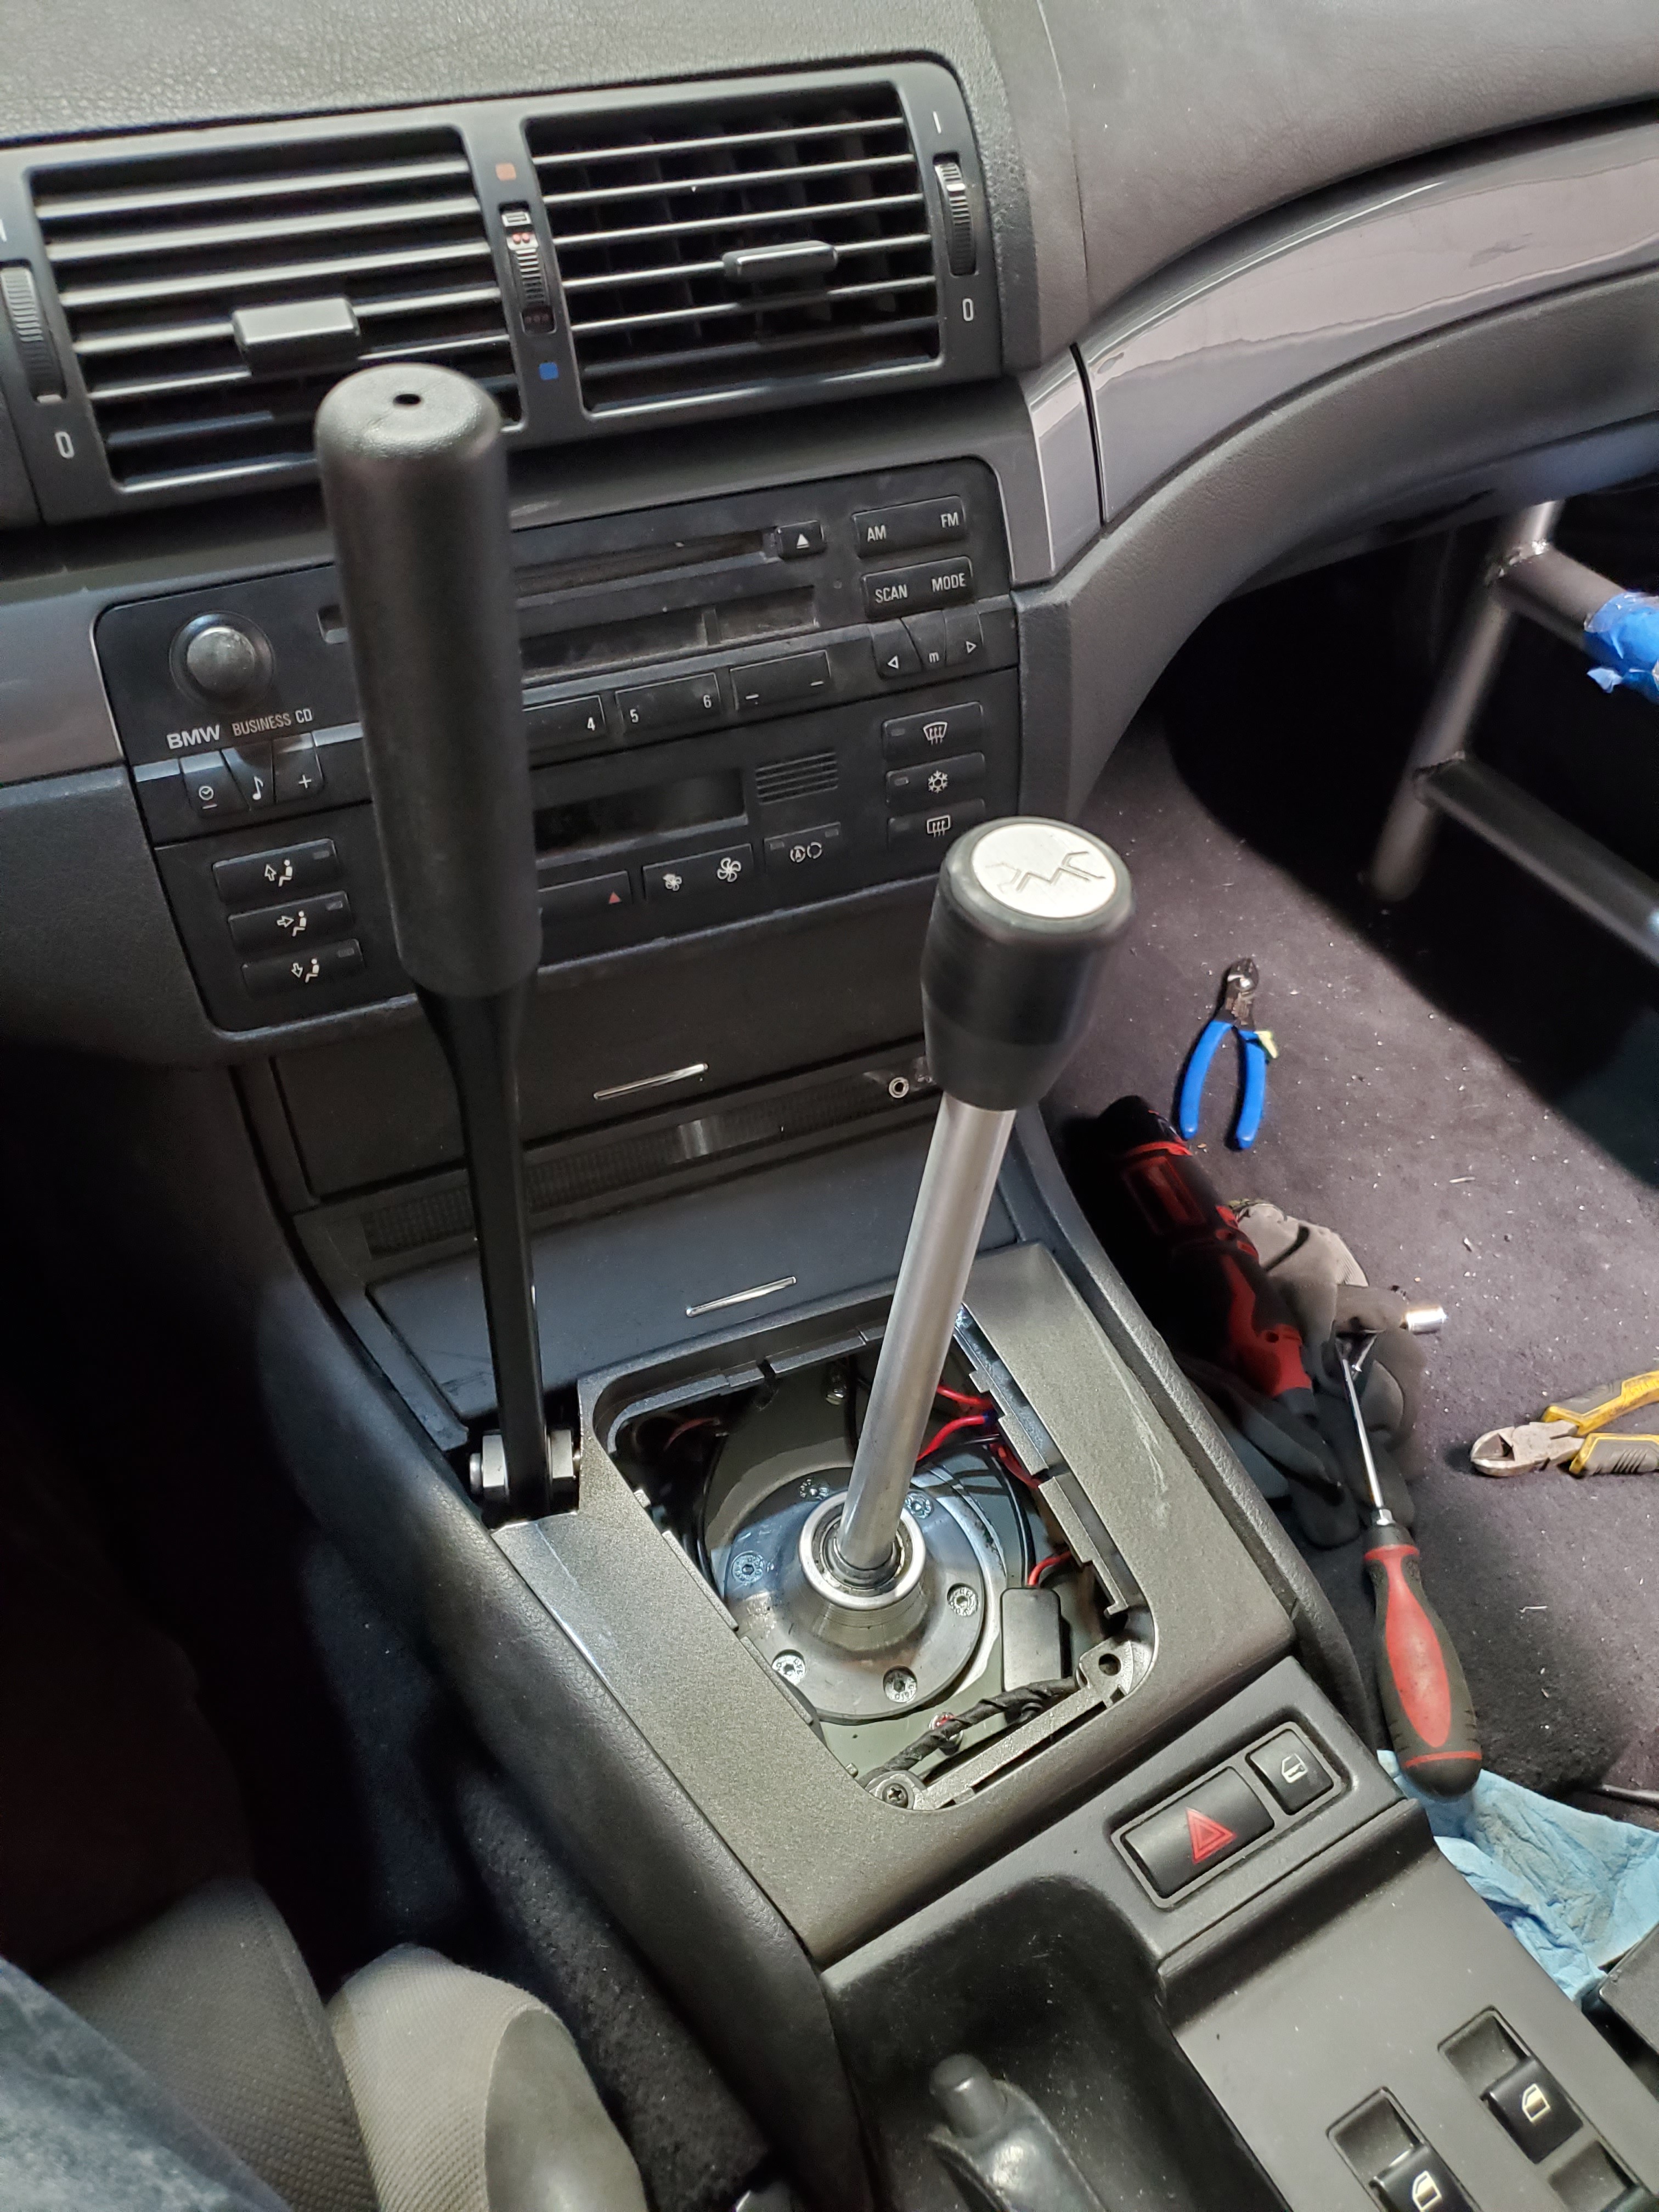
UPDATE
Finished up the shaved shifter trim by trimming around the handbrake and then painting. I used some paint that is pretty close to the dash trim color but its not perfect.


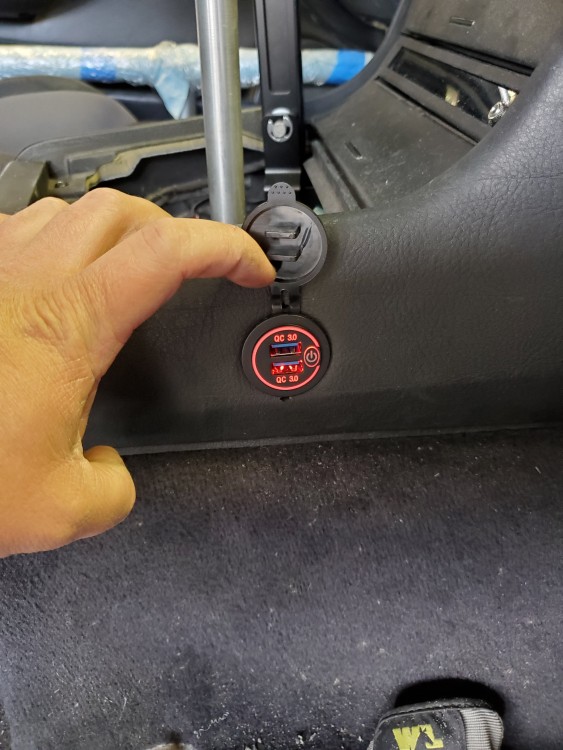
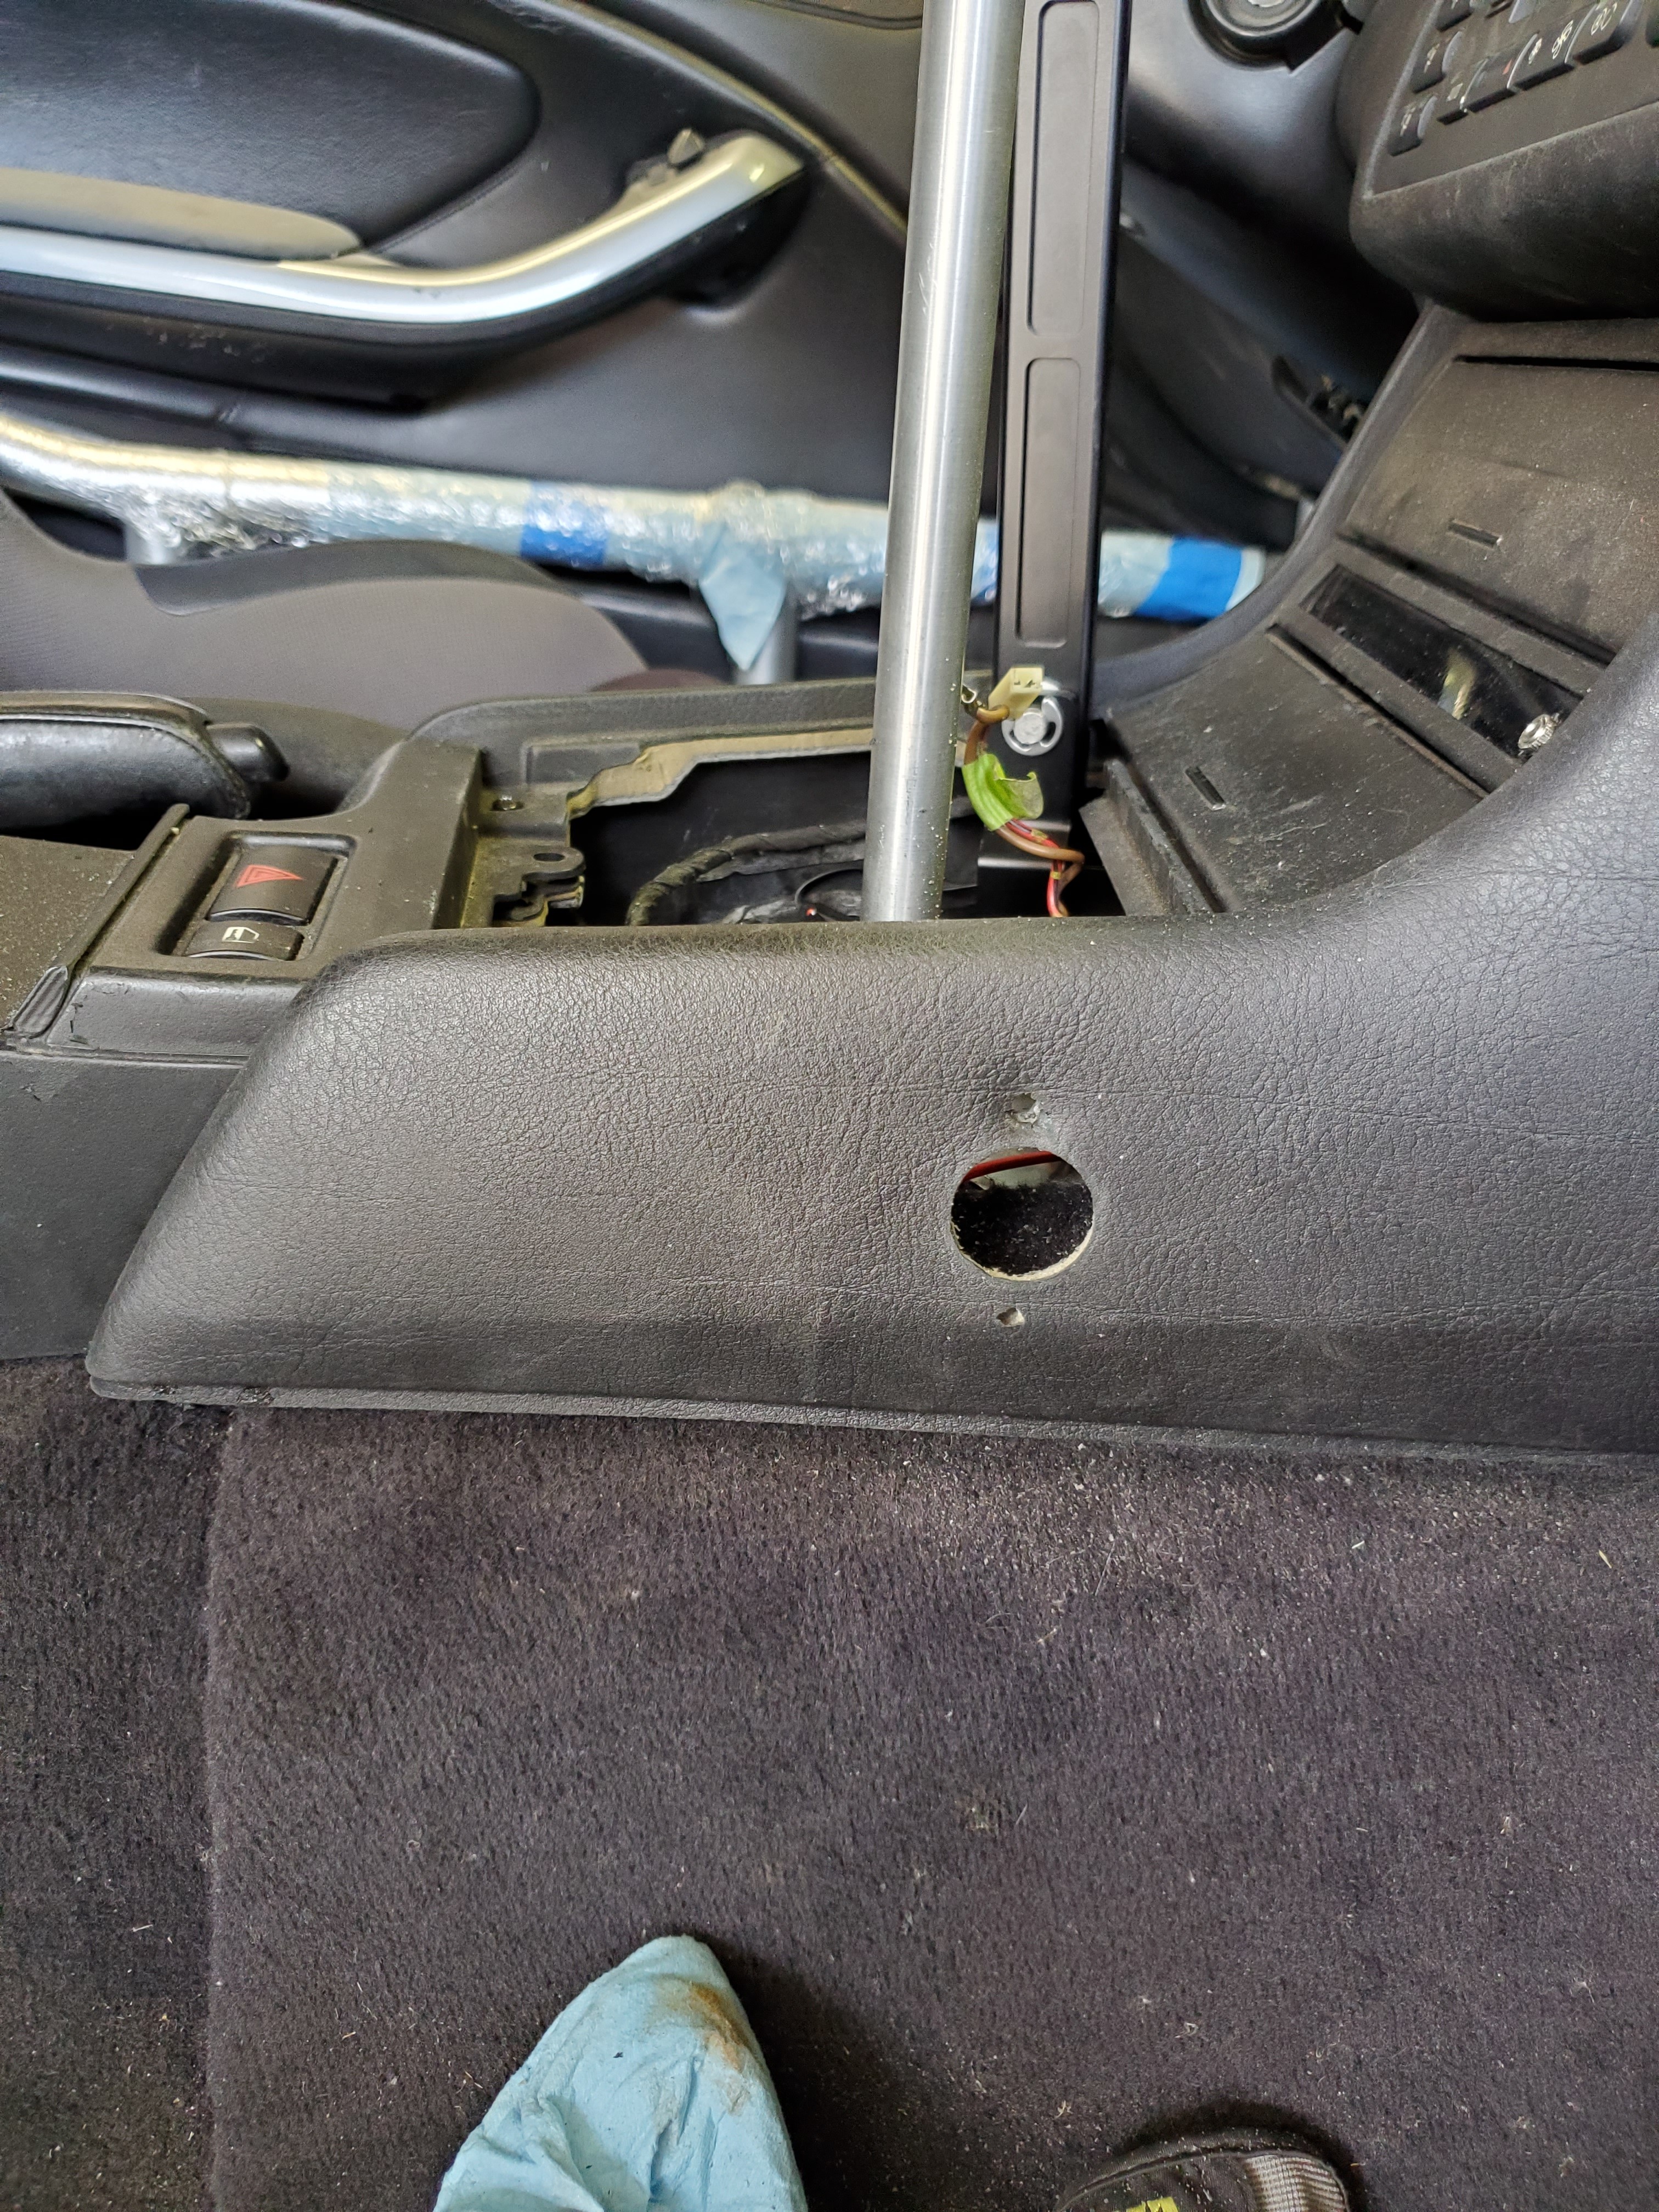
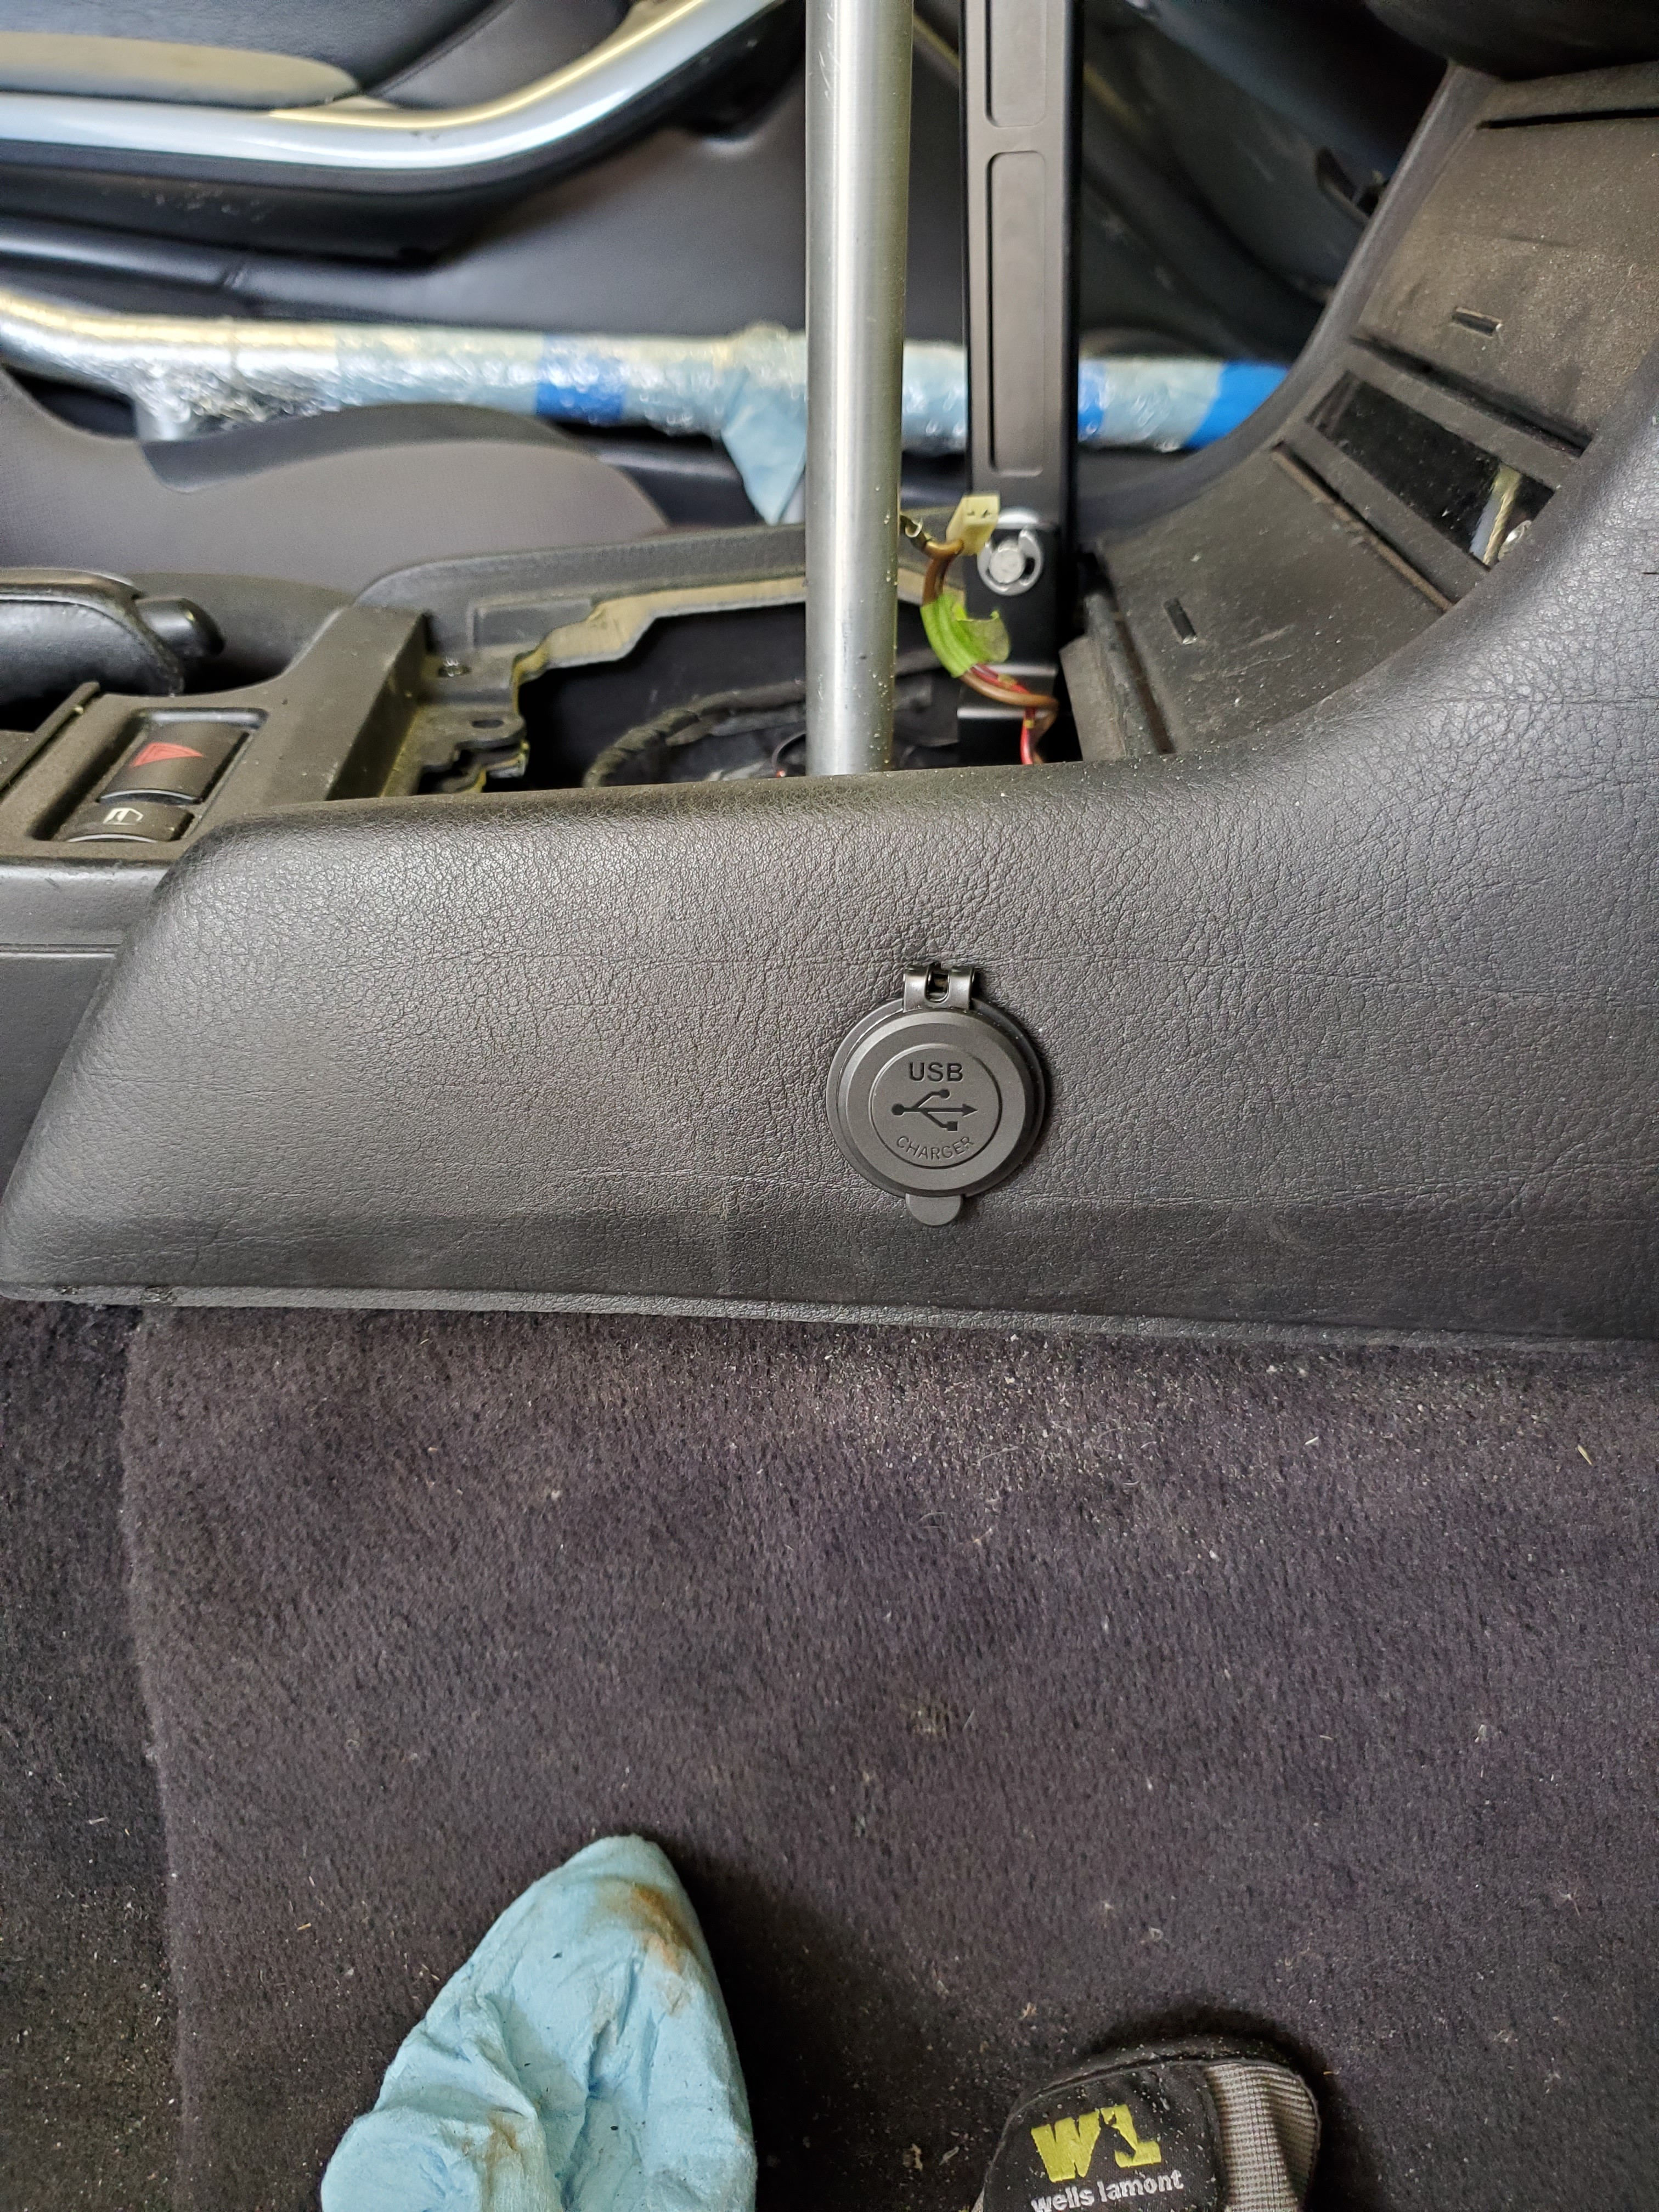
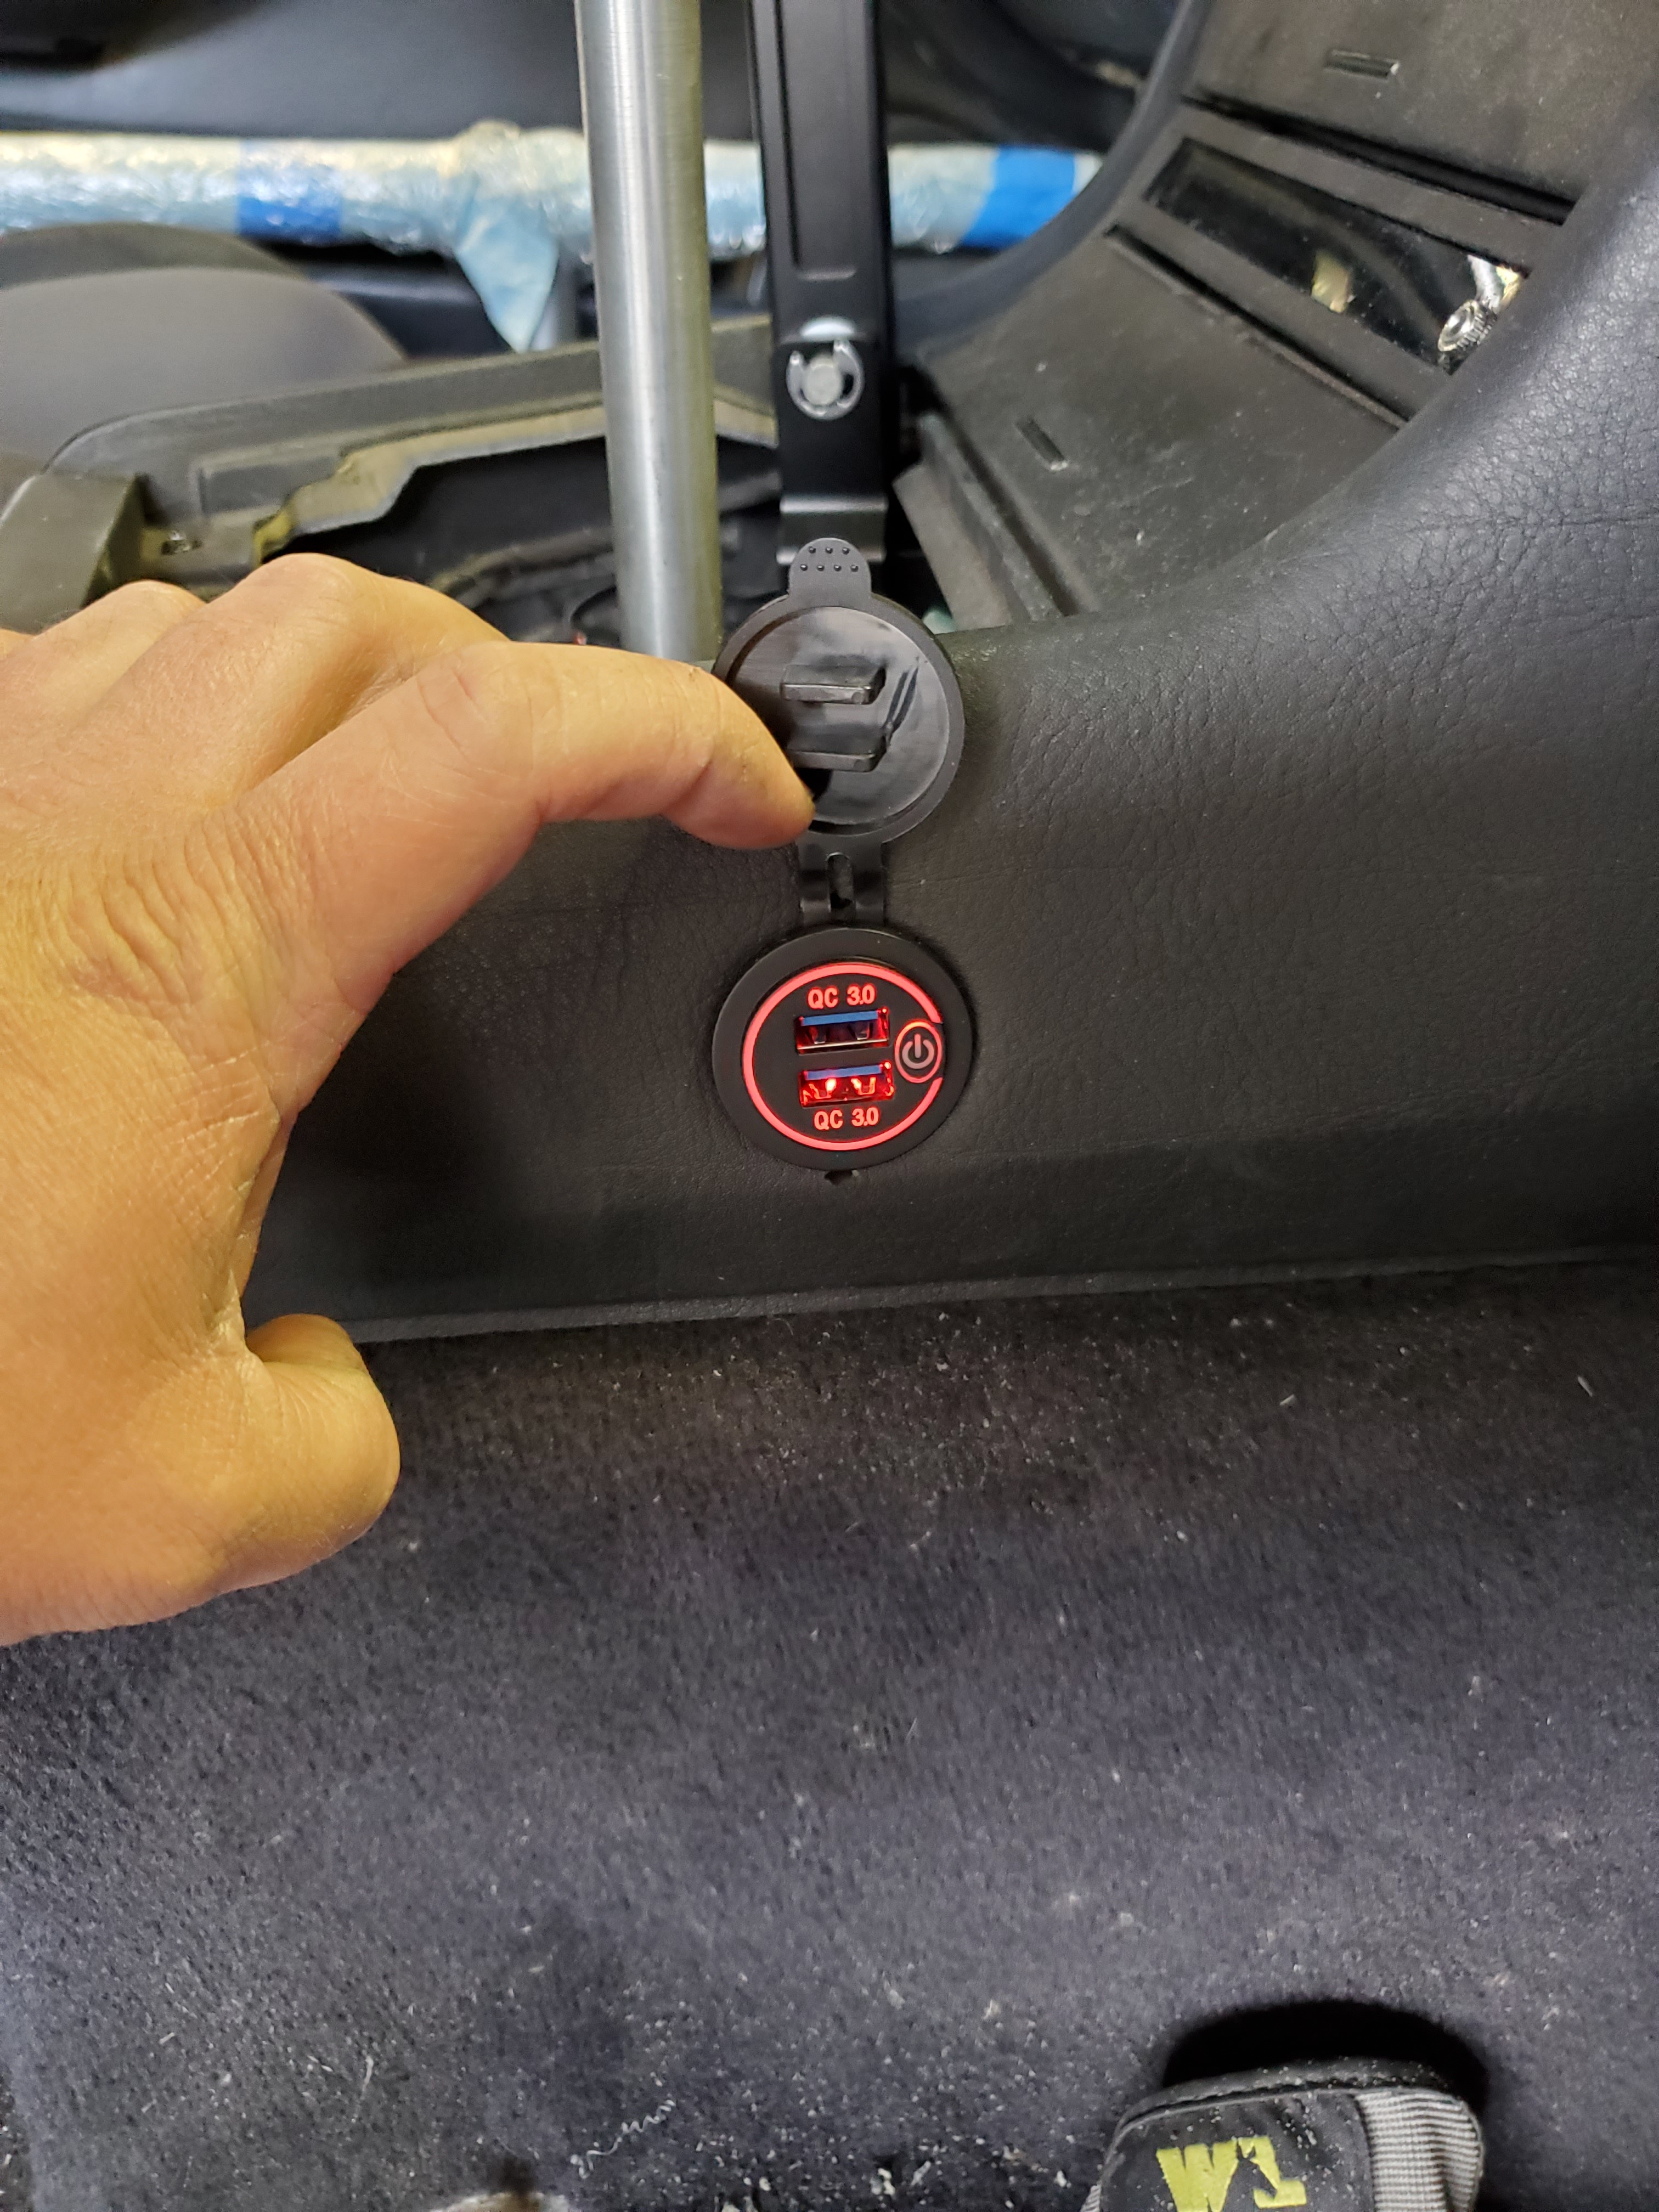
Next I finally found something to do with the hole in my dash that had a battery cut out in it (that was from the sedan).
Got this really nice usb charging port on Amazon. I chose this once since it has a power button feature, I wired it to the original power outlet wires so I didn't want it to always be on like the factory one.
Before
installed

Turned on
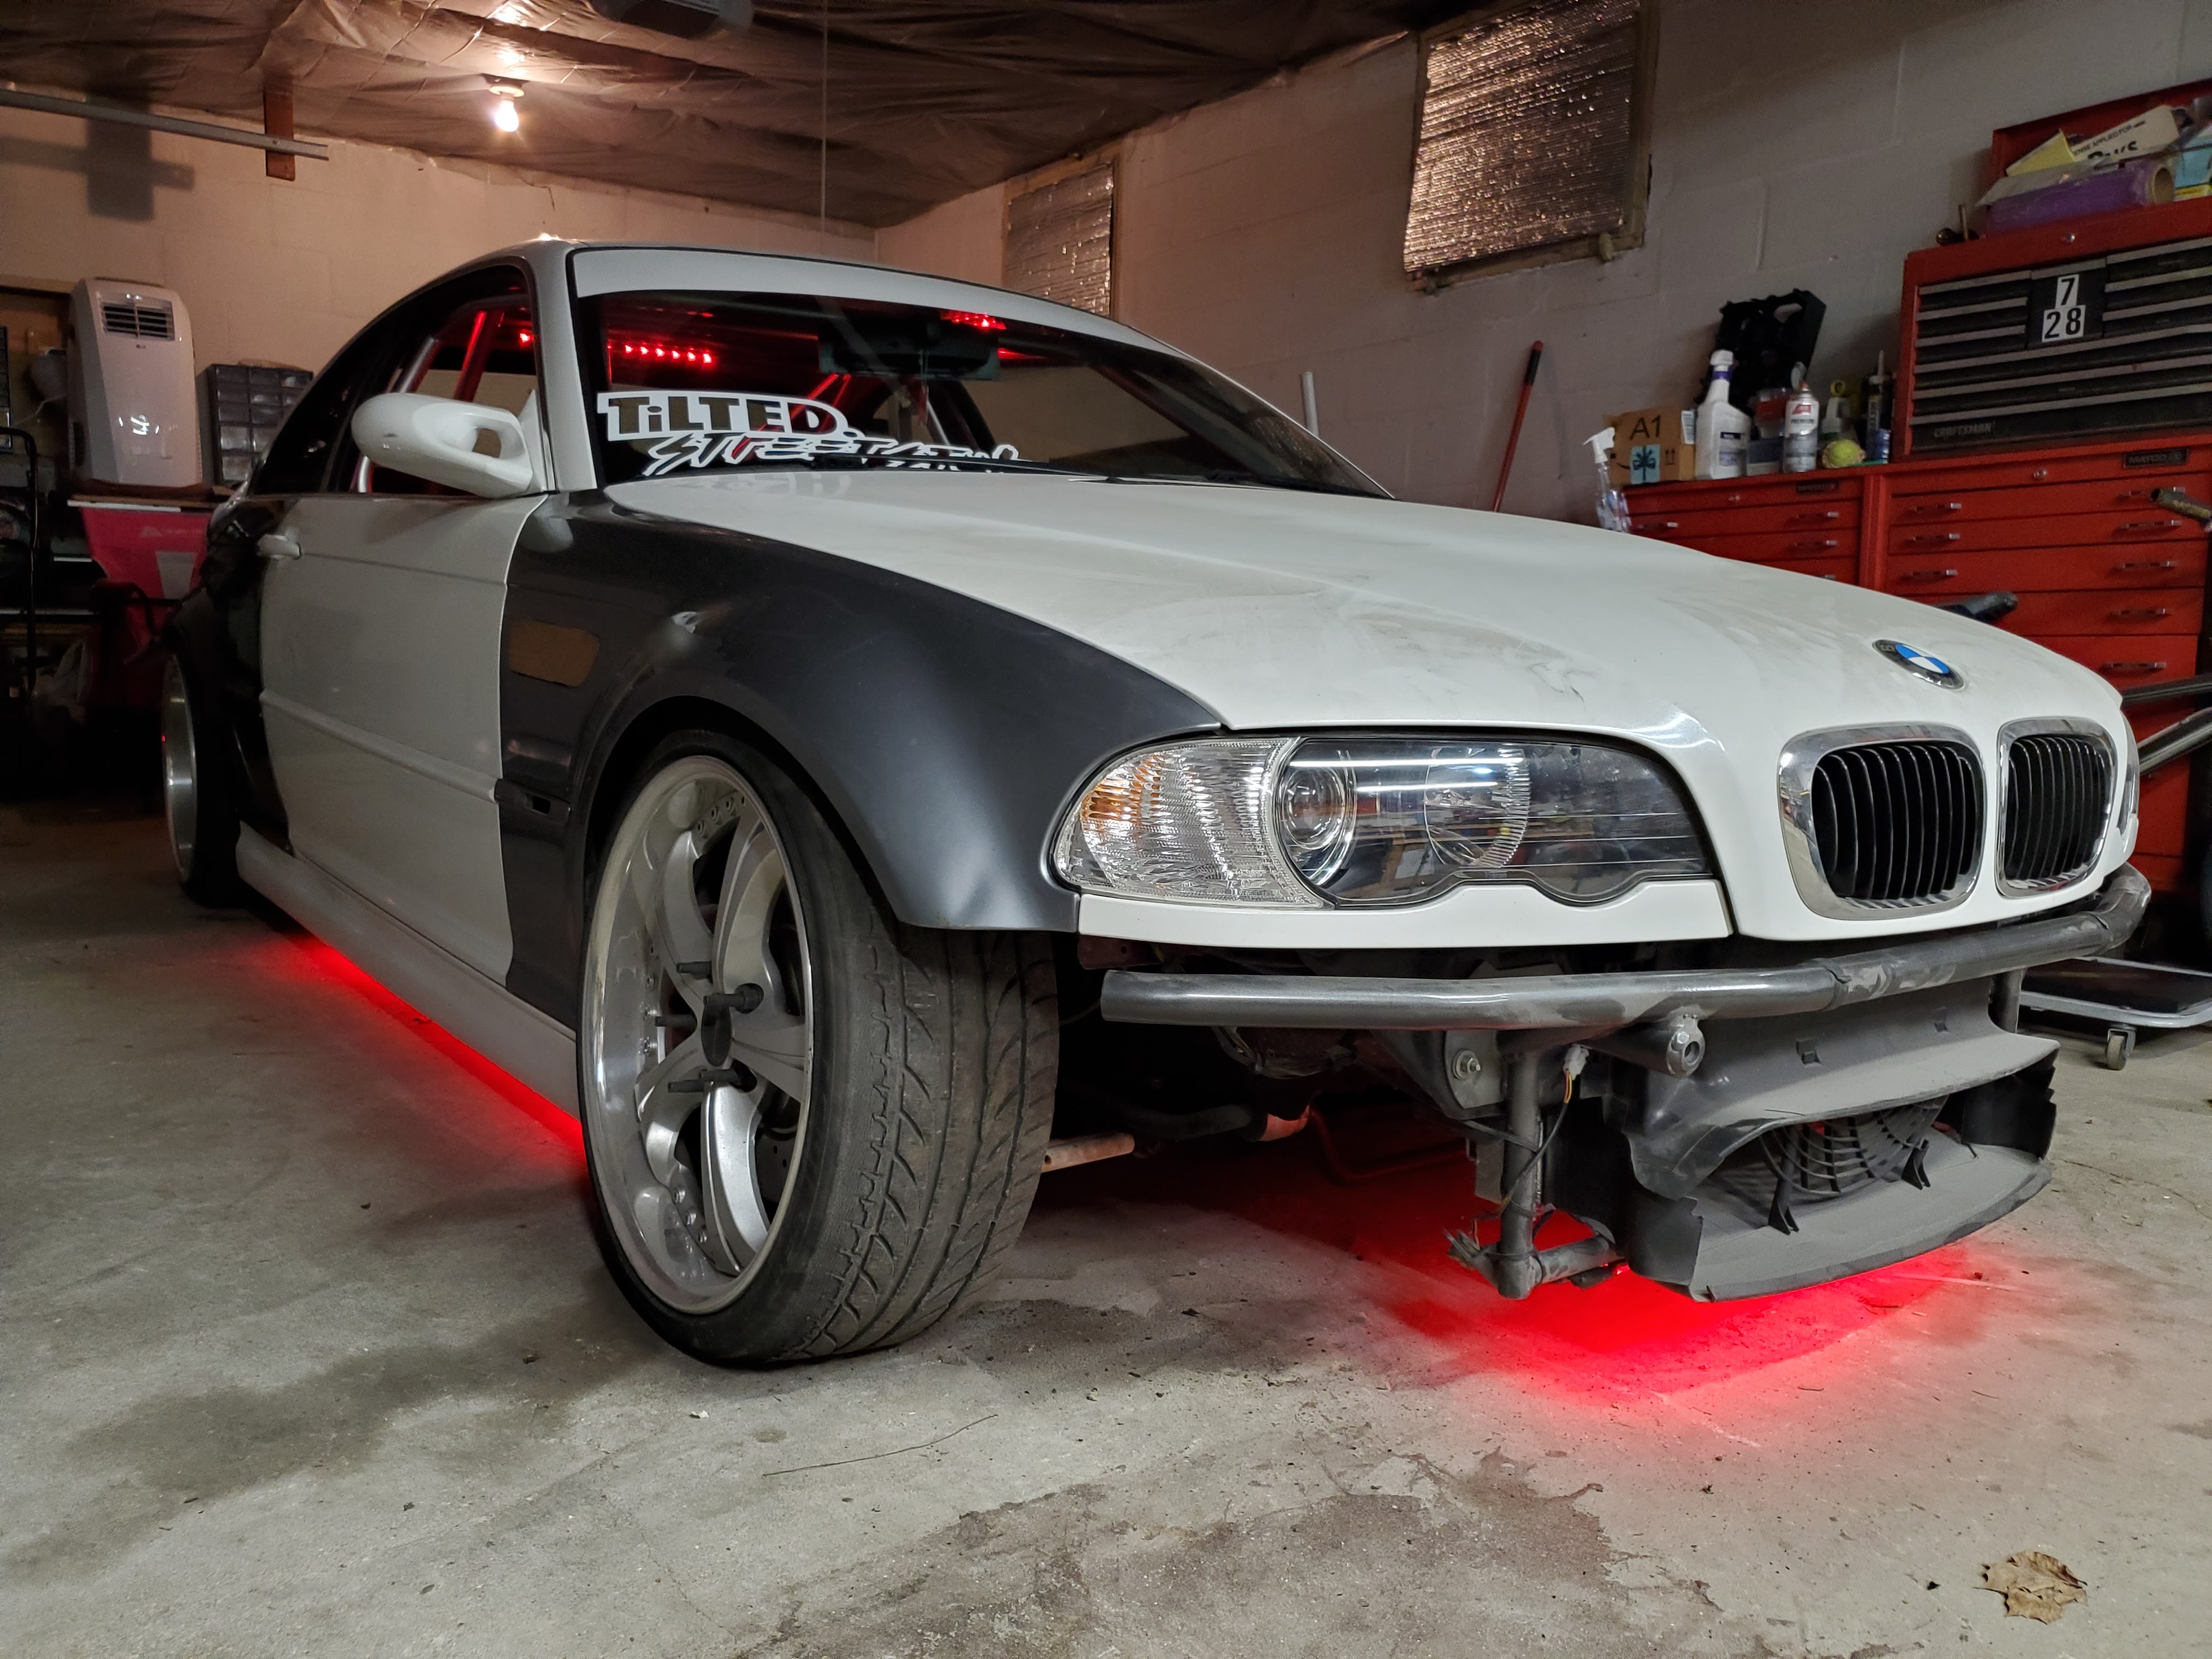
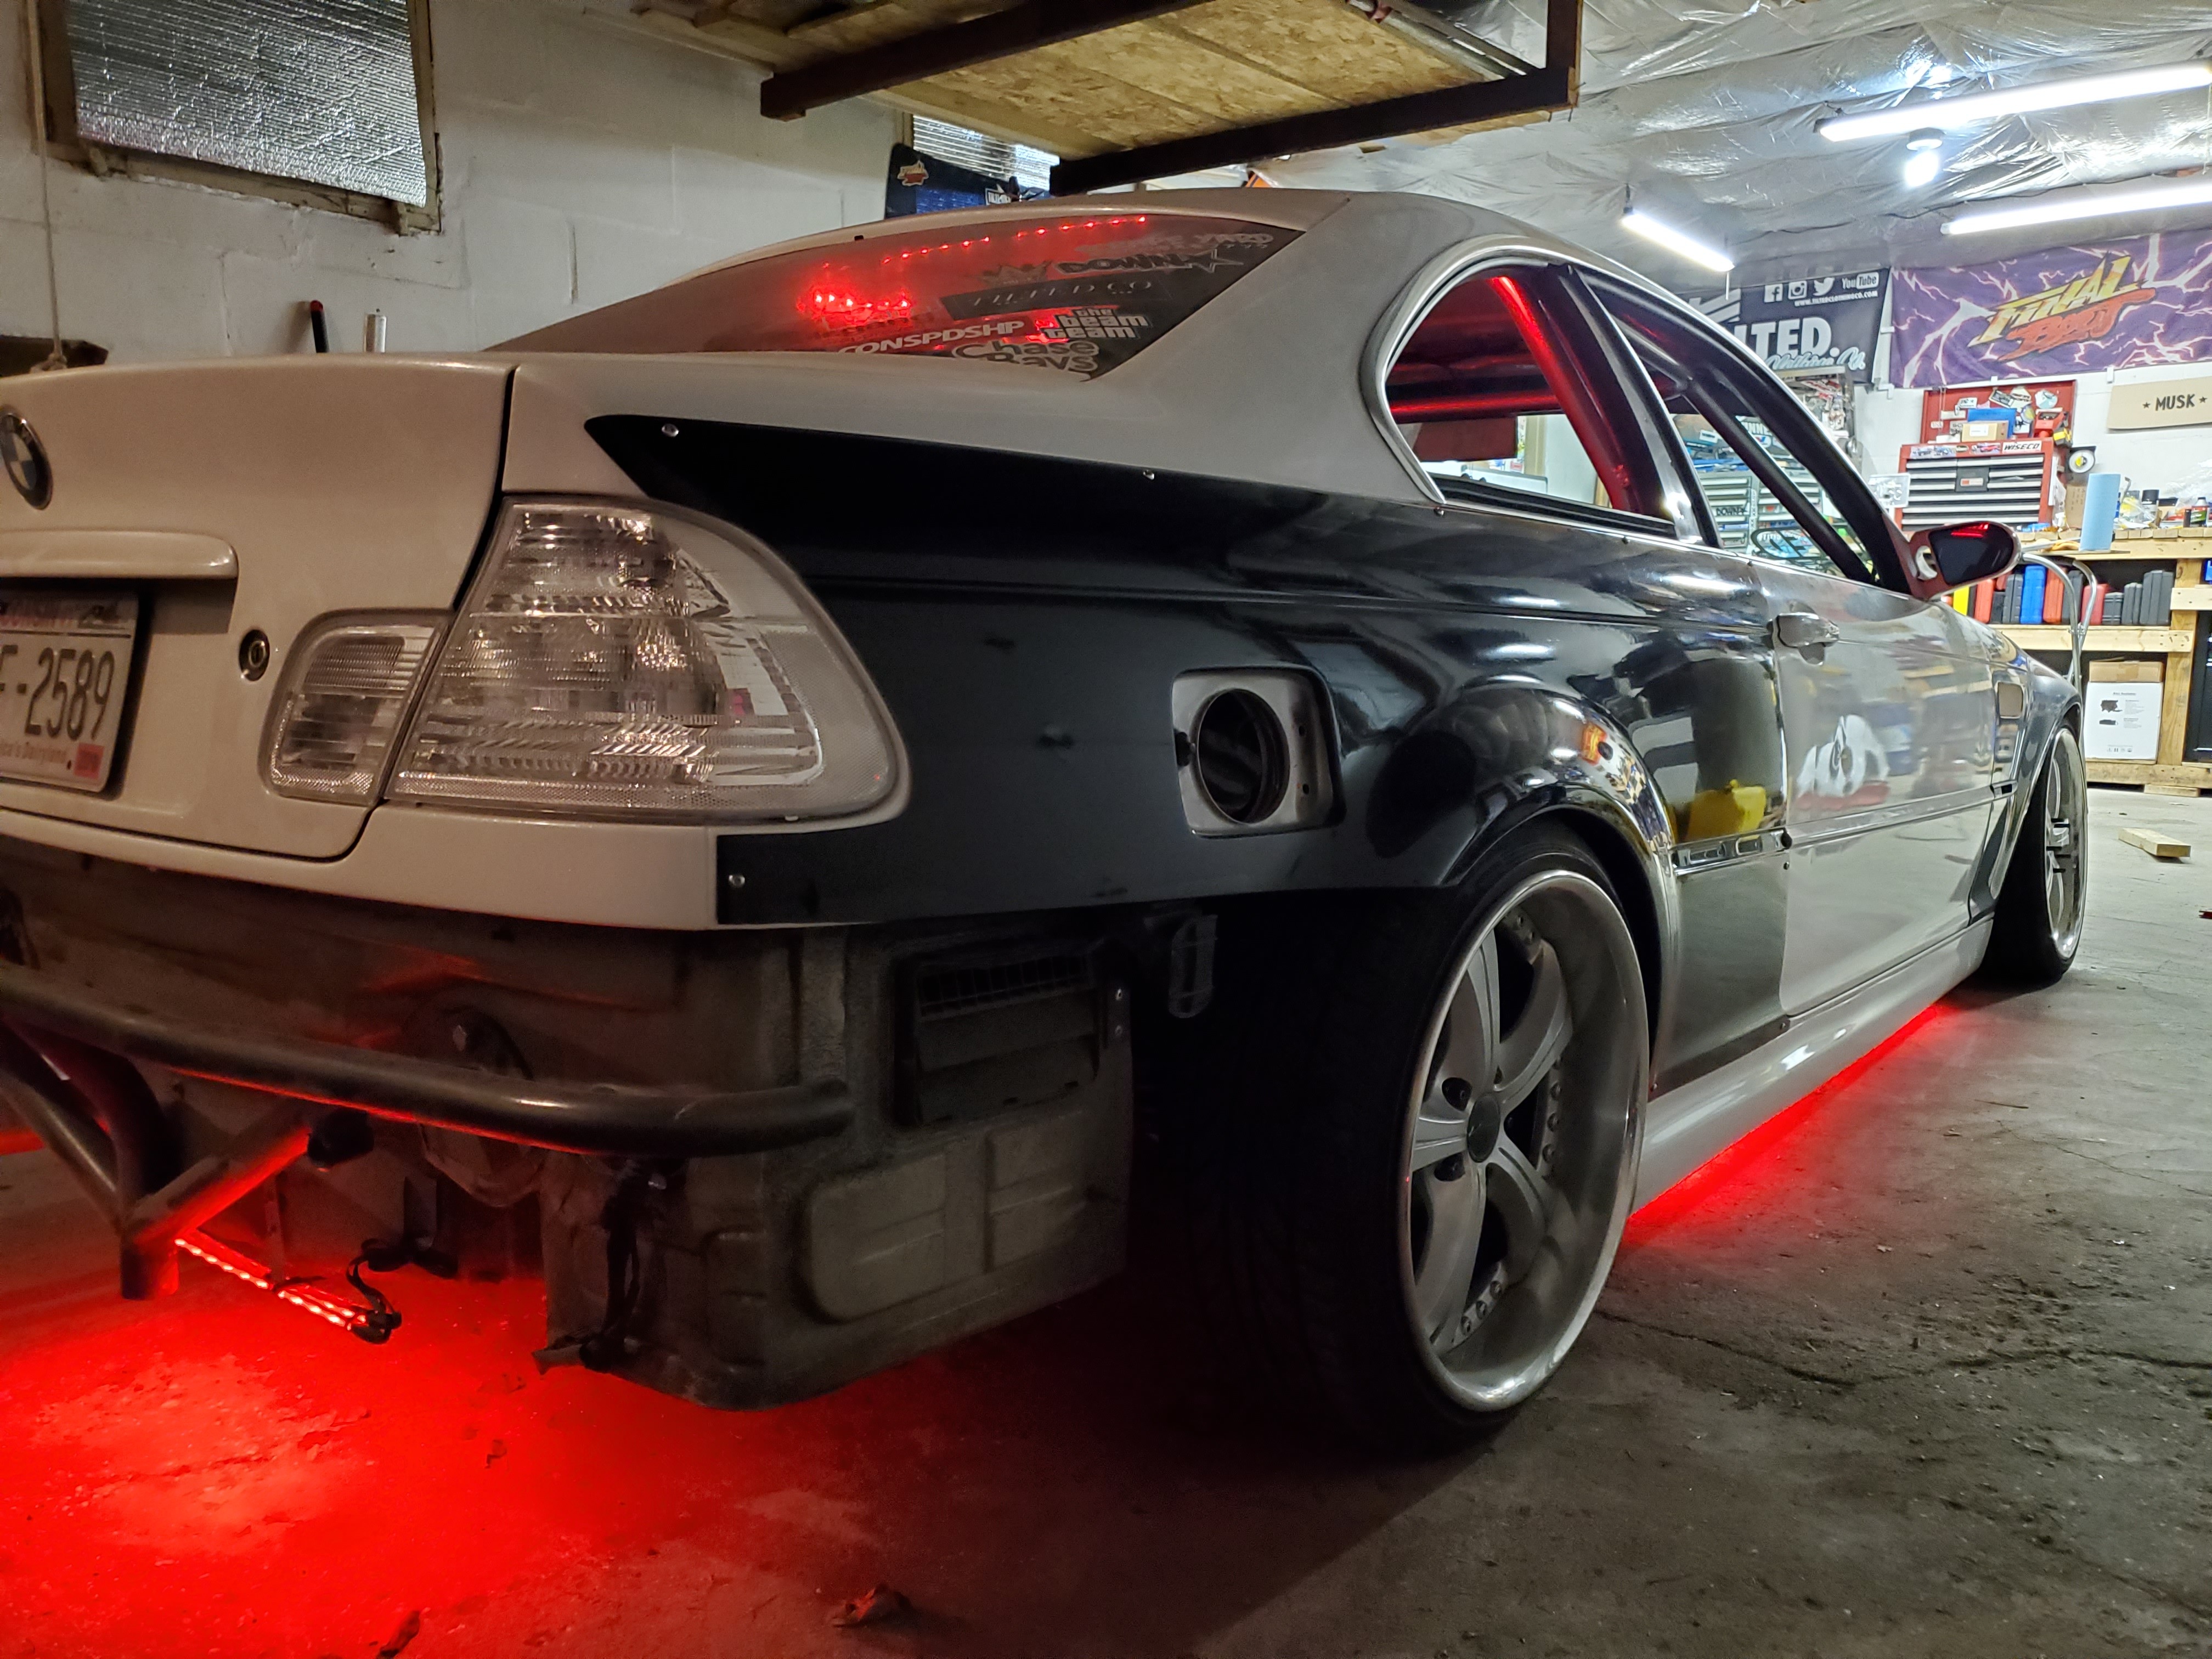
Next I did some repairs from damage.
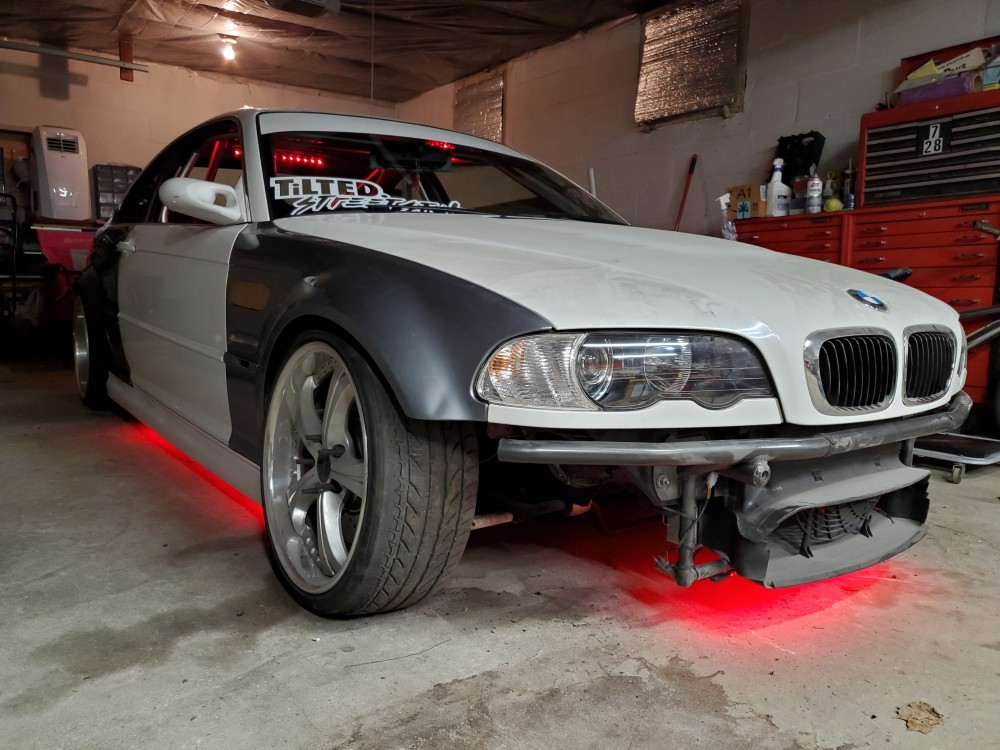
Last season I ripped off the underglow and never got around to fixing it lol. So since I had to respray some undercoating where the cage bases are welded in it was a good time to fix the underglow.
Replaced 2 of the strips and resecured everything.

Next I decided to try and shave the M fenders.. luckily I only tried on the passenger one. Even though I went slow and tried to disperse the heat I still warped it 🙃. I tried to fix it with filler and its better, but still not good.
Here's the only 2 photos I took since I got really discouraged.
Thats it for now.
- Jdesign, jc43089 and patsbimmer1
-
3
-
12 minutes ago, Rekpoint said:
Is Earl slacking? he still needs to get those hood shocks I got to you.
No i got them haha just been too lazy to want to realign the hood lmao
-
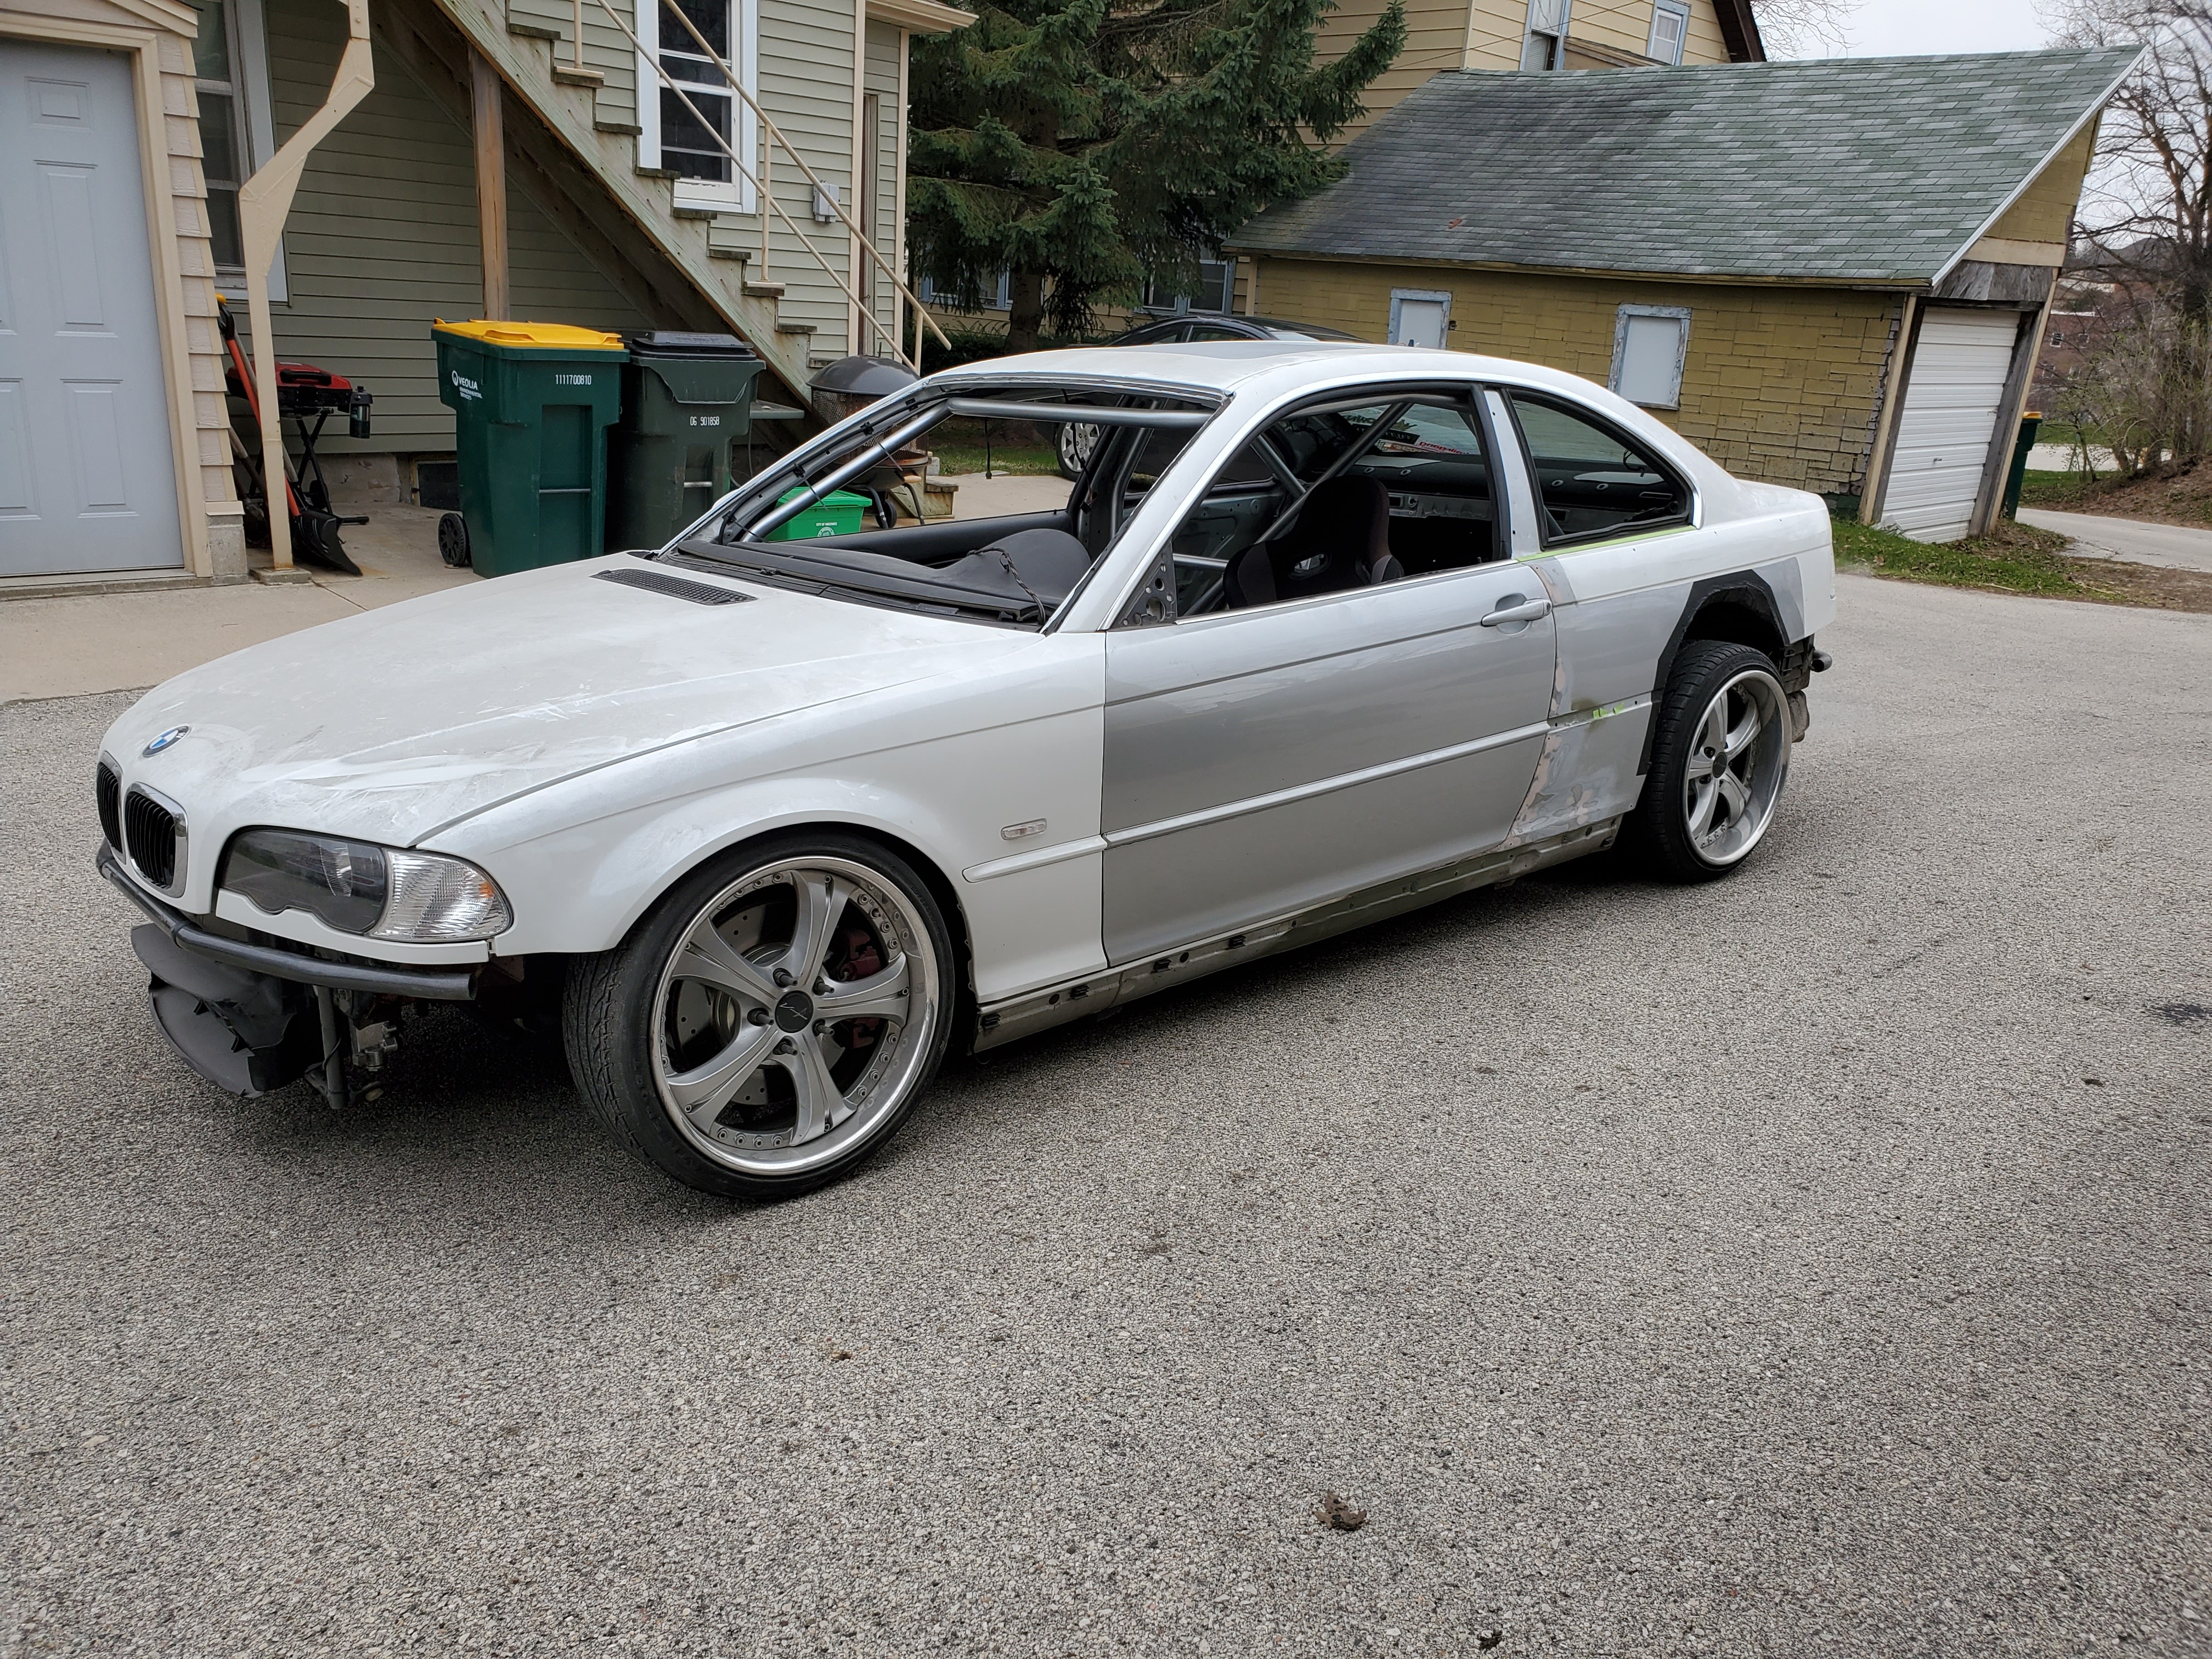
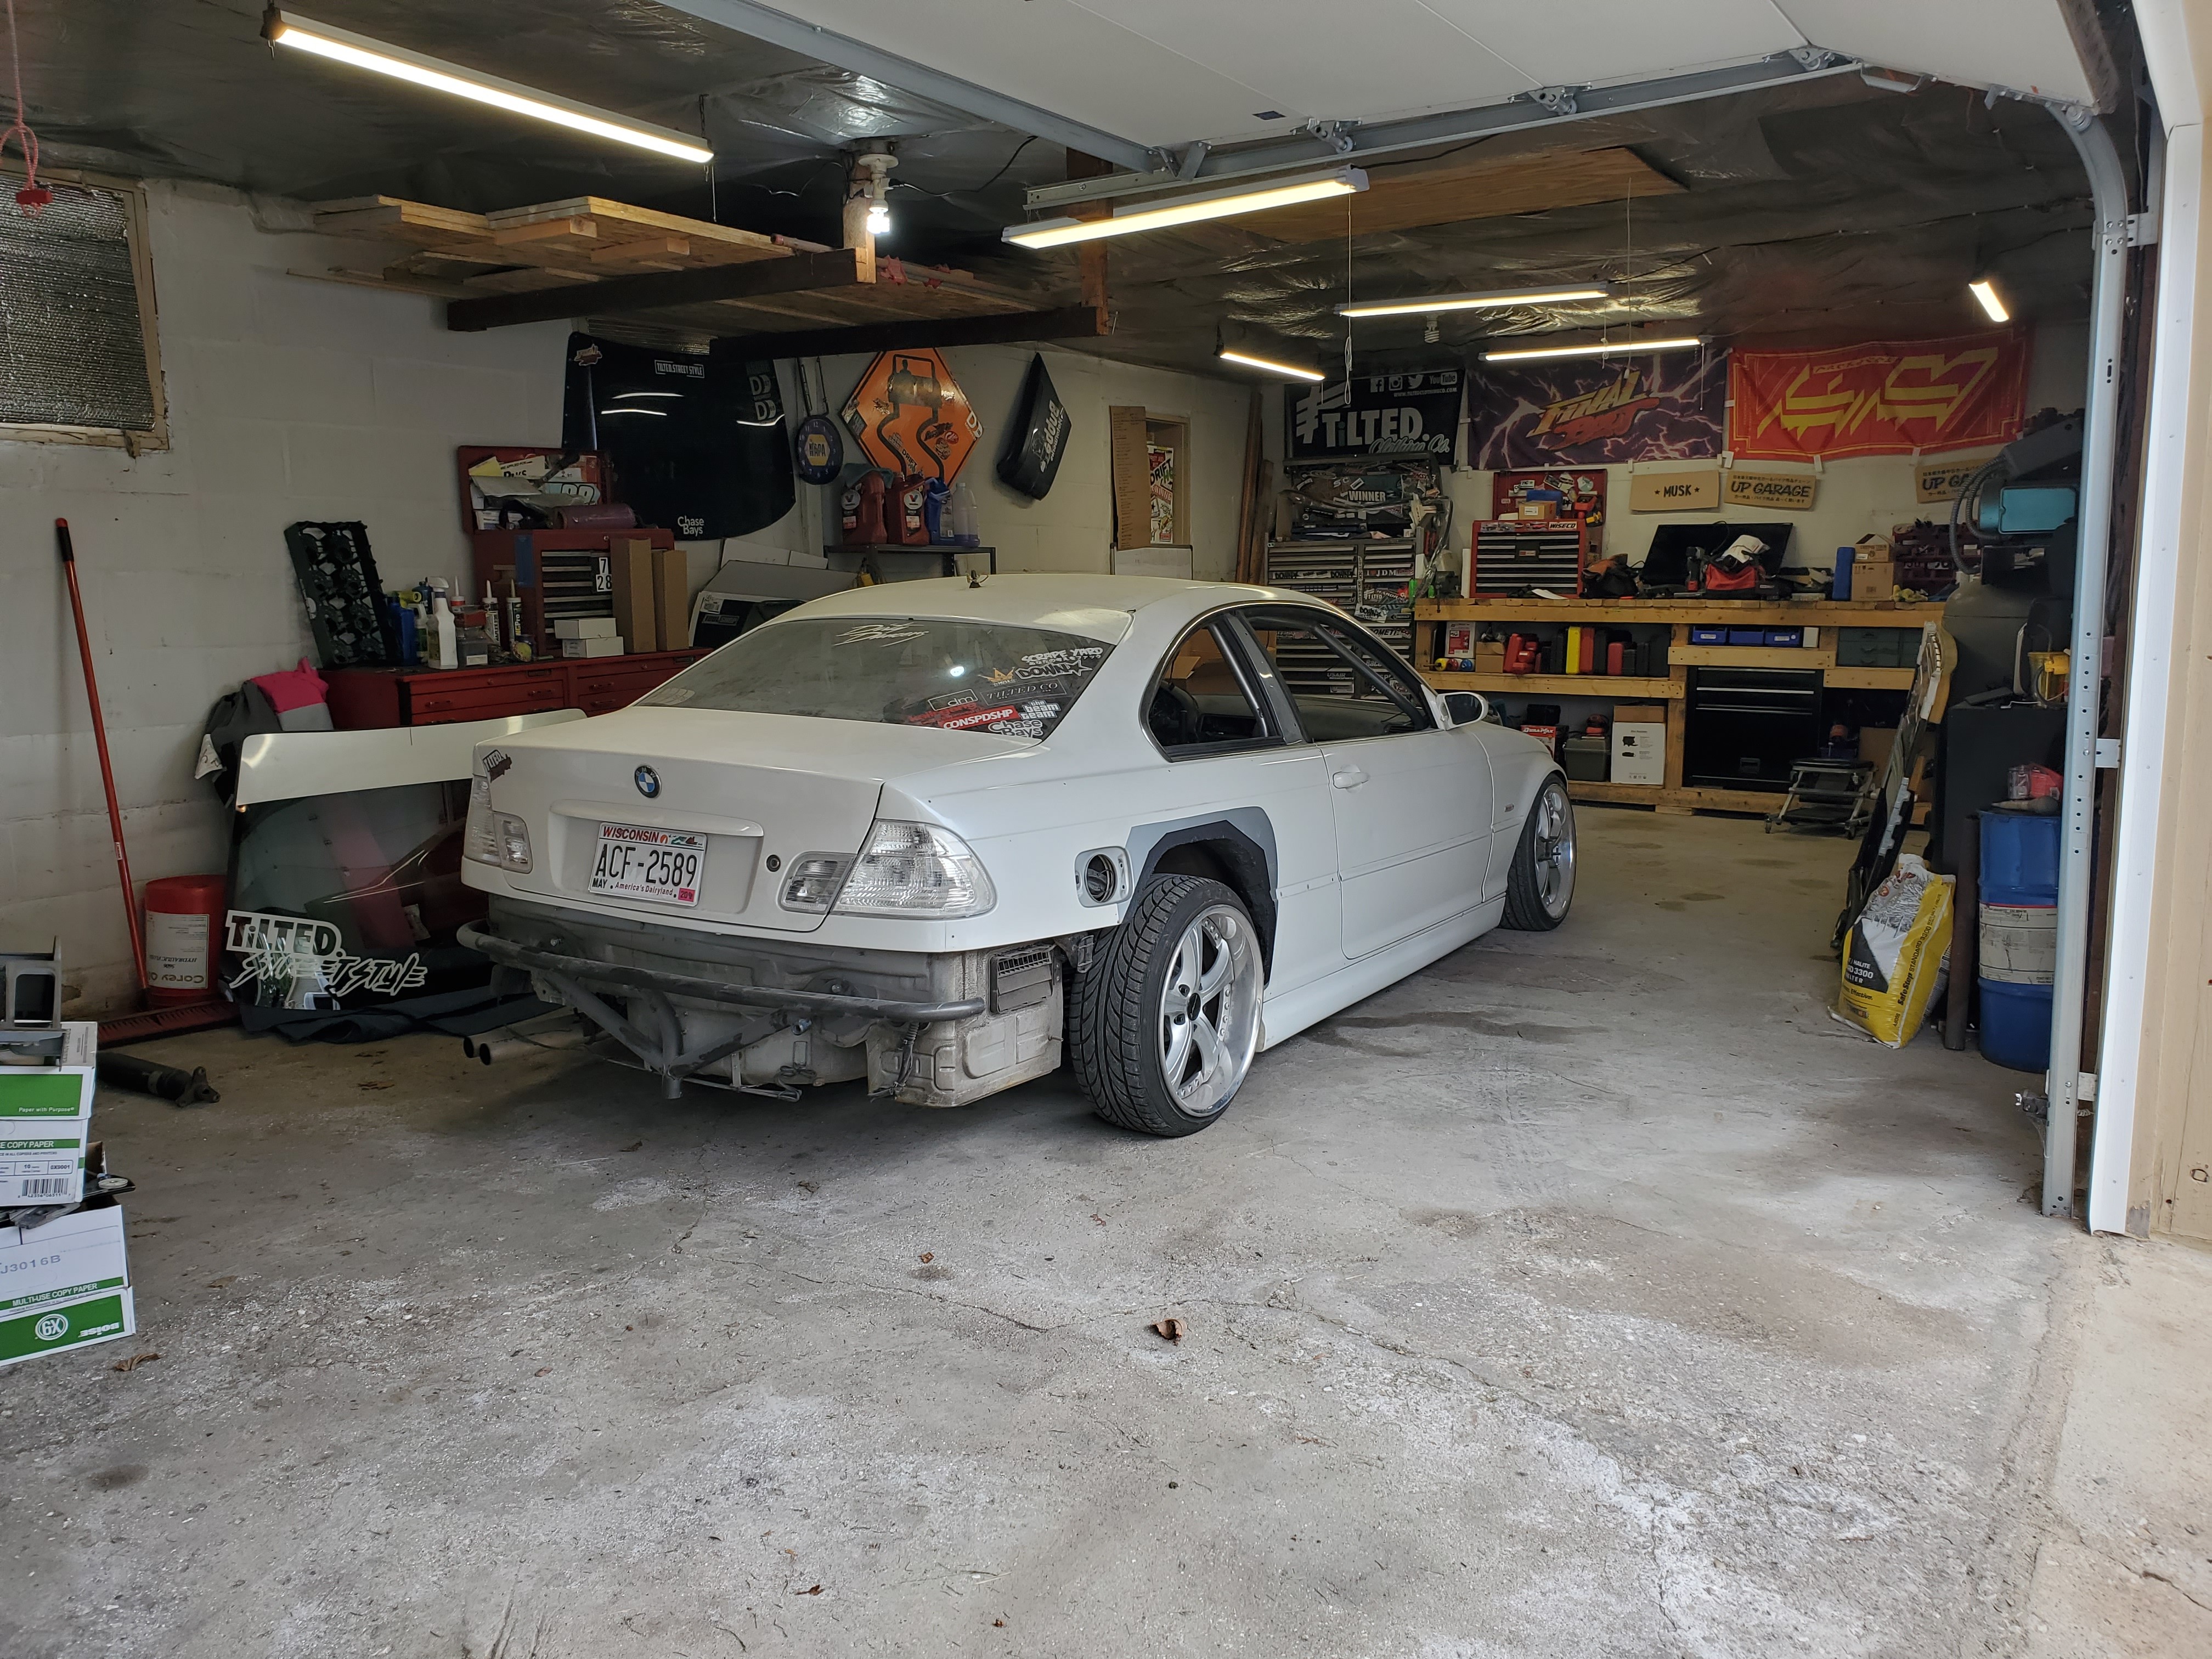
UPDATE
Was a pretty productive weekend. Absolutely loving having the car home again.
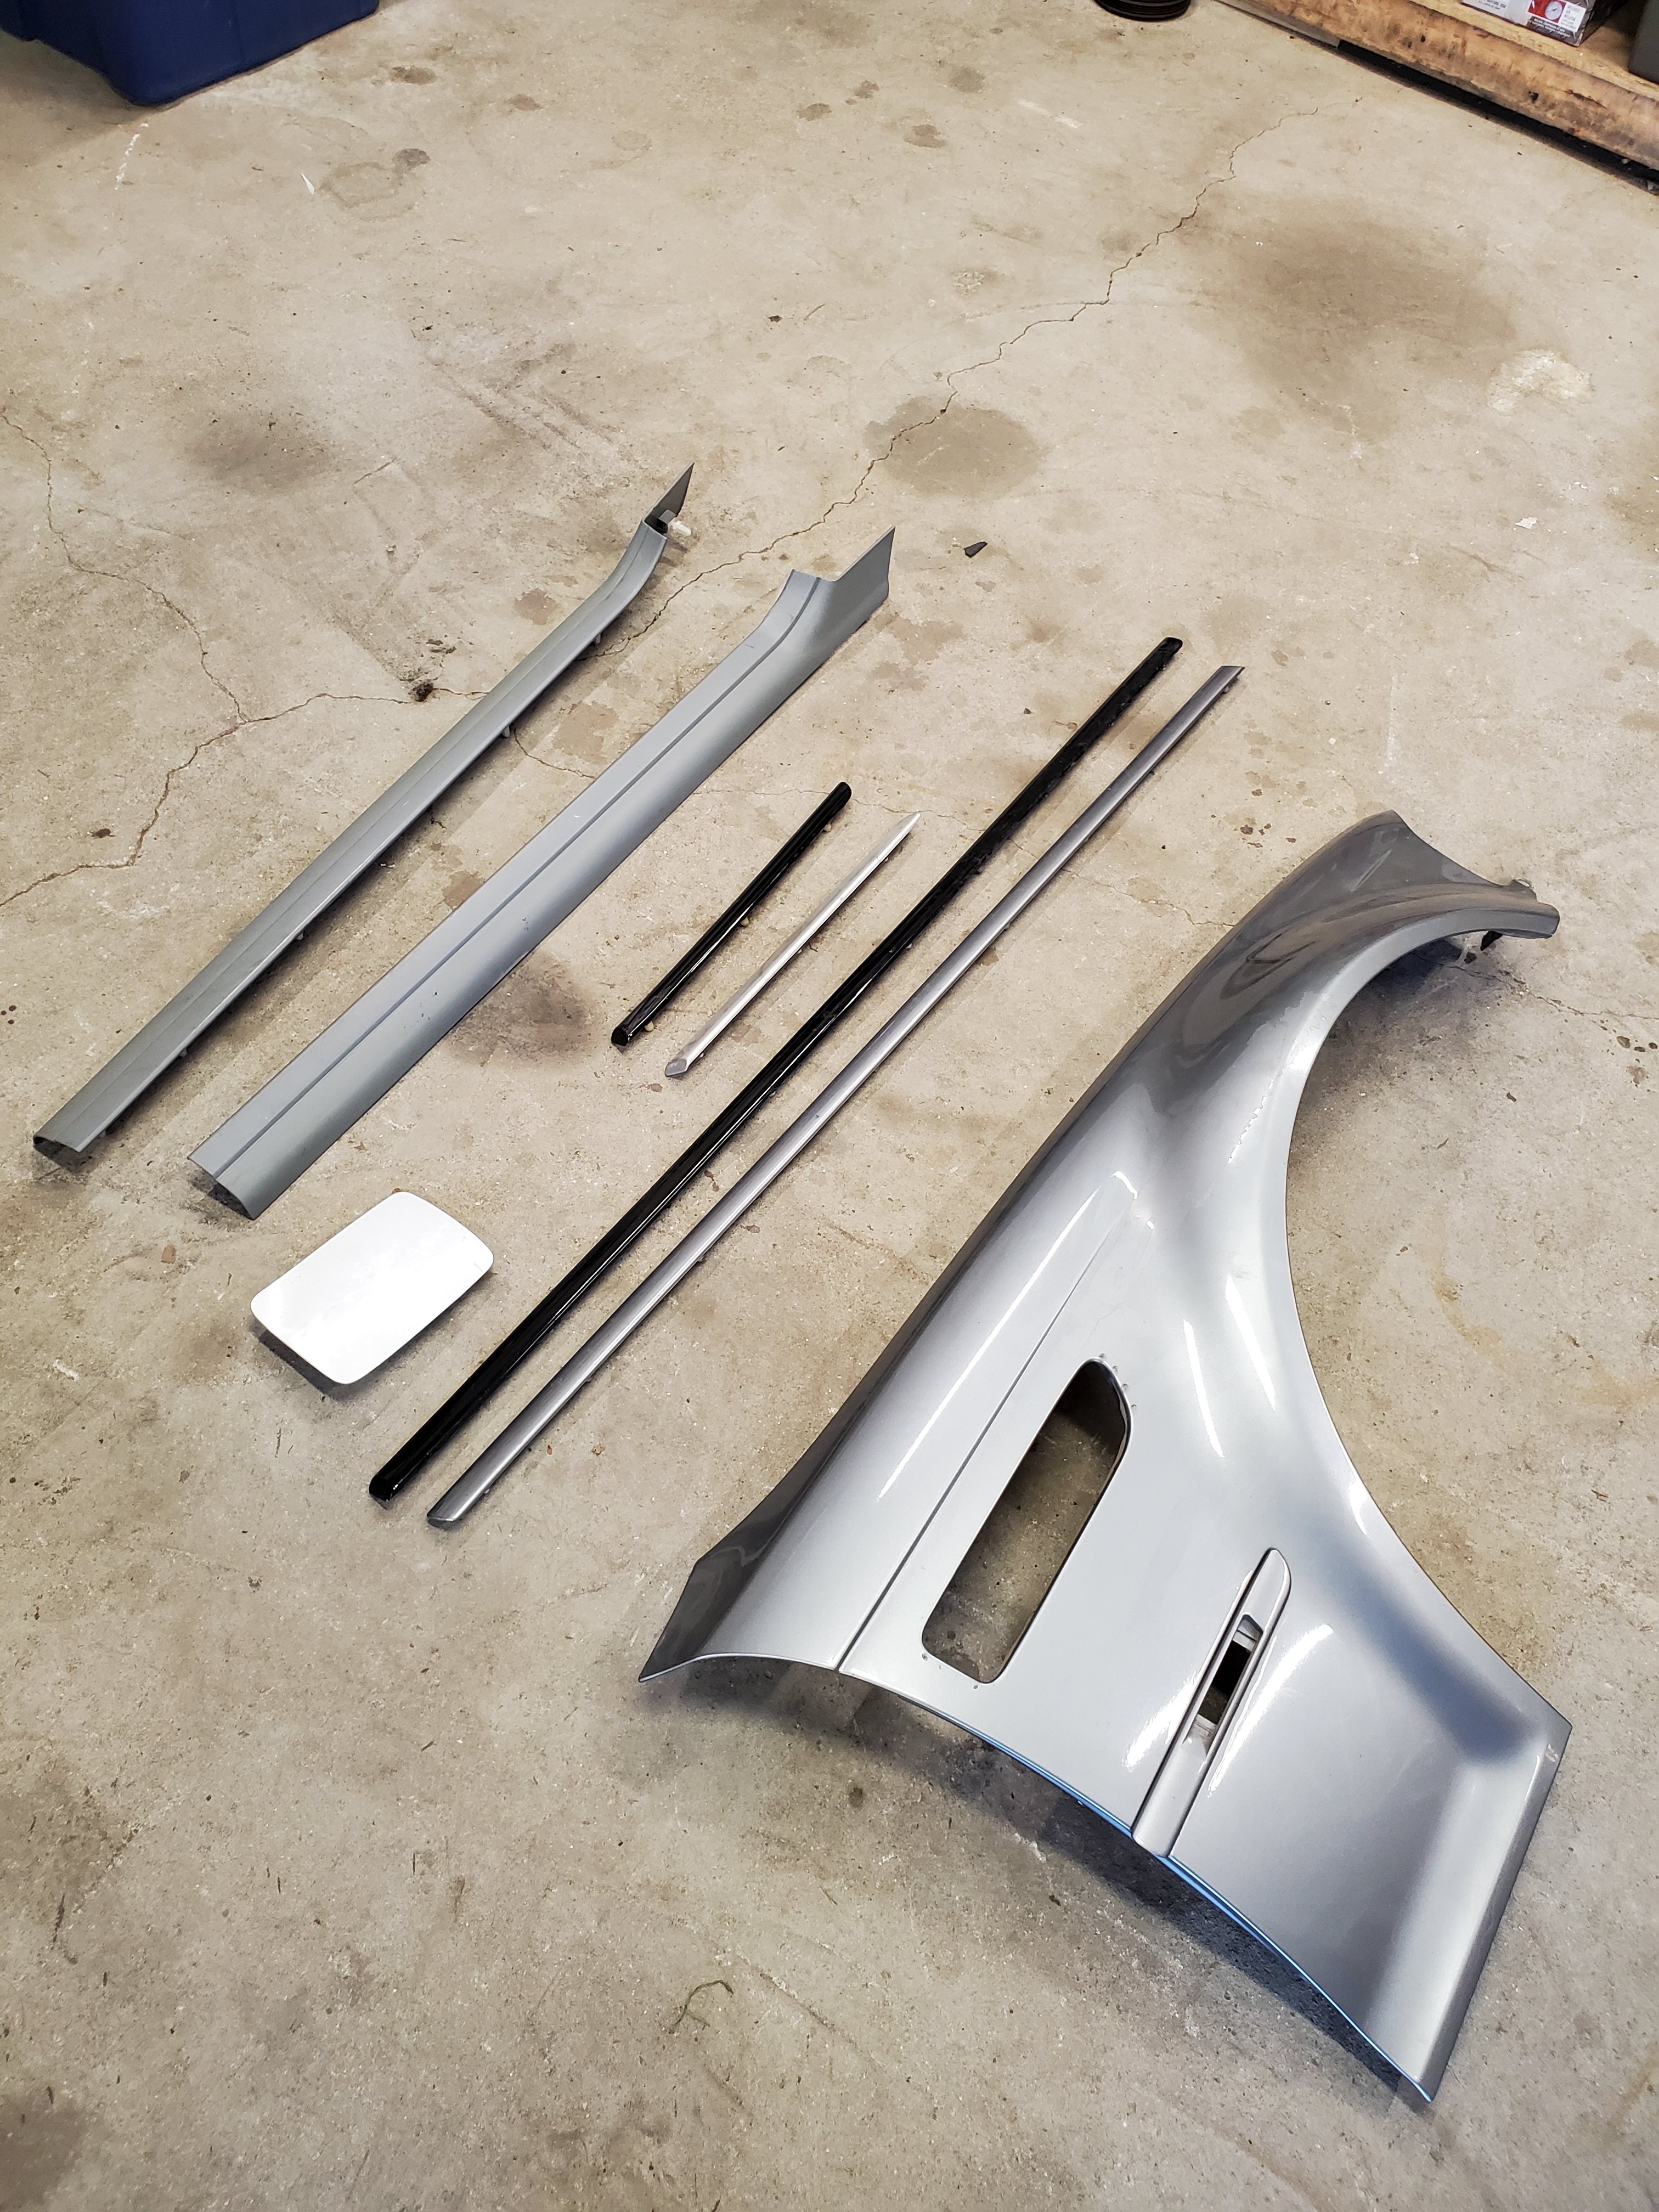
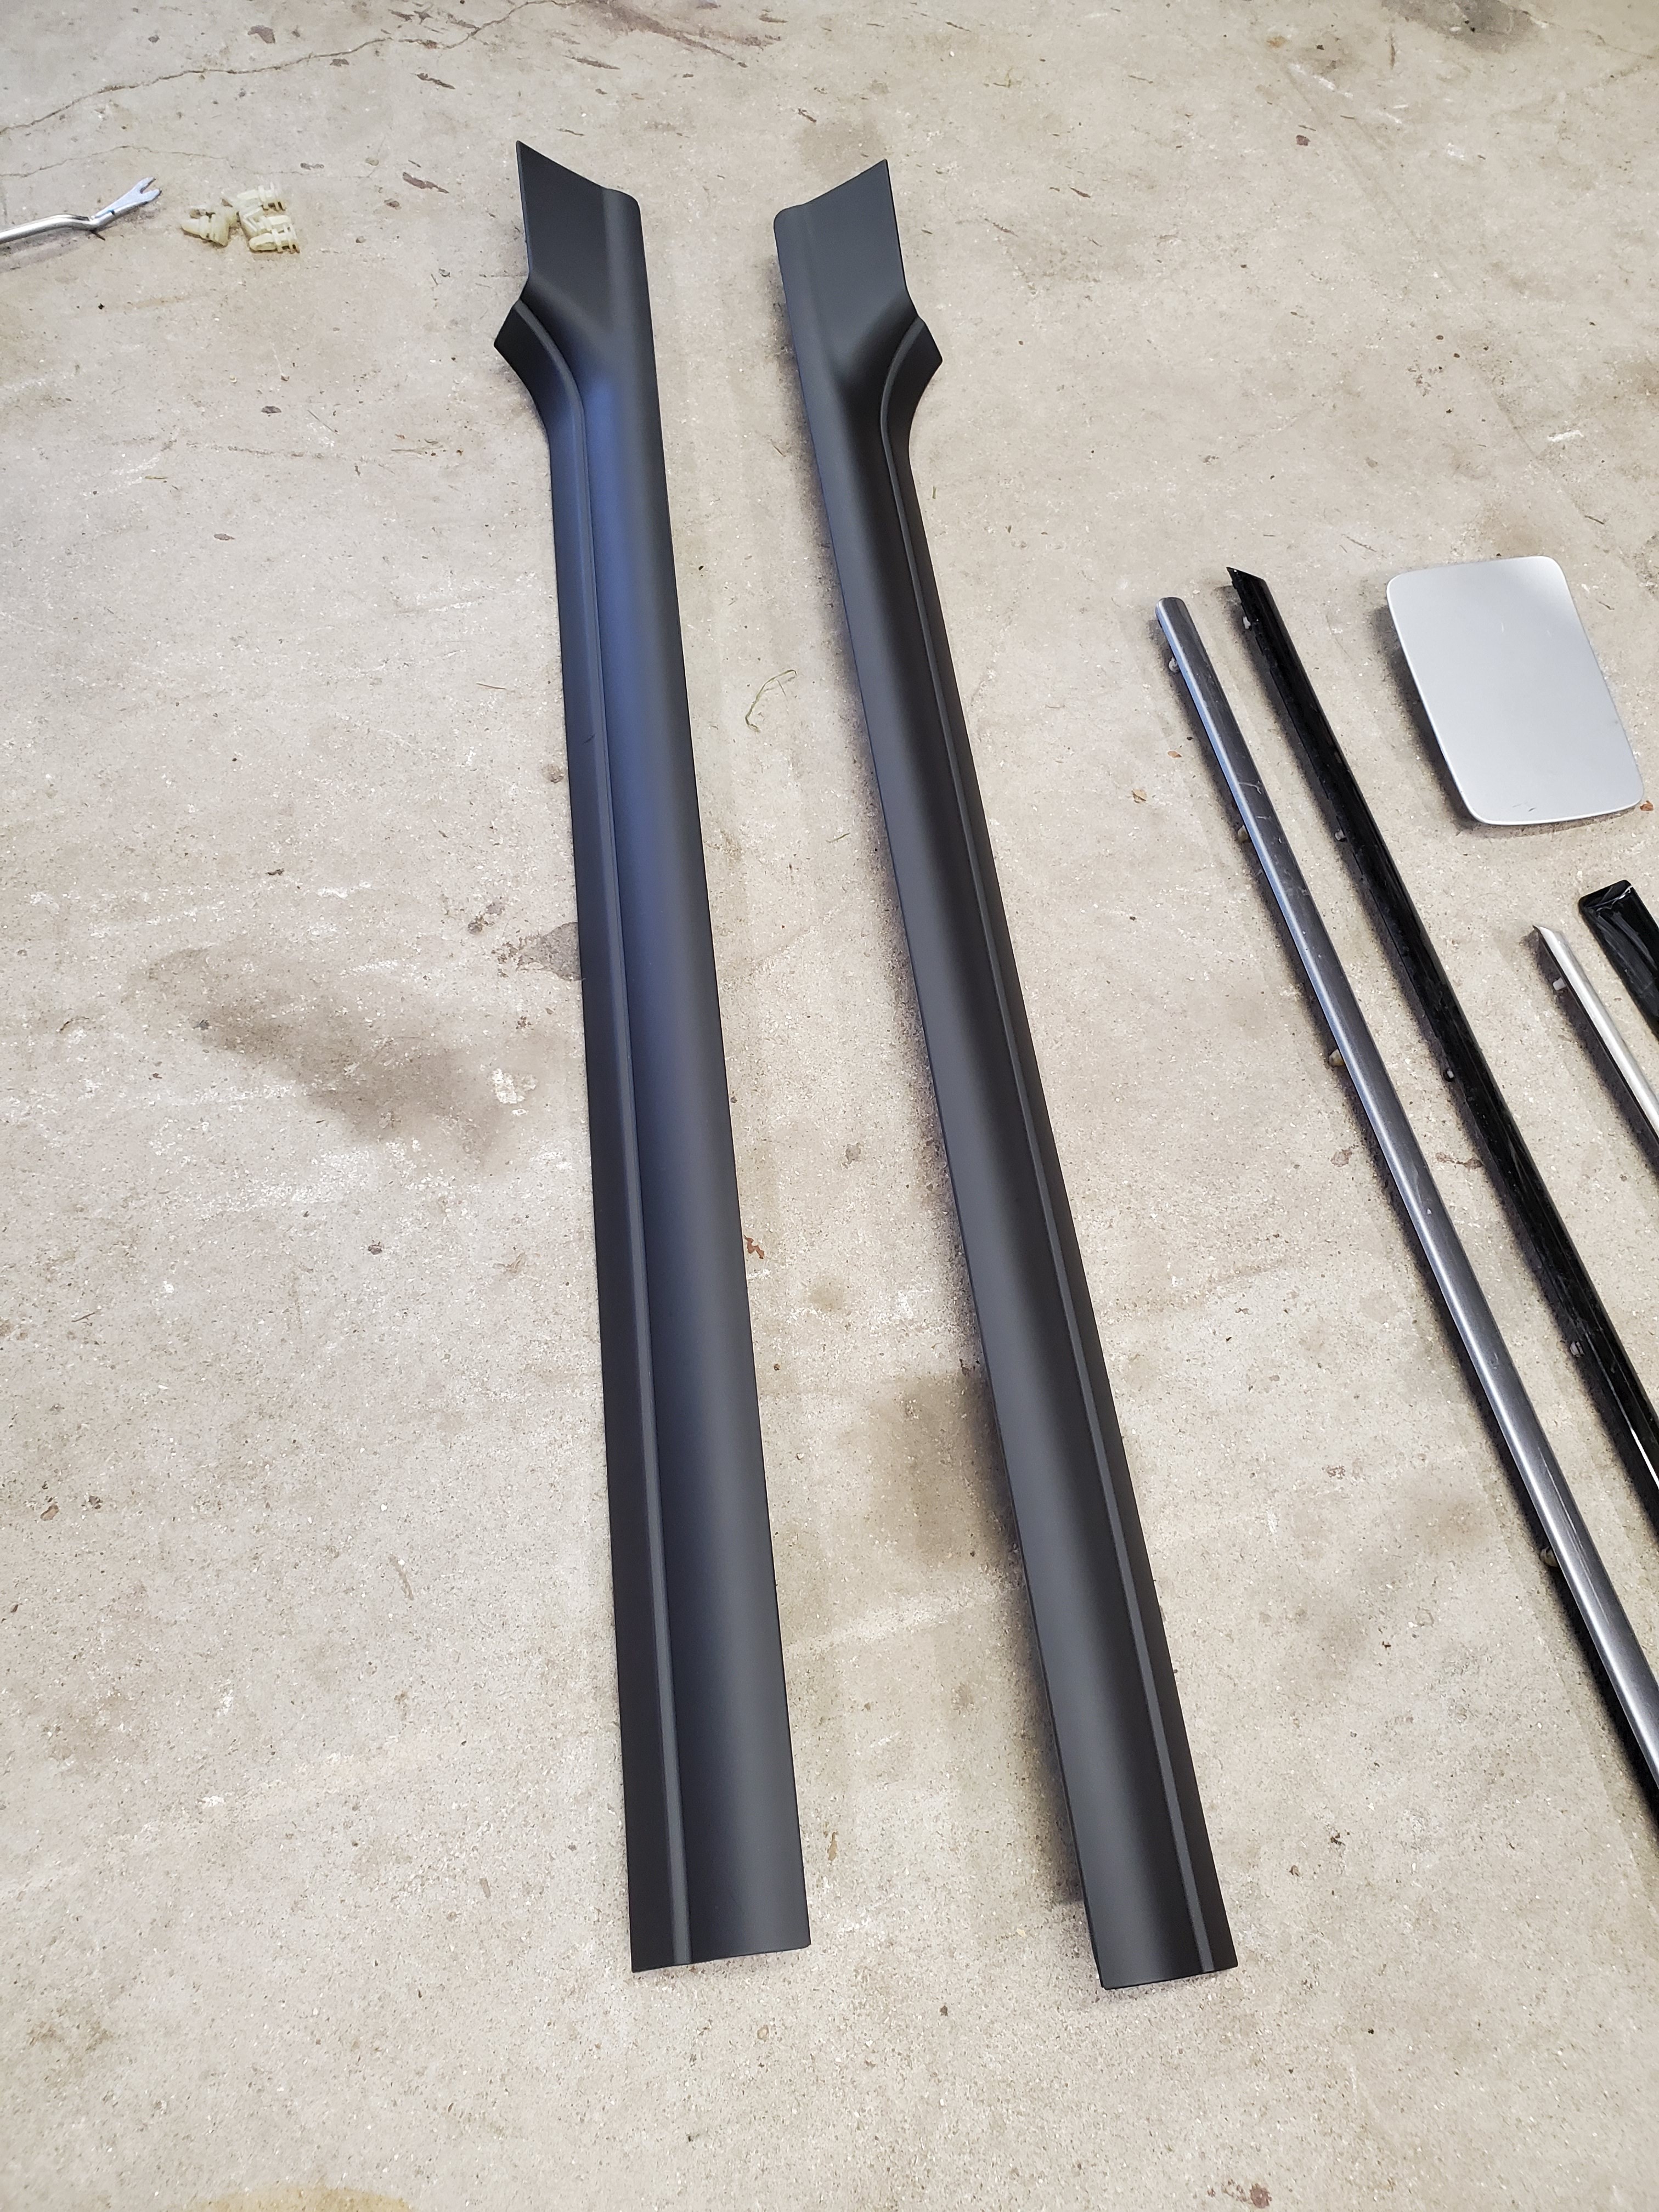
Picked up some M rear quarter and door trim, a passenger M fender (to finally complete my set) a M gas door and the inner door sill trim.

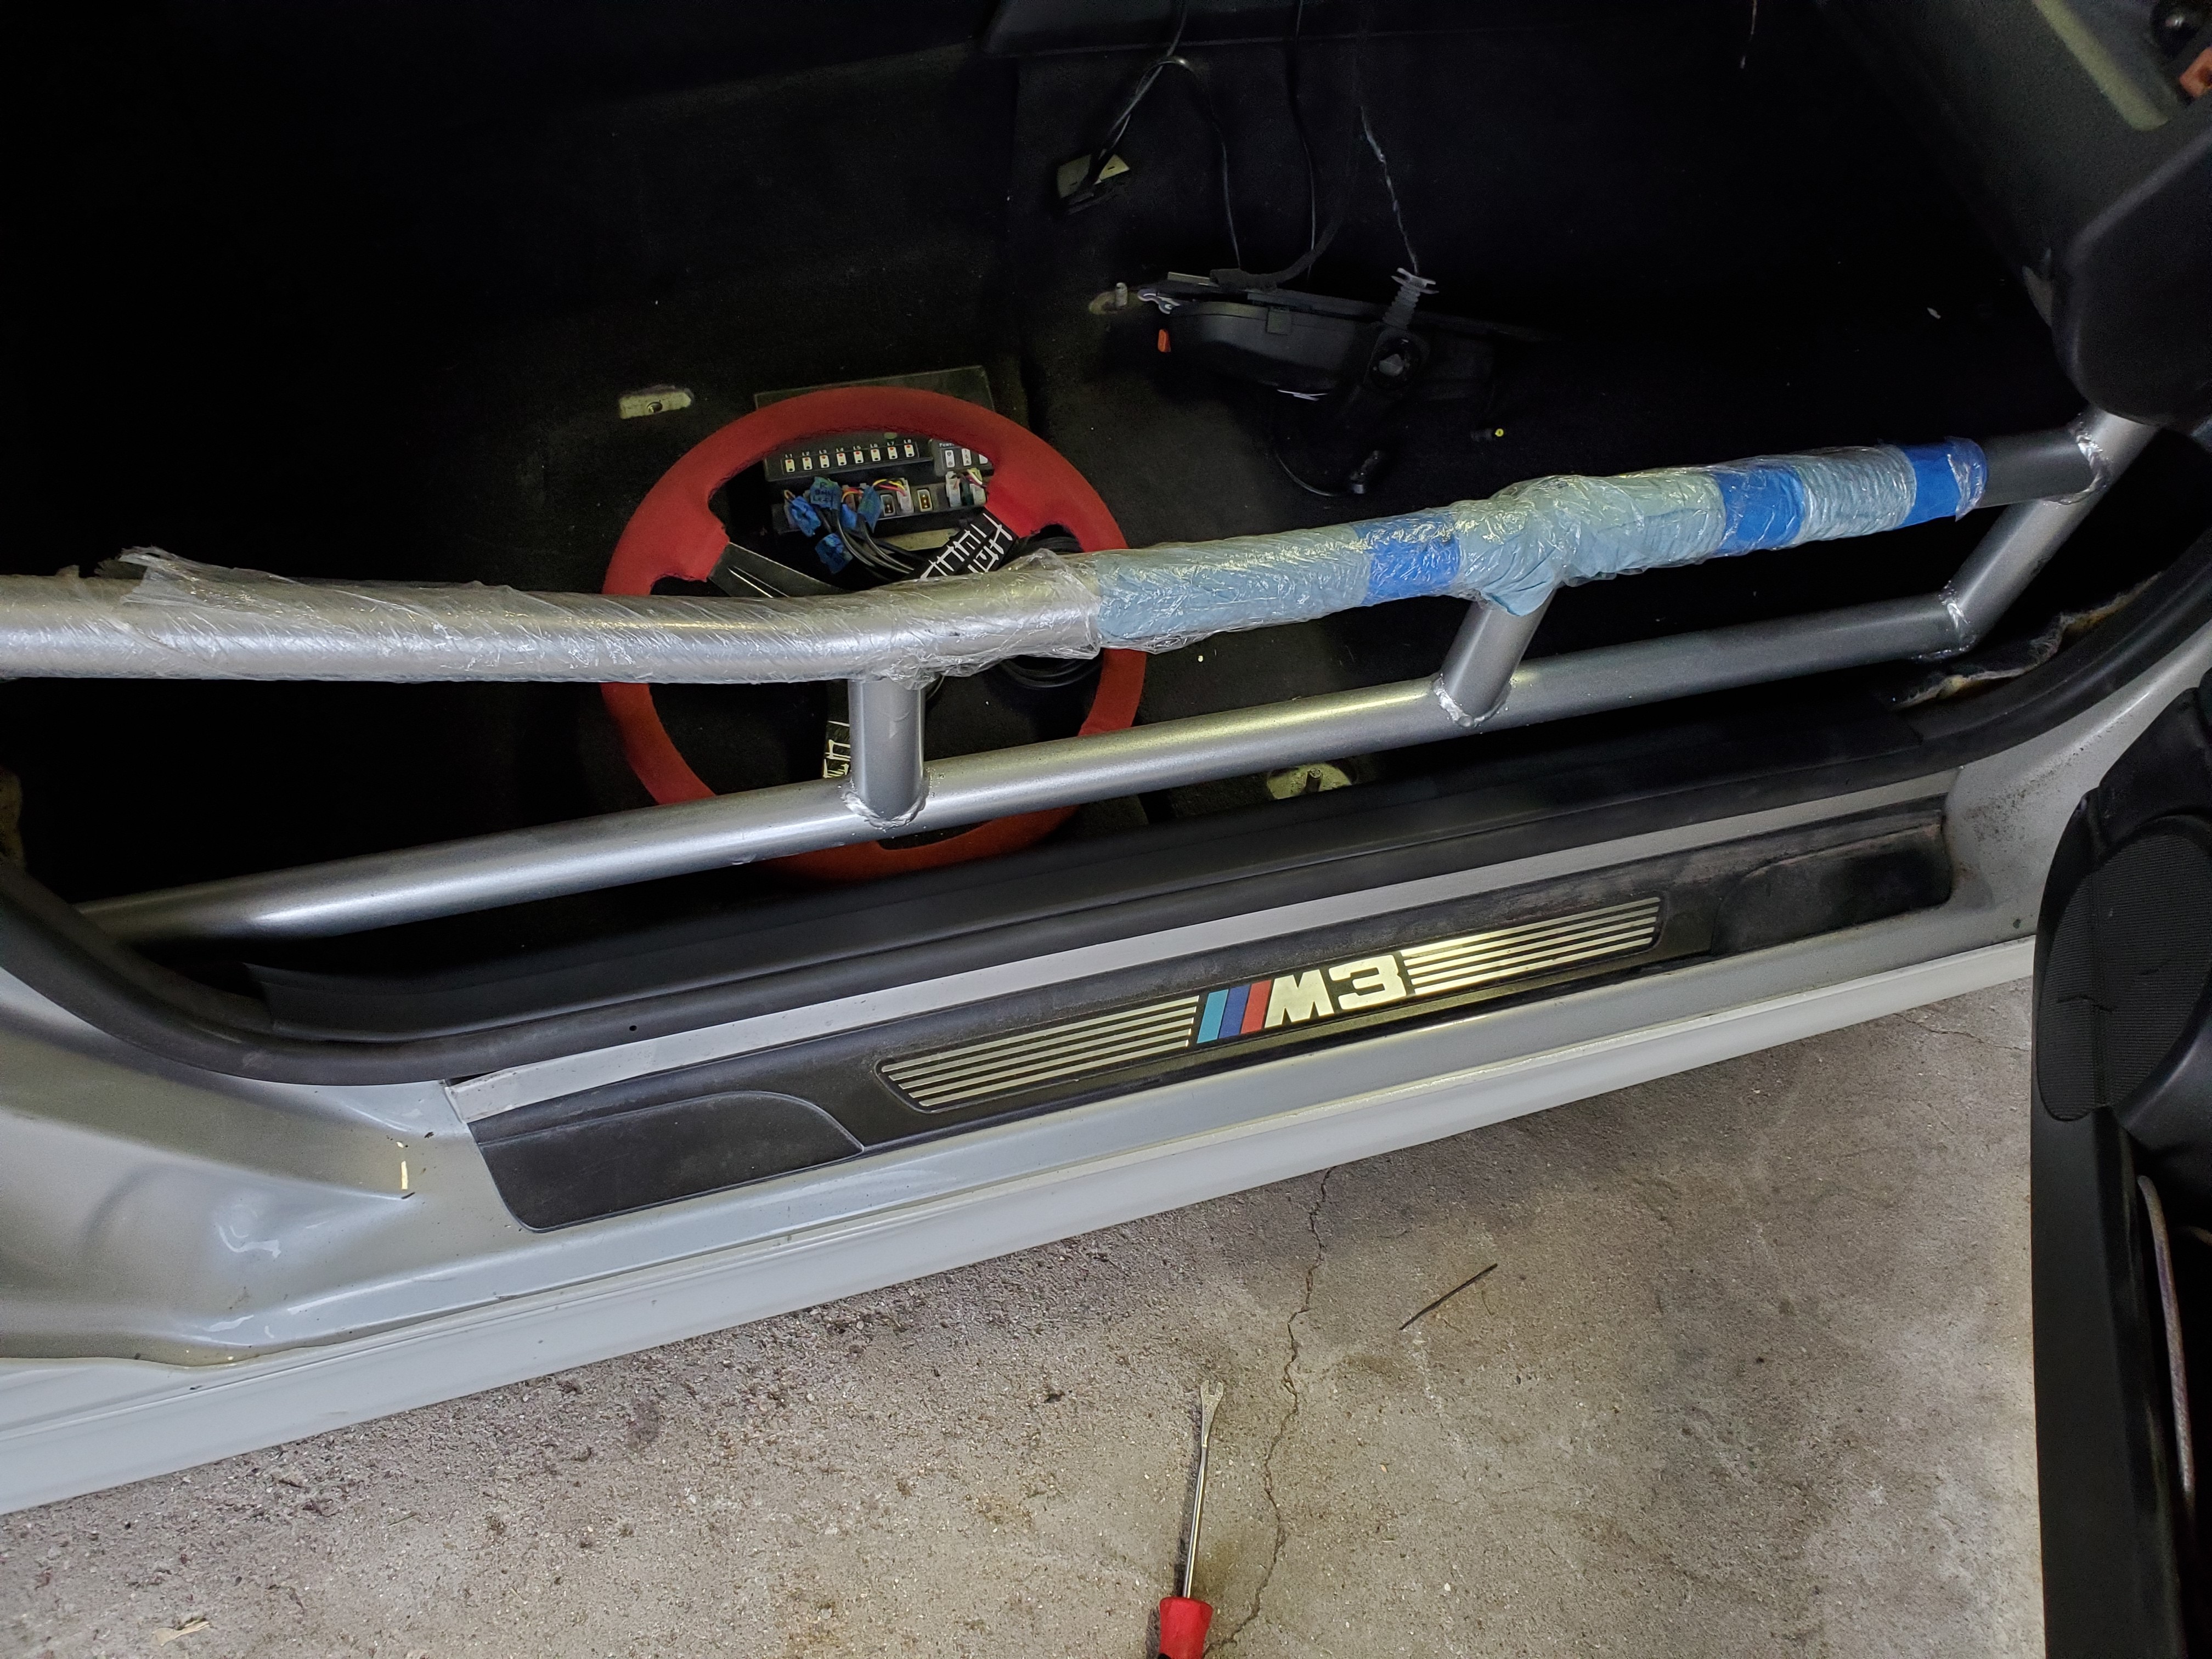
Painted the door still trim and then installed it.

Looks so much better with the carpet not just hanging out.
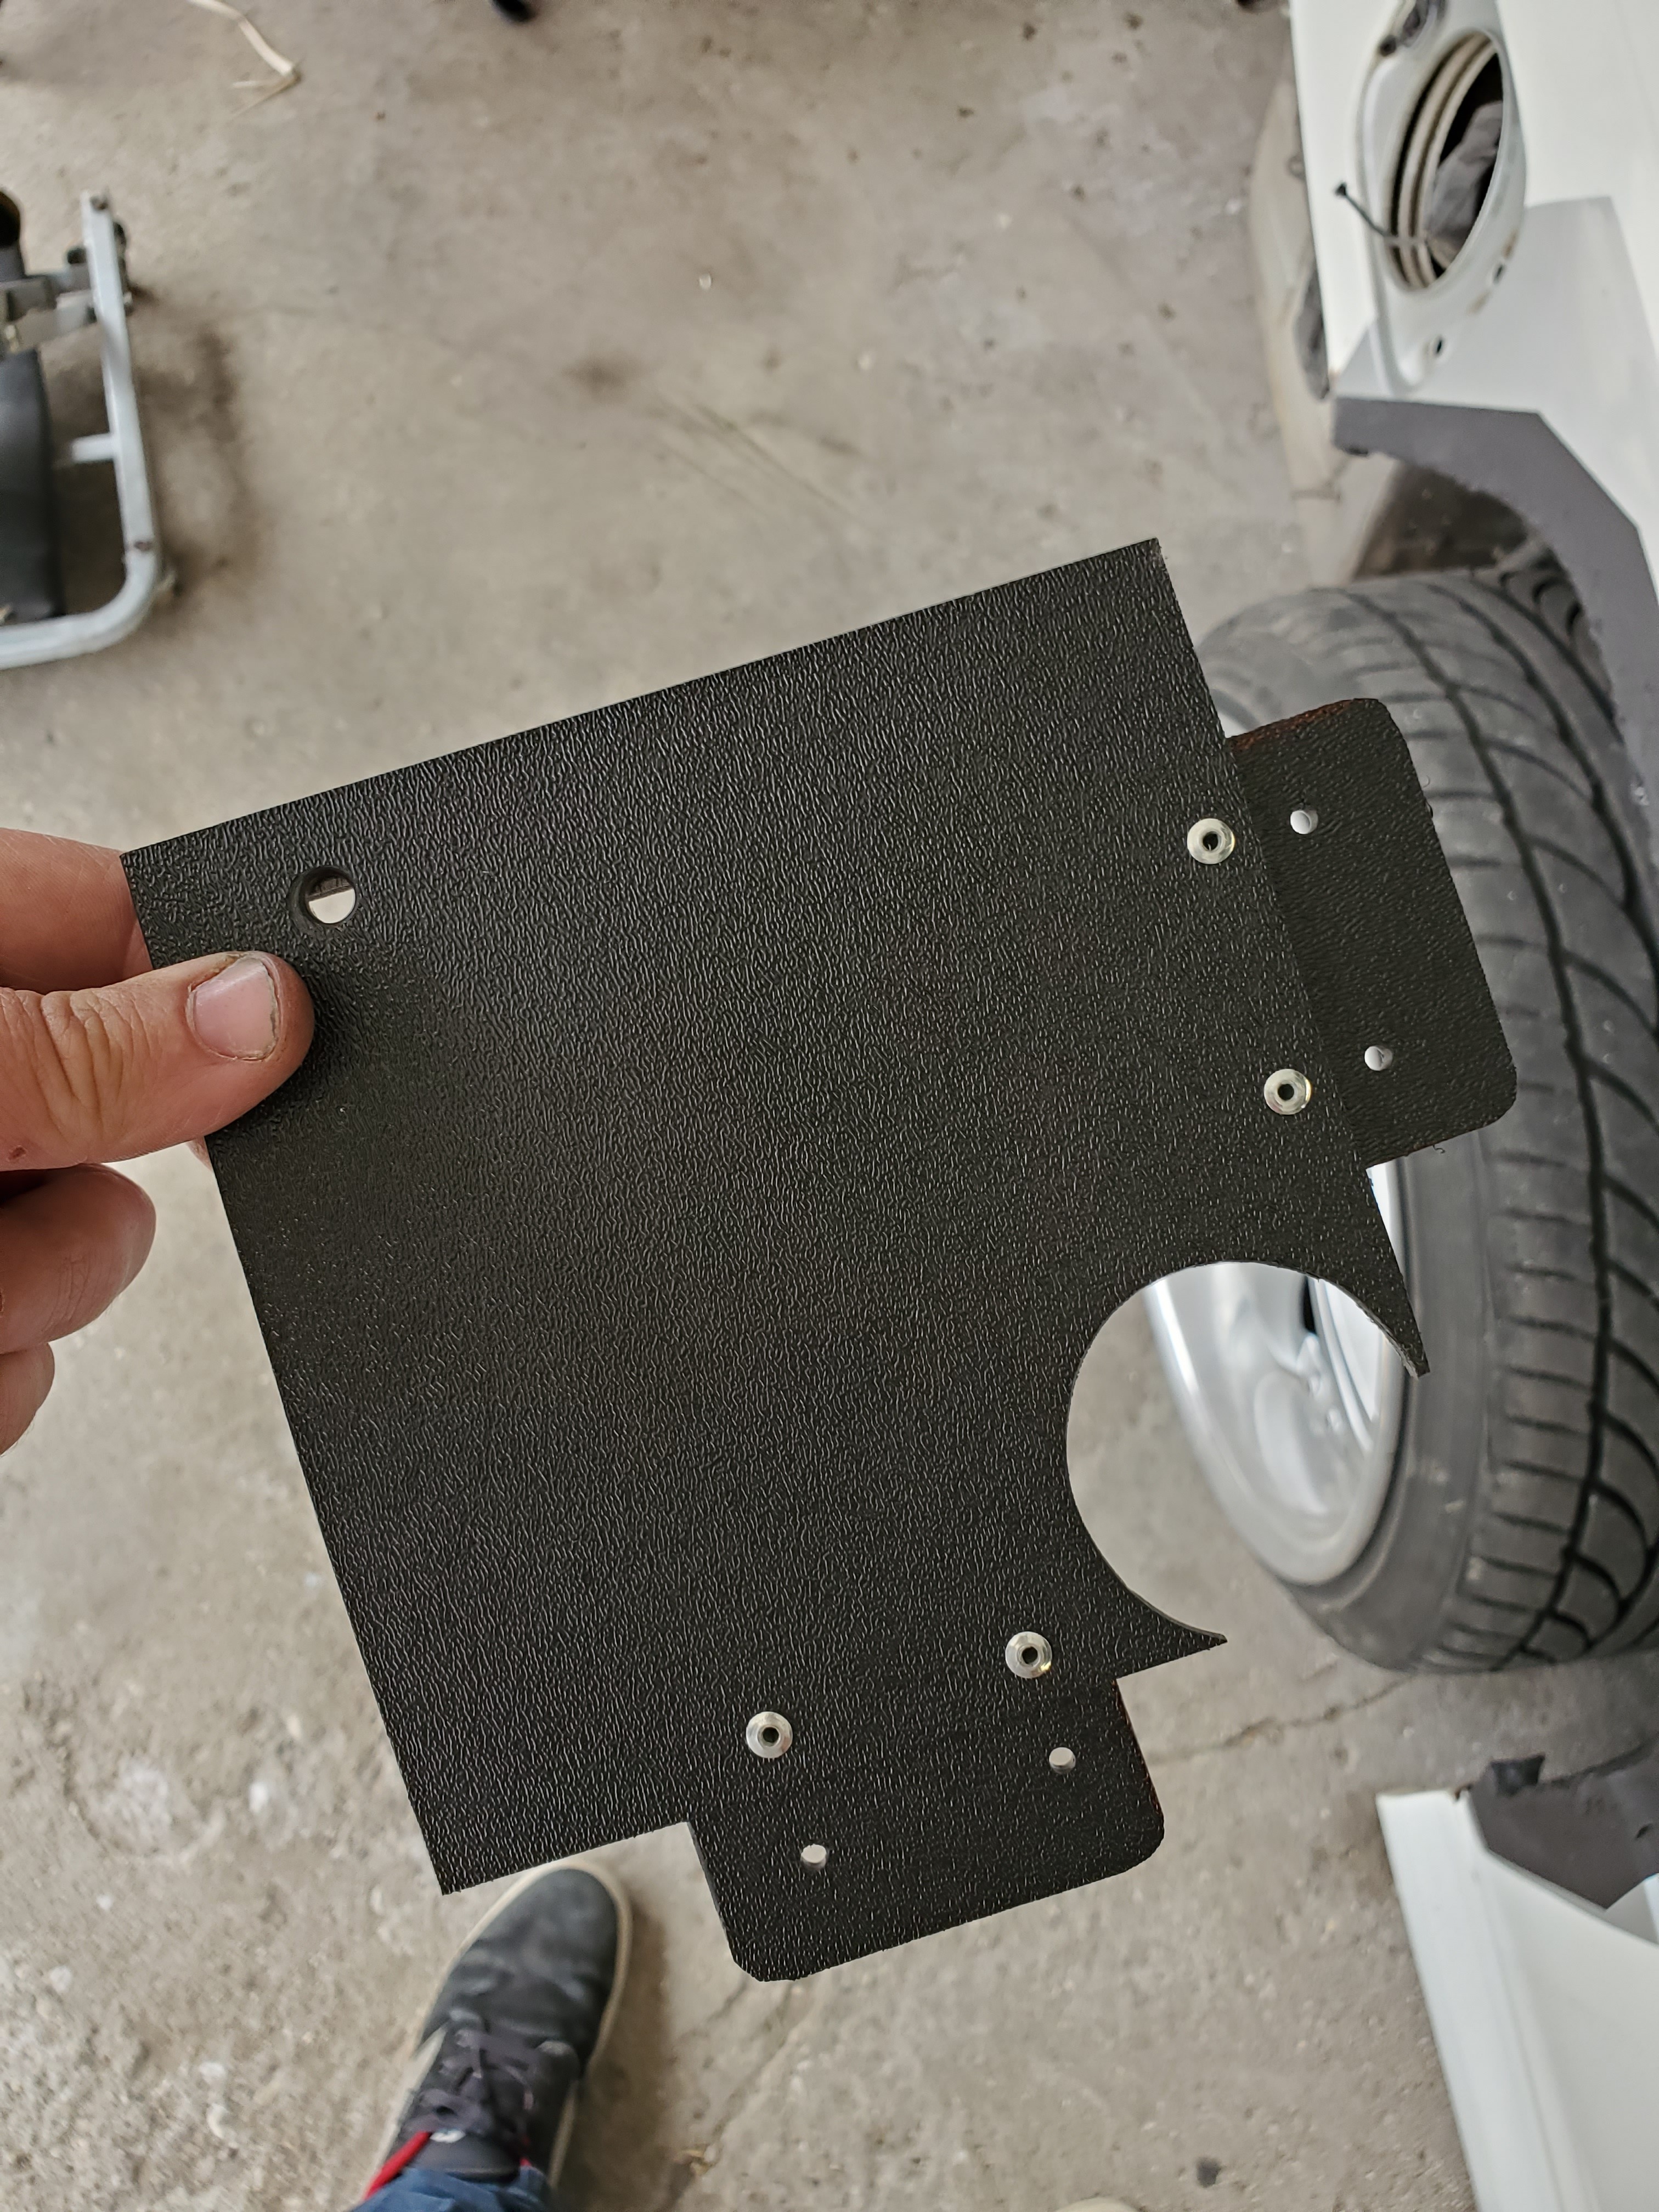
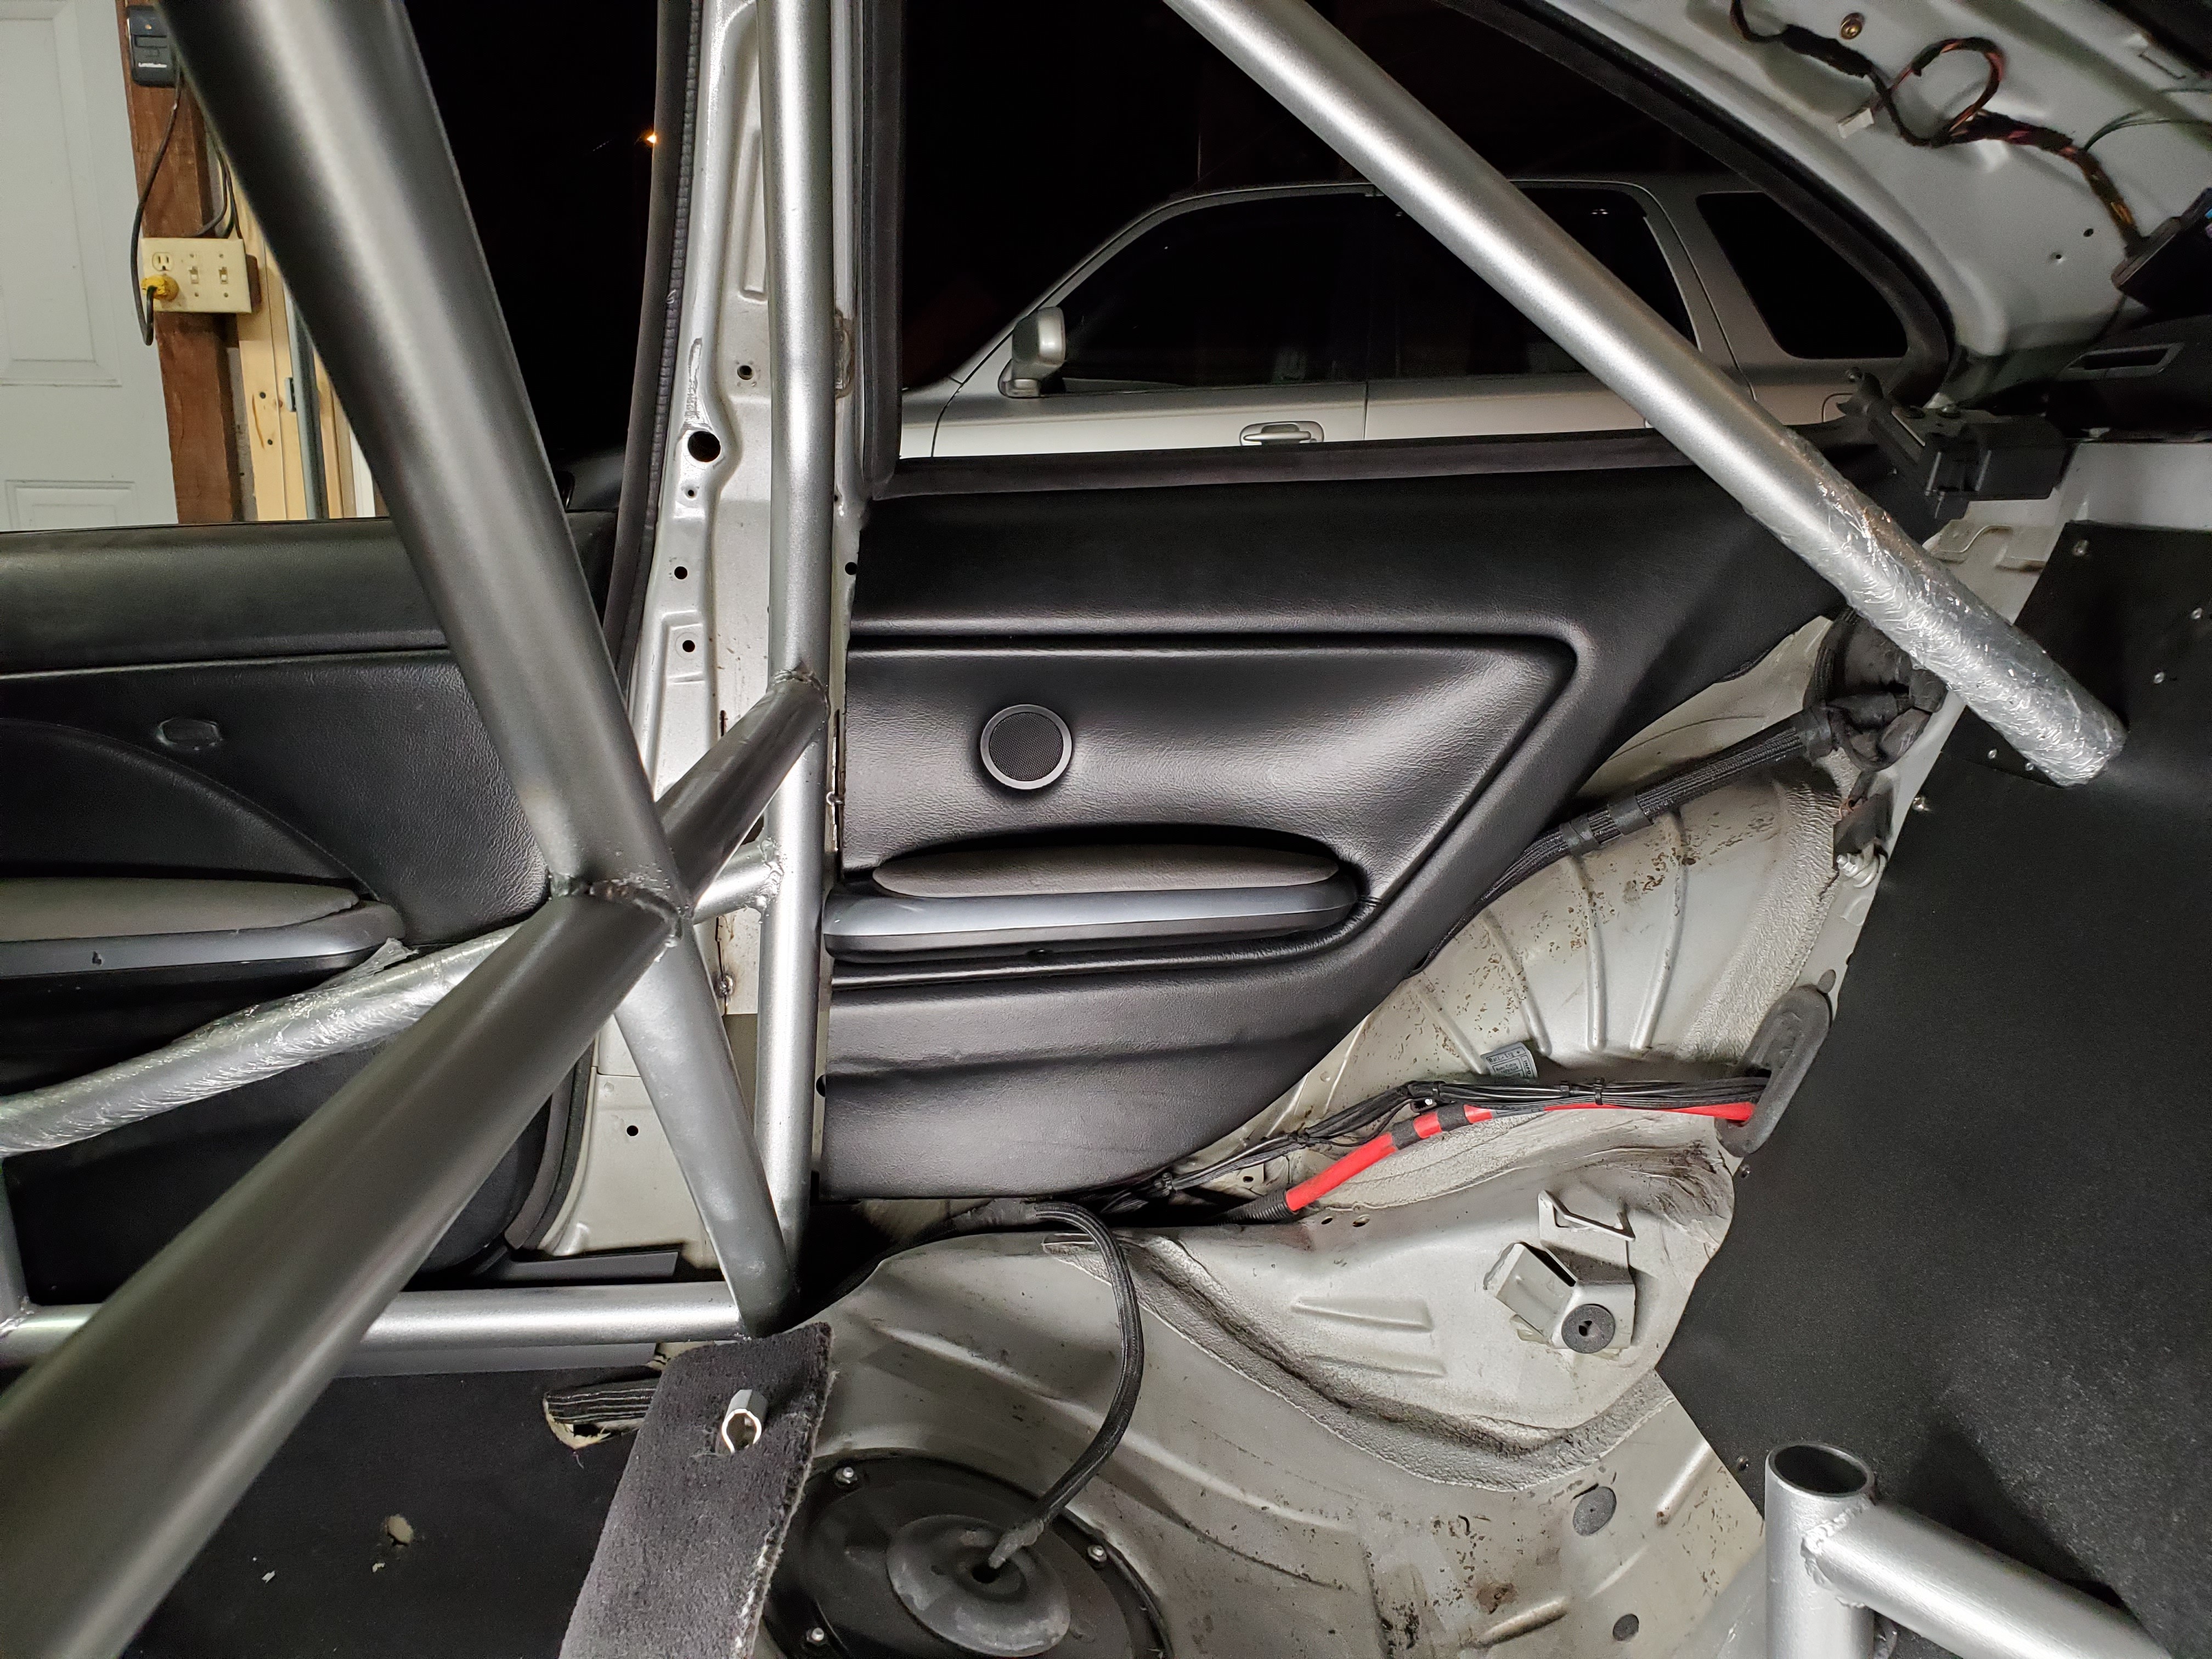
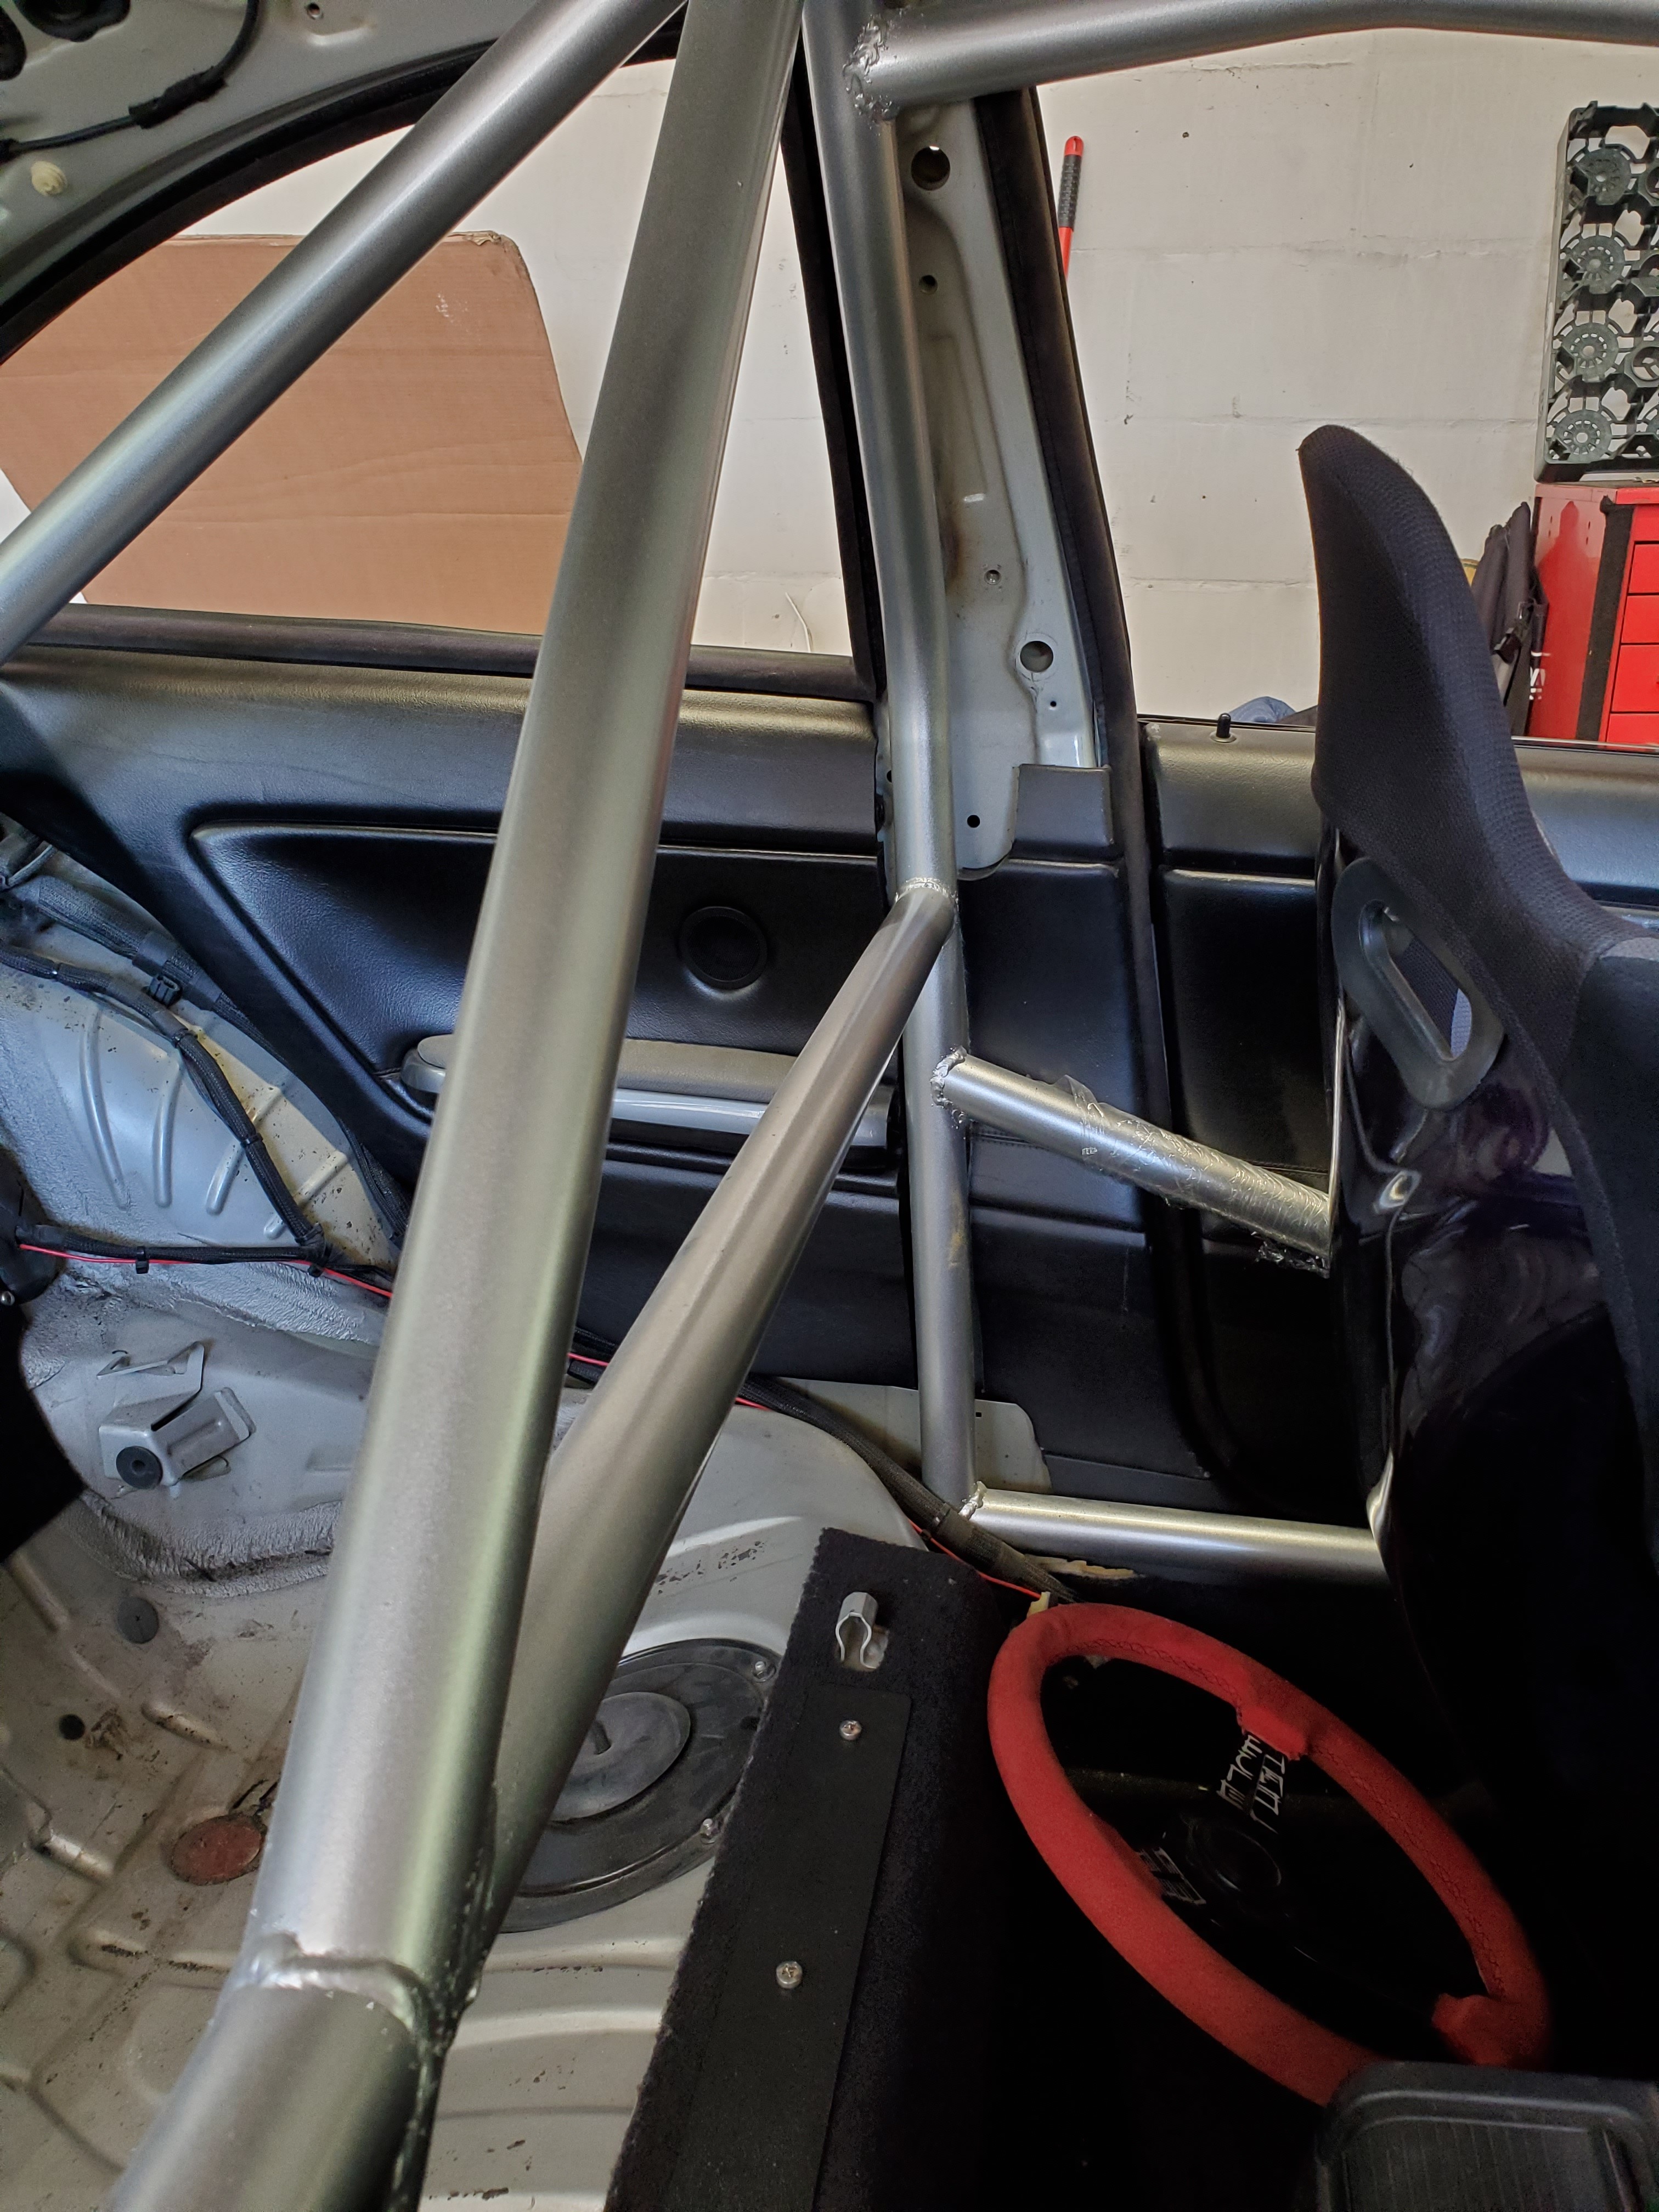
Then I got started on trimming the resr seat delete to fit the cage now.
Stared at it for awhile... cut out some cardboard and tested ideas... here's what I came up with.
Cut out the corners and used a hole saw to notch them and riveted on some tabs I made with spare ABS.
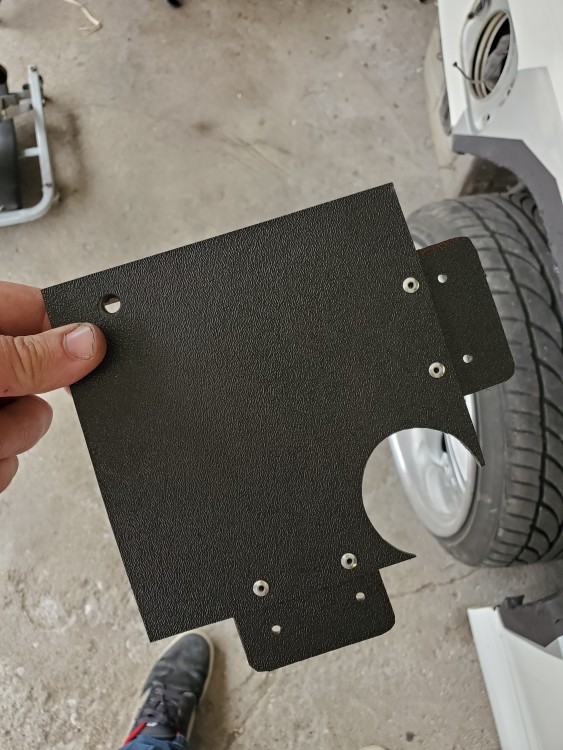
Then I riveted in the other sides of the tabs once the panels were all screwed in.
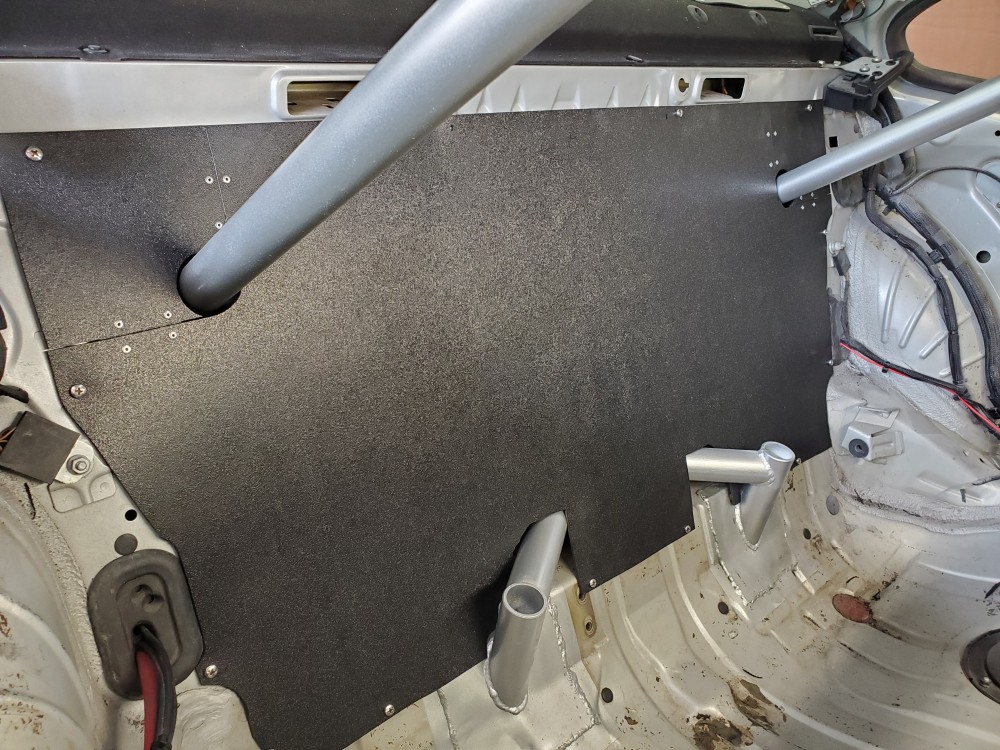
Happy with the outcome for sure!
Then I sprayed some silver on the damaged area from last season. Not perfect but its fine because it's getting wrapped over.
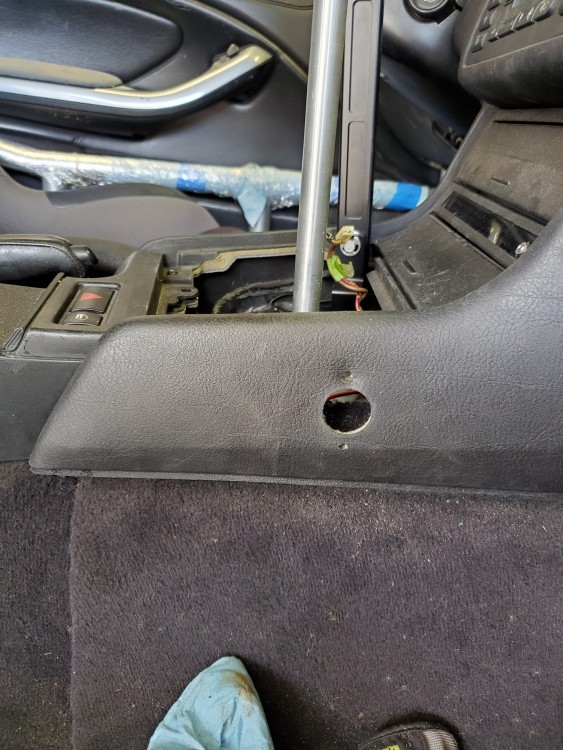
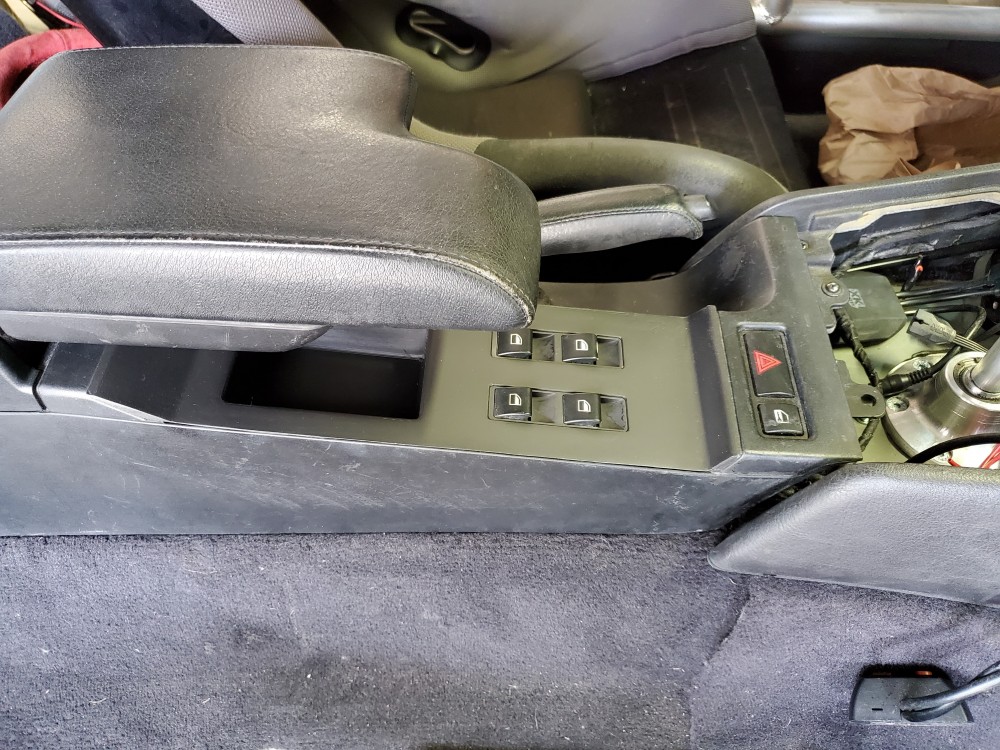
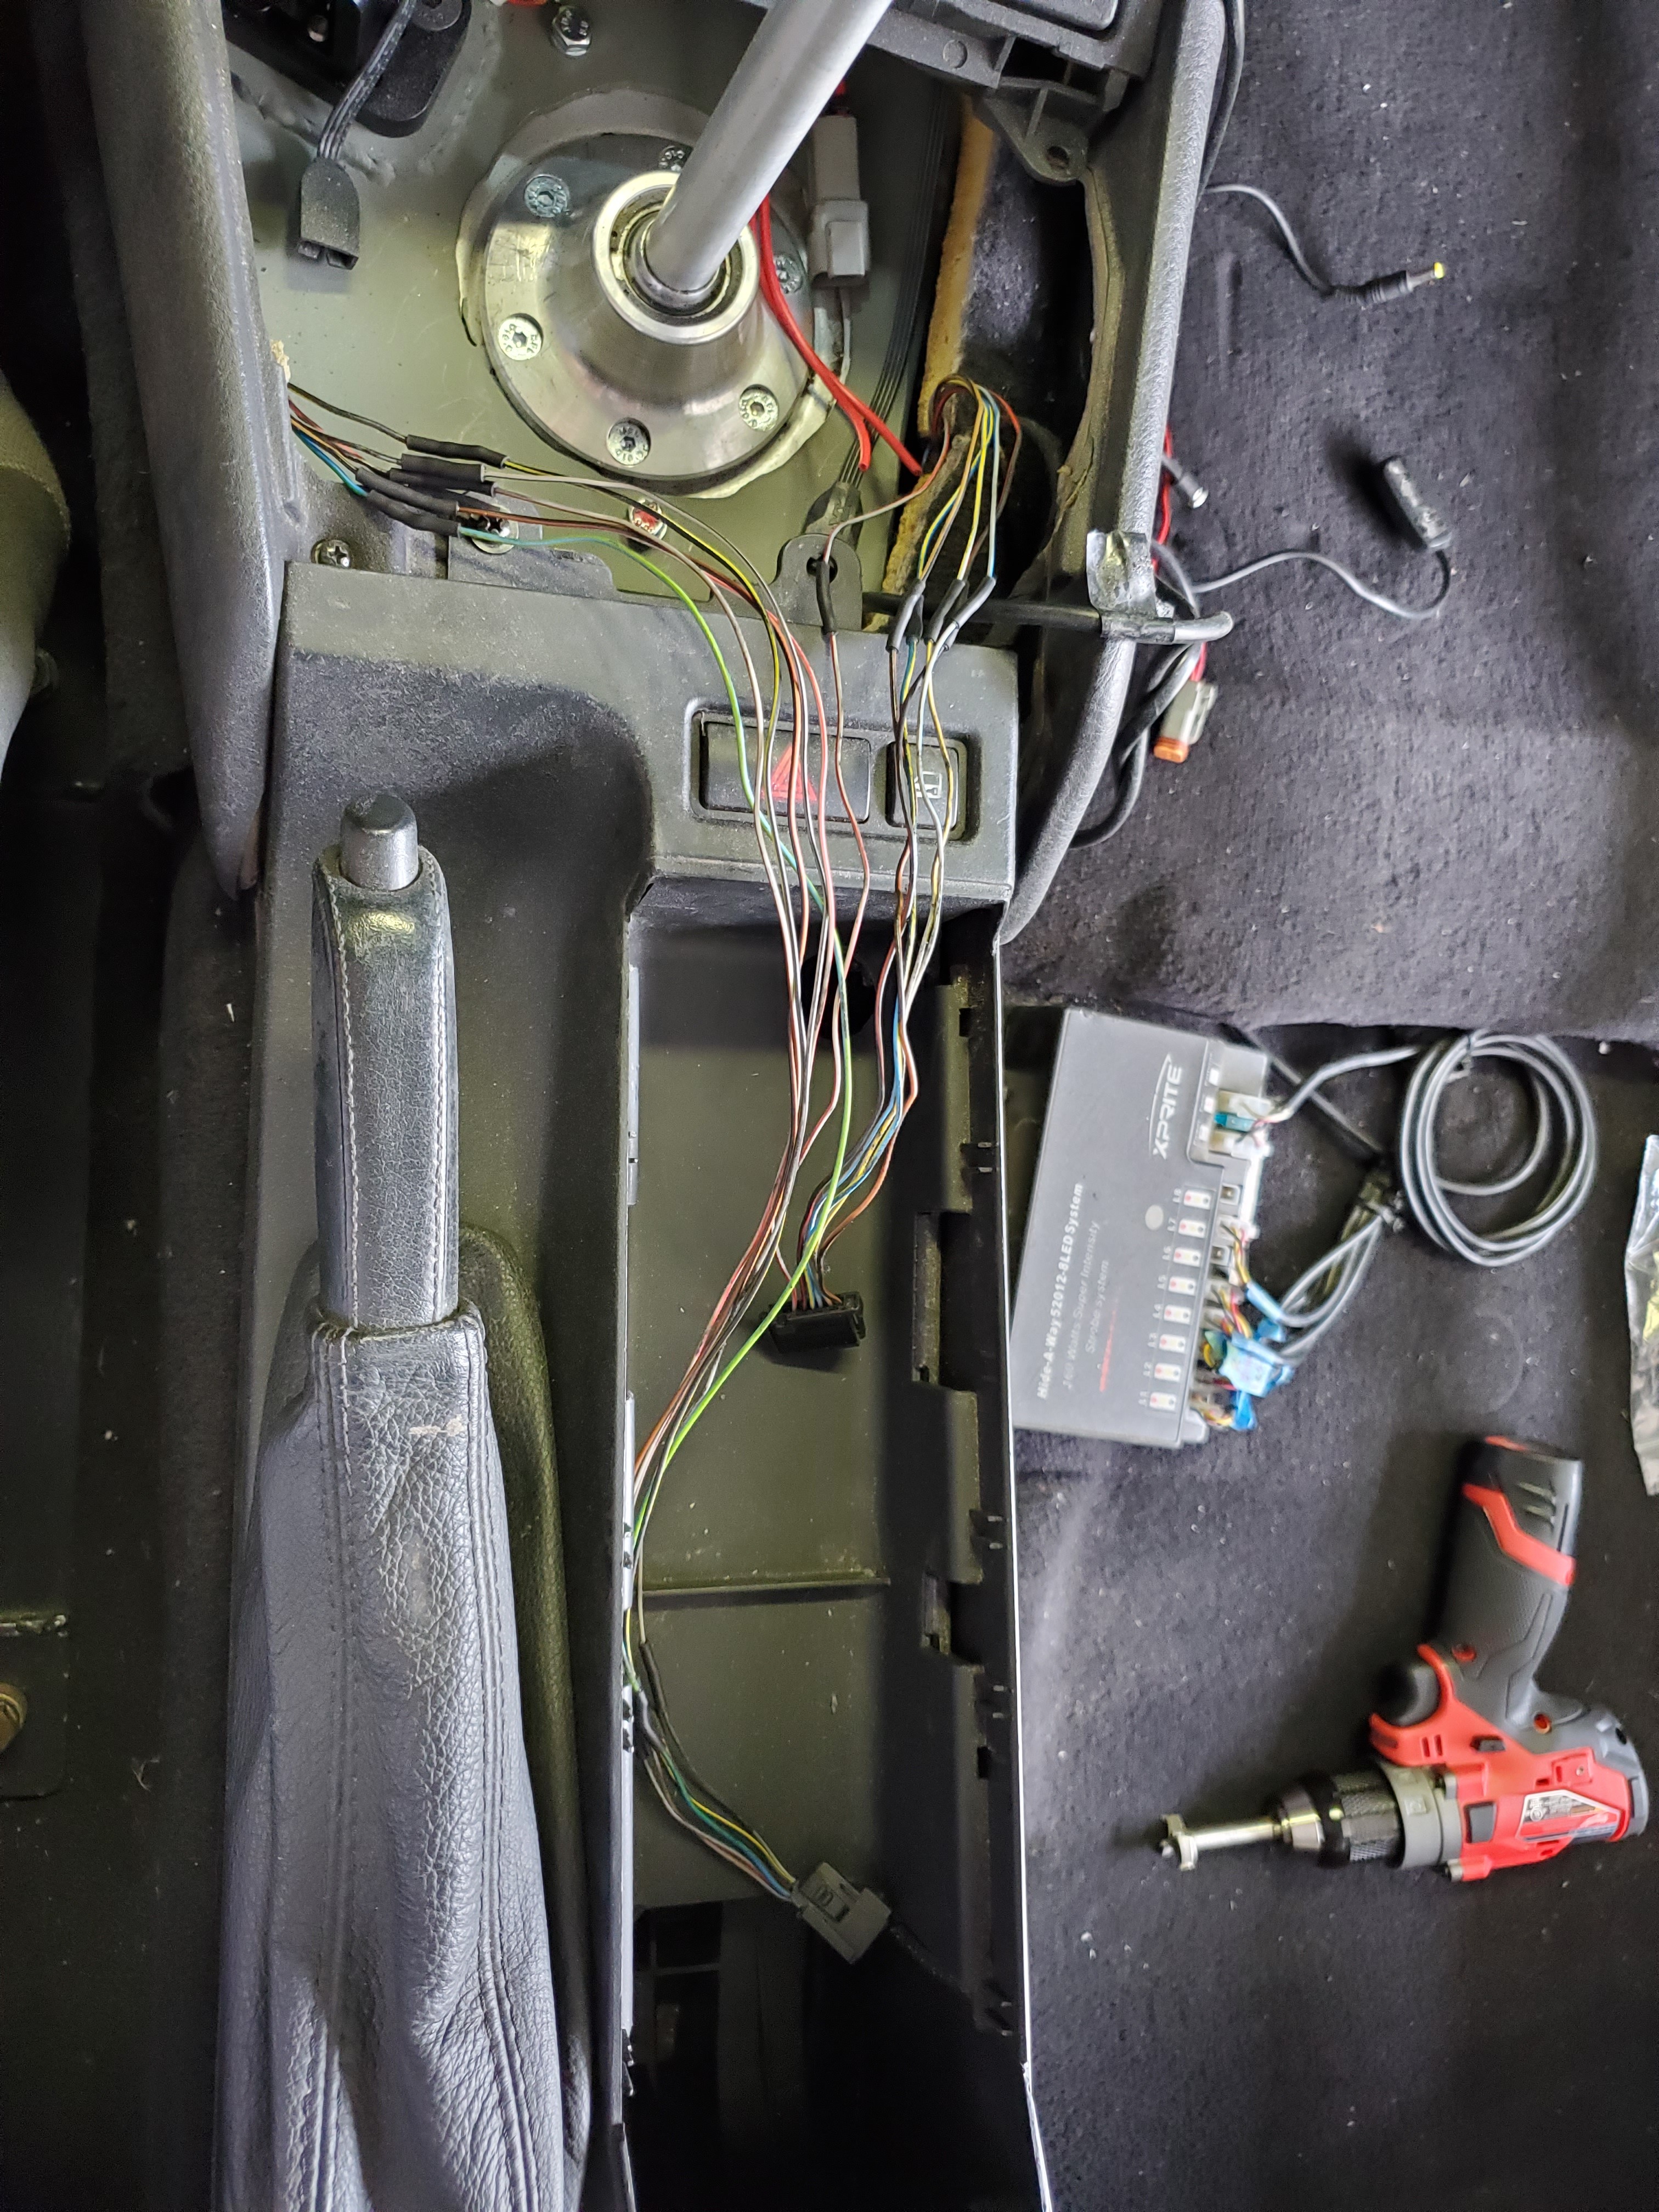
I moved on to some more interior stuff then, extended the wires for my window stitches.

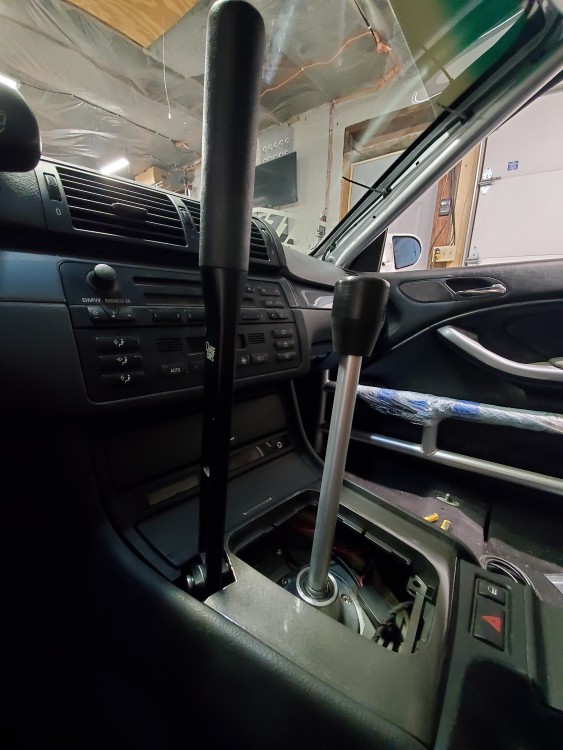
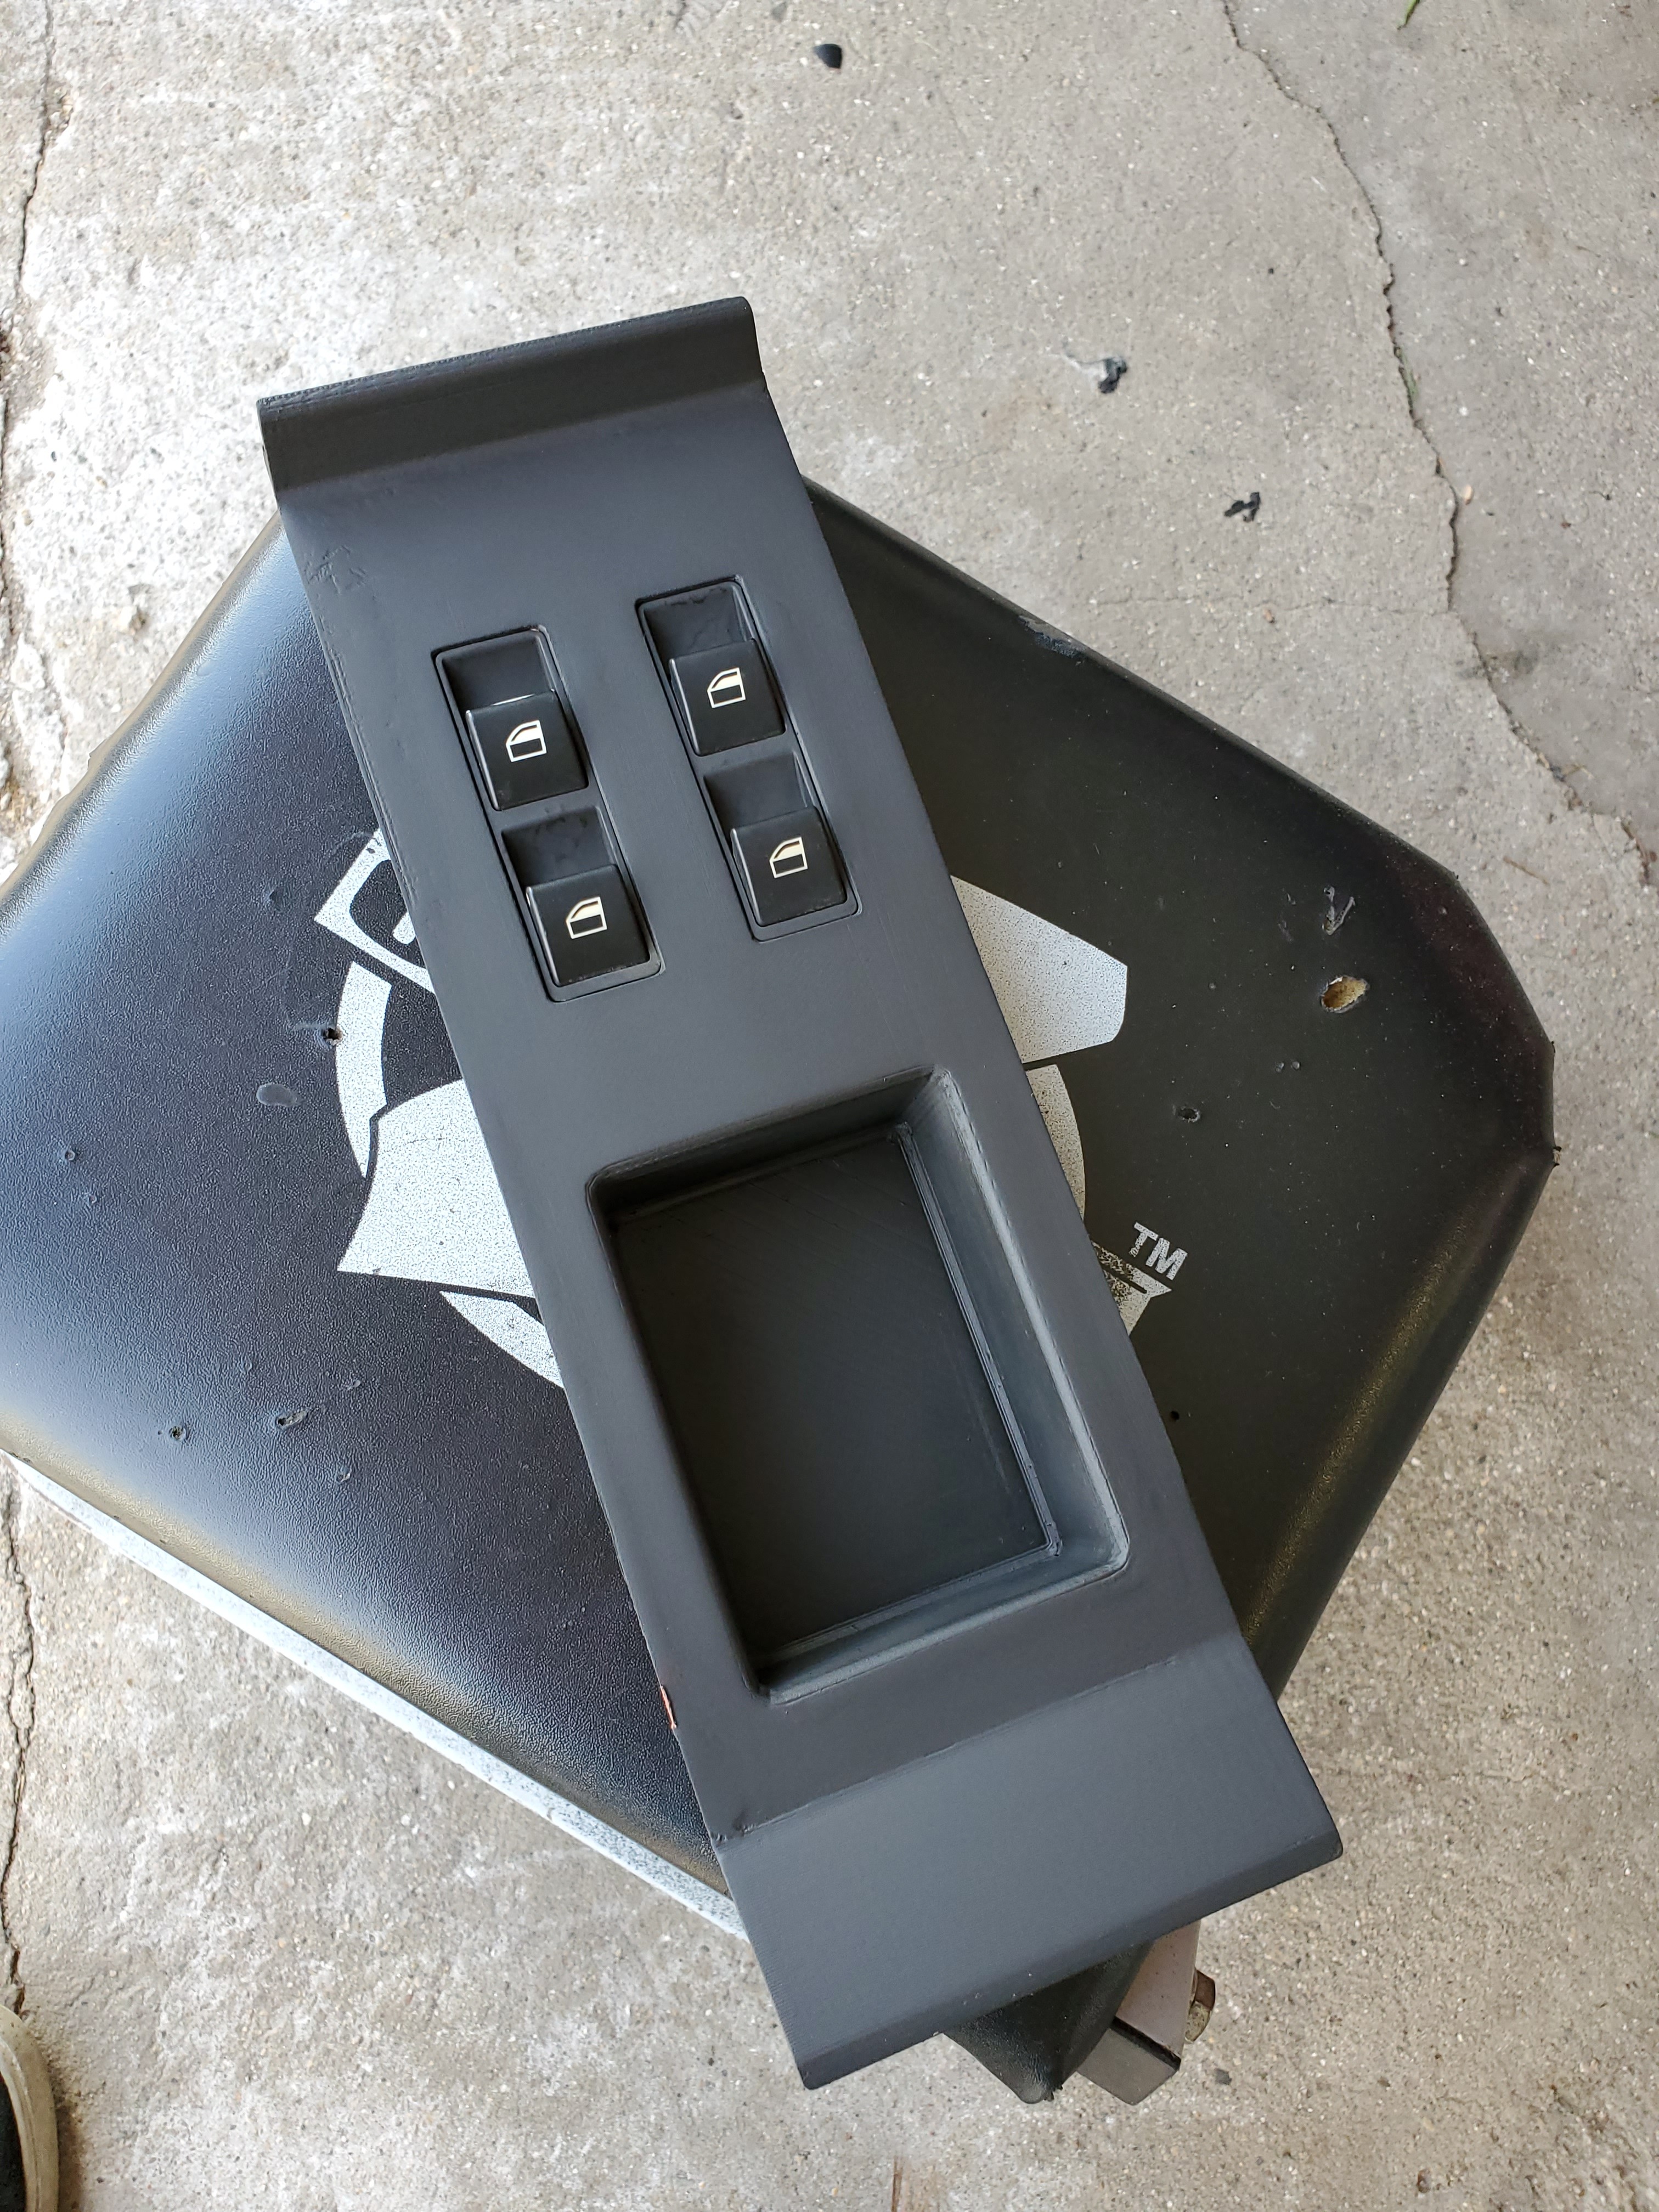
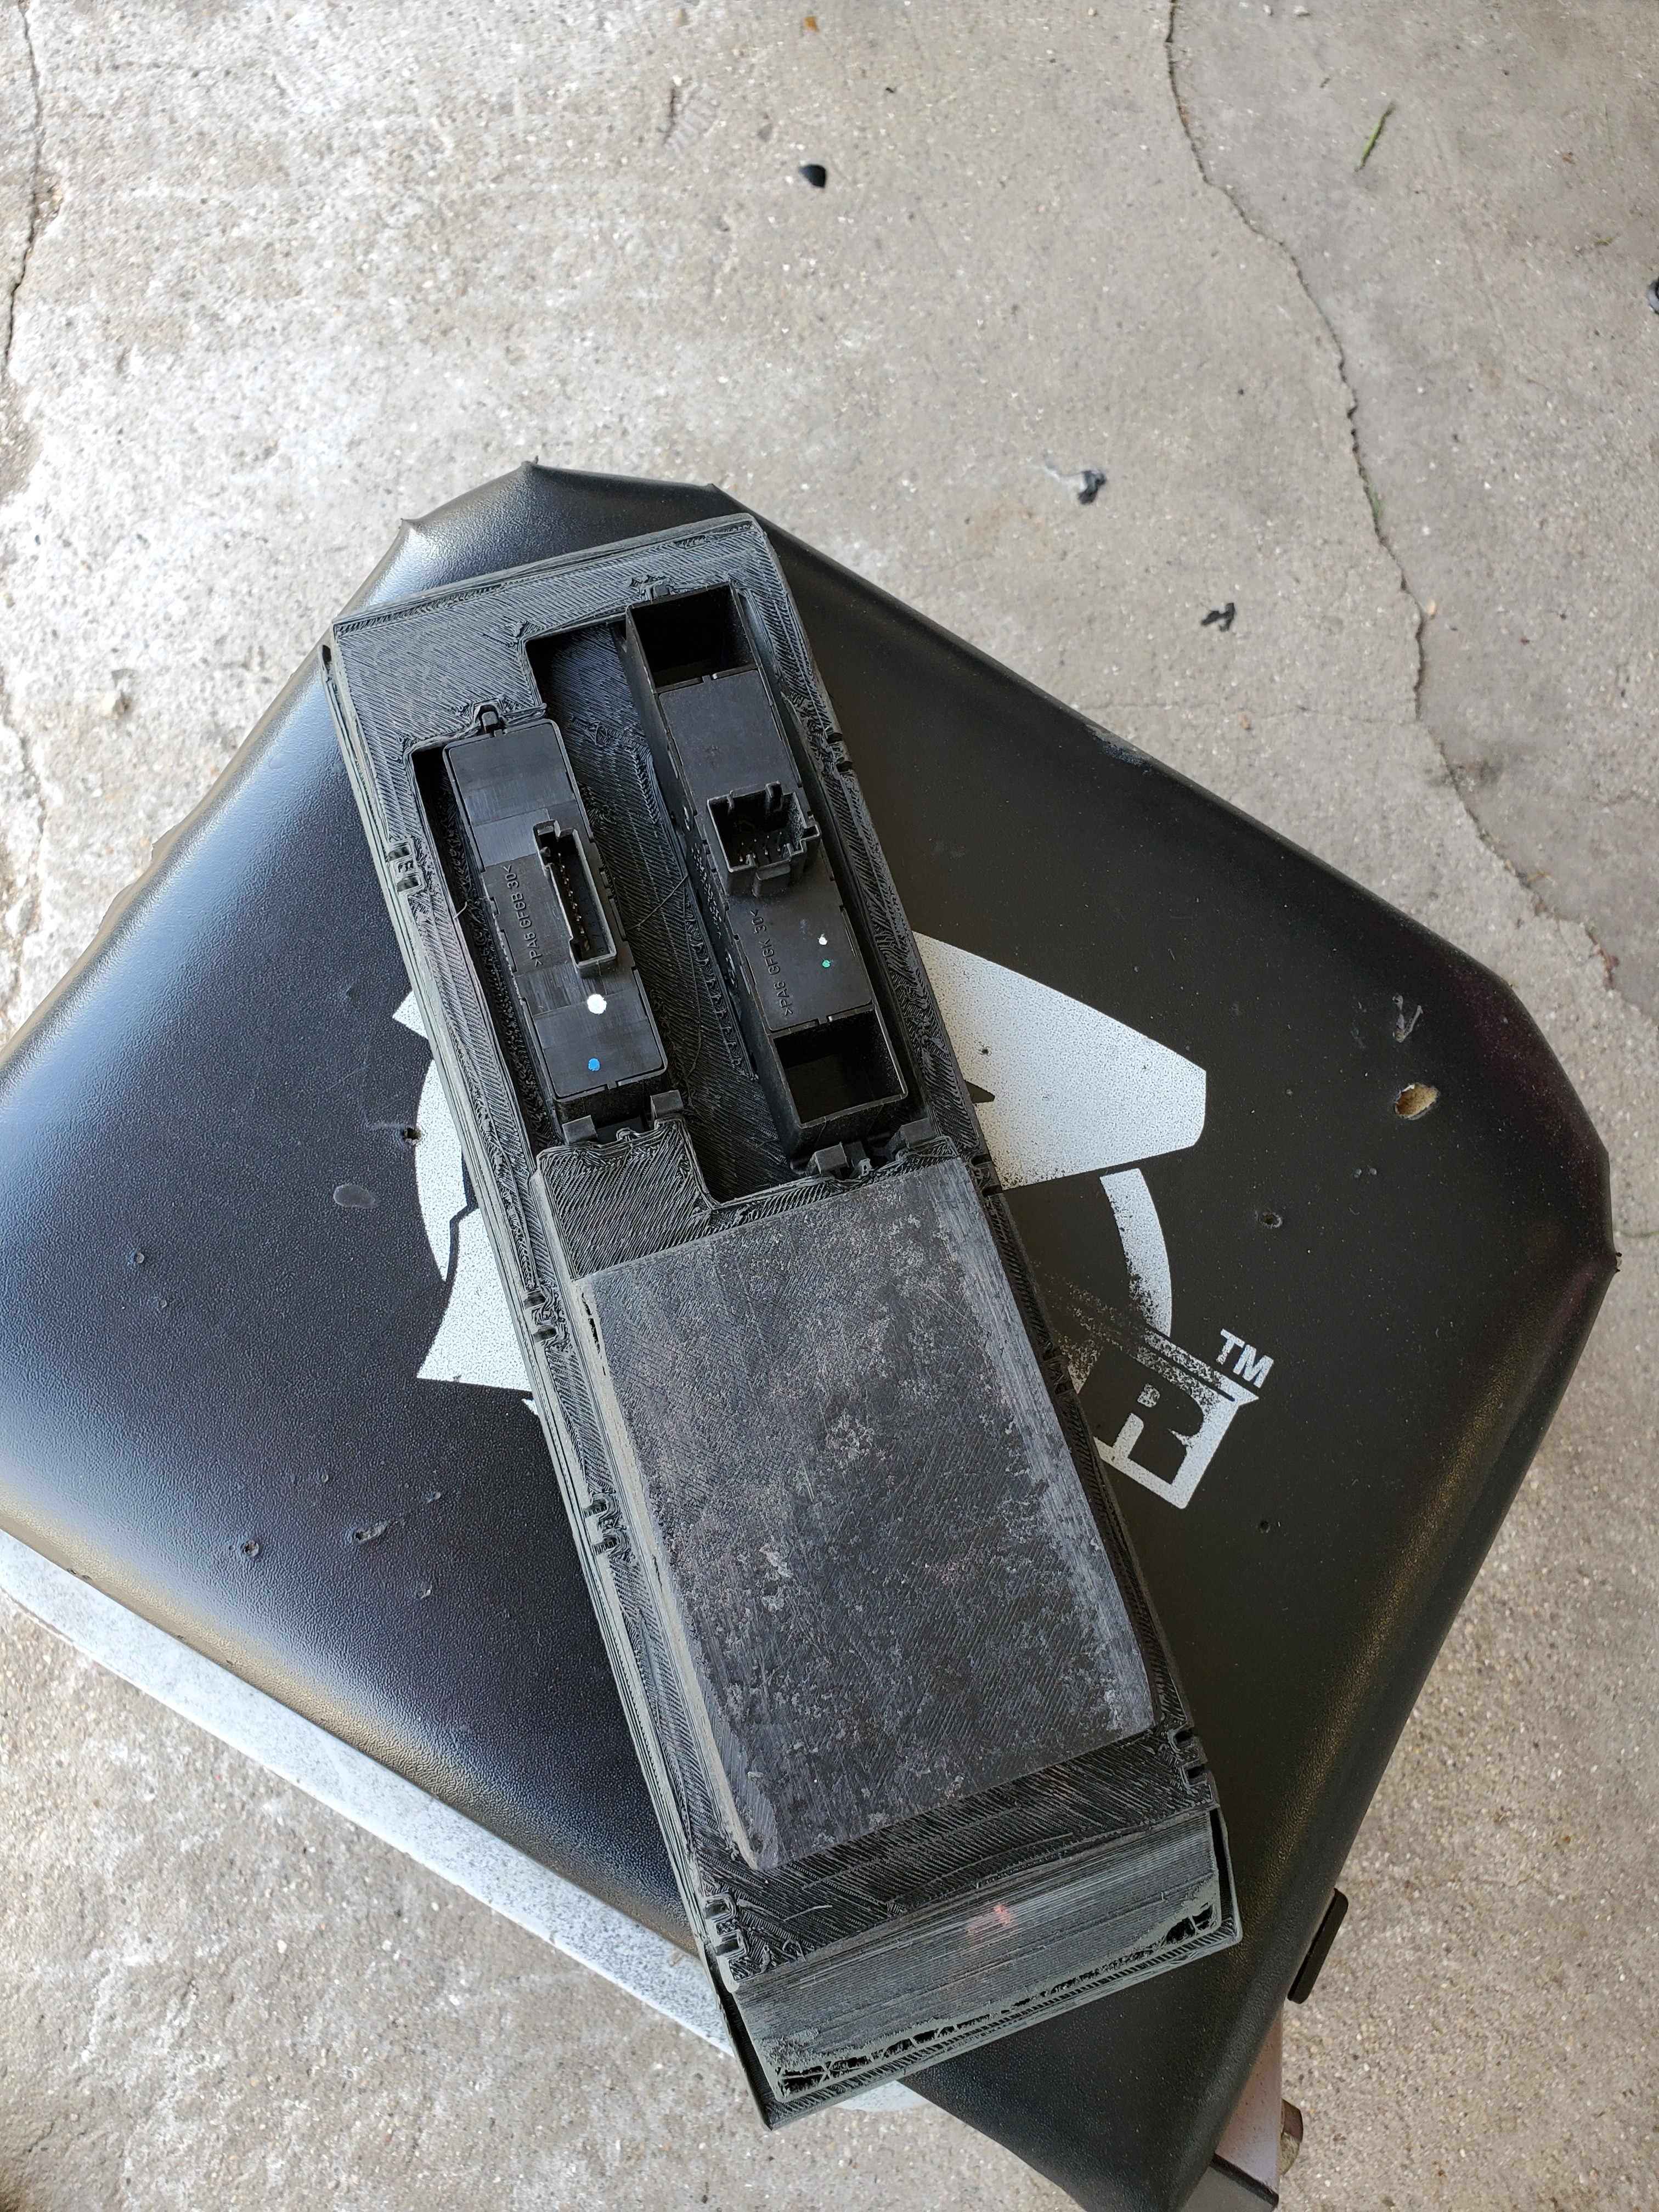
Sanded and painted the center console insert.


And after i taped up the wiring i installed the piece to the console.
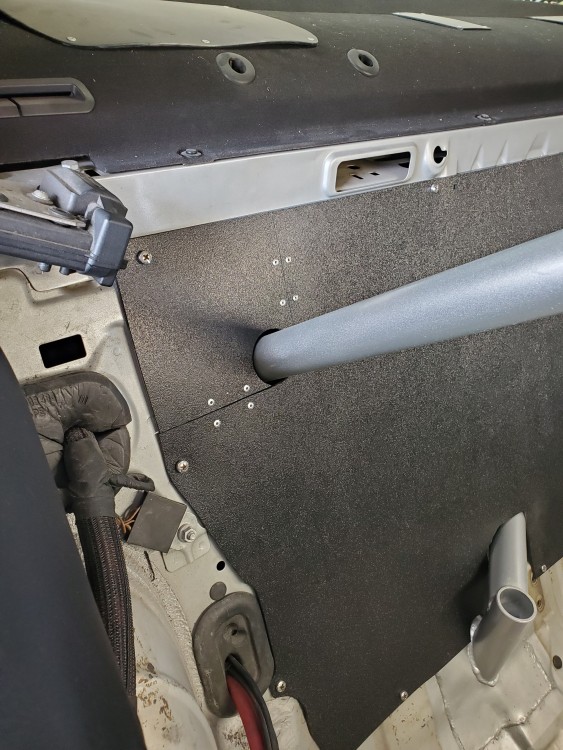
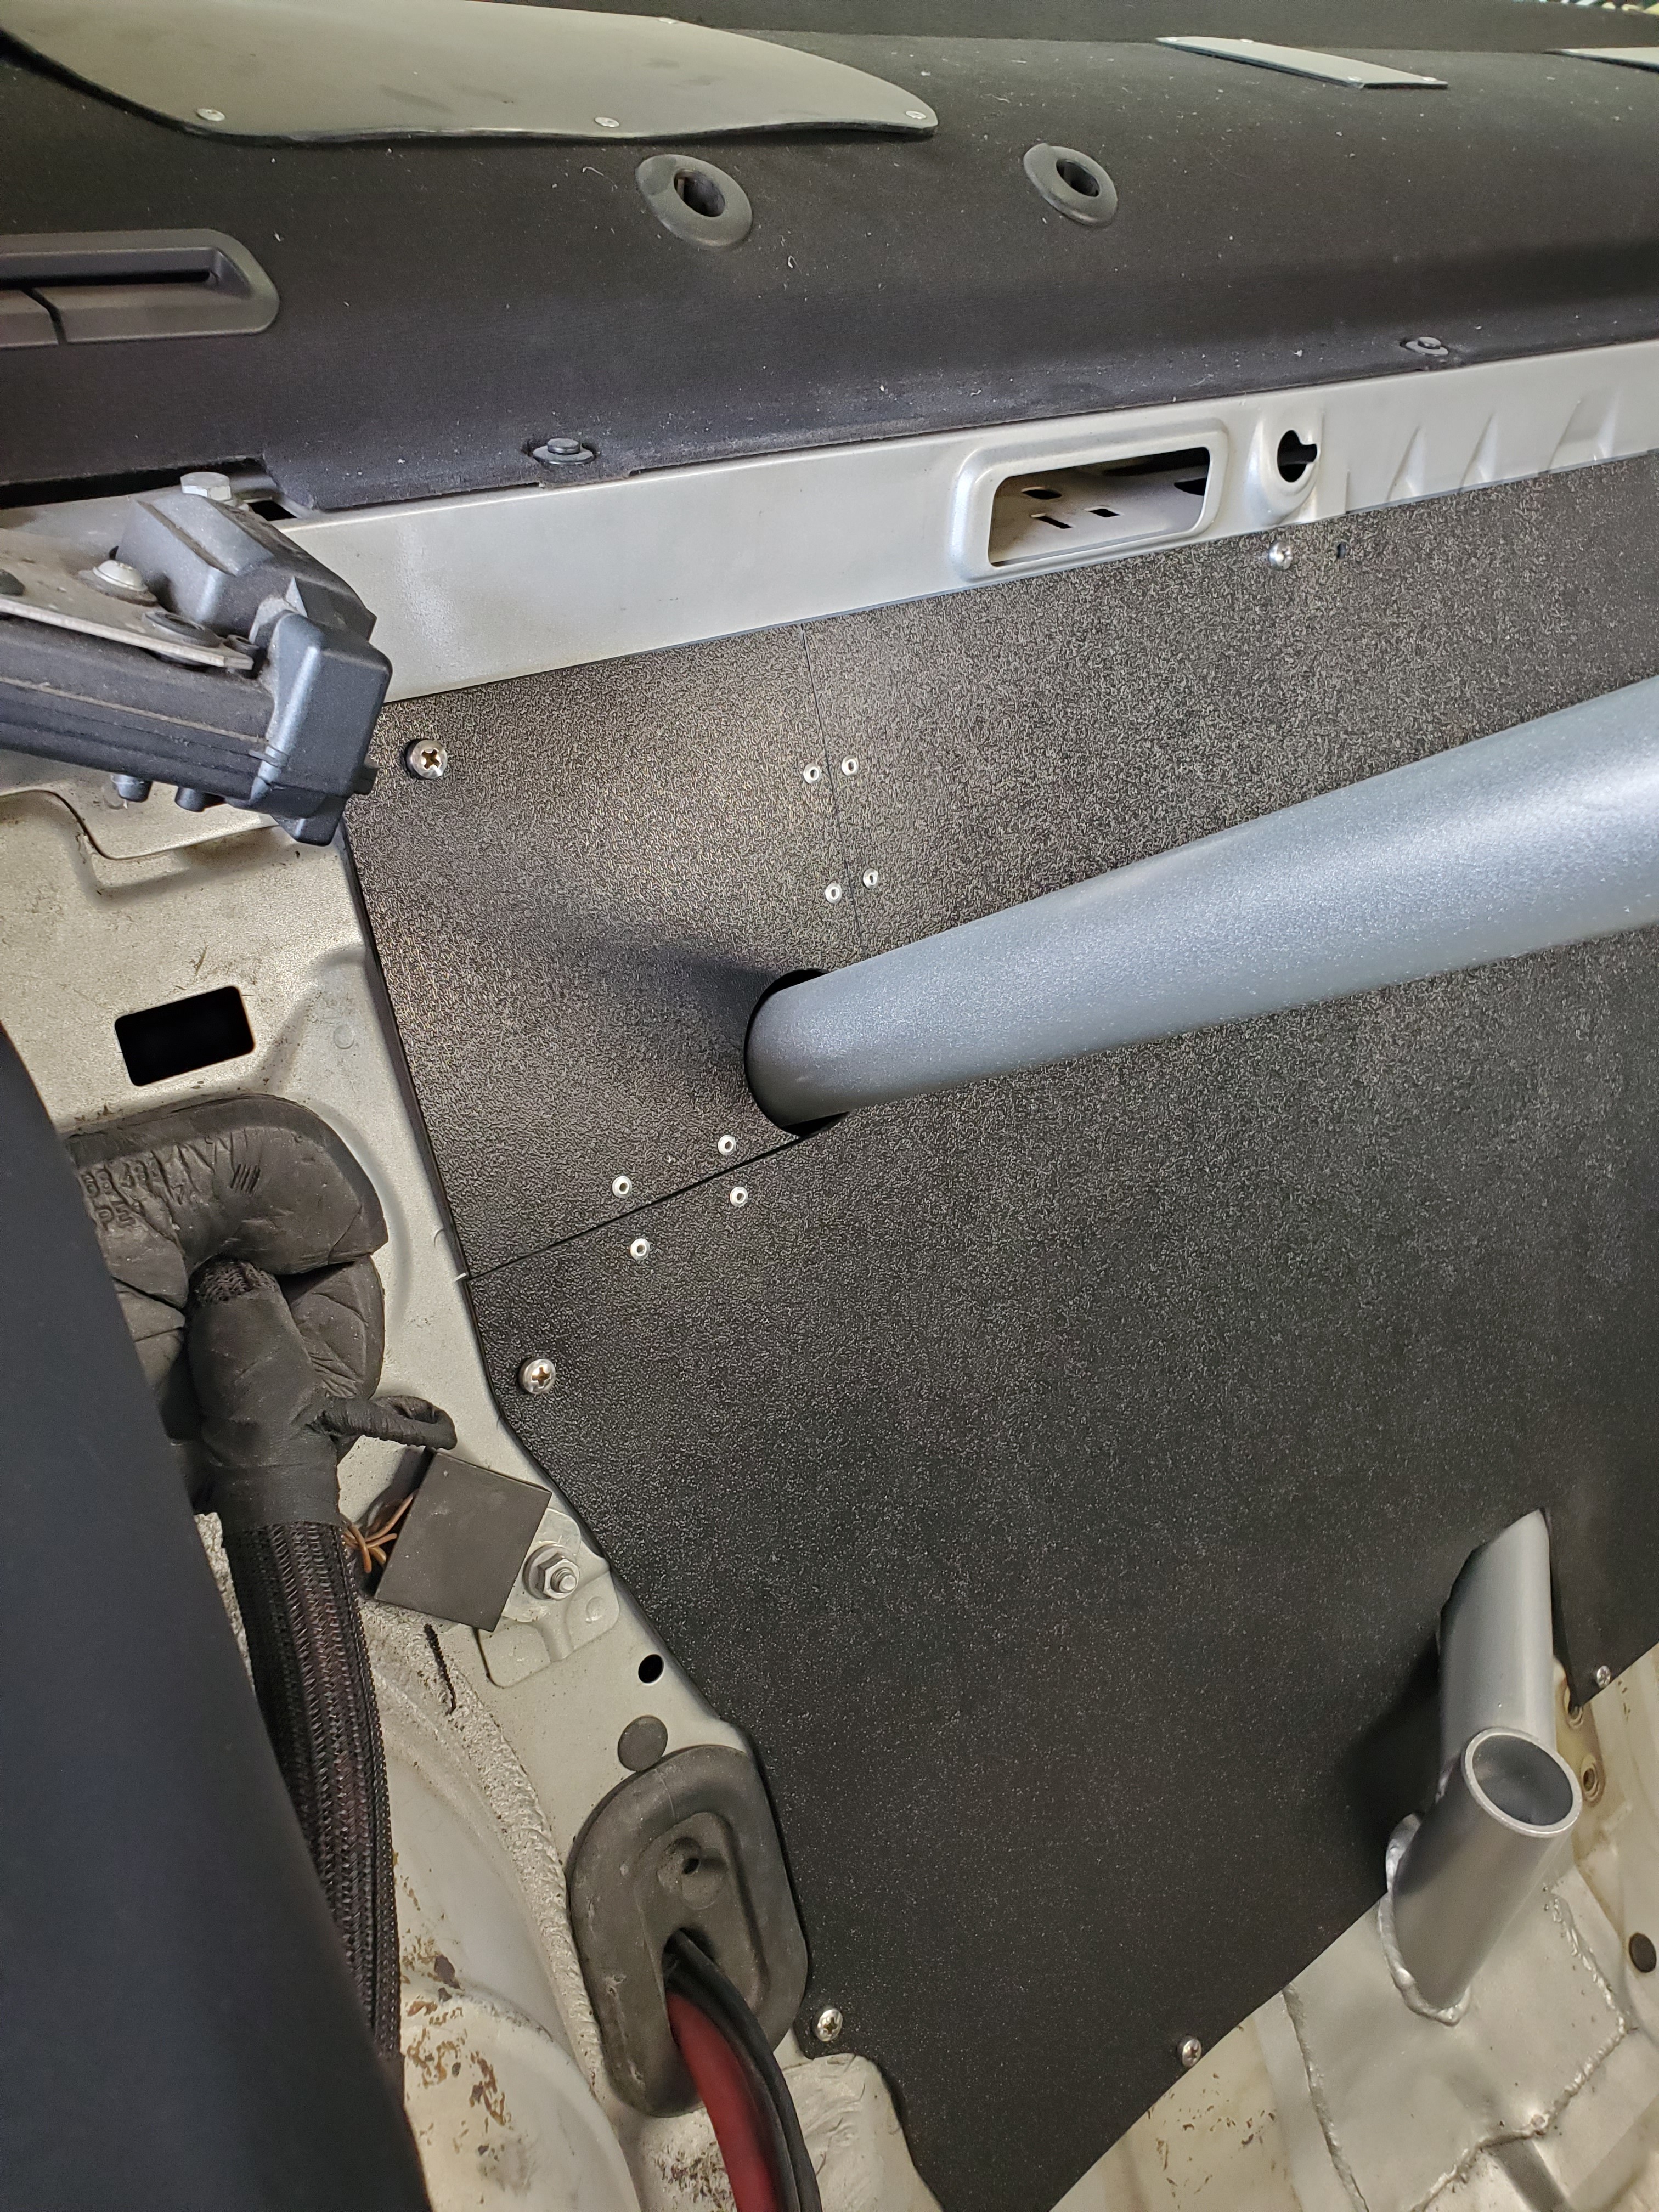
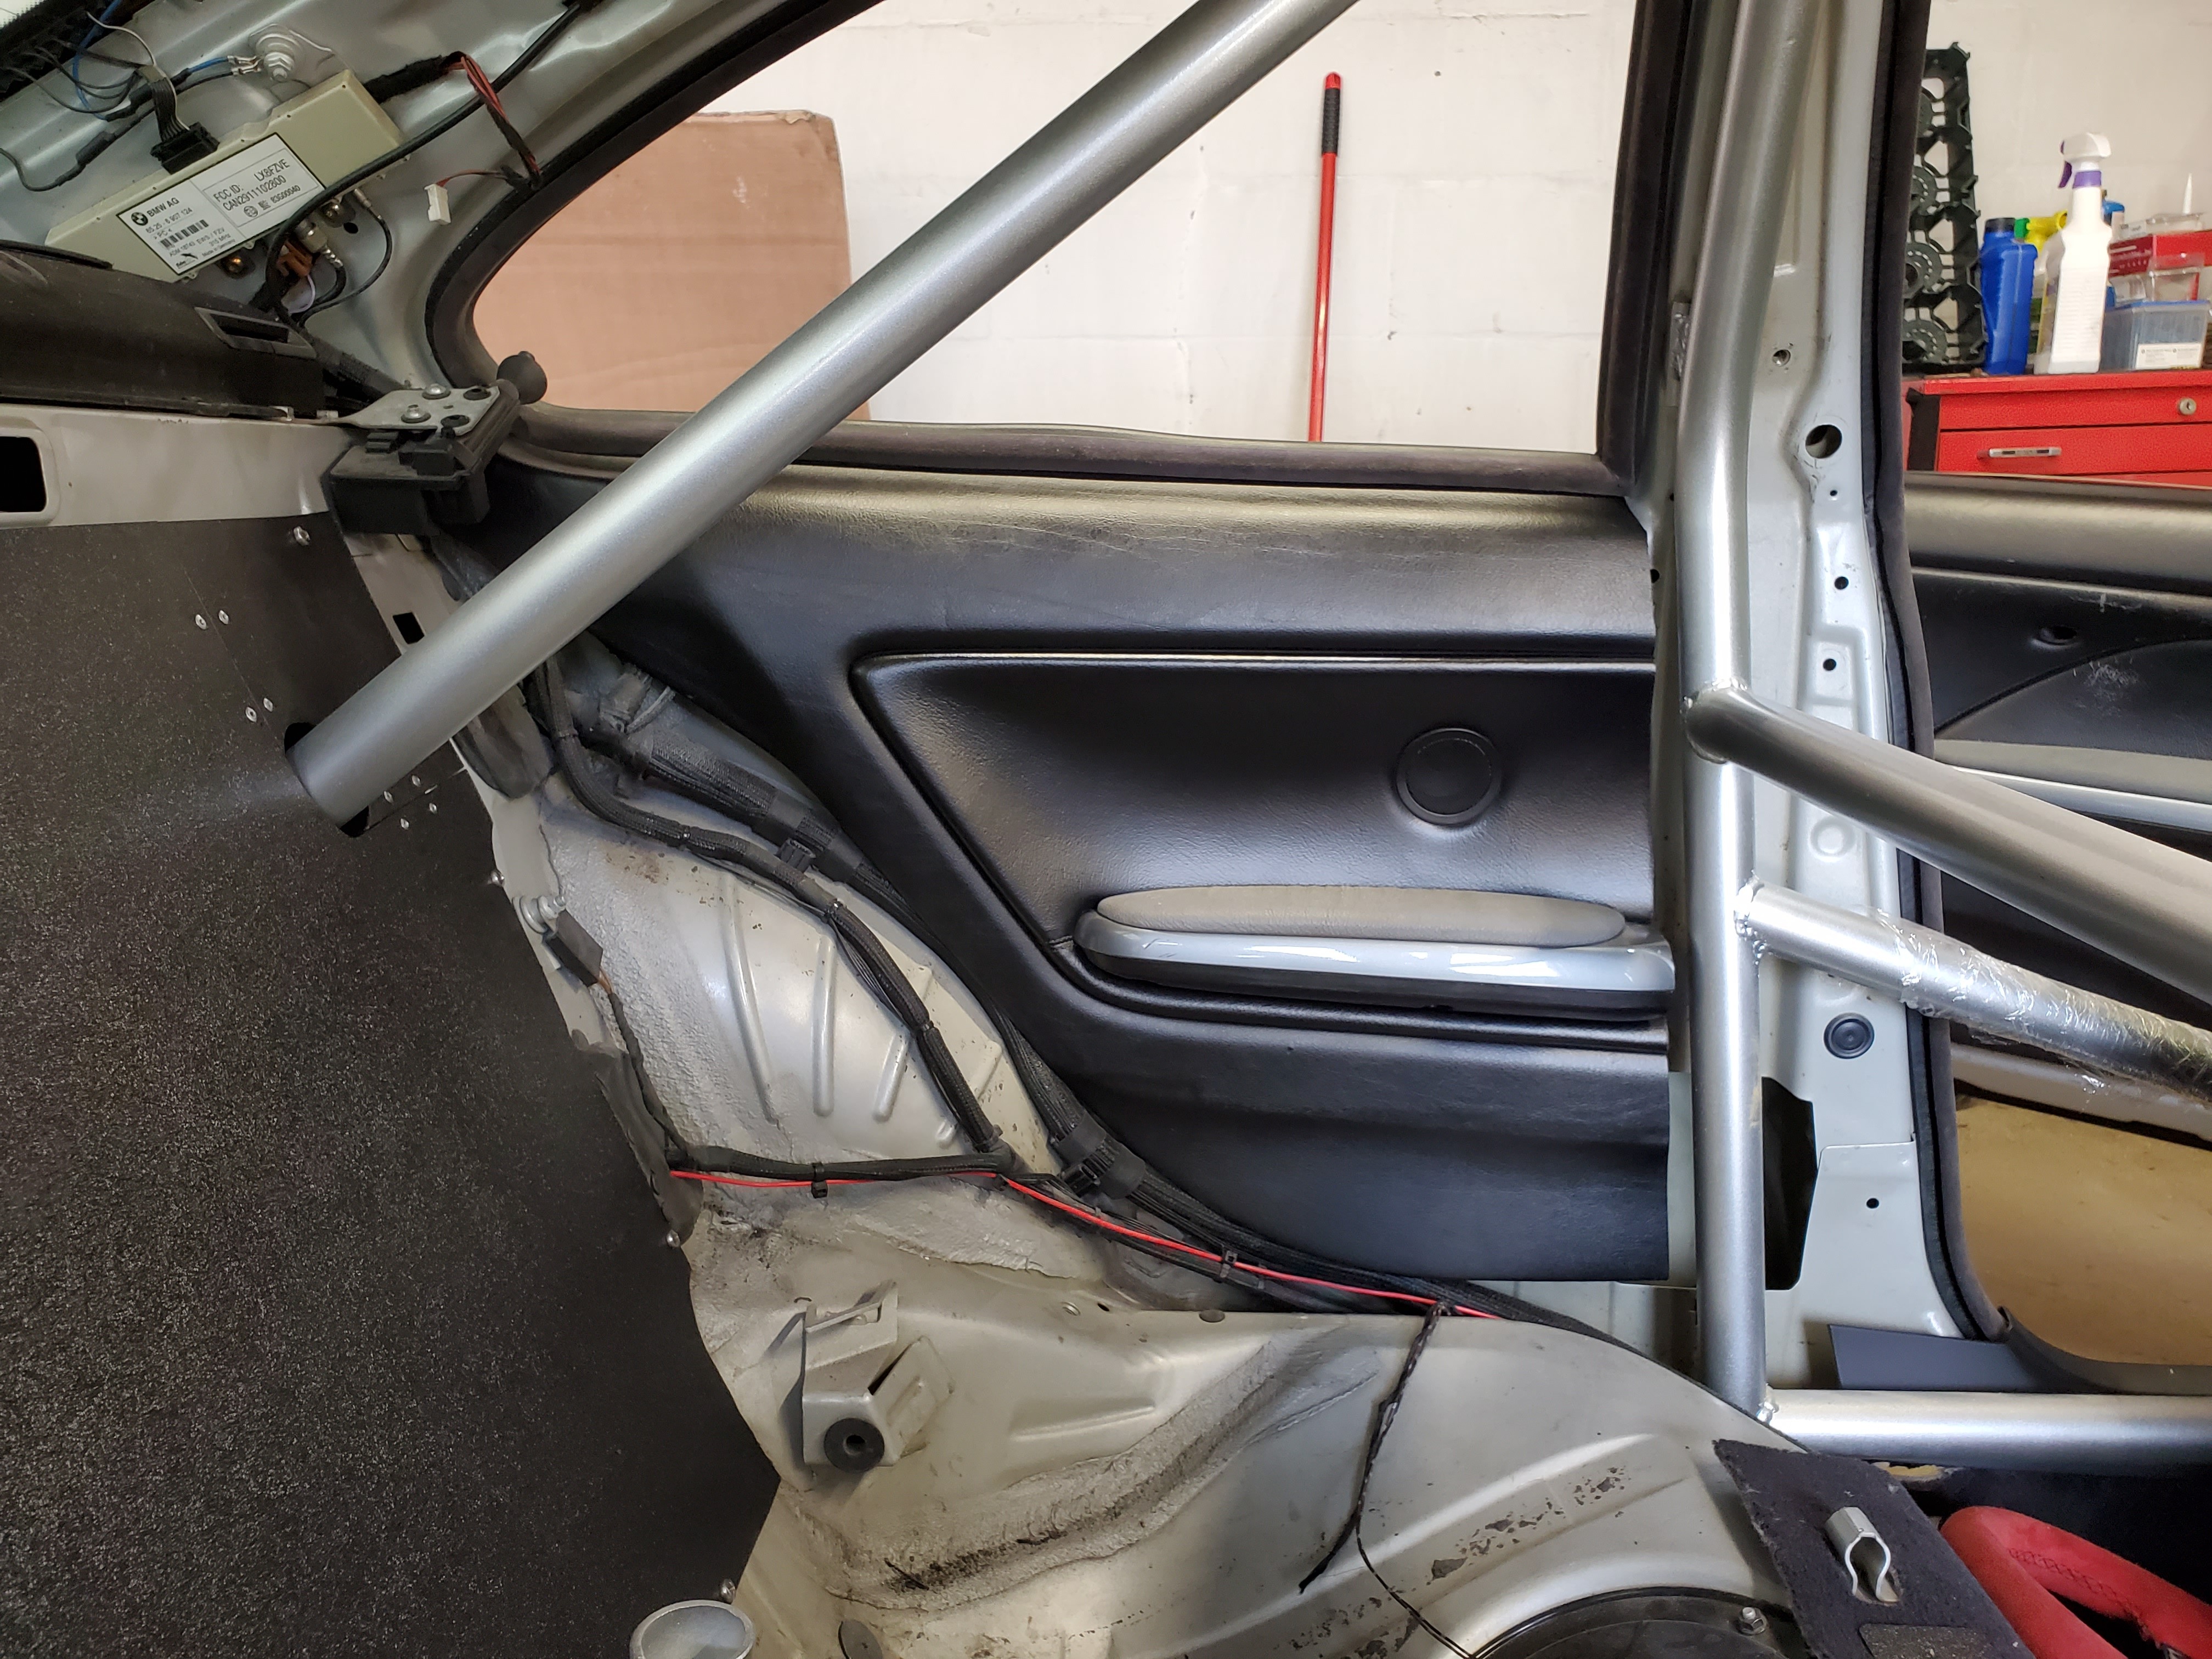
I decided to not make flat ABS door panels for the rear and instead cut up and fit the factory ones. 😁 And it worked pretty well!

Even got the front sections to clip in on both sides!


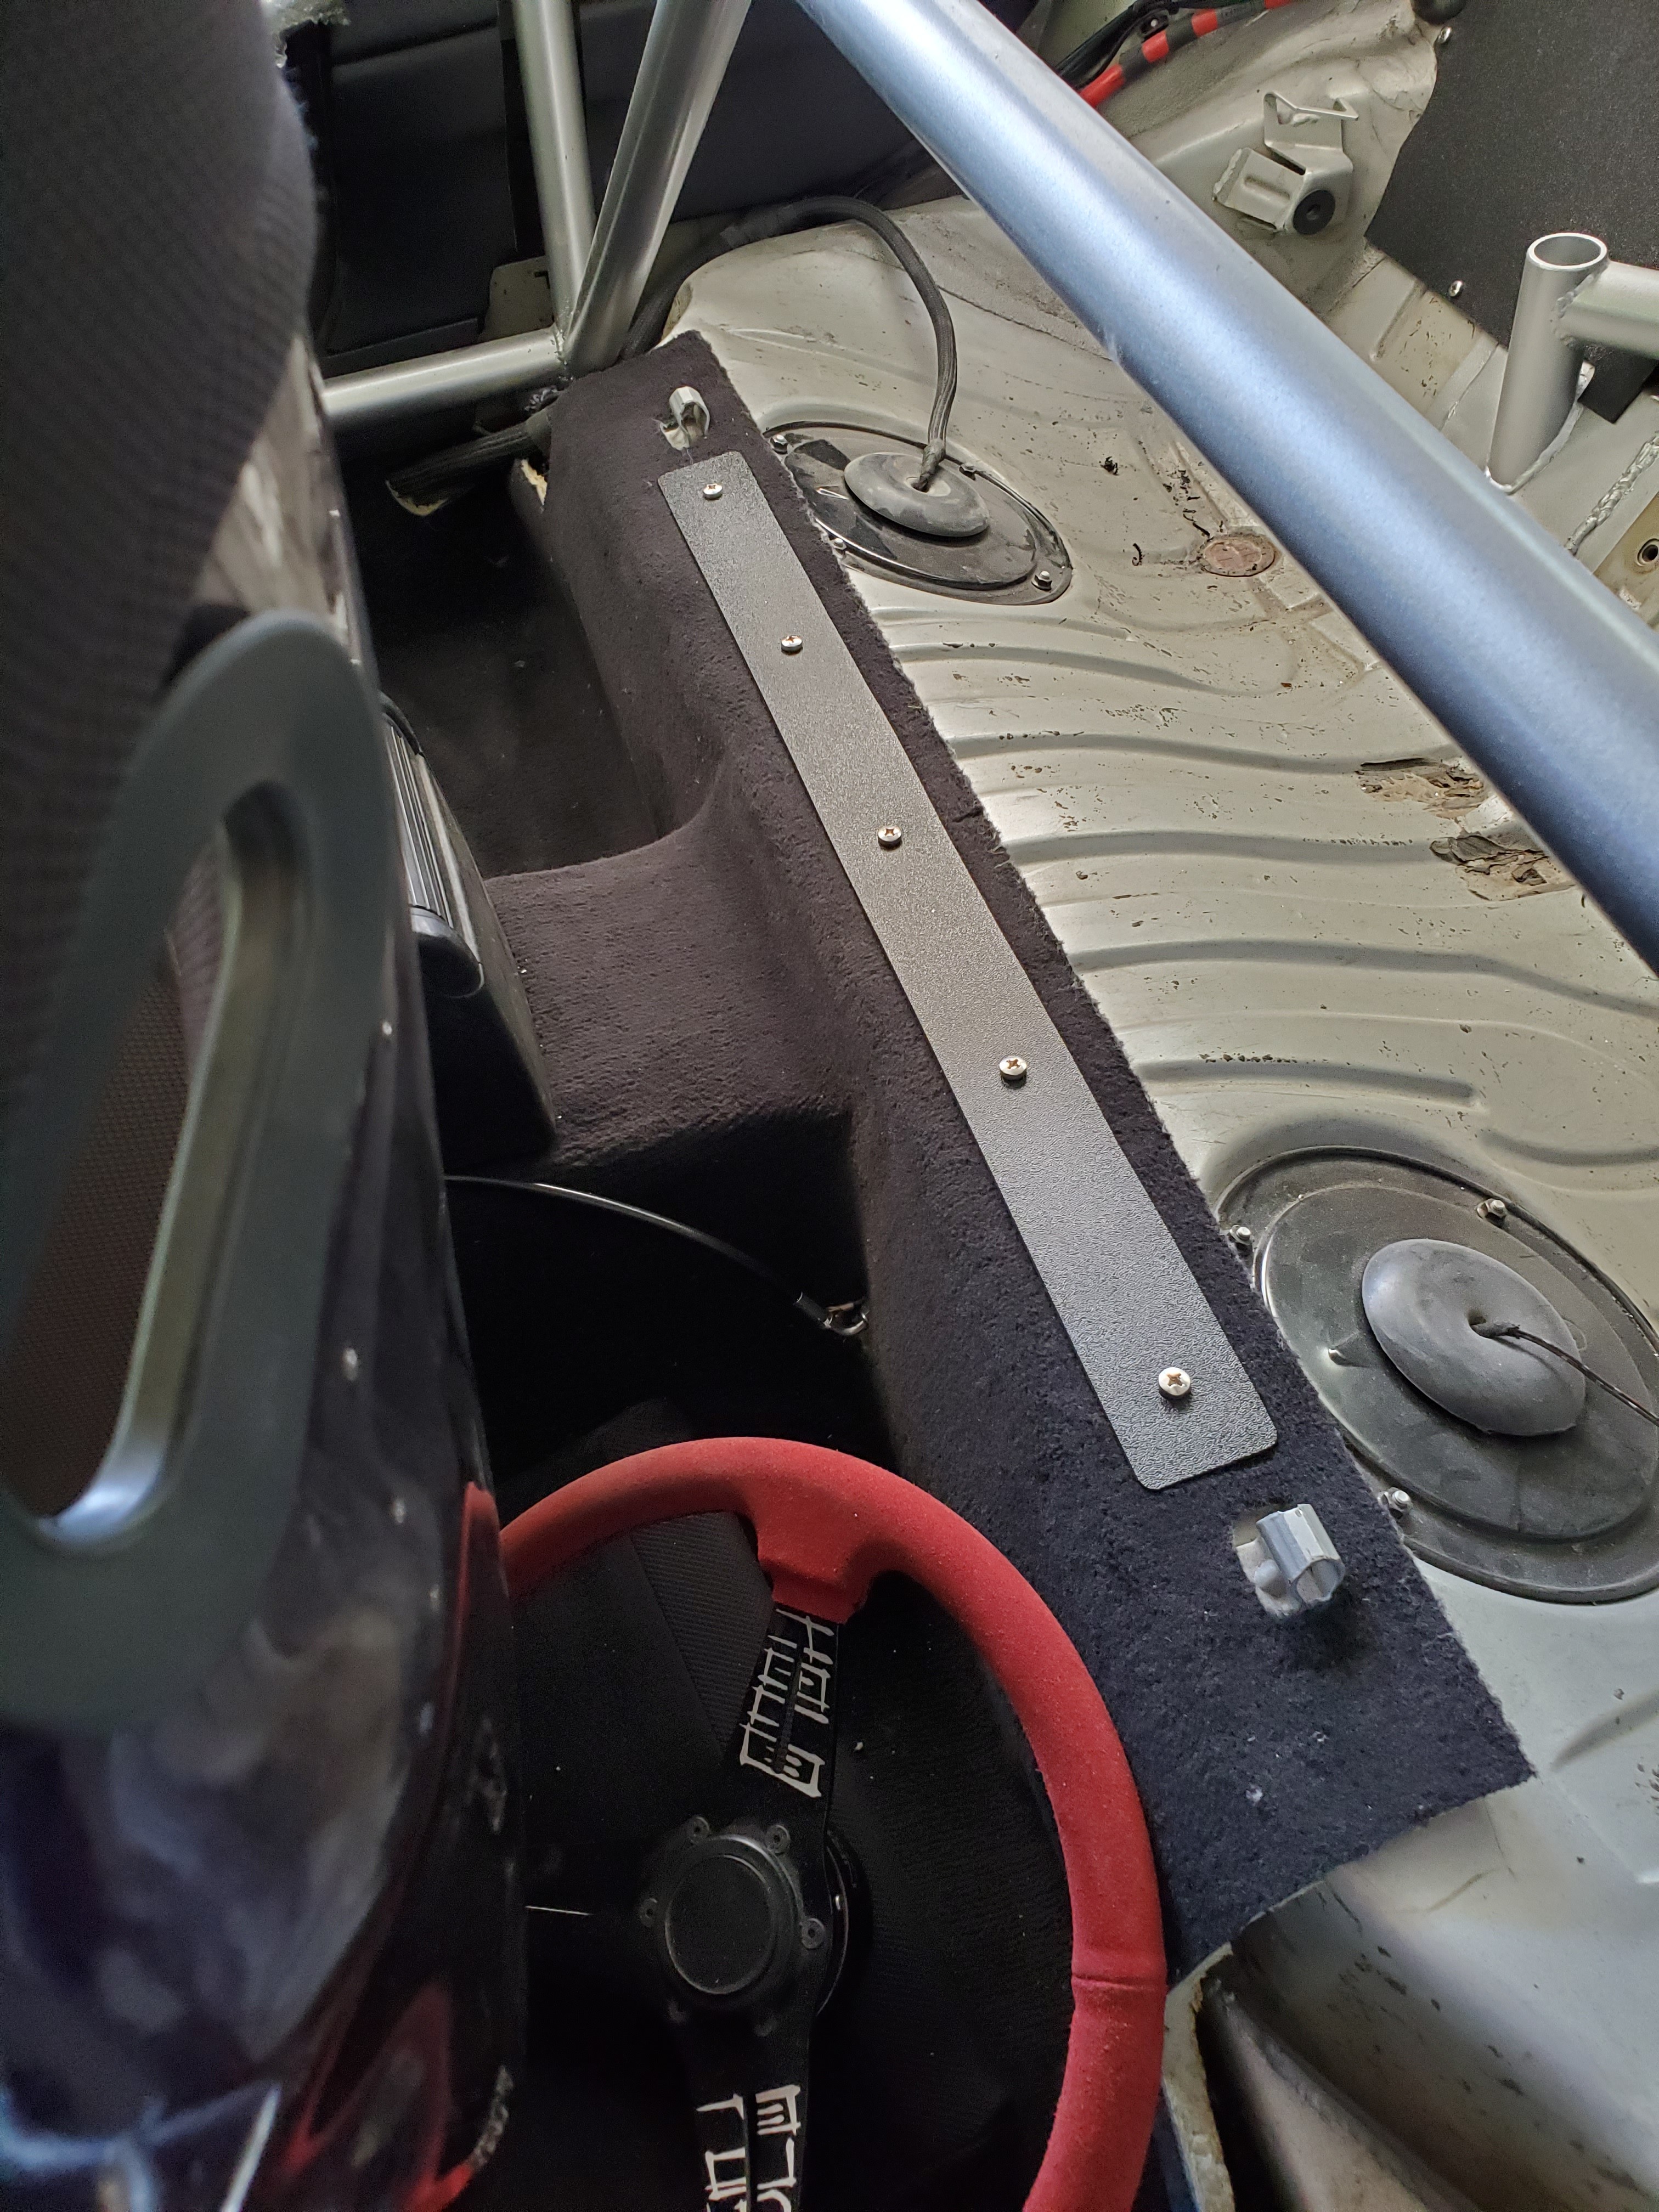
And made, installed nutserts and installed the trim I made to hold down the carpet in the rear.

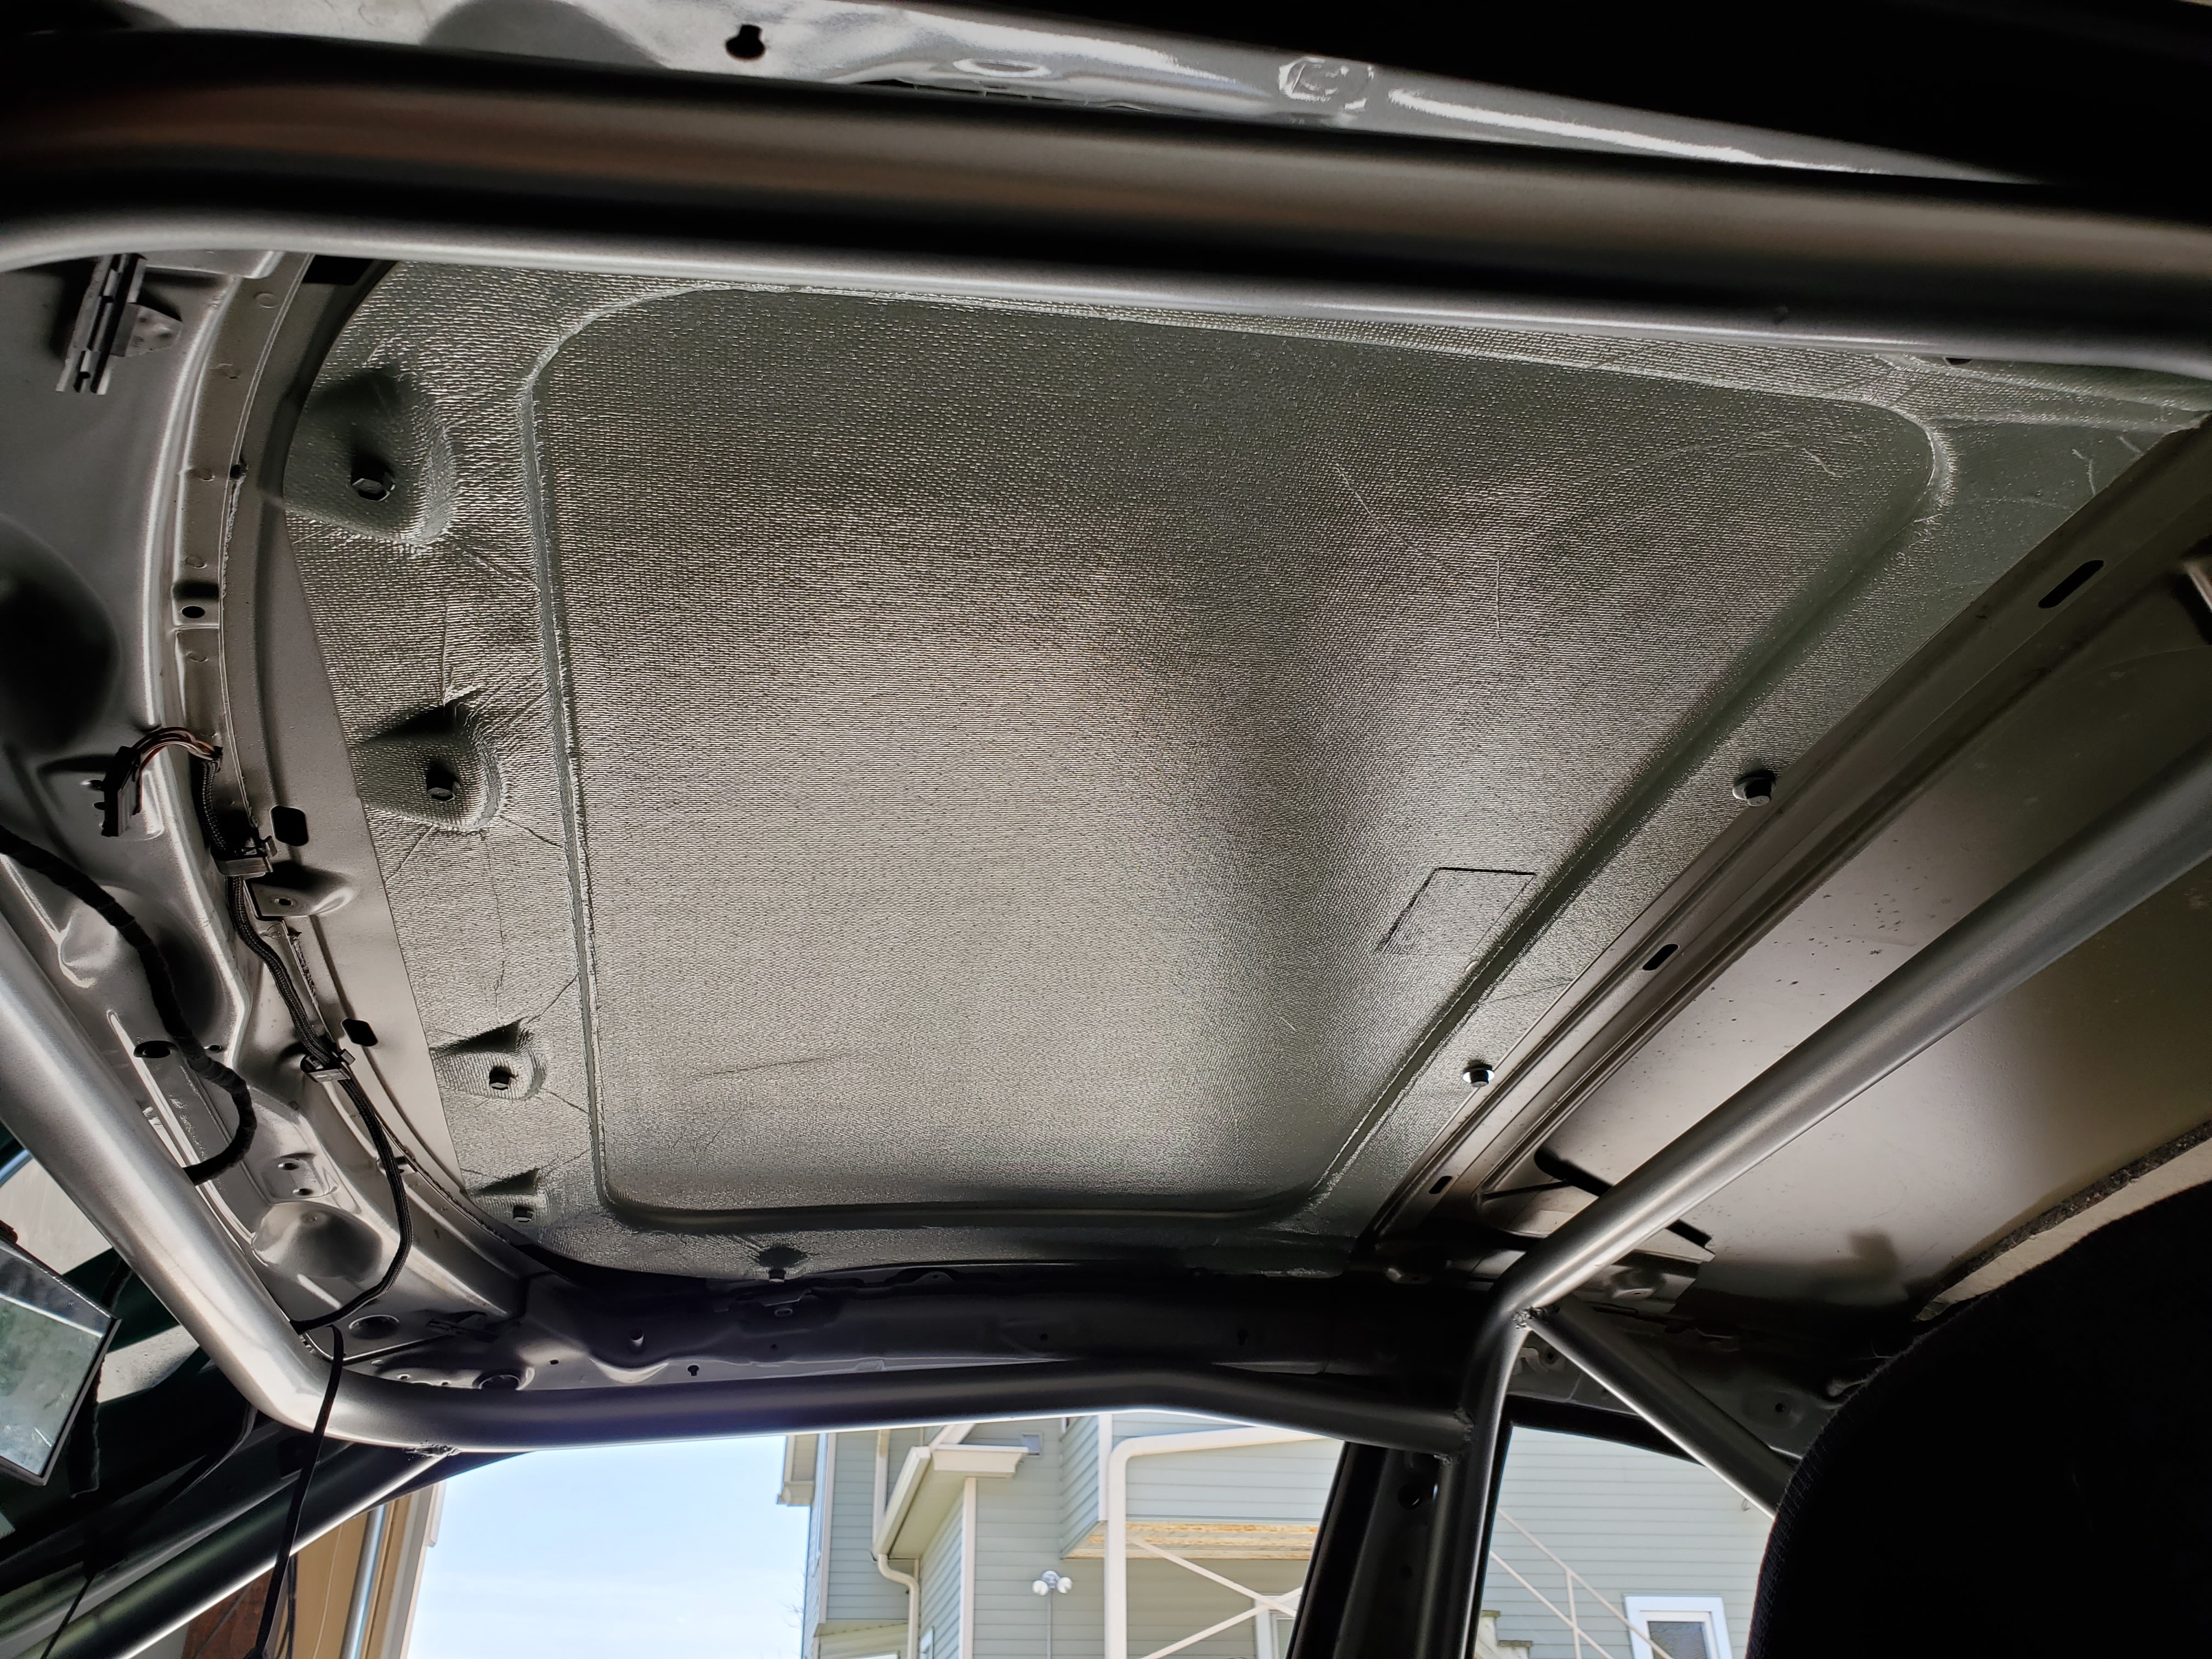
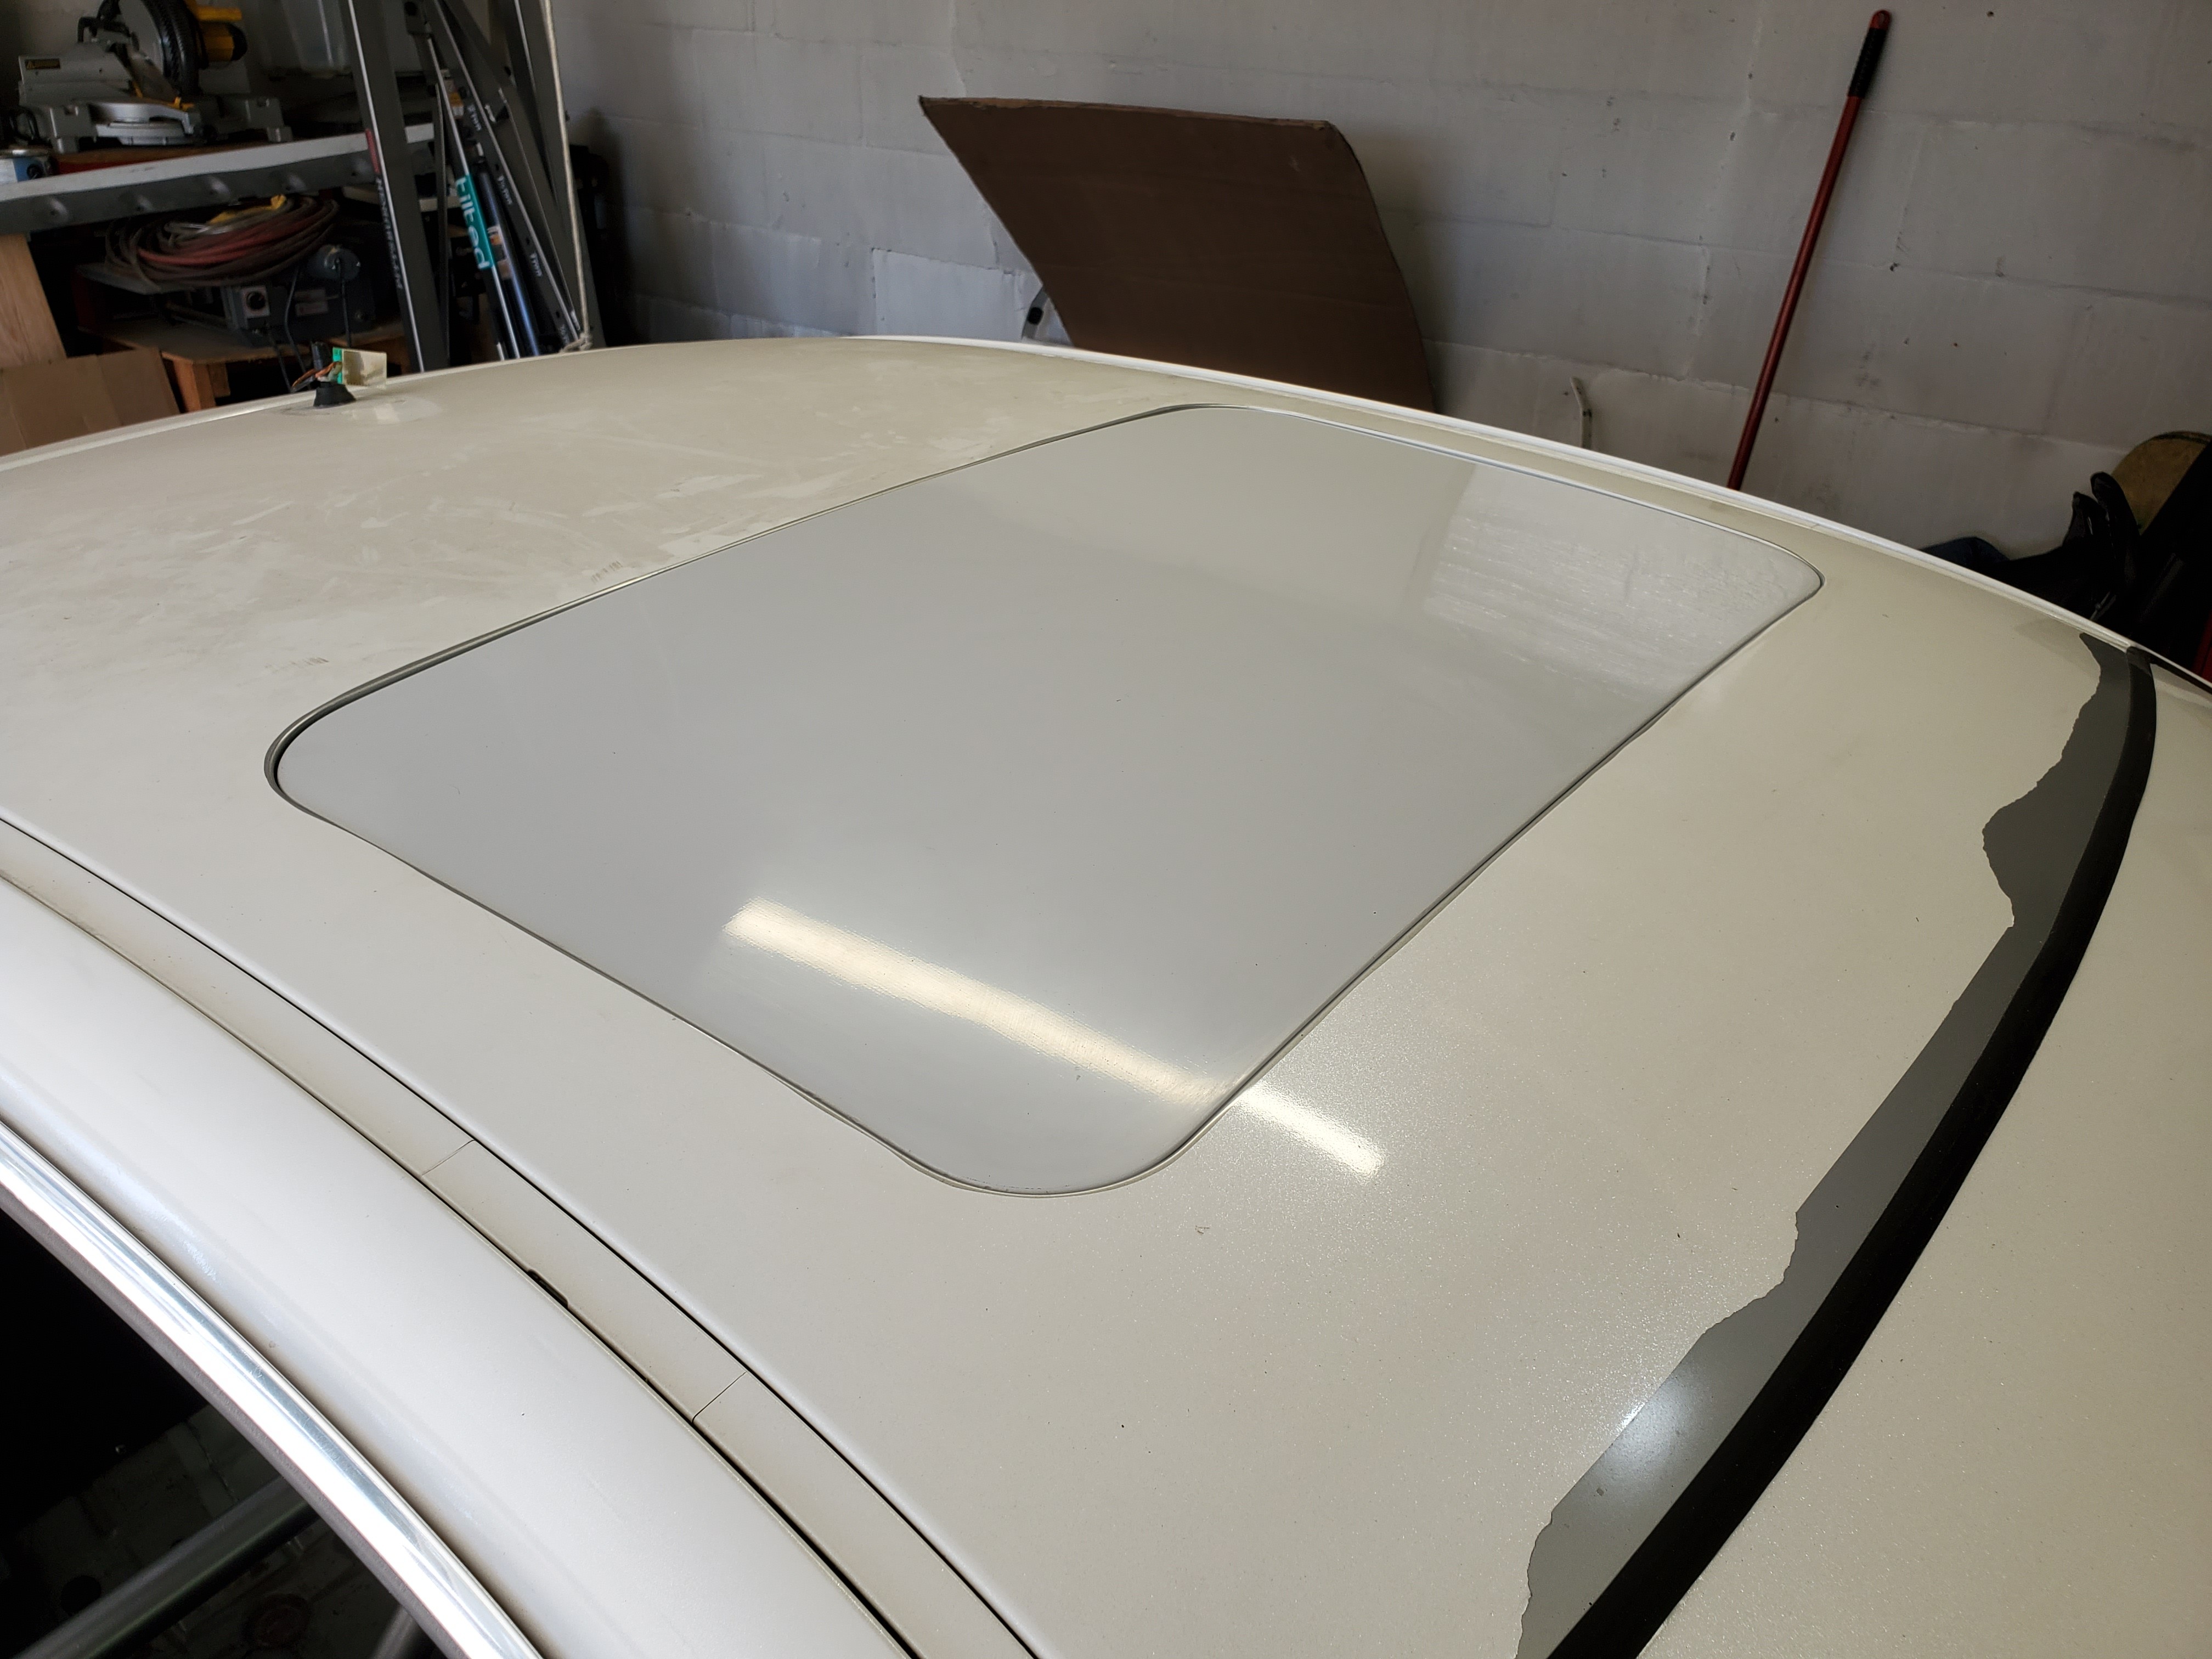
Installed the sunroof delete, pretty happy with the way it fits.
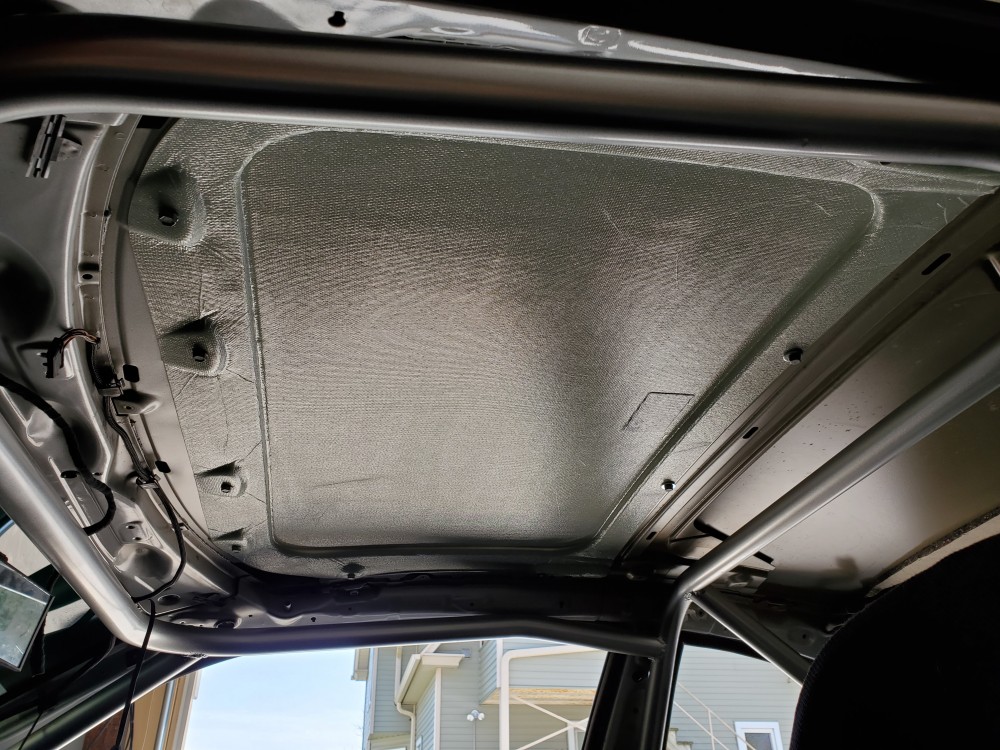
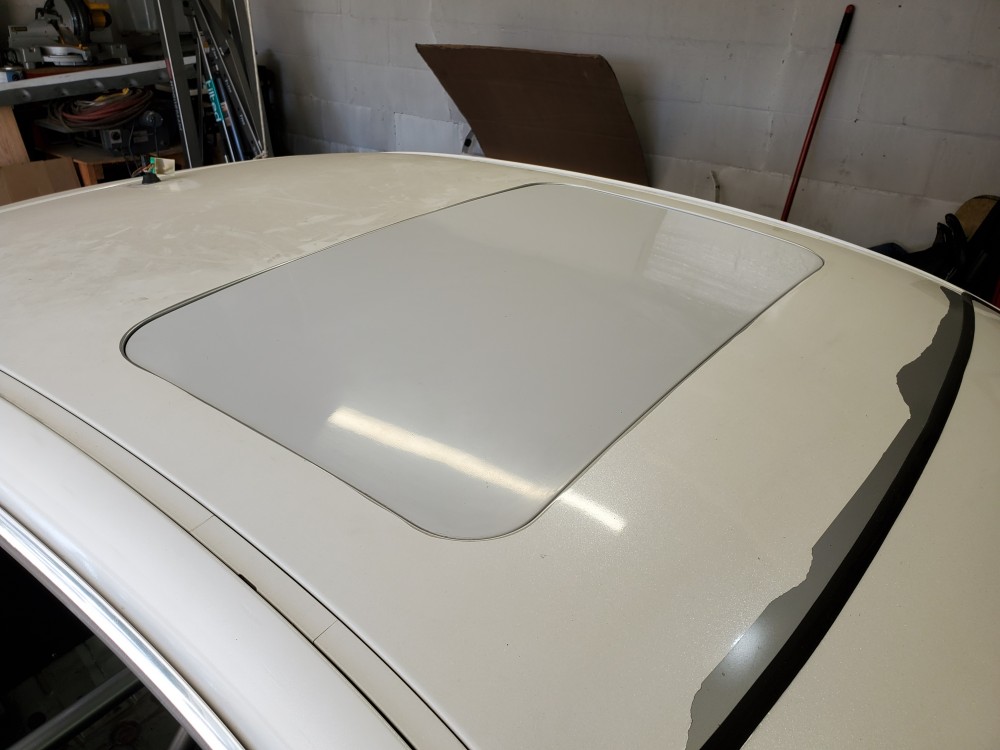
I timmed away the wrap so I can peel it off later without pulling the sunroof back out so it looks like there's big gaps.
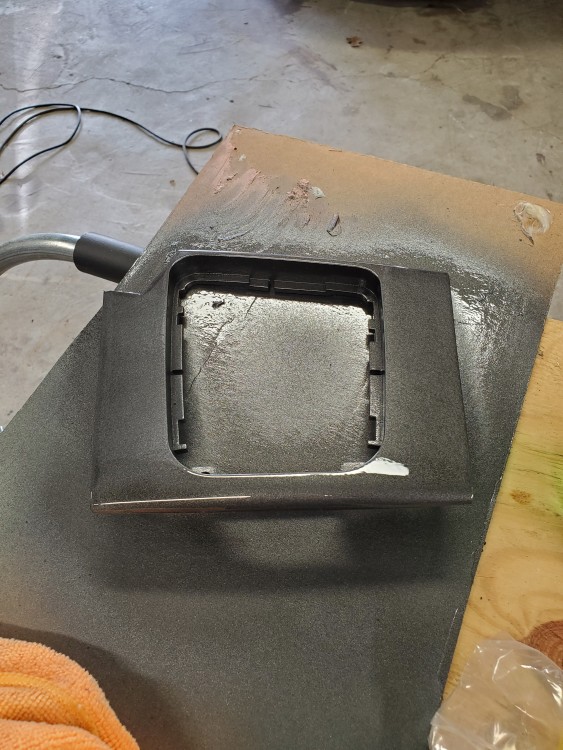
I also started on shaving the center shift bezel. This one is an auto one still though so I'd Ike to find a manual one at some point. I plastic welded in some abs blocks then layed some filler on it. Only have a pic of the pieces welded in.

Also got my handbrake bled so next up is finishing installing the center and dash pieces!
-
-
-
2 hours ago, YoungCR said:
fitment looks perfect!
They fit great, very little trimming done!
-
1 hour ago, jc43089 said:
Are you sure about DOT5 fluid? Totally different and incompatible with regular brake fluid. Just a heads up, it isn't a higher number is better thing. There is also DOT 5.1 which is compatible with other "normal" brake fluids.
DOT5 can only be used if it is a brand new system and never had other brake fluid in it. Which maybe is your situation.
Half the system is new lol, but I'll look more into it. Just don't want to deal with the issues if there are any leaks inside the car. Its not a problem for me to clear the system out.
-
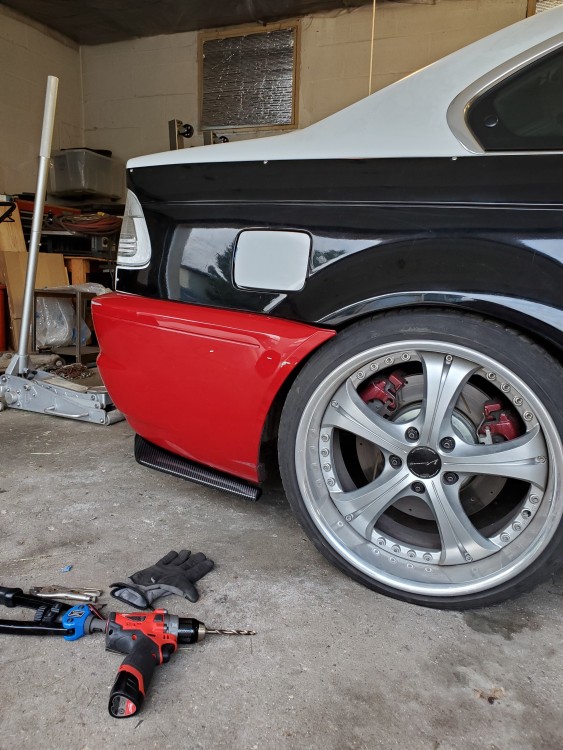
1 hour ago, SteelBlue said:
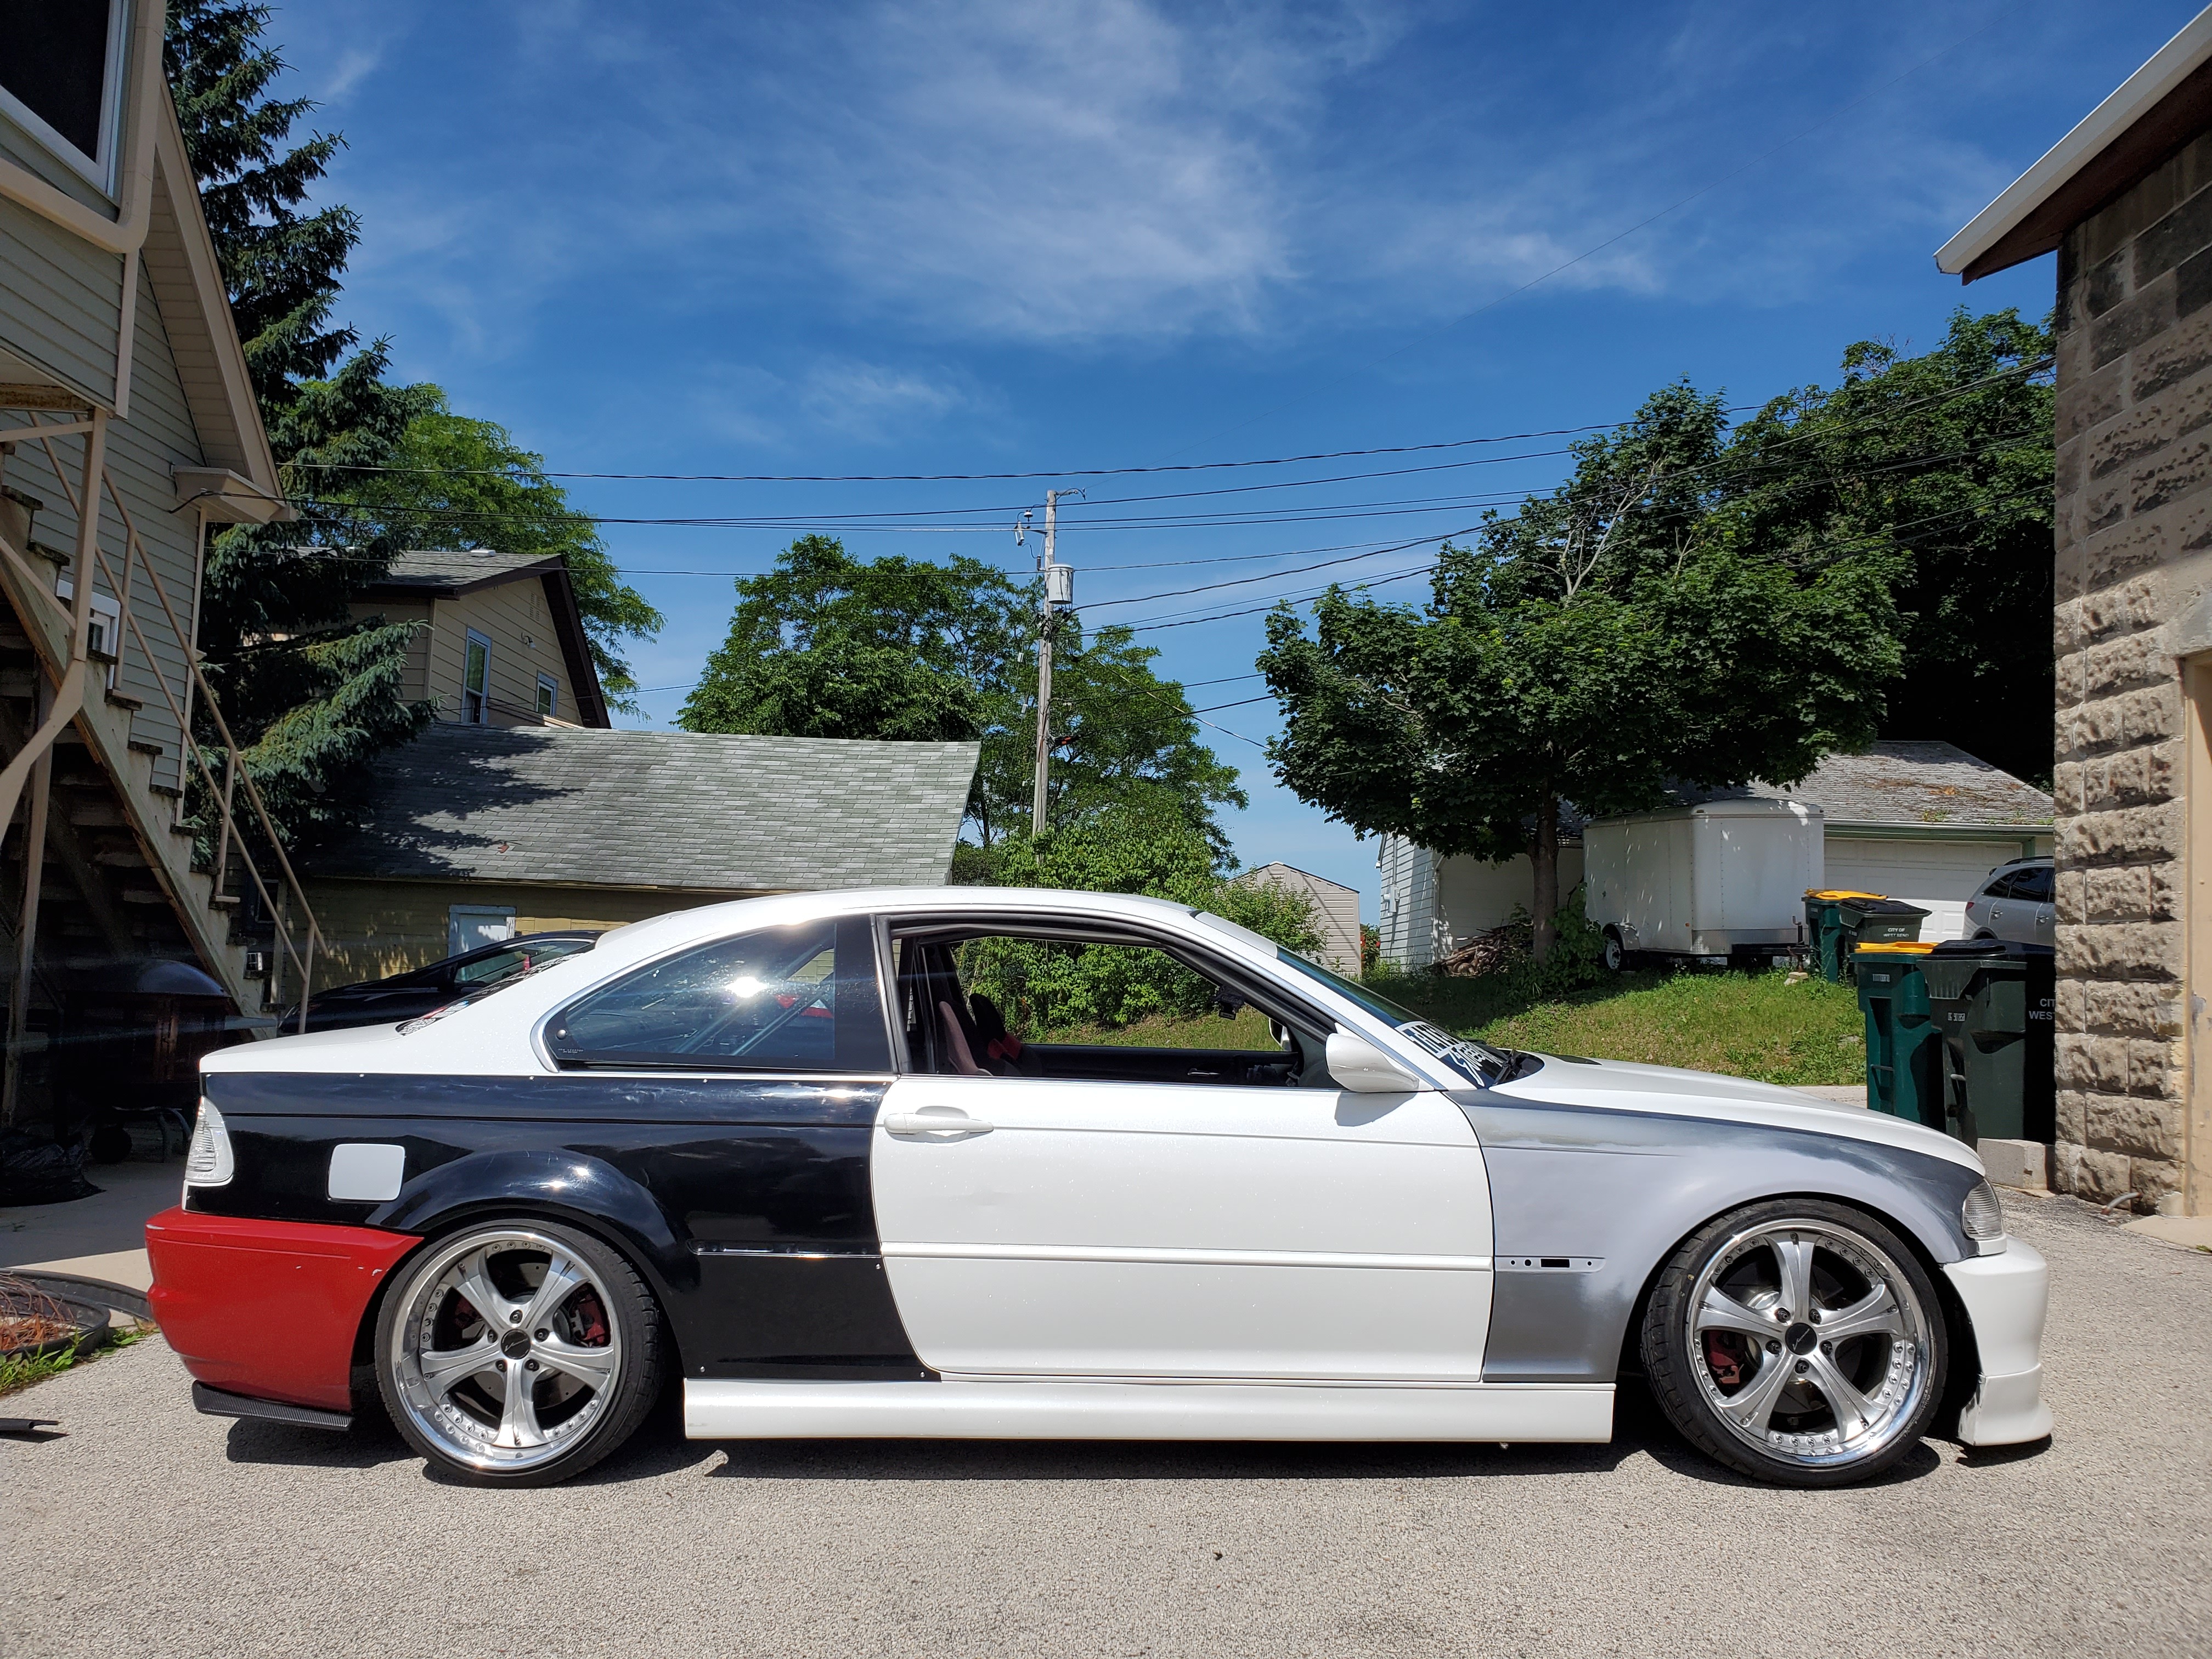
Fitment looks great in the rear. What kit is it? Don Musk?
Thanks! And yes these are the Musk M3 style overs. Fit very well, barely needed any trimming.


A purists nightmare - E46 drift build
in Members BMWs
Posted
Small update!
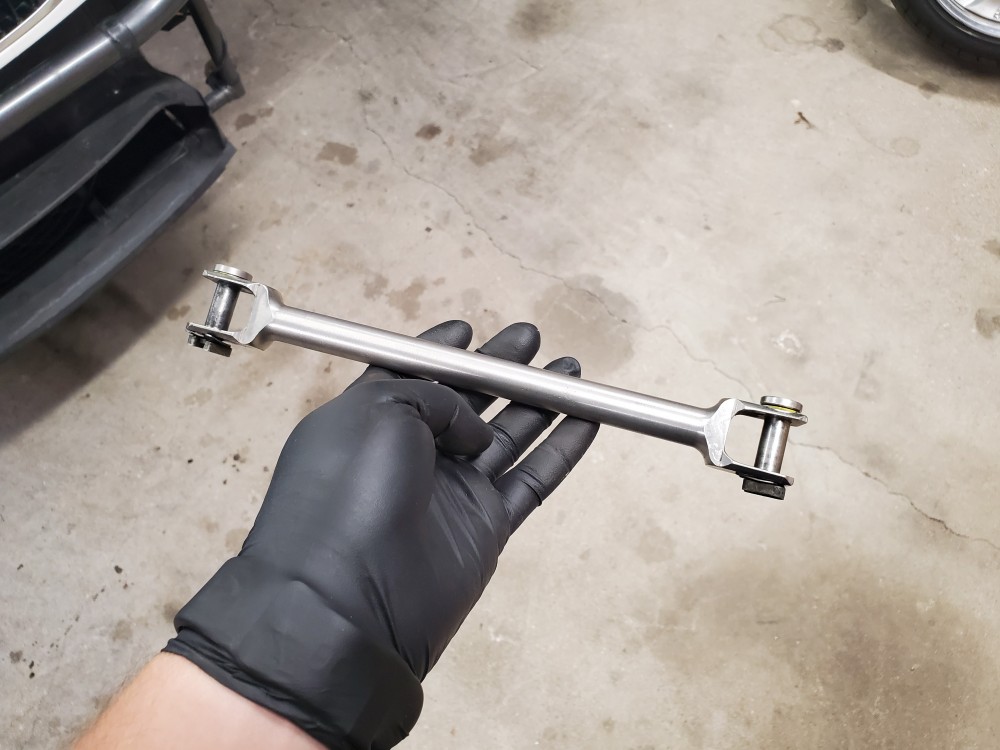
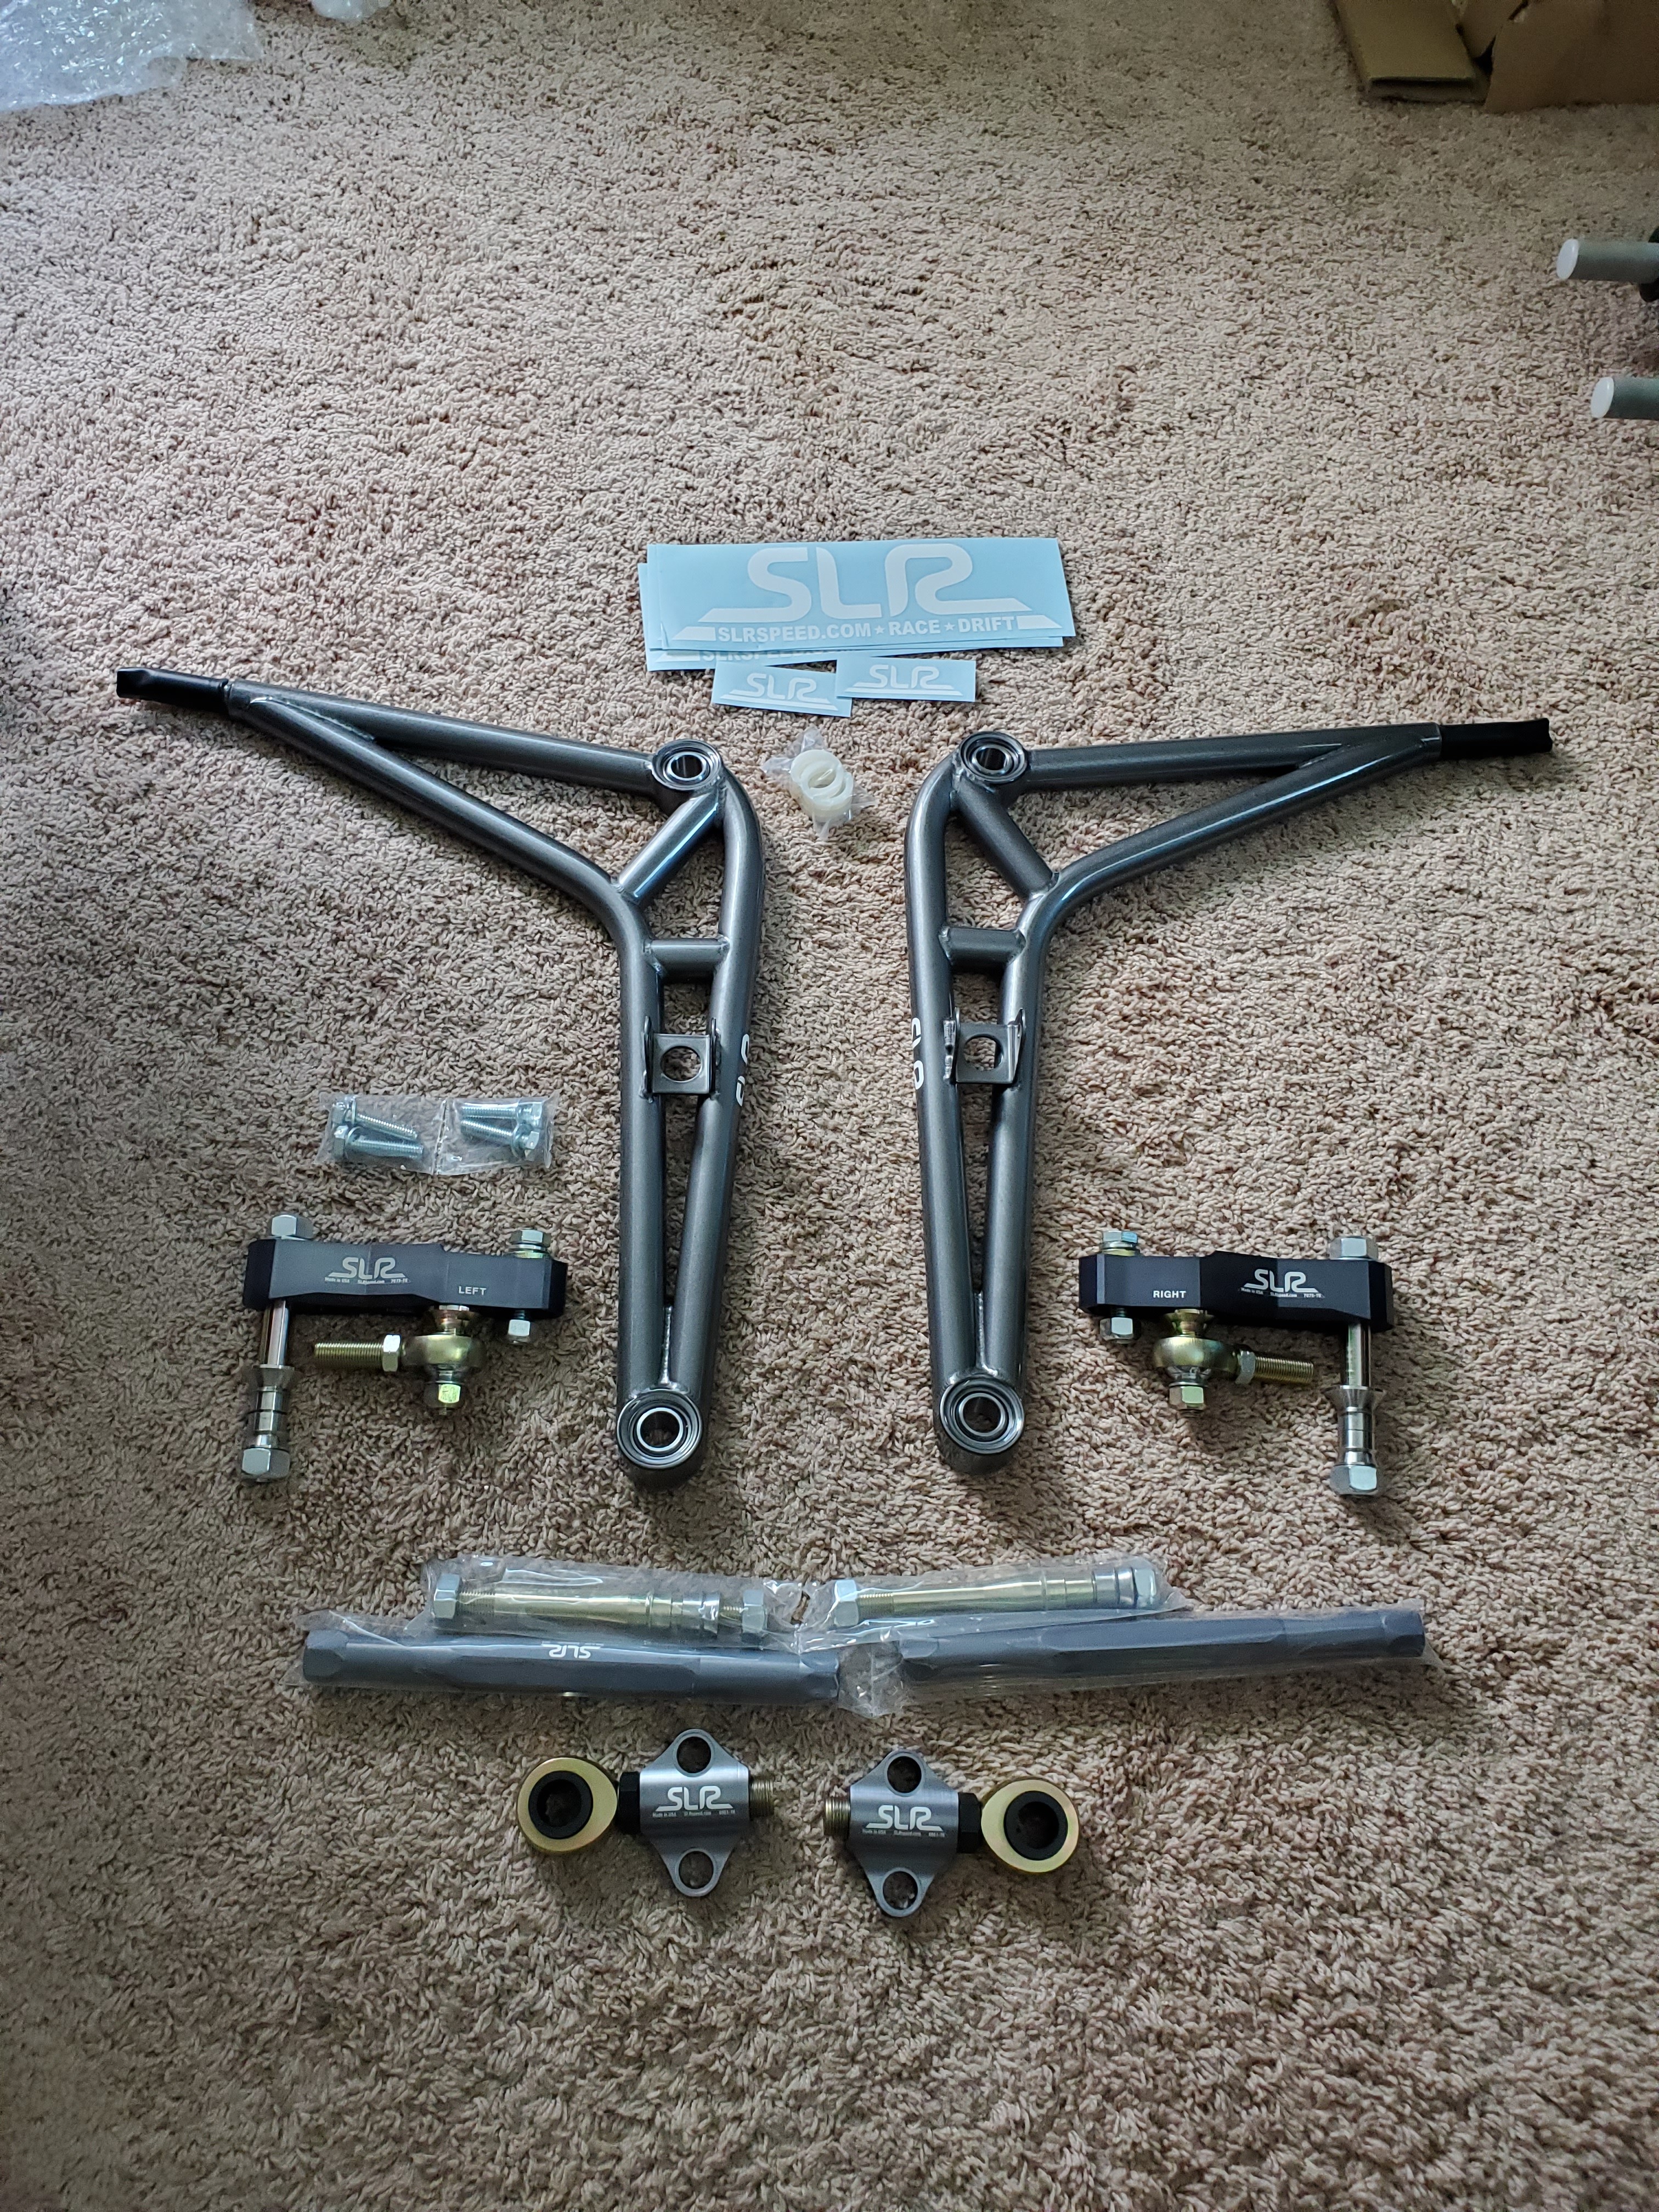
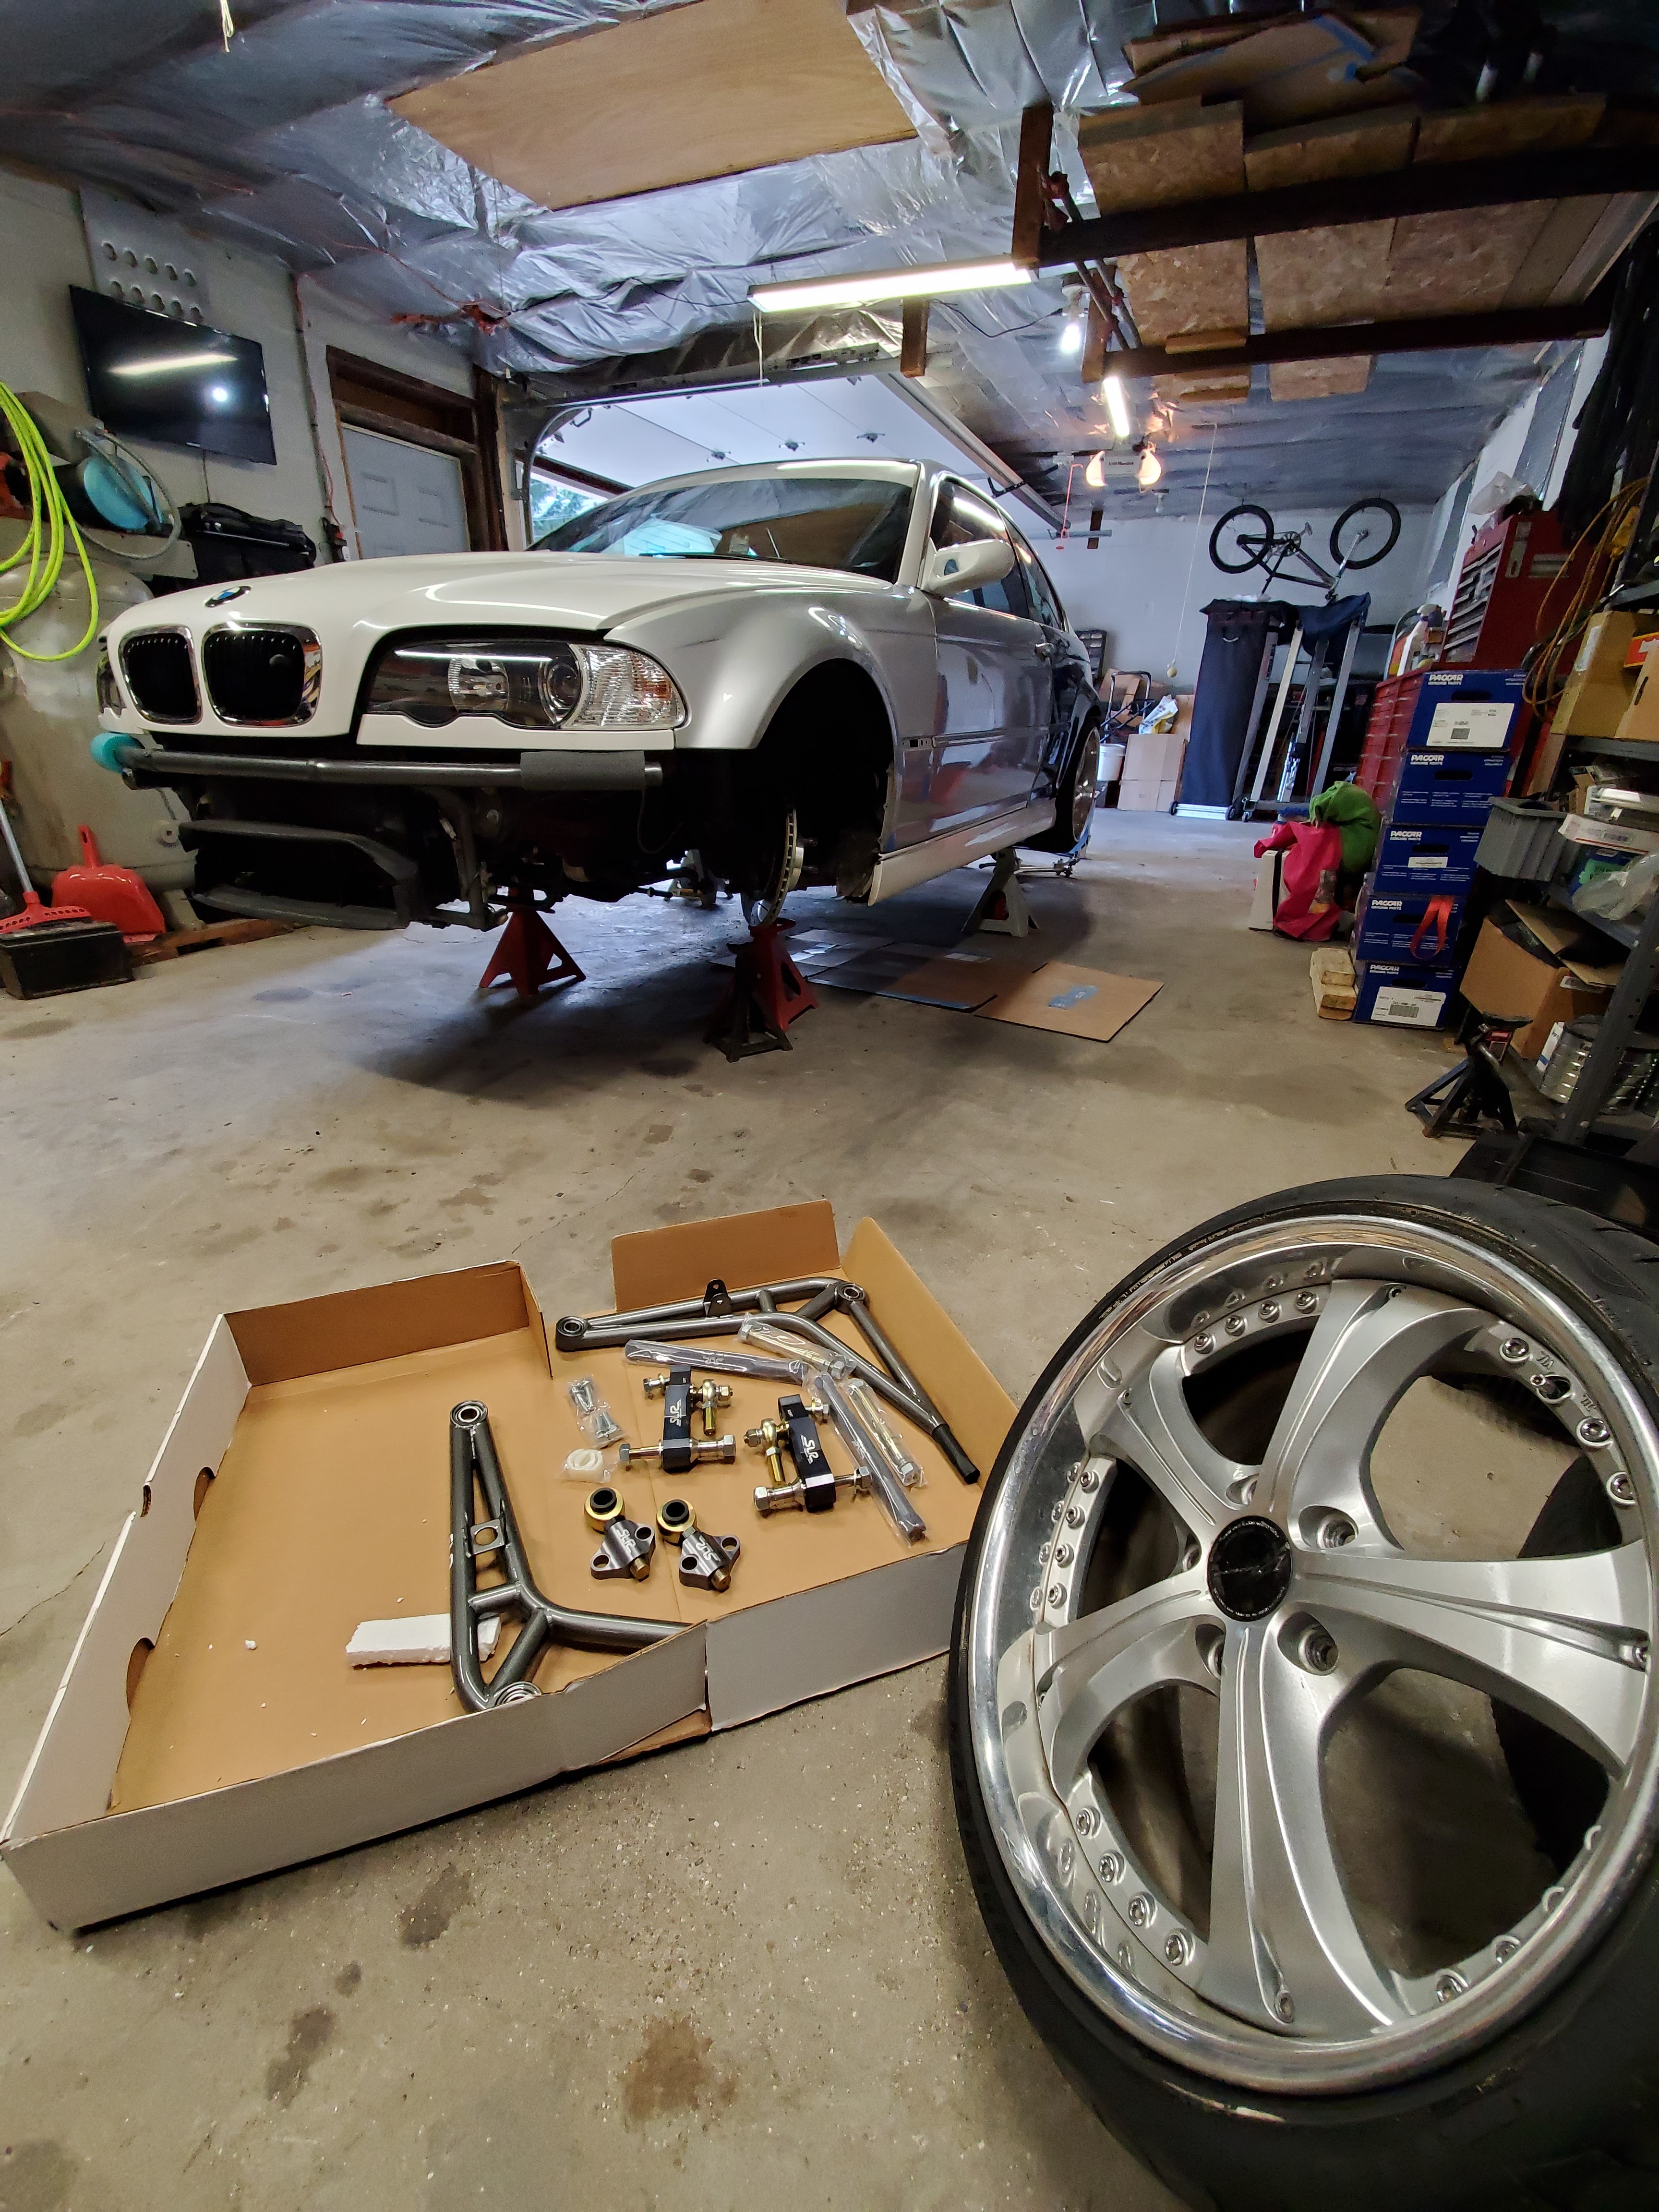
Ordered some drifttec toe brackets in hopes of really being able to dial in my rear alignment.
Last time i lowered the car it really messed up the rear alignment, the car had a 1/2" toe out which is obviously not great lol
These braclets are really well made as i was kind of skeptical originally.
Here is a side by side with the original one I had in the car, sketchy slotting and all lol.
Got these installed and the car aligned in just over an hour which was great.
Now the rear is sitting at 3/16" toed in. Which for now will be worth trying and aging with some settings to see how it will affect grip.