
Bassboy3313
-
Posts
2585 -
Joined
-
Last visited
-
Days Won
114
Content Type
Profiles
Forums
Events
Gallery
Store
Posts posted by Bassboy3313
-
-
58 minutes ago, straight6pwr said:
great improvement! never knew about the rogue engineering reverse mounts, neat idea. how do you keep the top bracket from pushing up into the cabin when trying to thread the nut on from the bottom?
That is a good question honestly. I had a bit of trouble with that and had to press it back down from inside the car, lol. I can only assume that once all the sound deadening and trim is back installed that it helps hold the plate down? 🤷♂️ Only time will tell I guess.
-
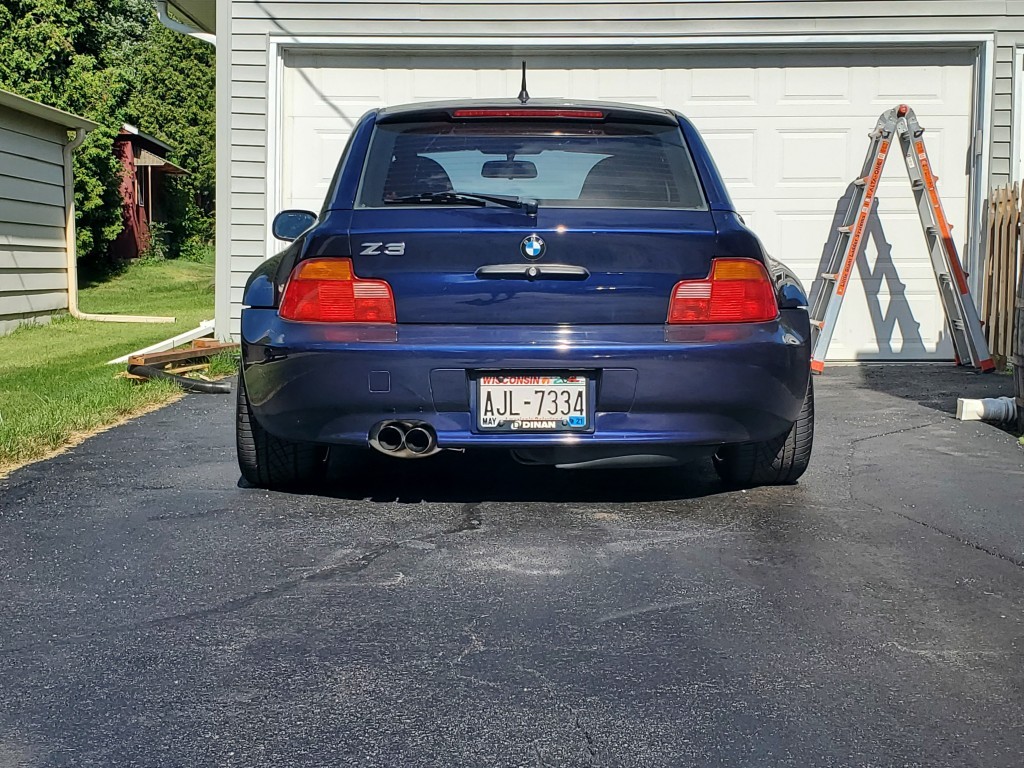
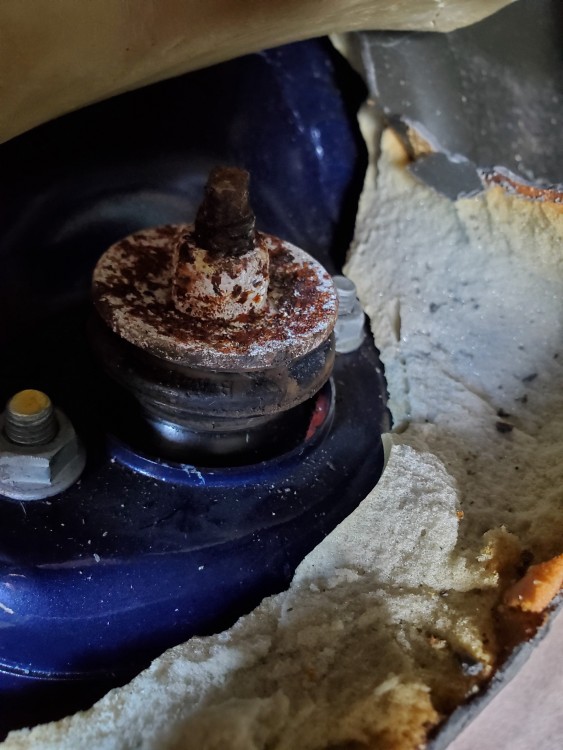
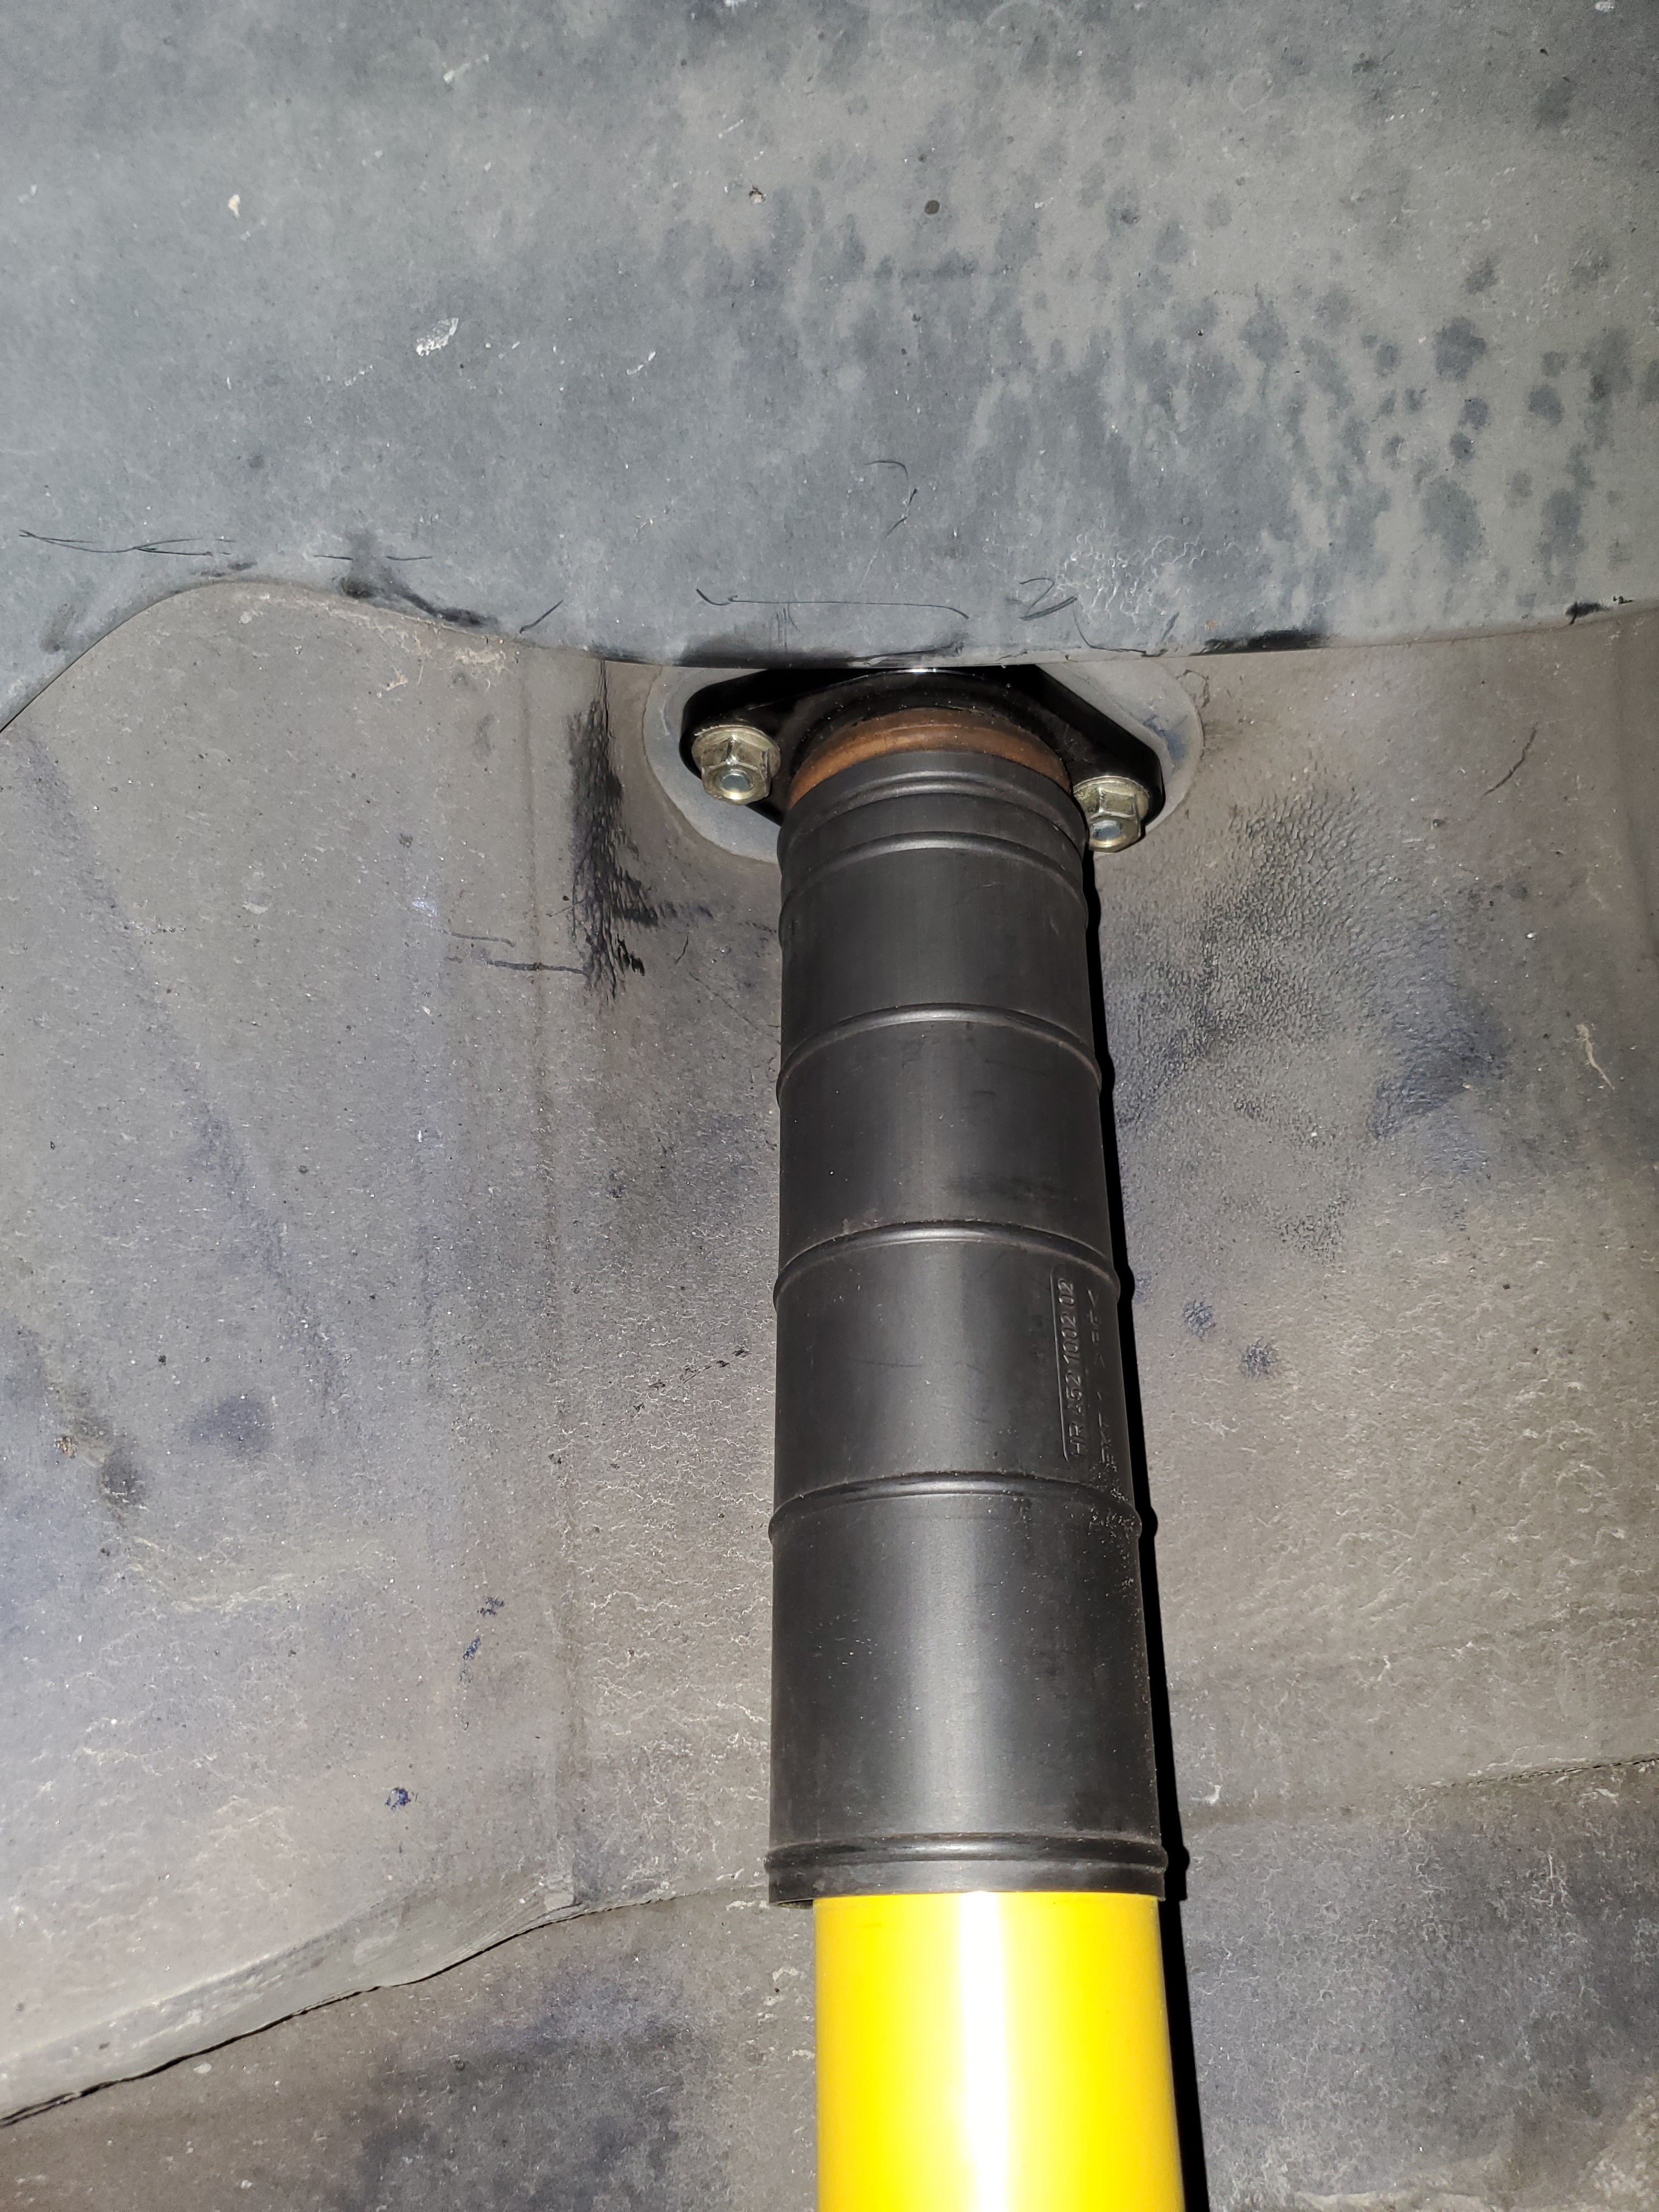
Since BMW used red locktite on the strut bolts from factory and these are definitely original struts, lots of pb blaster and a torch were needed to remove the lower strut bolts. I eventually got it all done and went for a cruise. Feels good!

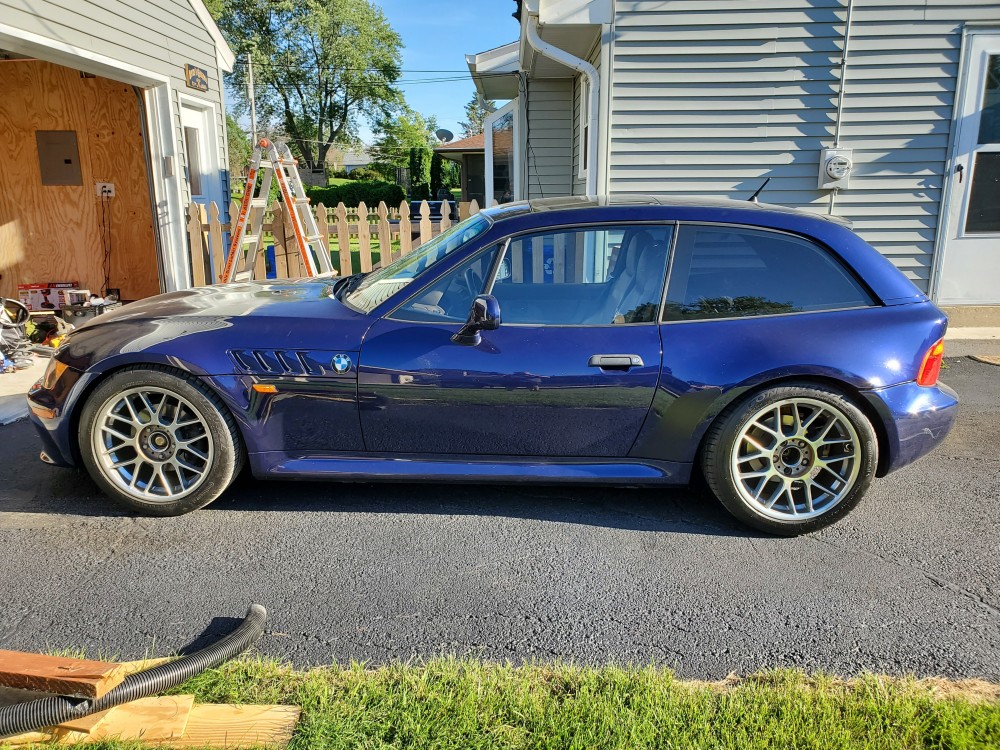
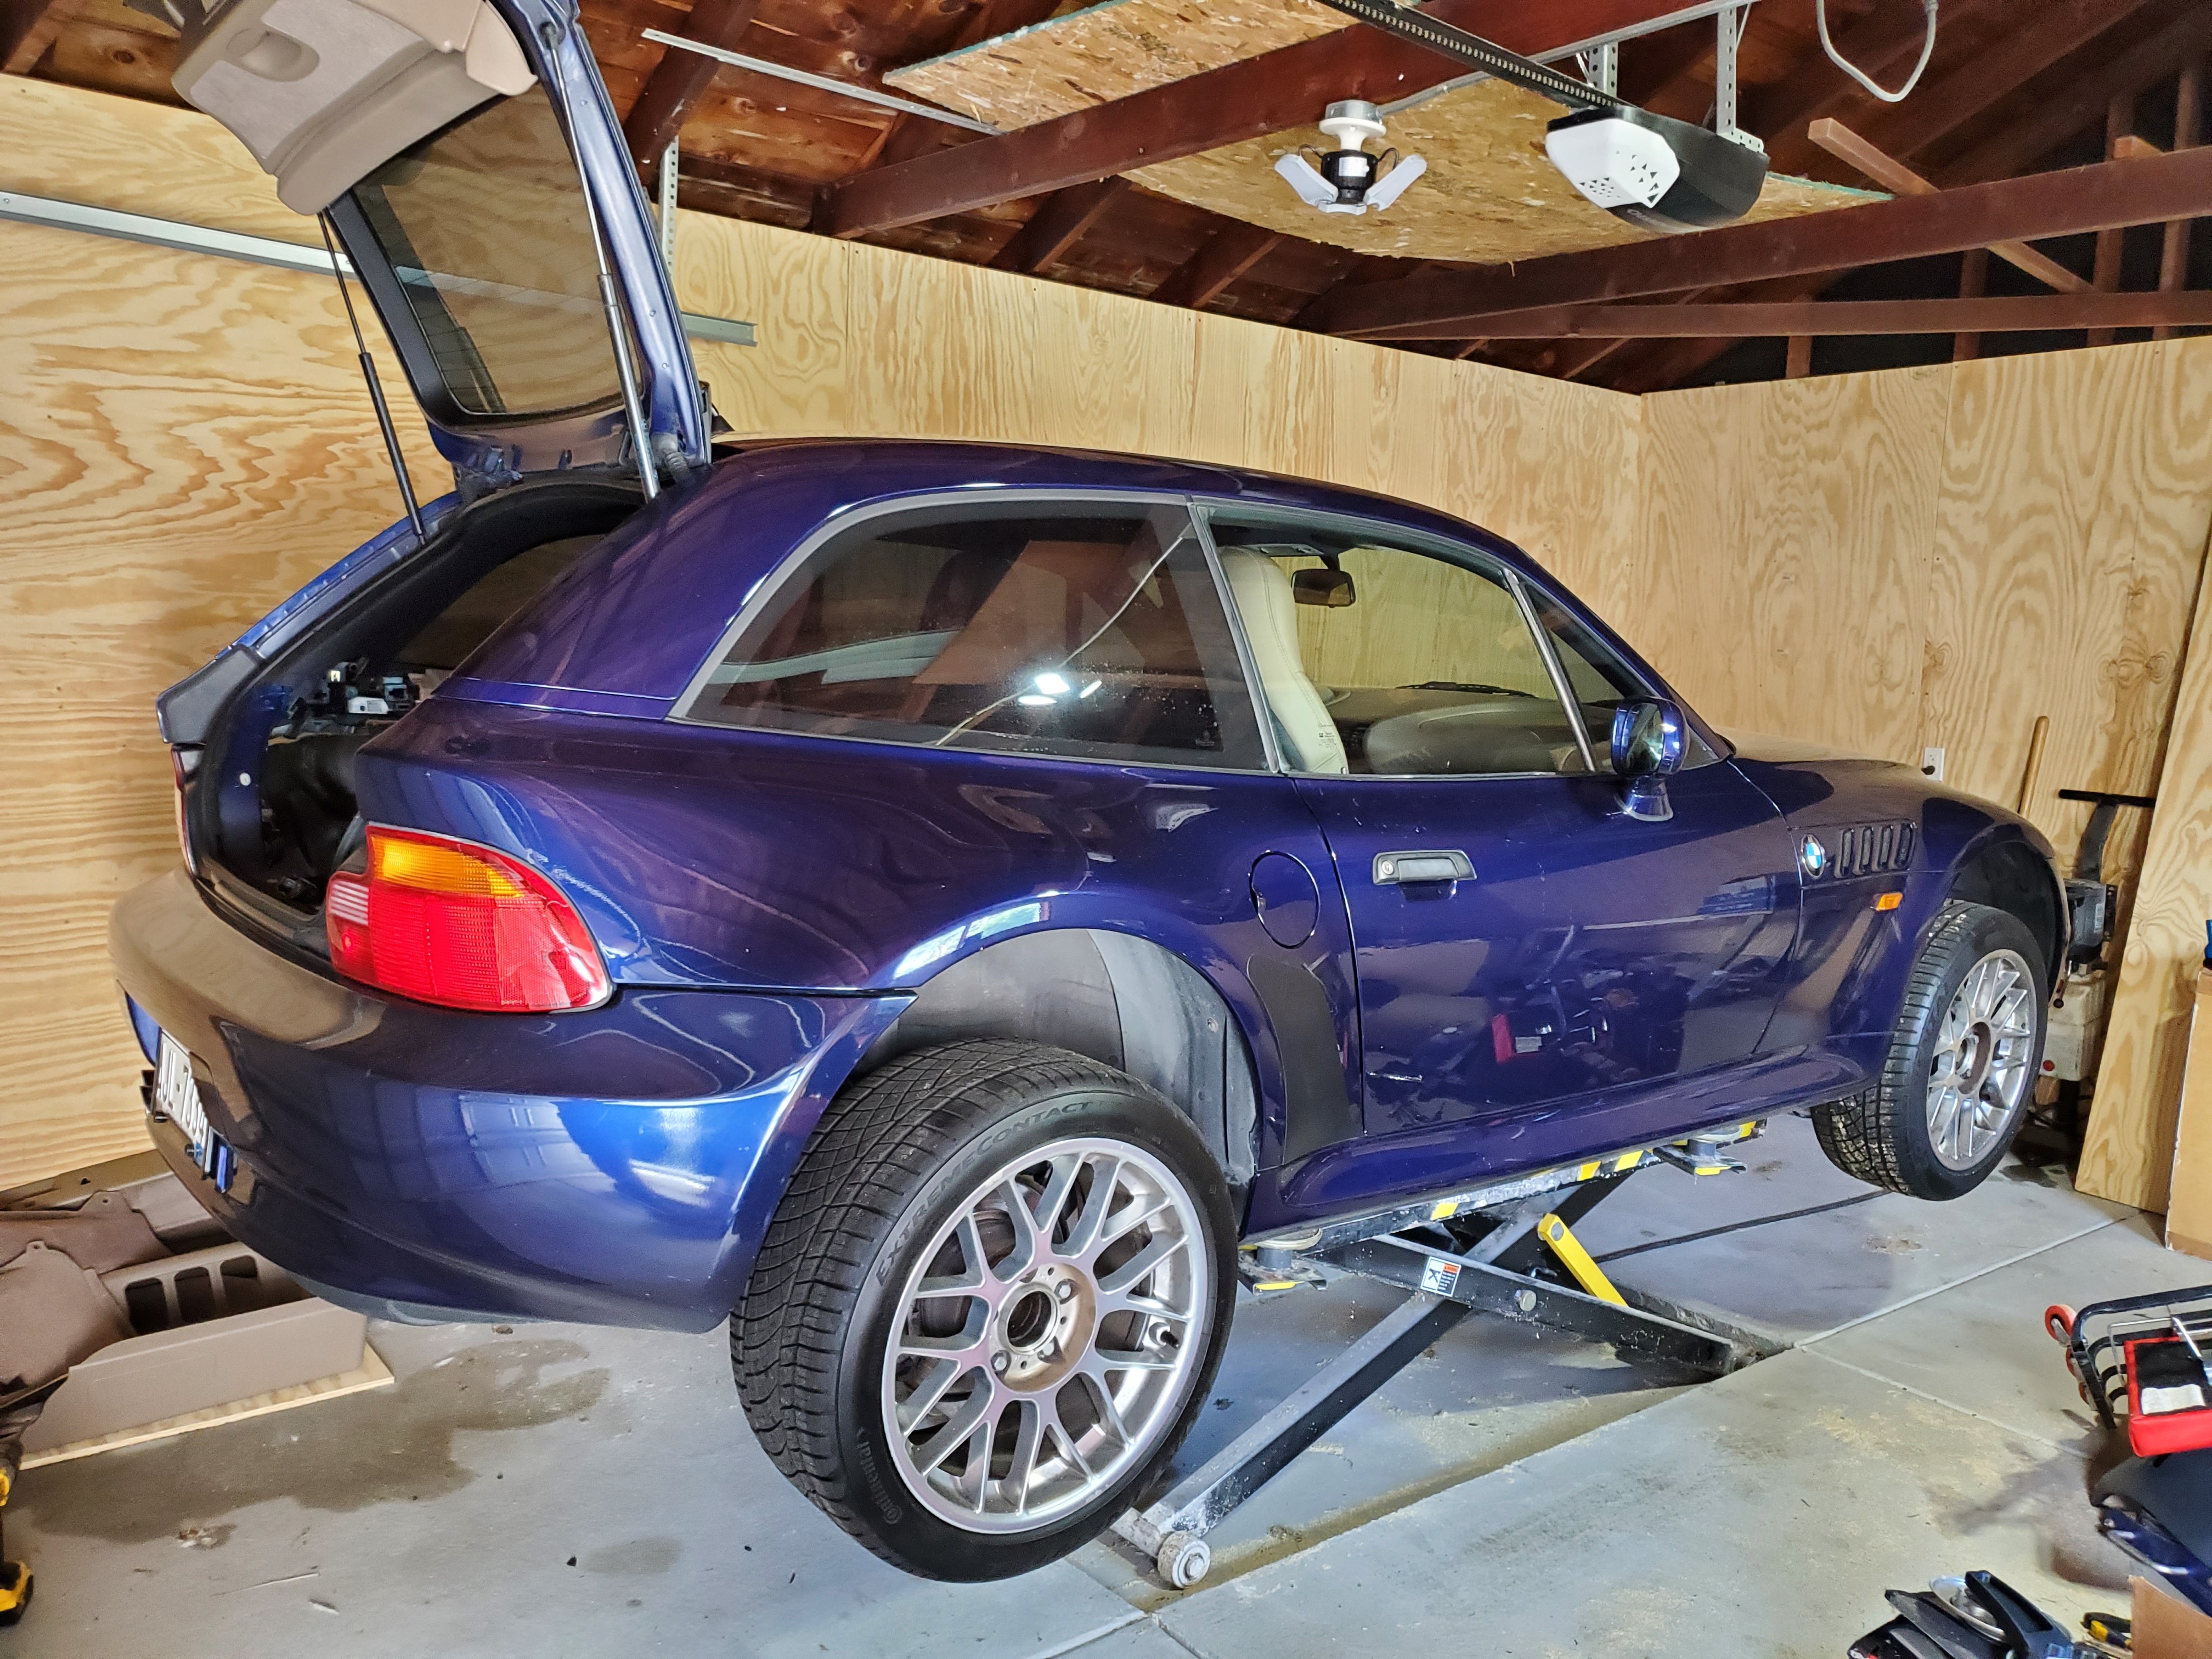
Sun didn't help the pics. Rear seems like a good height especially for just guessing on the adjuster position. Front can maybe come down just a tad still. All in all, I am very happy with it.
Still have to install the interior back together, but again, waiting for the paint/dye to show up.
-
7 hours ago, SteelBlue said:
When I get a house, I am definitely going to be doing an A/C in the garage. Maybe a mini split if I can foot the bill.
Also, how do you like those 3 pod LED lights?
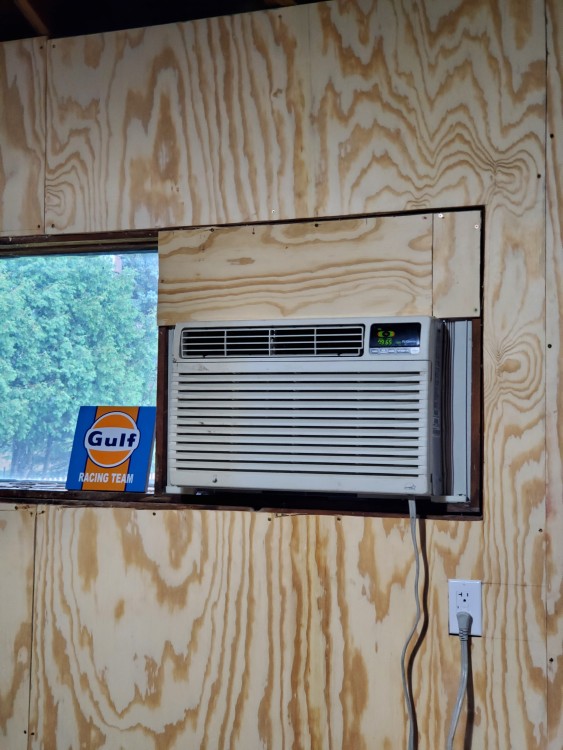
I looked into split system for heat and cool, but just couldn't afford something like that right now. I got this 12k btu window unit used for $100 which is more my speed, lol.
And I'm not sold on them. They do a great job for a normal garage that people just park in or use for storage. But for a garage that is used as a shop/working on stuff, not so much. Ill be replacing them with 6 high lumen strip lights eventually.
-
Rears are done.

started on the front passenger side. After some struggle with balljoint, got the control arm replaced with new poly offset bushing. Couldn't find my stupid 18mm socket or wrench, so waiting till tomorrow to install coilover. Then on to driver side.
Also, had to install a window ac unit because why not!
- patsbimmer1 and P_Roloff
-
 2
2
-
-
17 hours ago, KaiserRolls said:
not sure if you mentioned - but what coilovers are you going with?
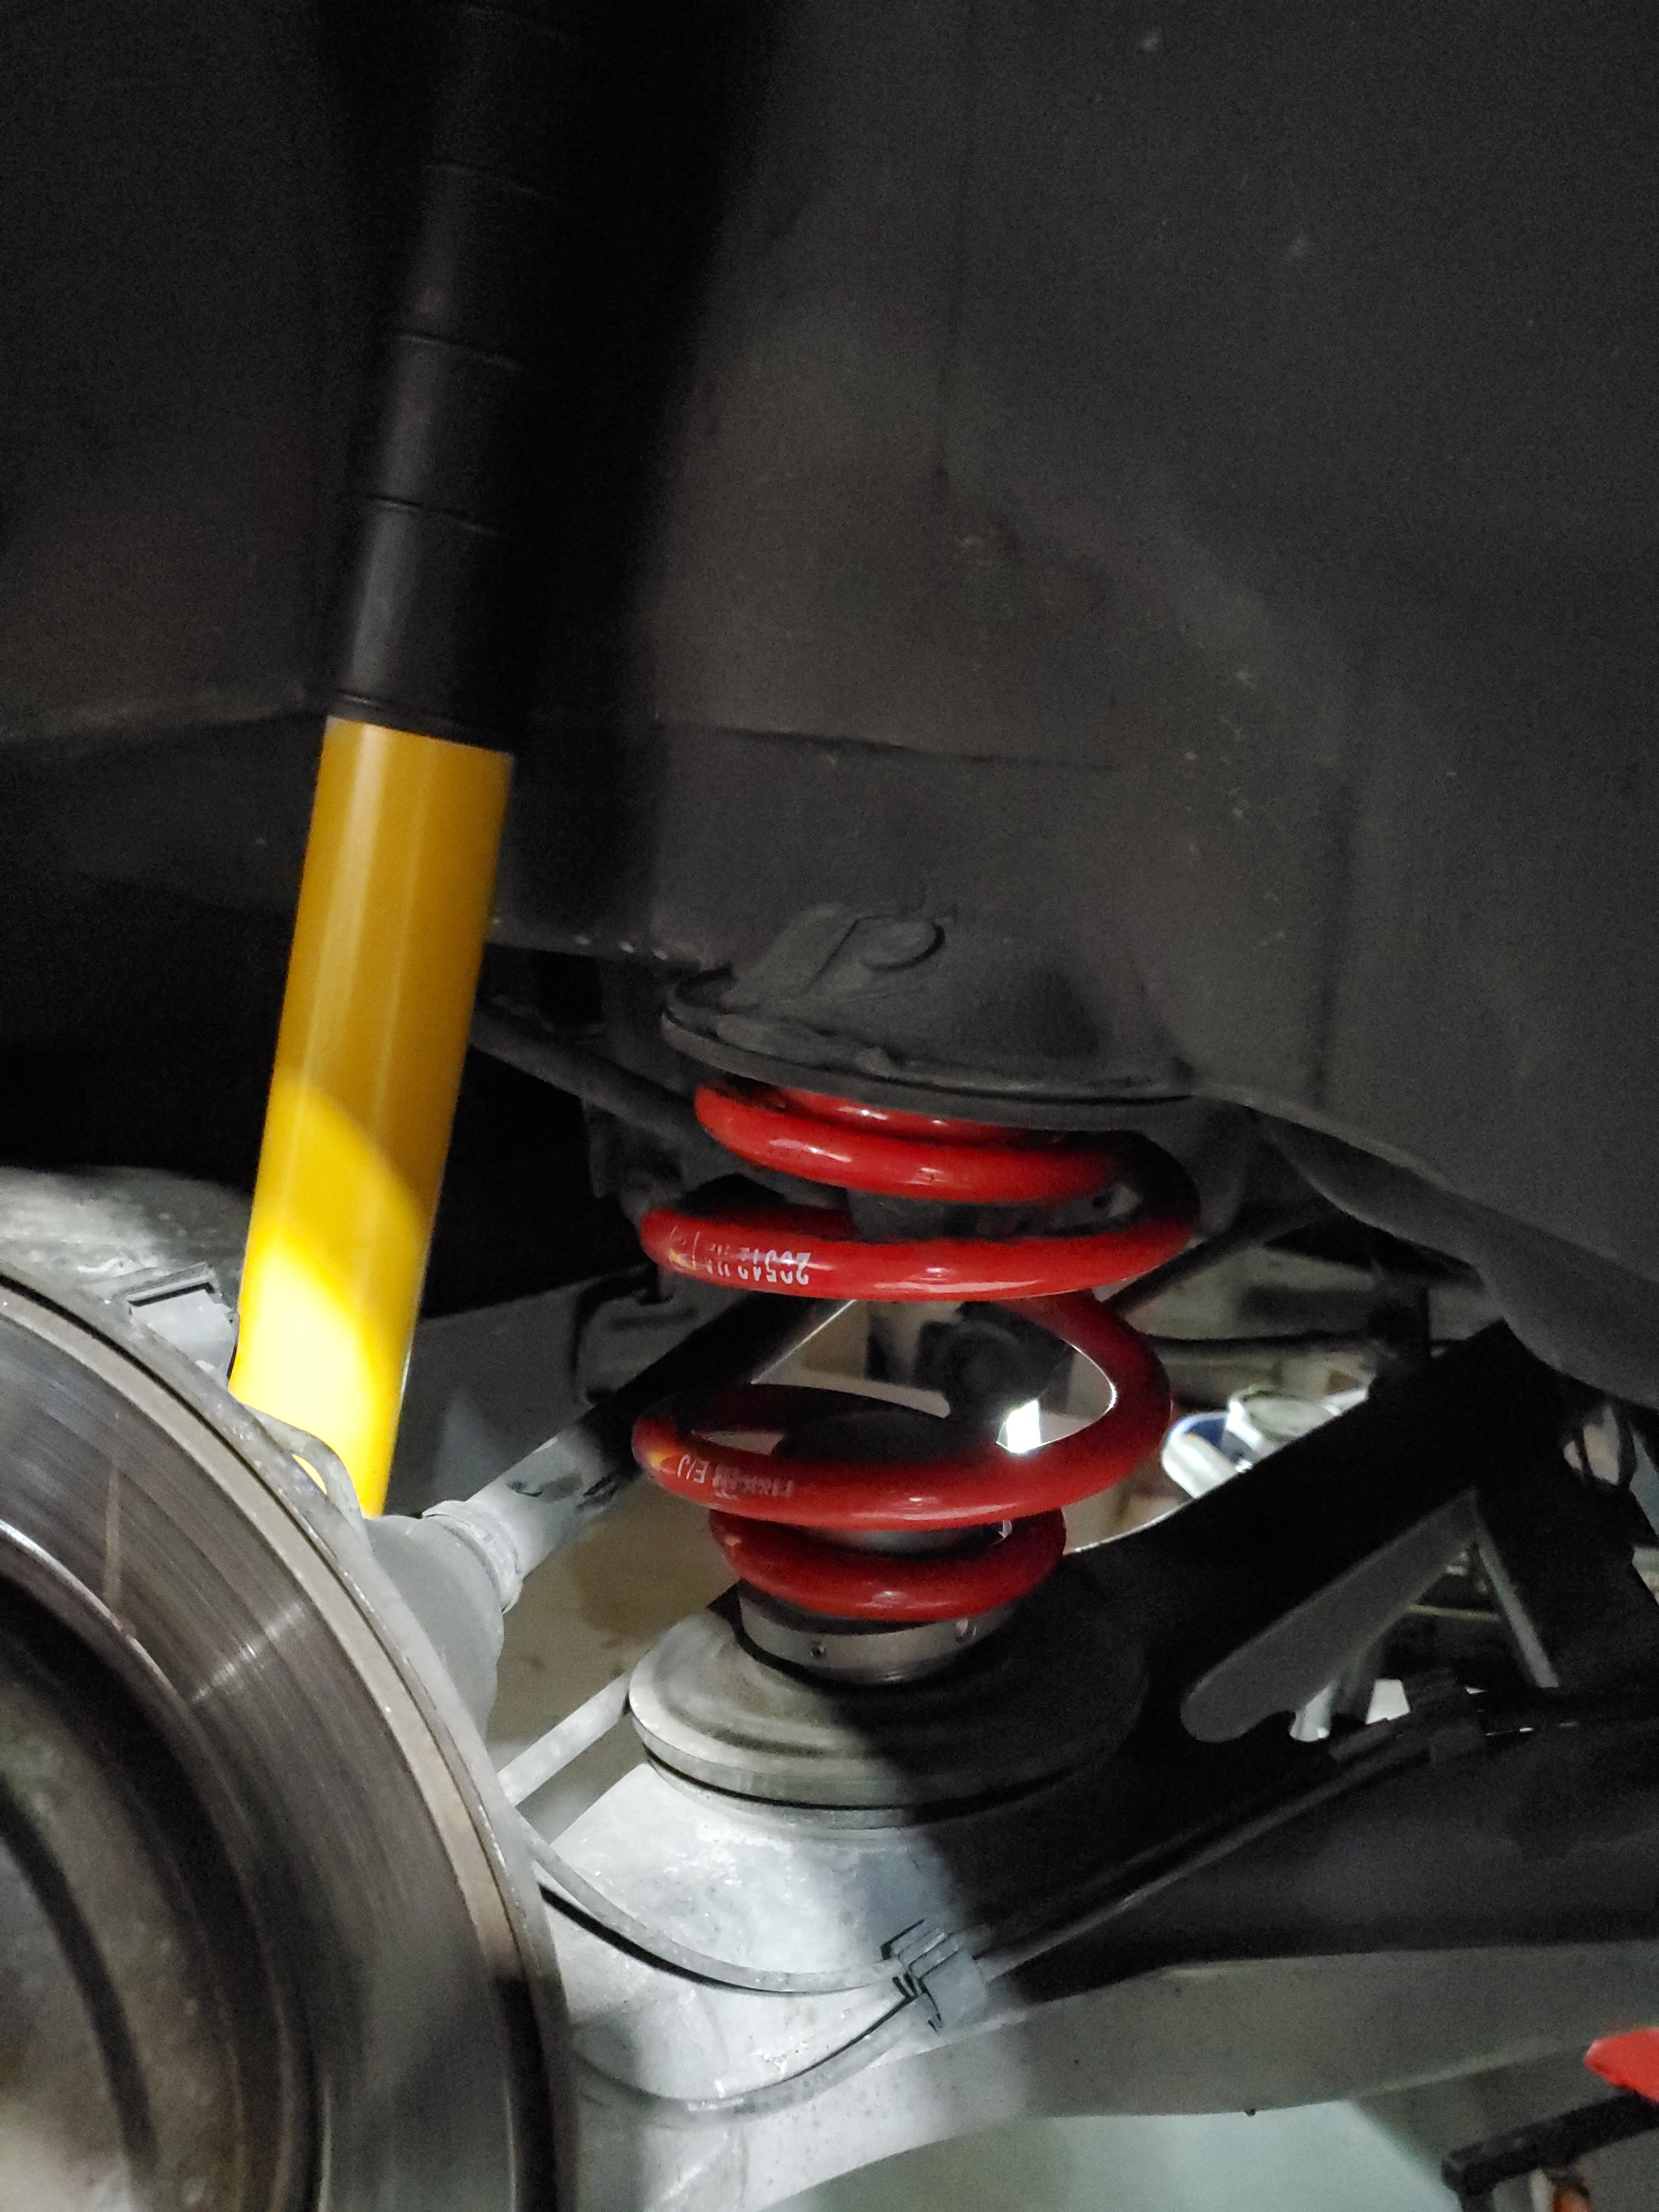
Picked up a set of H&R coilovers
-
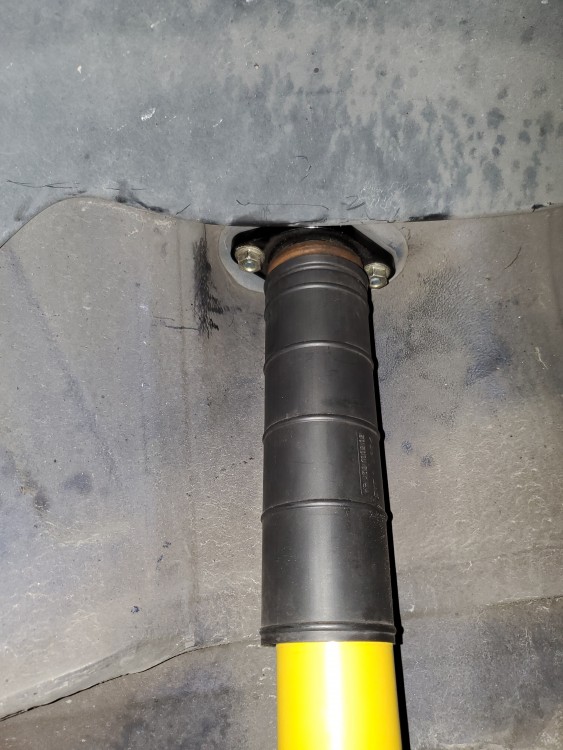
Started tearing into the coilover install today. The coupe requires to take pretty much the entire rear interior out to access the rear strut mounting nuts. I went through this with my e46 touring, so I had an idea of what was involved.
Took about an hour to have it looking like this...
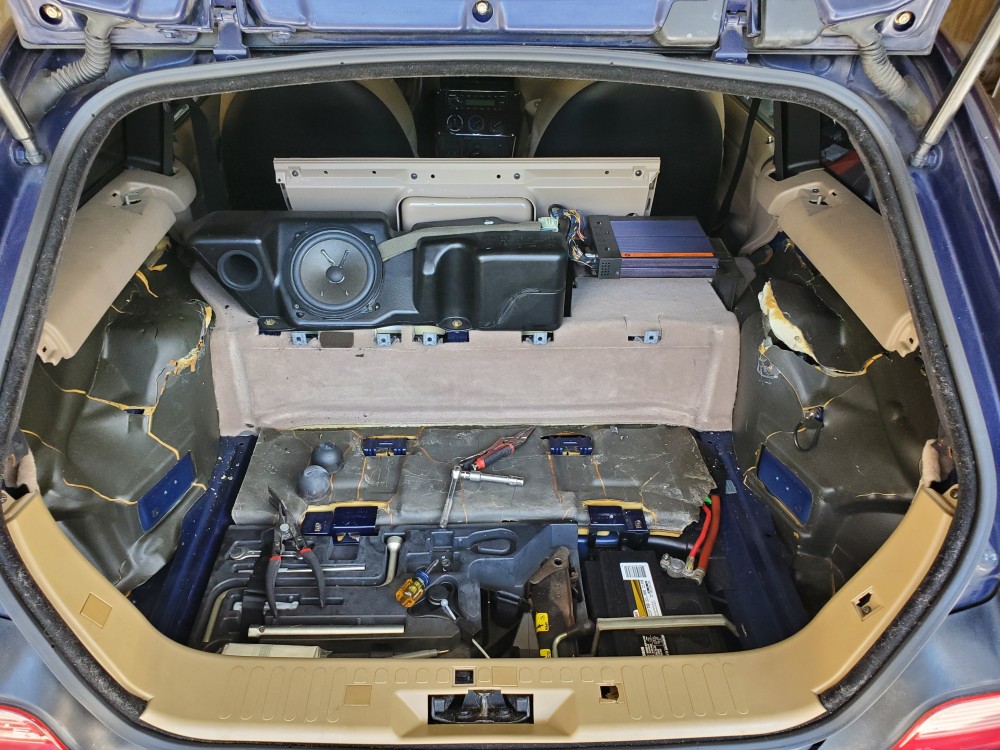
Got it up in the air and got the rear struts and springs out. Struts were original and both were completely blown and leaking.

I'll take more pics tomorrow when I continue. Also, while I have the interior trim removed, the carpet pieces will be getting the SEM black dye treatment and the plastic bits will be getting the Colorbond bmw black trim paint treatment.
-
1 hour ago, patsbimmer1 said:
I feel like this is so terrible and odd and cheap that one of you would buy it.
https://reno.craigslist.org/cto/d/gardnerville-1985-ford-tempo-glx/7158918112.html
A girlfriend I had in high school drove a white tempo. Brings back memories.....
-
Only thing I have seen is grinding the concrete with floor sander that has diamond scuff abrasive on it. This will prep it for the new coating.
-
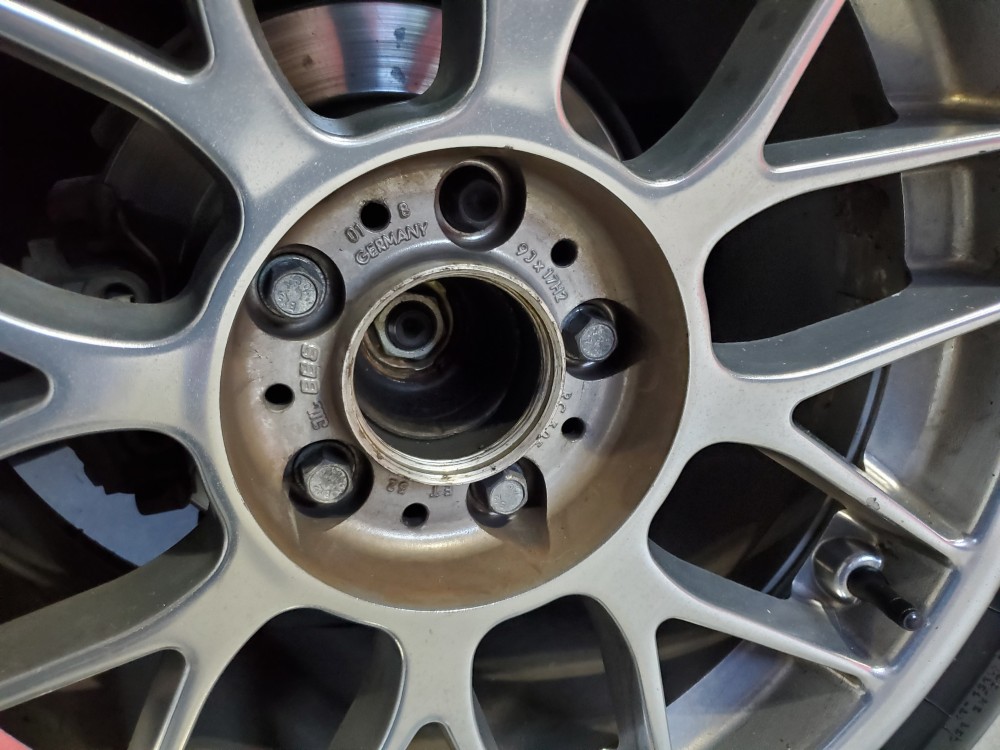
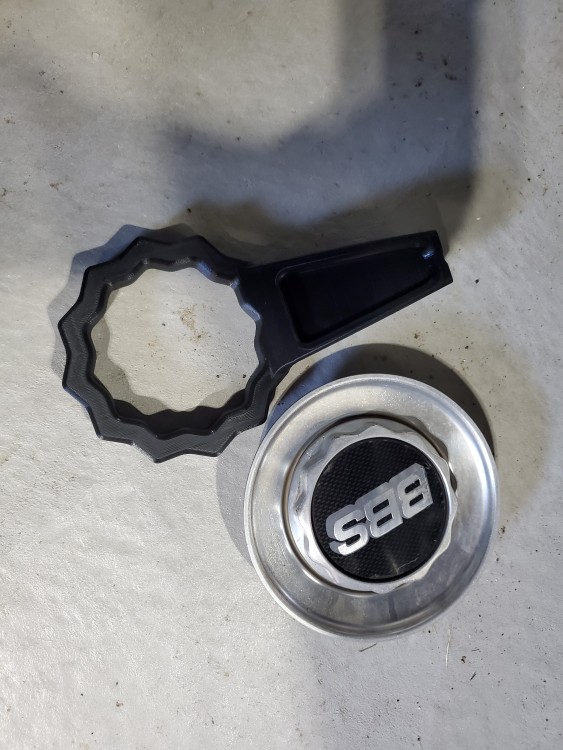
2 hours ago, YoungCR said:
If the 6 side one will fit E34/E38 center caps I'd take it
Measuring the BBS logo, its about 3-3/16" or roughly 80mm. So, if thats the same as yours it may work. You can have it and try it out if you want.
-
3 minutes ago, patsbimmer1 said:
Just curious if the juice was worth the squeeze for lack of a better phrase.
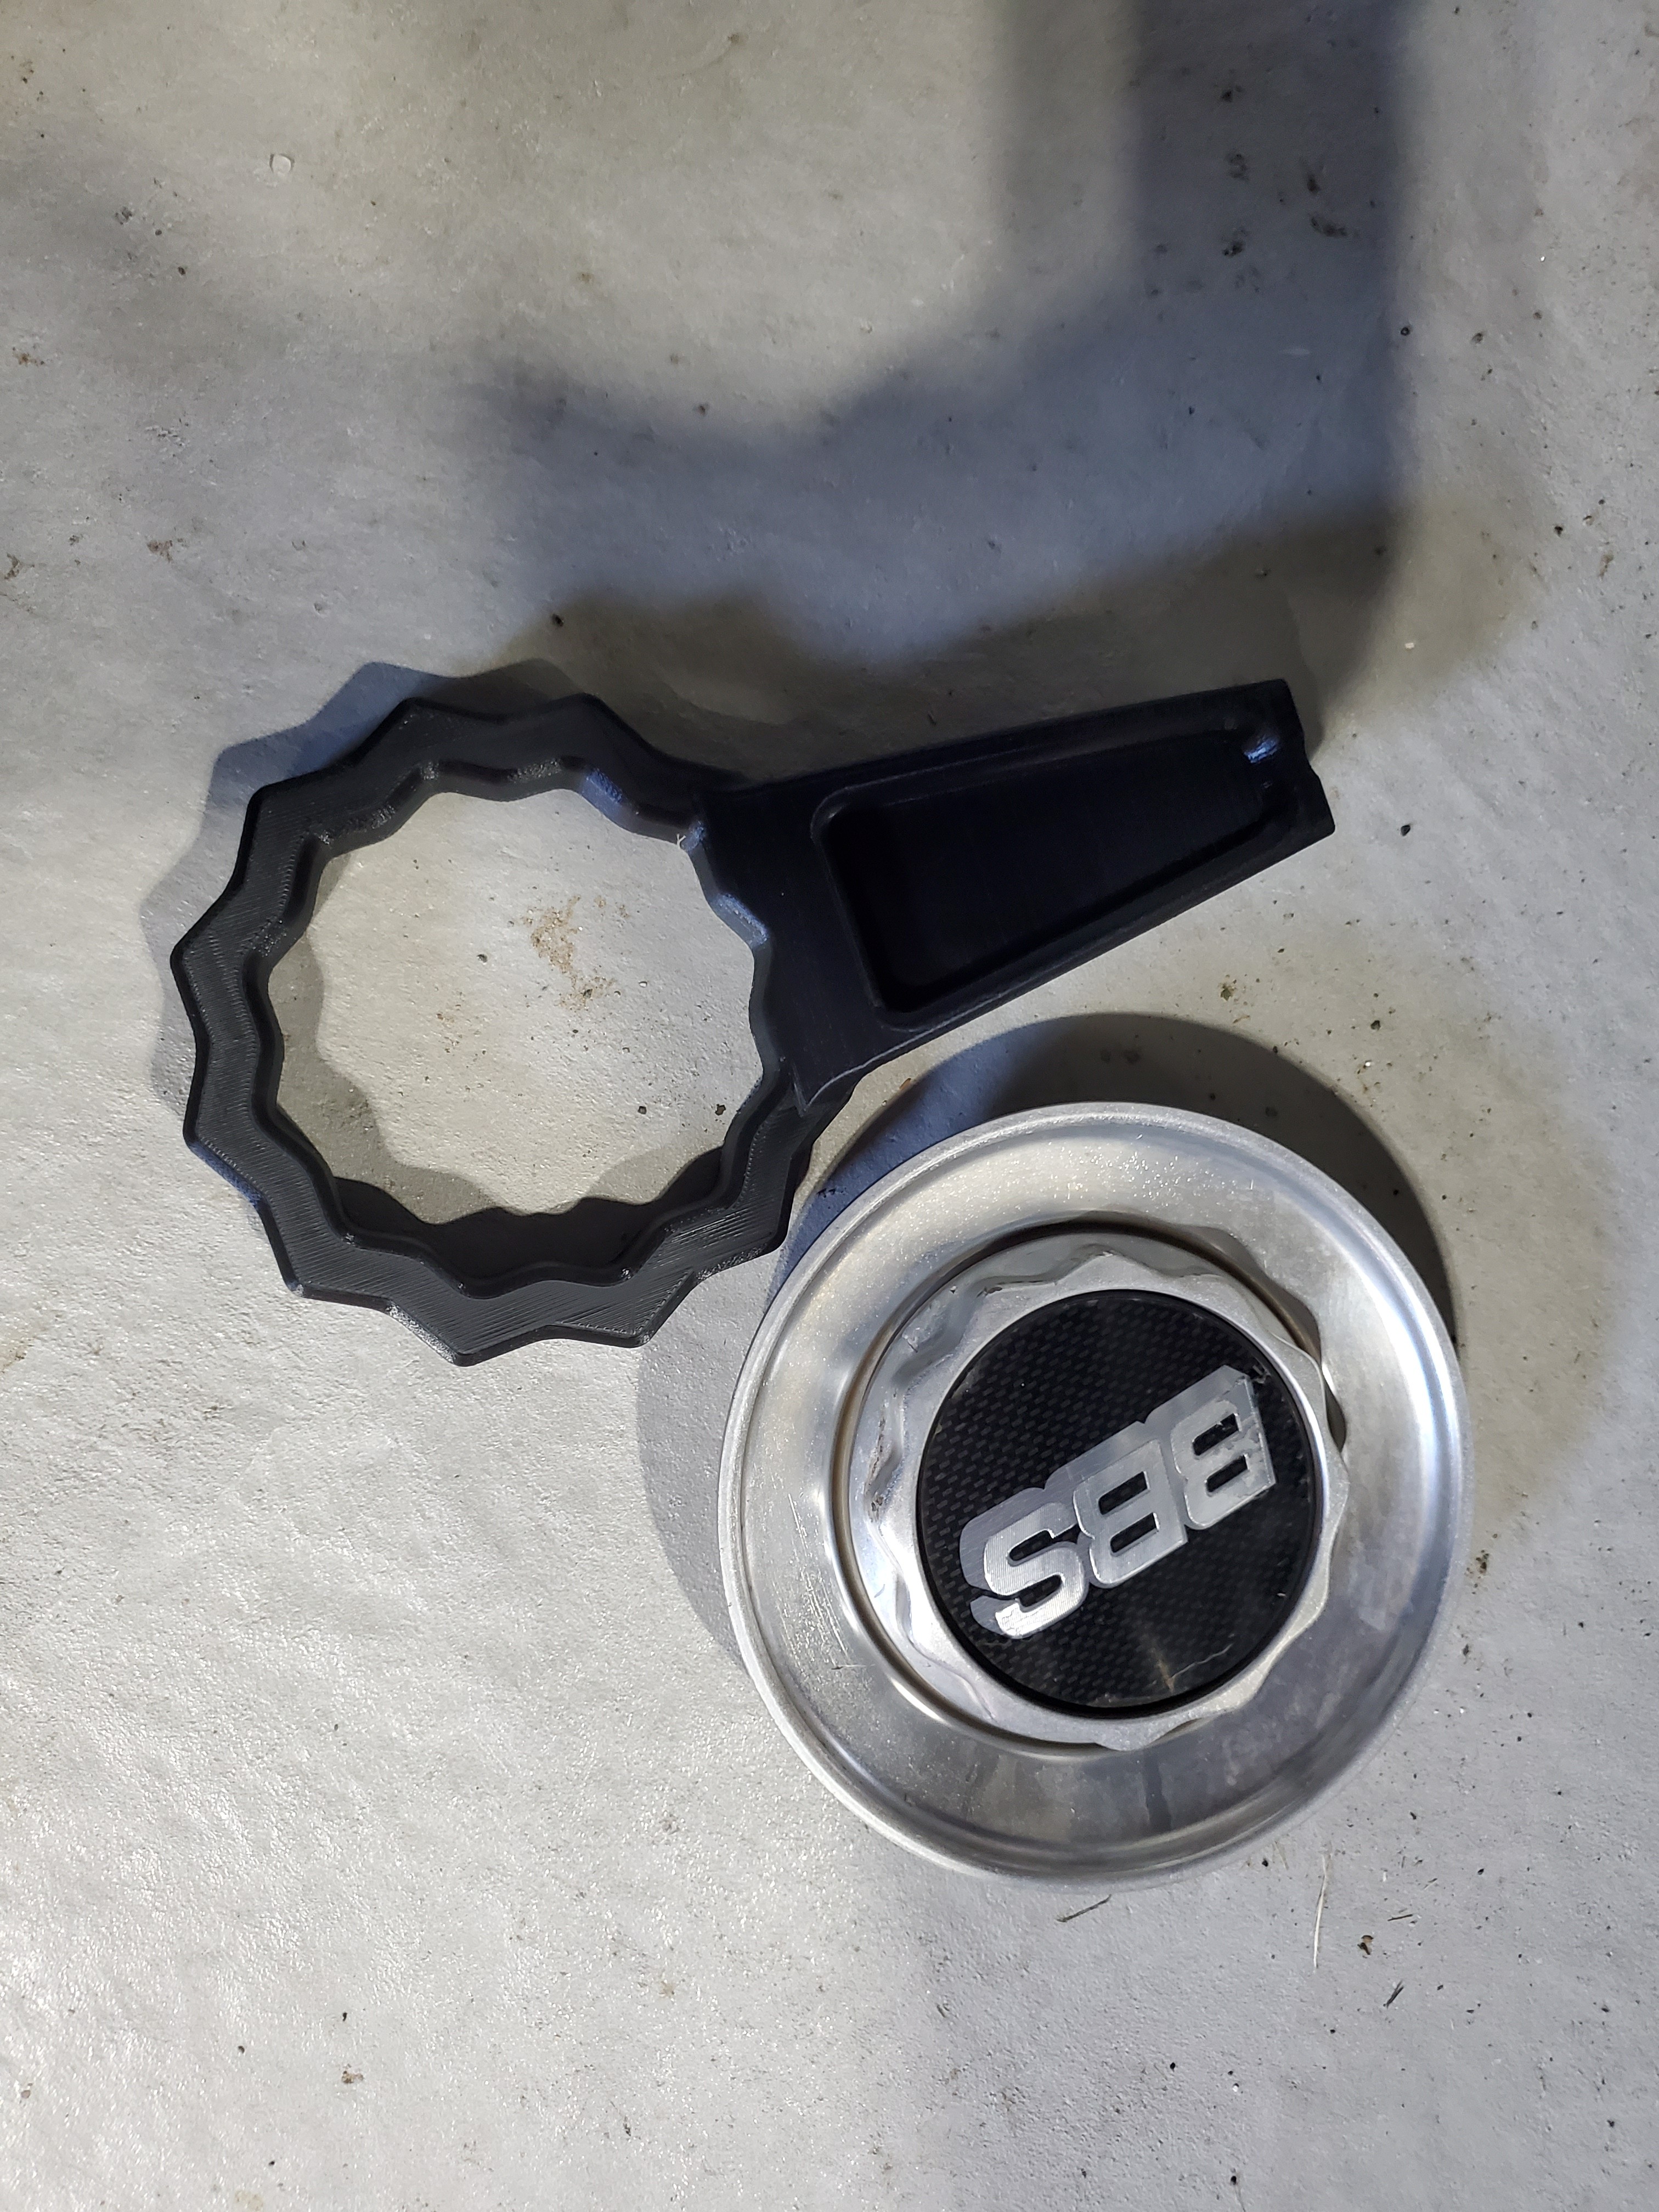
I just opened my print file back up. Says that it used 32.09 meters (or approximately 95 grams) of filament to print. The filament spool I am using cost me $23 for 1kg. We all know that 1kg equals 1000 grams. So dividing $23 by 1000 grams gives you 0.02 cents per gram. Multiple that by the 95 grams and it cost me $2.19 to print this wrench. I'd say this juice was worth the squeeze for sure!
-
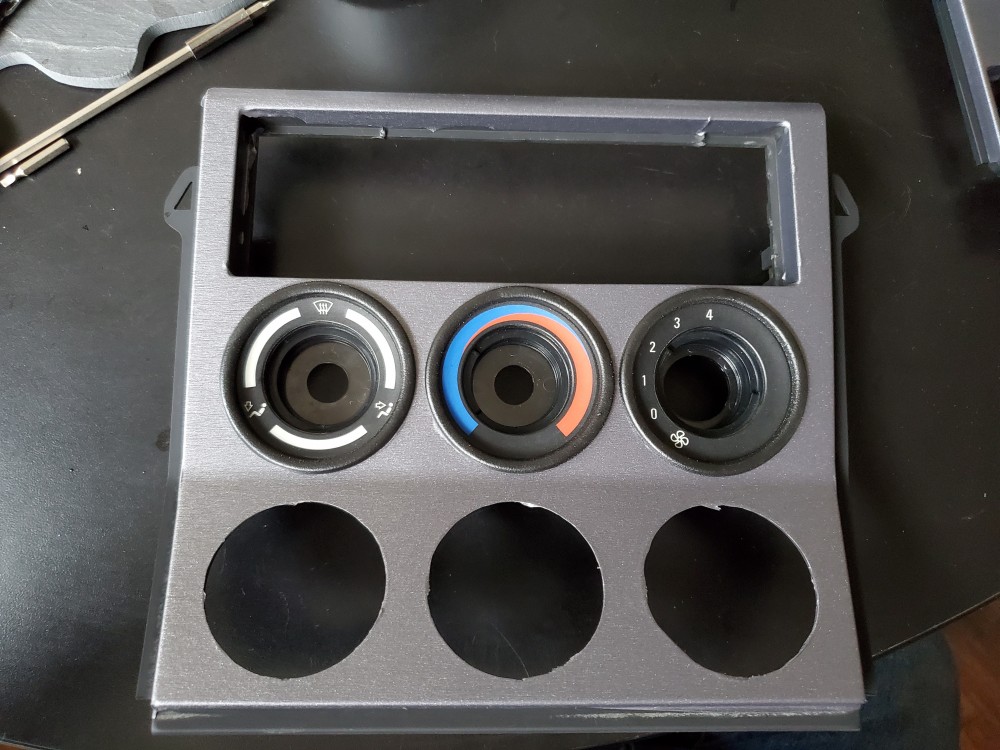
Figure I should start updating here. First thing done besides small things was changing out the stereo for a Continental bluetooth/usb/aux unit.
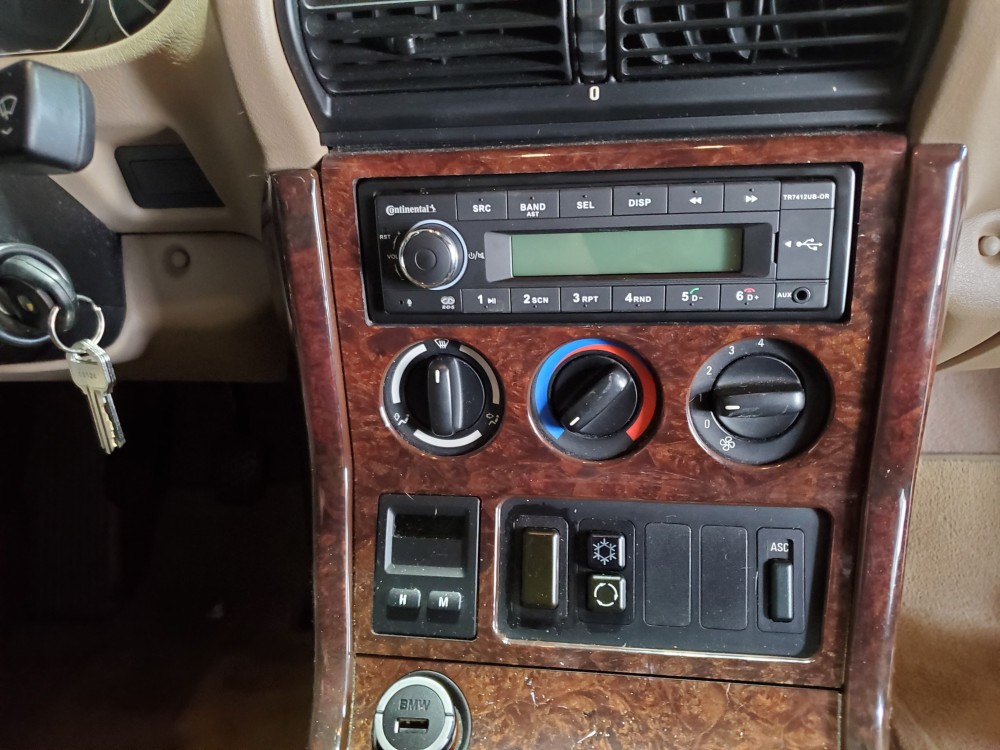
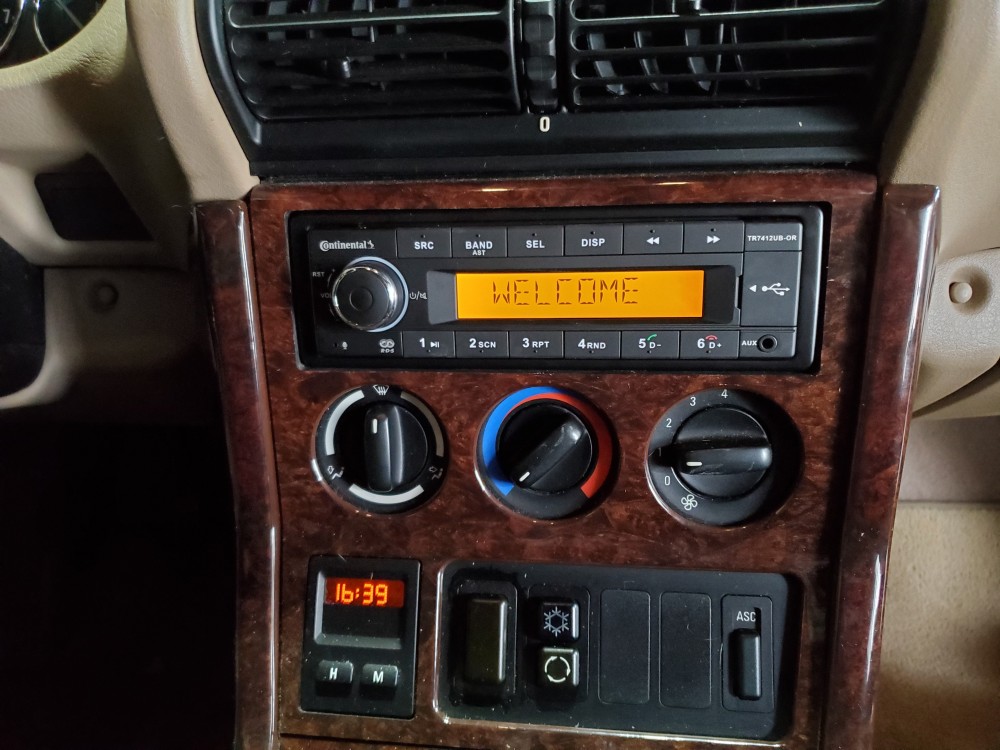
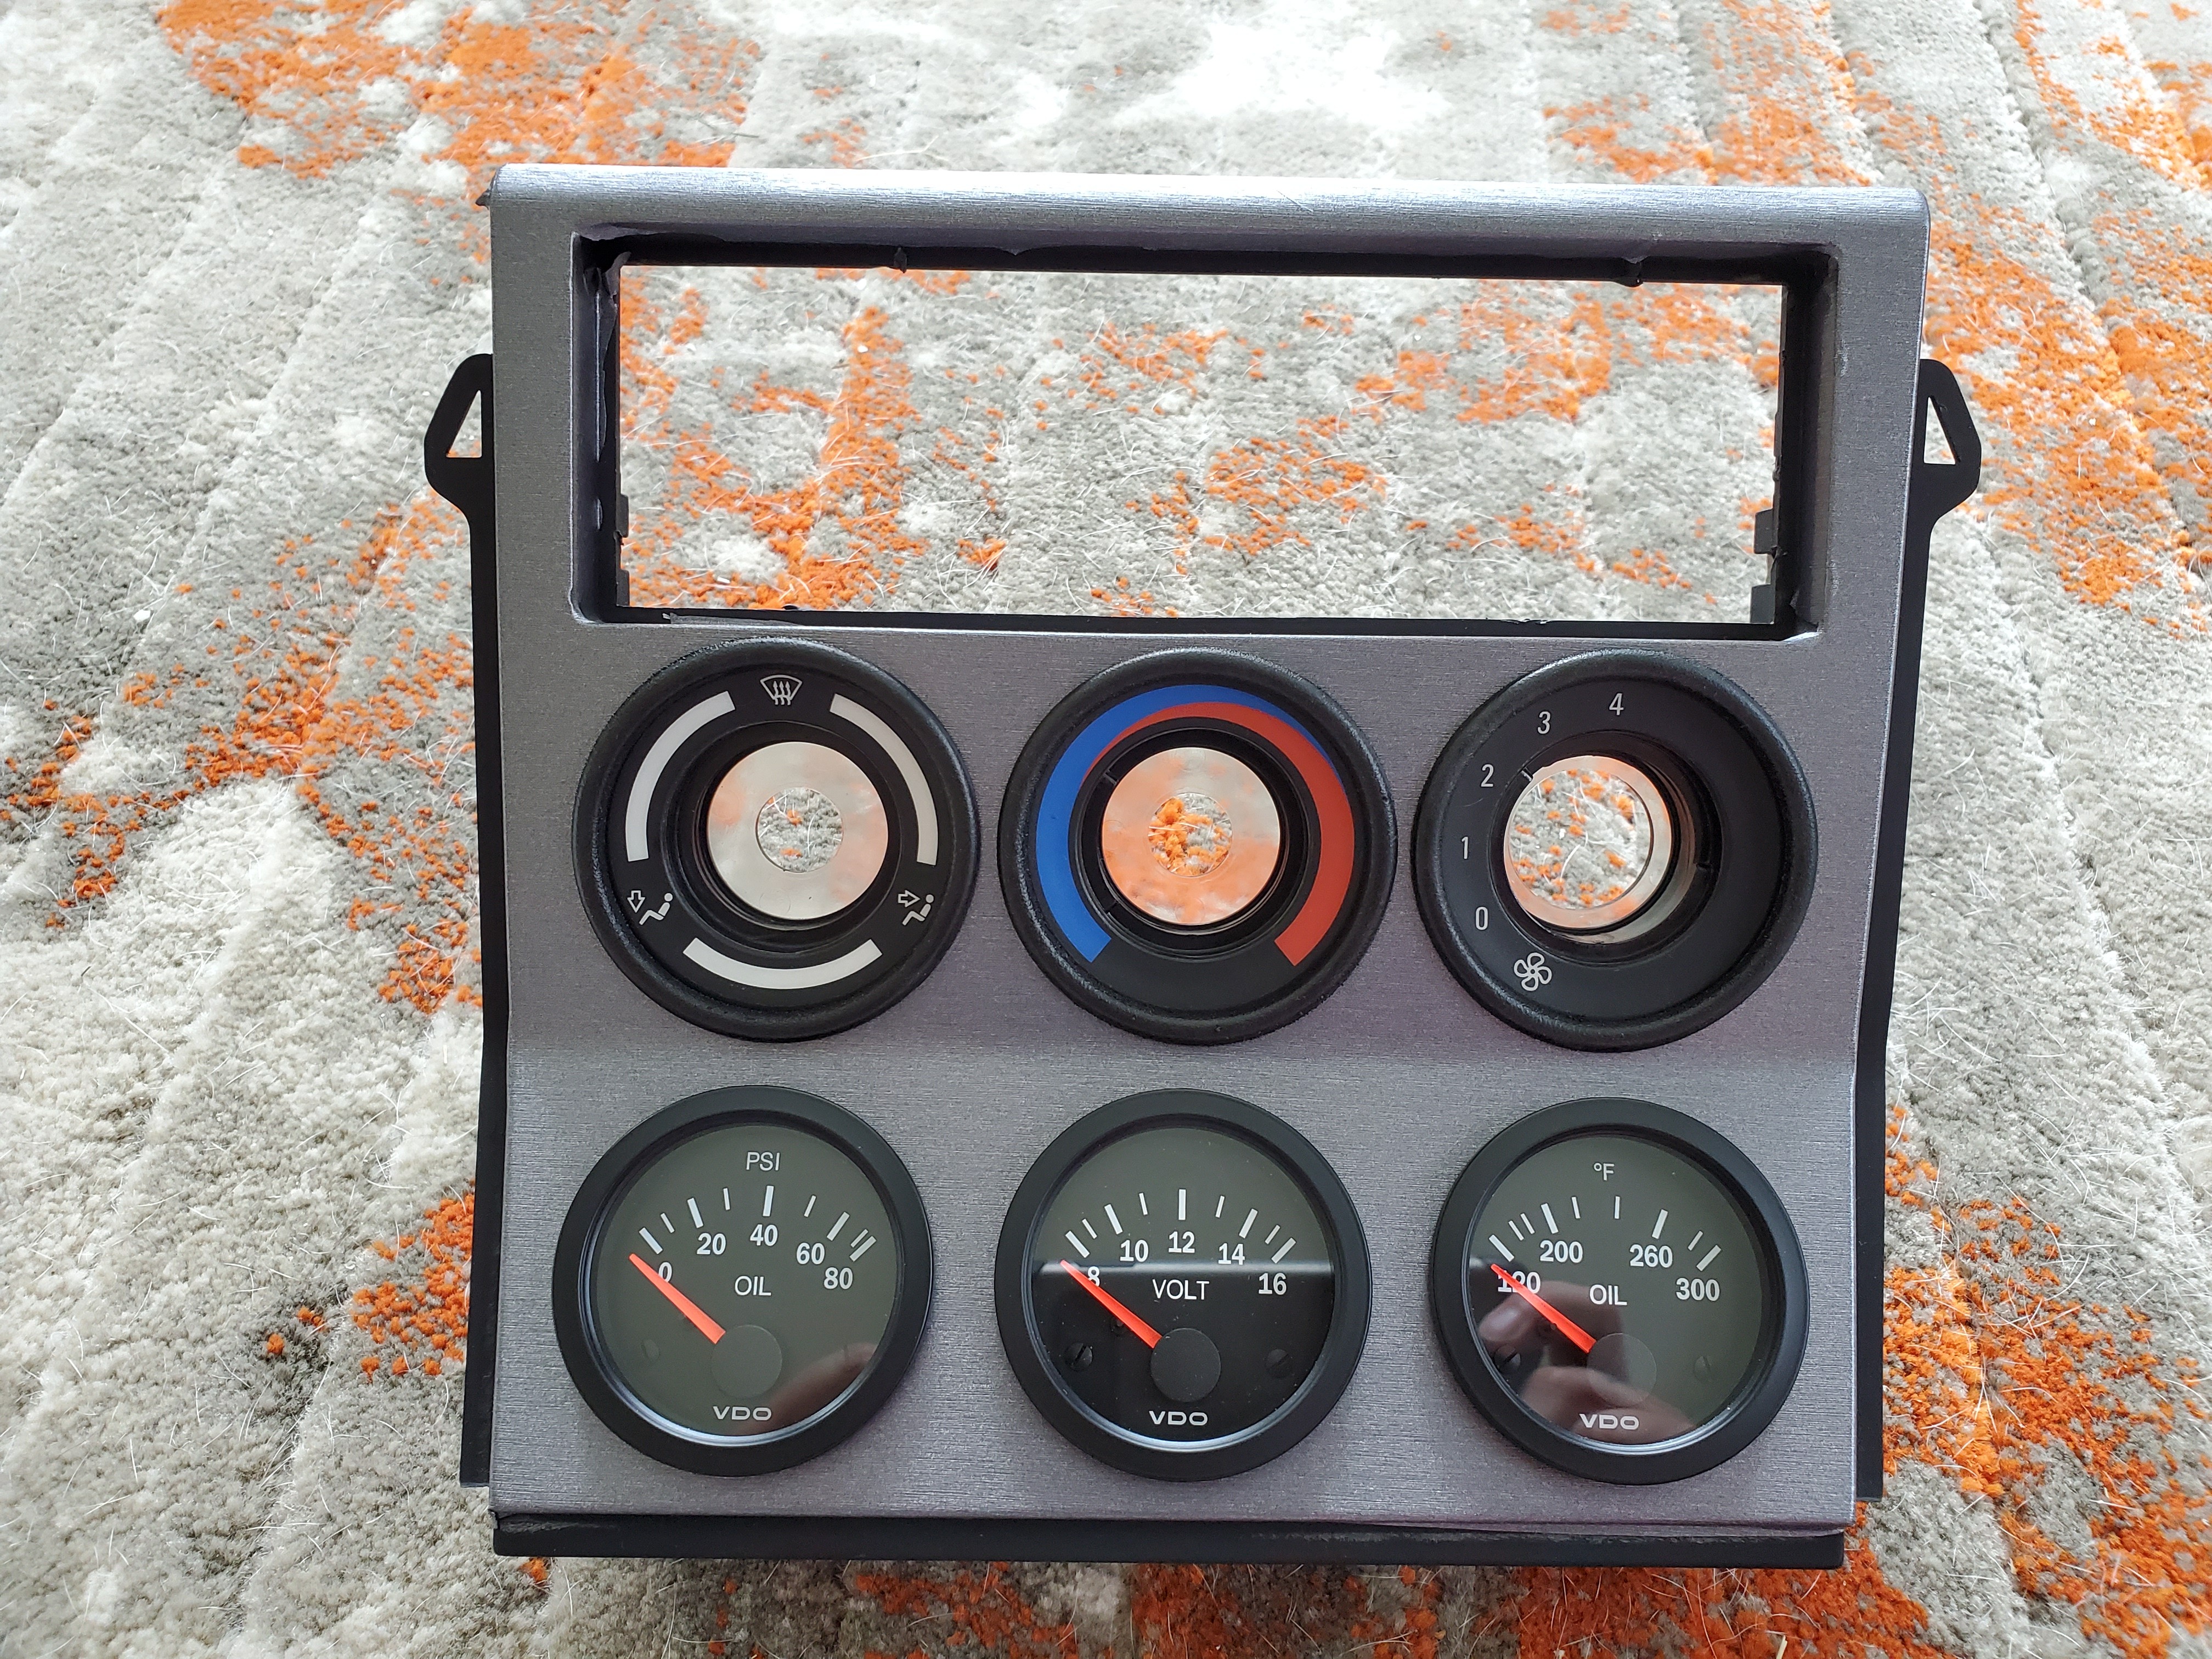
One of the main reasons I did this is due to the next thing I've been working on. And that is a Z3M center console swap which would eliminate the clock due to the guages i want to run. I got a set of used Z3M consoles, disassembled them, wrapped them with brushed steel vinyl wrap, eliminated the chrome and popped in some new VDO guages.
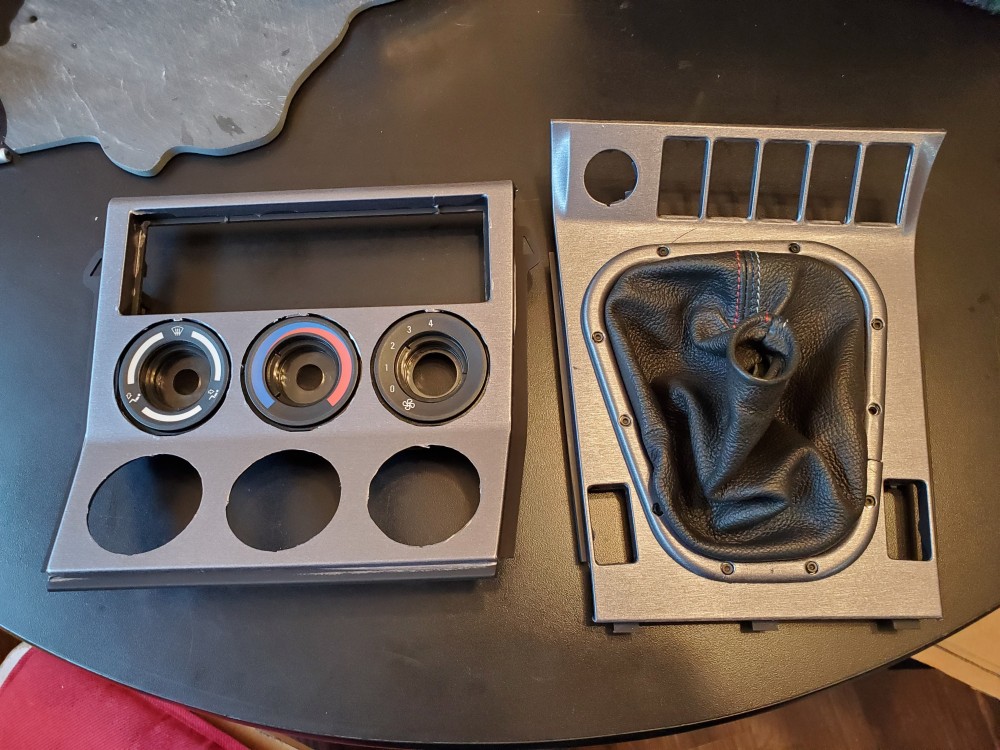

Ultimate end goal is to also switch out the tan interior for black/cinnamon to complement the Montreal blue exterior more.
Other than getting these console pieces in the car as well as painting/dying interior parts that need to be removed in process, I also picked up a set of H&R coilovers that will soon be installed as well.
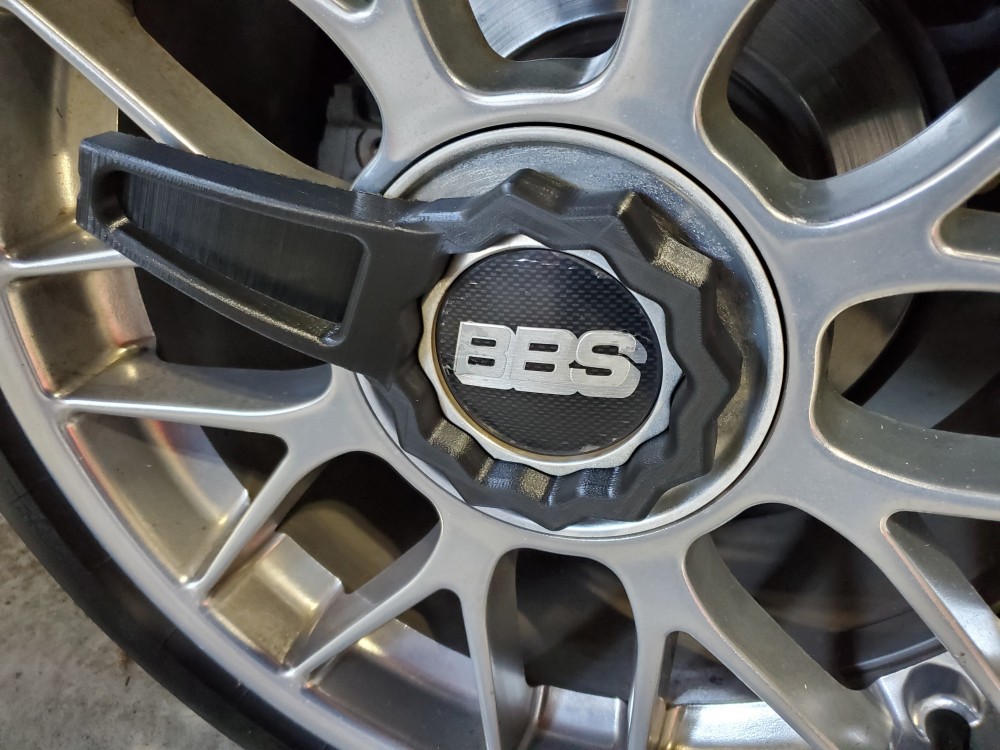
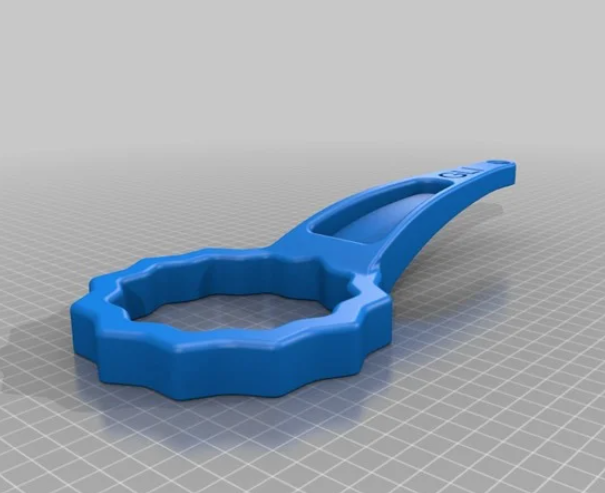
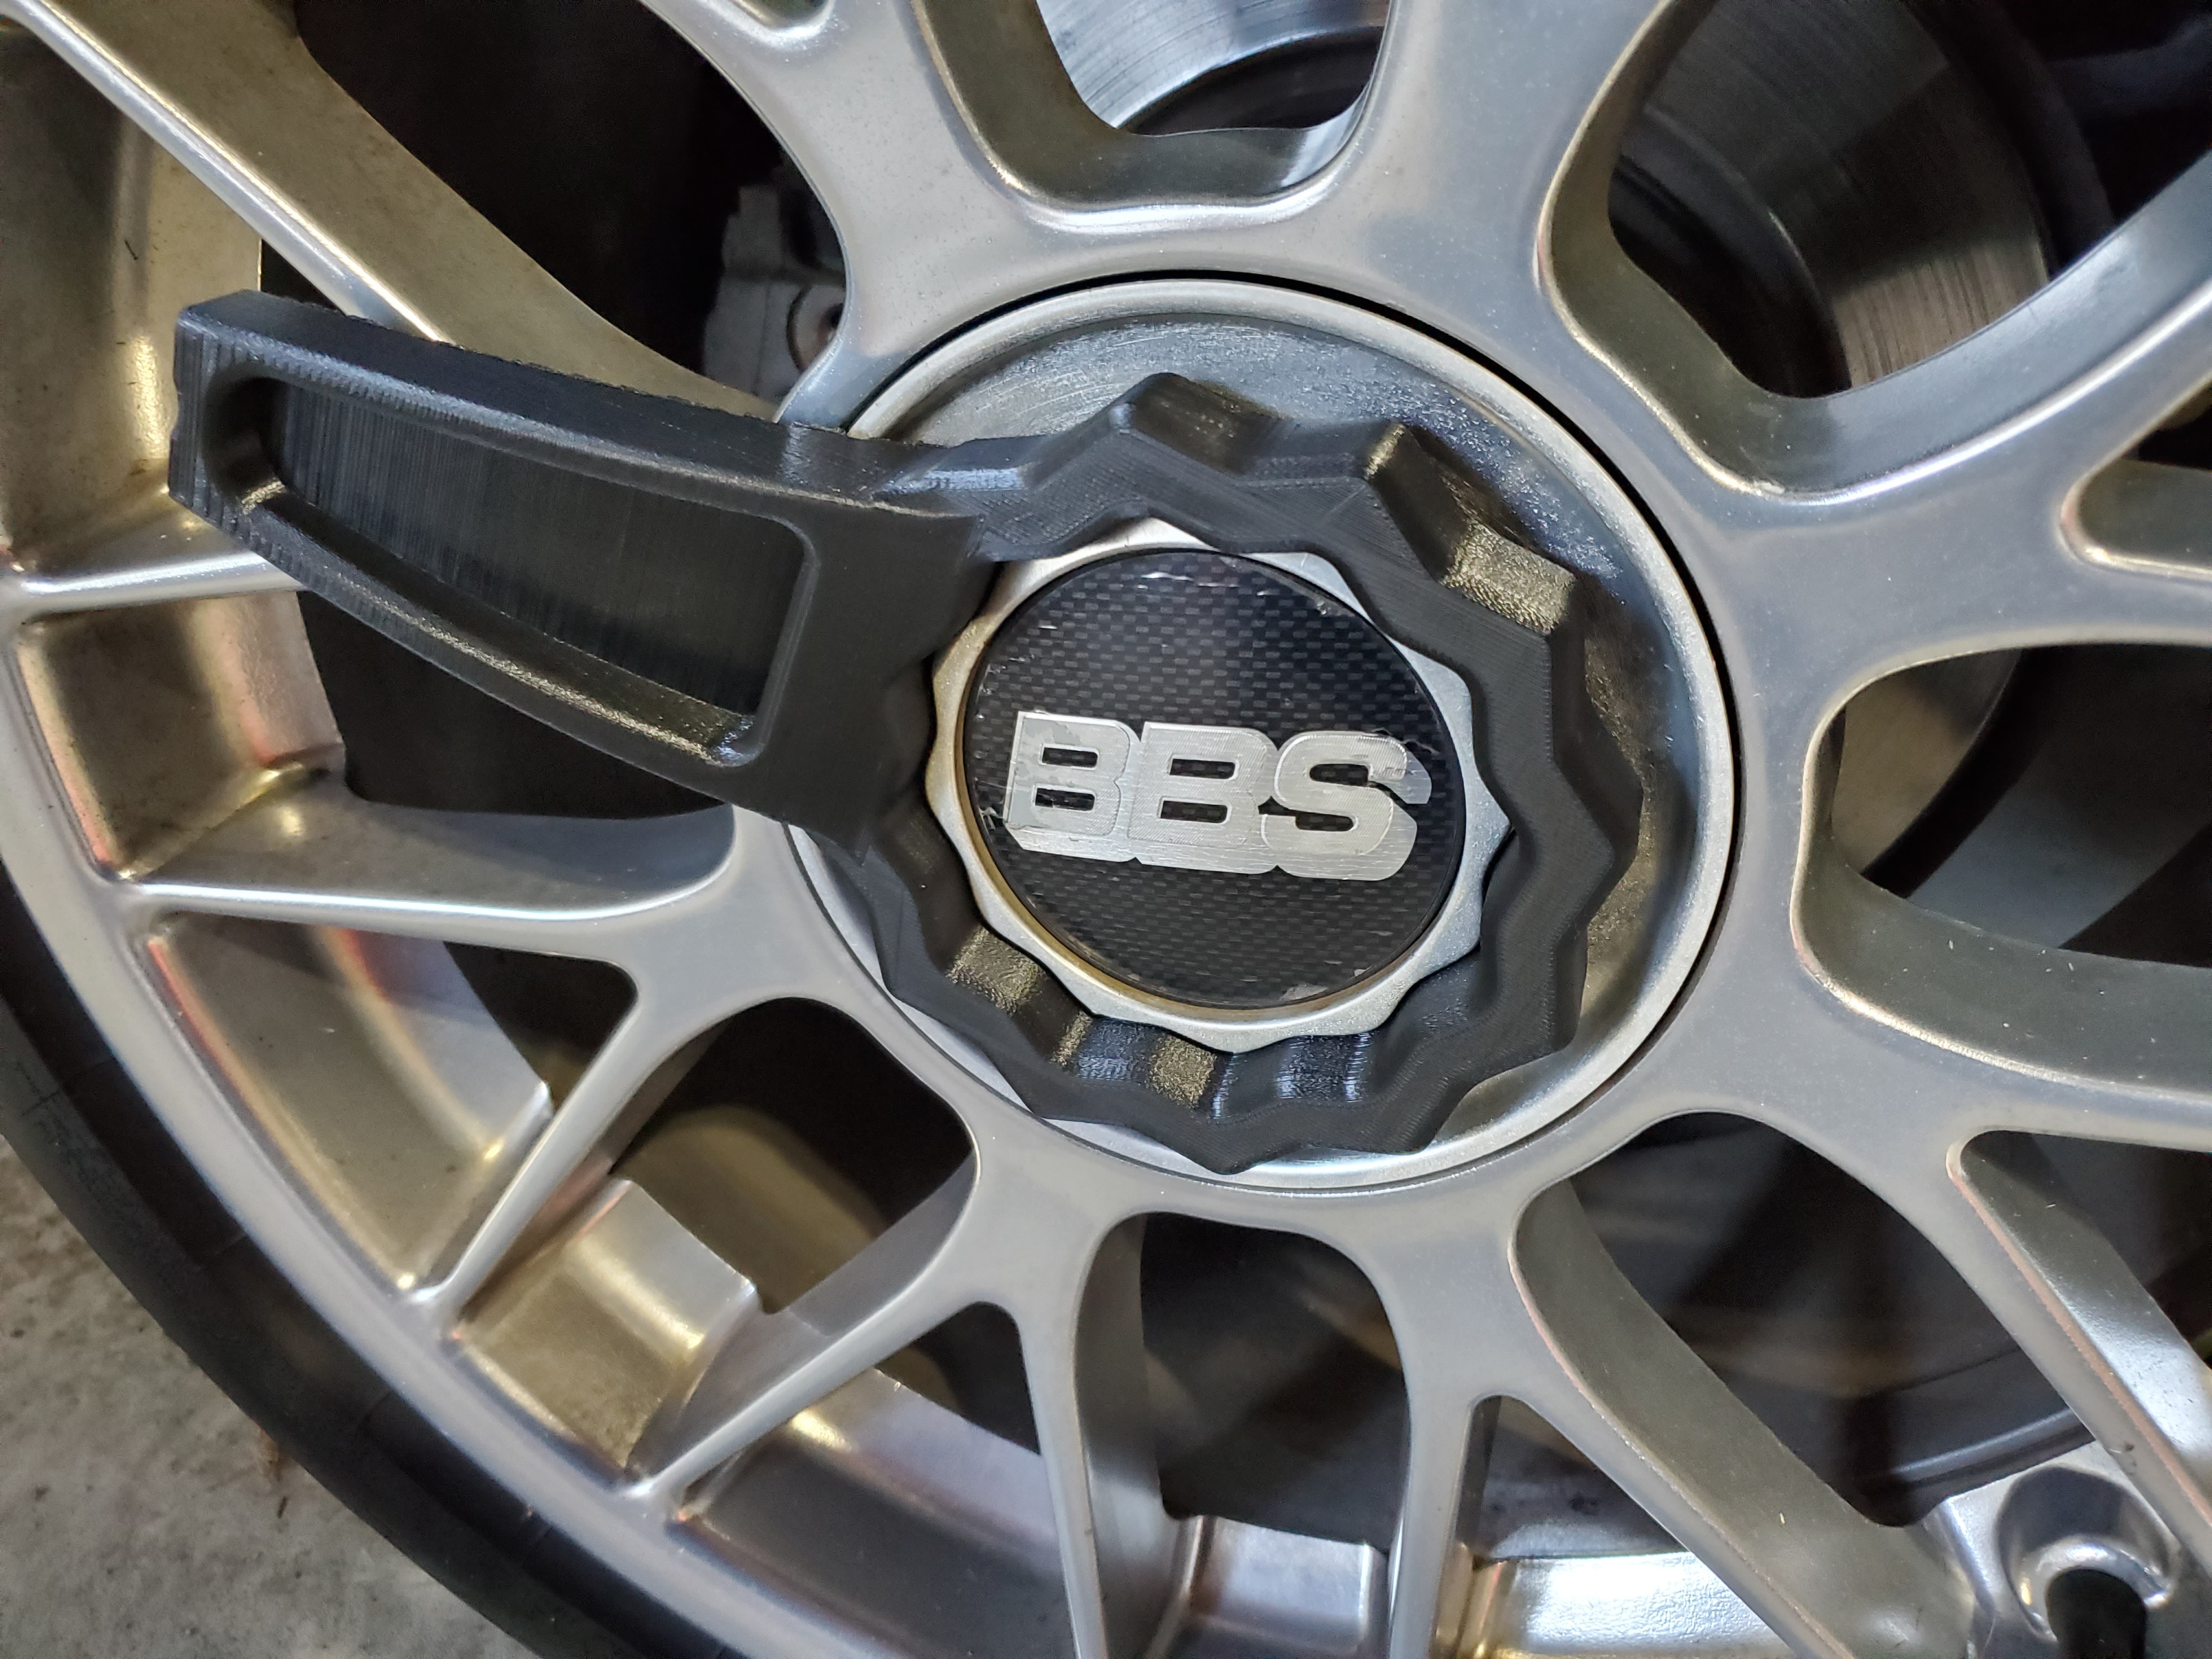
Also, bringing this over from my other post, had to 3D print a BSS RC wheel center cap wrench that works like a charm!
- P_Roloff, patsbimmer1, Rekpoint and 1 other
-
4
-
1 hour ago, patsbimmer1 said:
What does that cost in materials?
Thats a good question. I never really pay attention to the amount of material my program estimates per print. I’ll have to remember to do that and divide the cost of a spool of filament by lengths.
-
1 hour ago, Nick_F said:
looks like it turned out pretty dang well
I still need to mess around with the settings for the supports as they are still a little difficult to remove. Better than it used to be tho. I had them under the handle portion as seen below.

-
14 minutes ago, Nick_F said:
if it doesnt work you can send me the file and I can print it at work
Thanks! I wanted to give it a whirl on my machine to see if it was capable or not. I'm very impressed.
If anyone needs the 6pt wrench I originally printed, let me know. I have no need for it.
-
-
18 minutes ago, wasnt m3 said:
All 6 cyl z3's have the same rear width, m's just had a different offset rear wheels due to the hubs being further inward.
Ah this makes more sense. For some reason I was under the assumption that the subframe was different as well. But just the hubs changed?
I'm still learning new things about these cars.
-
-
So I actually just 3D printed a 6 sides one just to see if it would maybe work, but it didnt. I think if it had the notches between the points (like the first one Tom linked) to accommodate the 12pt center cap, it may have worked.

I feel like an idiot tho. The 12pt wrench 3D file that I found which I thought was for a smaller size, is actually the correct size. My 3D print program autoscaled it down to 65% to fit my print bed. When I bring it back up to 100% scaled, it is too large for my printer no matter how I rotate it. My solution, chop the handle down an inch or so and rotate it to fit the print volume and use supports.
Original
After chopping the handle down to fit


And showing the 3D print layers with support material

Just hit go on a 21 hour print, so we shall see how it turns out.
-
3 minutes ago, P_Roloff said:
If you can find dimensions, I can probably throw a part file together for you this evening if you wanted.
That'd be pretty dope. I am going to snap a picture of the center cap head on best I can later and draw up some dimensions. Then mess around with Fusion360 or something to see what I can figure out. I will send the pic and dimensions to you as well tho if you feel like whipping something up.
-
31 minutes ago, straight6pwr said:
Sounds like a great 1st project for a 3d printer!
I was actually looking for a 3d print file online earlier. There is one for the smaller center caps, but nothing I can find for the larger ones like mine. I'll for sure be watching as many tutorials on Fusion360 as I can to learn how to create 3d files from scratch.
-
Hey. Figured I would check here first before going to ebay or something. Anybody have the center cap wrench for the larger BBS RC center caps? Coilover setup comes this week for the Z3 and will eventually need to take wheels off, lol. Let me know. 👍
-
Gone!!!
-
That pic is perfect!!!
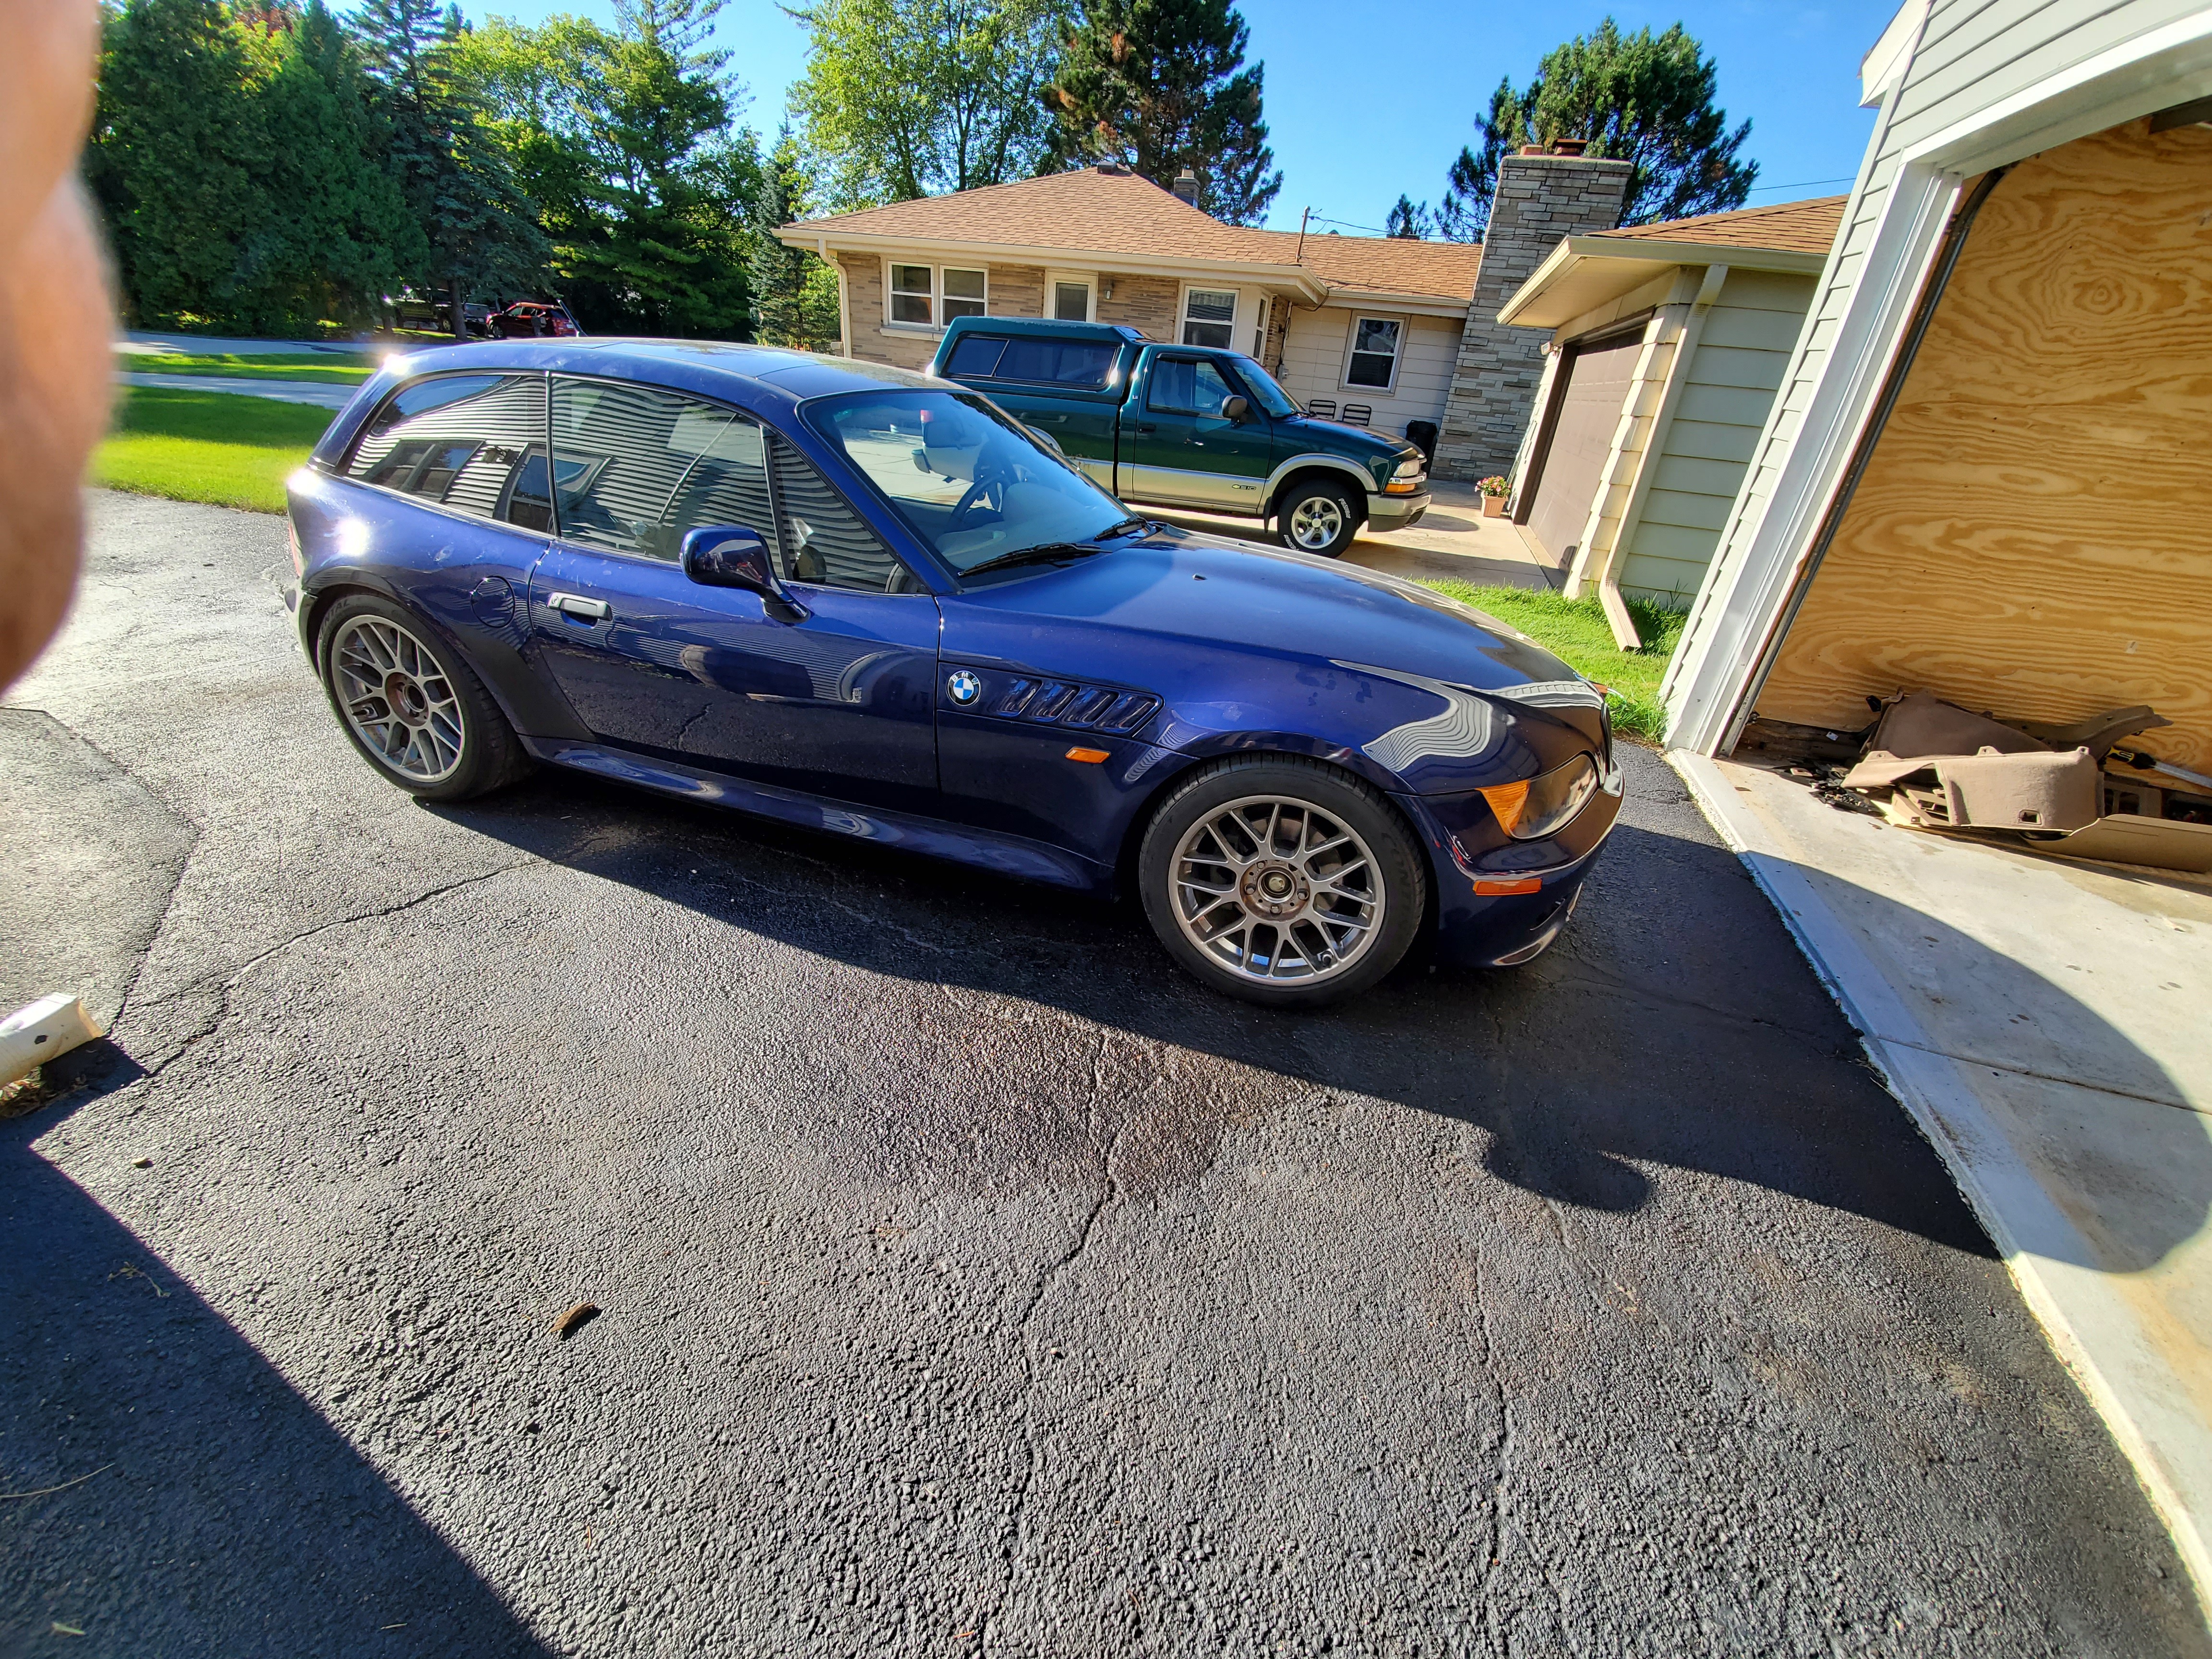


Z3 Coupe content
in Members BMWs
Posted
Yes! Once I pull the trigger on some sway bars...