
Bassboy3313
-
Posts
2585 -
Joined
-
Last visited
-
Days Won
114
Content Type
Profiles
Forums
Events
Gallery
Store
Posts posted by Bassboy3313
-
-
I'll soon have a rear strut brace that will need welding. Just throwing it out there.
-
I was not planning on reinforcing anything since I didnt think it was neccesary. Unless you think otherwise ...
-
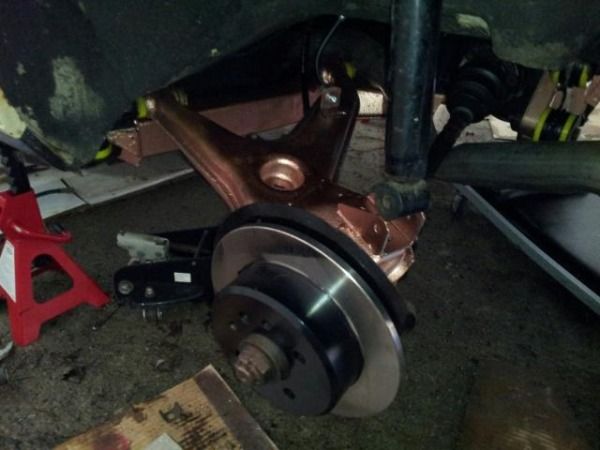
I got the parking brakes installed, cables/hoses/lines all put on and the calipers/rotors on the rear this weekend. All-in-all a pretty productive weekend considering I spent my Saturday taking an 8 hour fundamentals of engineering (FE) exam.
Started working on the rear coilover setup. I have brand new bilstein sports that I installed the coilover sleeves on.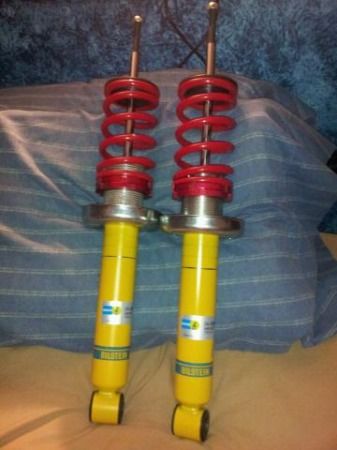
From the looks of things, I am going to need either longer springs or helper springs to make this work. I am still new to the whole diy coilover stuff, so it will definitely be a learning experience. -
This thing is amazing!!! I have personally seen it in person and have gotten quite a bit of parts from it for my e21 project. Nice work man!!! Looking freakin sweet! Cant wait to catch a ride in this beast!
p.s. if ur still up for selling that steering rack assembly, I am all ears.
-
I want that front bumper damn you!! Haha!
-
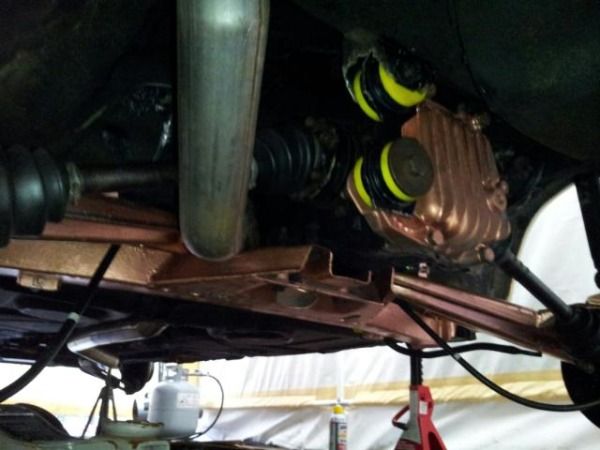
Here you go guys! Subframe is in!
-
I beleive these are common problem areas for these cars. I remember reading about others getting water in their gloveboxes or by their feet. Might want to look into some e21 threads on bimmerforums.com. If I have extra time I will search some too.
-
You guys are killing me! Haha! Will grab some pics now.
-
Although no pictures right now, this weekend the subframe went back in!!!!! Man that went a lot better than I expected all thanks to Brian (aka snap oversteer) who helped put that sucker in. Will get pics when I get the chance.
-
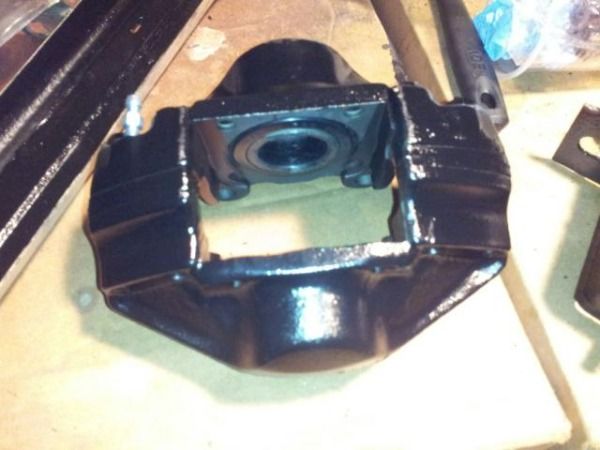
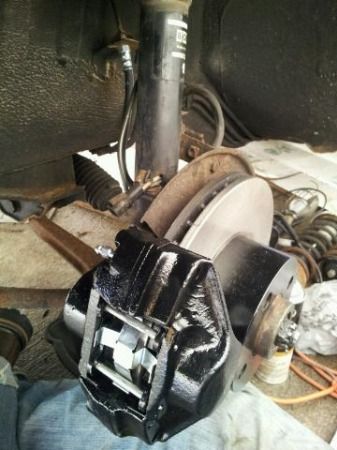
Wow! It has been quite a bit since I updated this thread. My bad. Haven’t been able to work on the car in a while, but I got quite a bit done the past few weekends I would say. I bought all new front vented rotors and calipers from rock auto as well as brake hoses and hard lines. I used the duplicolor caliper paint for the first time on these things and I have to say, that paint is fantastic! Goes on so smooth and dries super quick.
I painted the rotor hats, calipers and the new slave cylinder with the caliper paint.
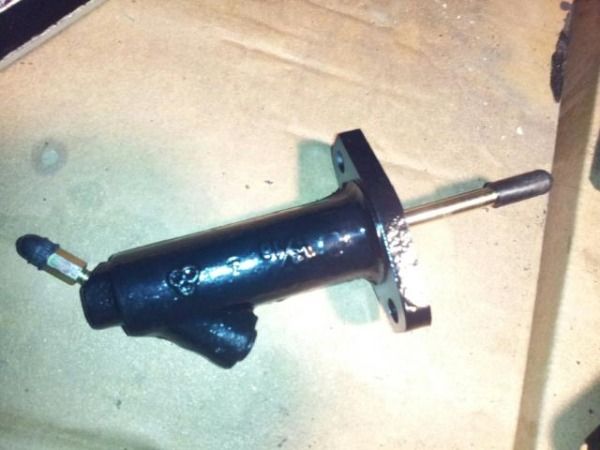
I then installed the new slave cylinder and reworked the hard lines since the PO had rubber hose going into a non-brake rated rubber hose then into hard line into slave. That was not working for me. Lol.
After that it was time to install the front brakes after they dried. I loaded up the calipers with some repco metal master pads I had previously gotten. The rotors and calipers went on super easy (obviously) but it was a bit of a push and pull to bend the new hard lines, but I managed.
Old brakes out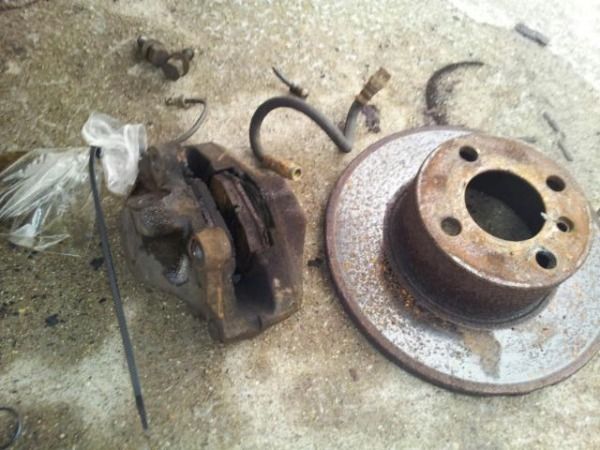
New brakes in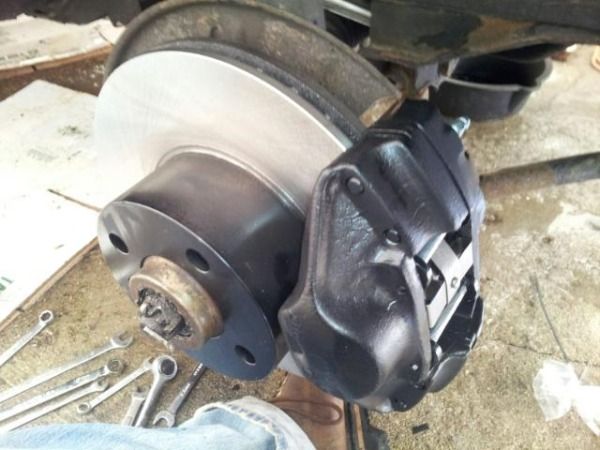
Next on the list was getting the new trans mount in while I still had driveshaft disconnected from doing the shifter plate/rod replacement. This was a lot easier then I could have imagined. I also replaced the guibo with a new one while I was in there as well.
Old trans mount on left, new on right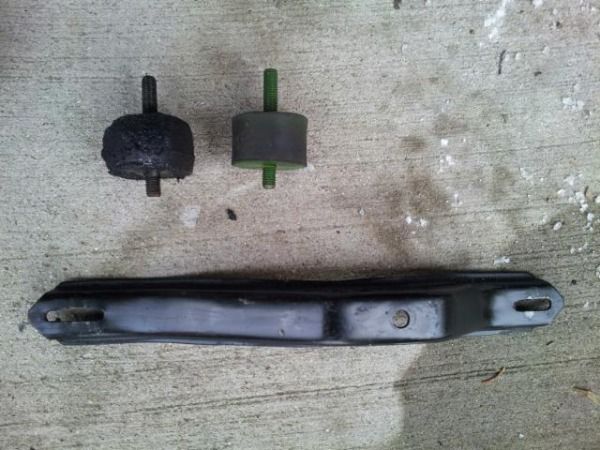
Guibo comparison – Old on right, new on left
and installed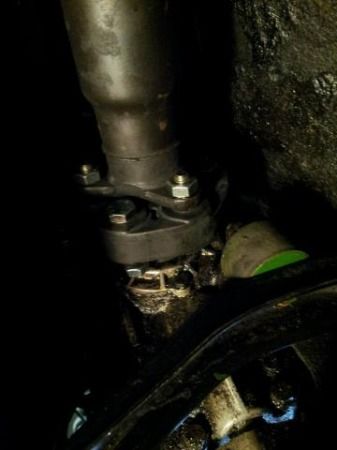
-
You can see some of the parts I did in my build thread here ... http://www.wibimmers.com/board/index.php?/topic/1050-e21-project-thread/?p=14156
-
I could possibly do it as well. I have a powdercoat gun and a toaster oven that I use to cure the parts in. They just have to fit in the toaster oven tho. I've done a few parts of mine and they came out pretty good.
-
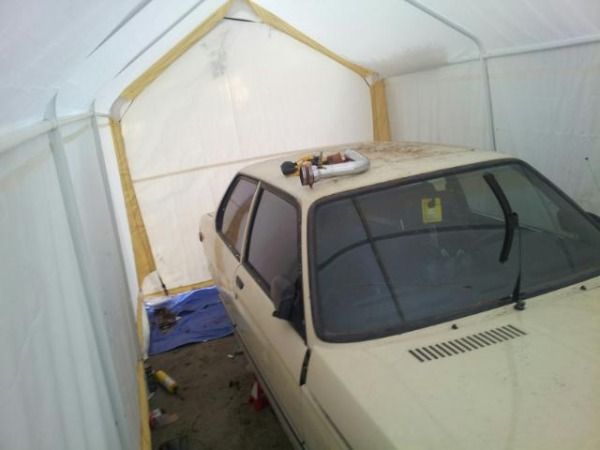
Does that tent hold heat pretty well?
It'll hold heat 100x better then just being outside.. Since it has no "porous" sides/top" It'll retain heat better then say a tarp. It's sealed. That and it'll keep you out of the wind= 1000000x better to work in then just out side in general. I've thought about purchasing oone for the E28. but they're like... $200+ for one that you can actually manvure in!
It hold heat VERY well. I have to turn the heater down/off after only 5 minutes of running since it gets too hot in there sometimes. I got this one at harbor freight. It was $200+, on sale for $170, plus I had a 20% off coupon. I think I made out pretty damn good on it. Wasnt that difficult to put up either. Would have gone a lot faster with two people, but I was able to put it up by myself with little fuss.
They dont make a DSSR for the E21. I bought one for my car and you've felt how snug it is.
DIY:
I will definitely have to look into that. Thanks!
-
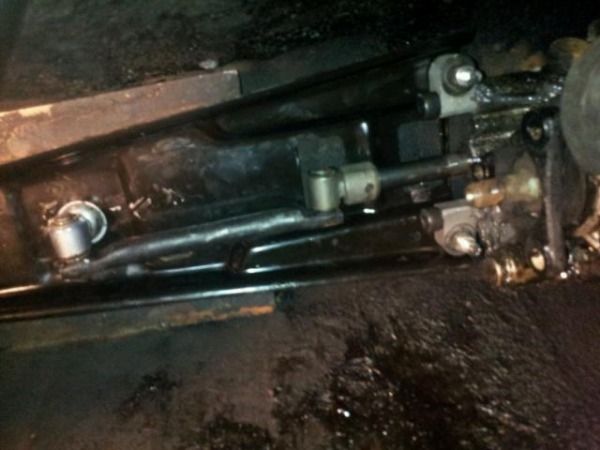
Last weekend I was able to get the shifter assembly finished and installed. I replaced all parts except the shifter itself. Here is the video of the shifter slop after the installation. Still has a bit in gear, which I am a little disappointed about. Anybody have any suggestions on removing the slop completely?
Here it all is installed.
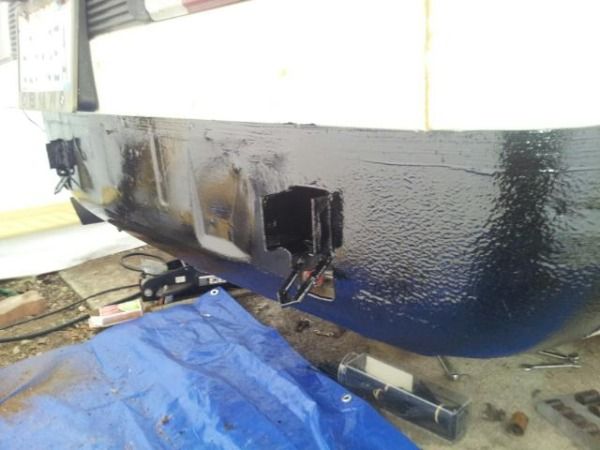
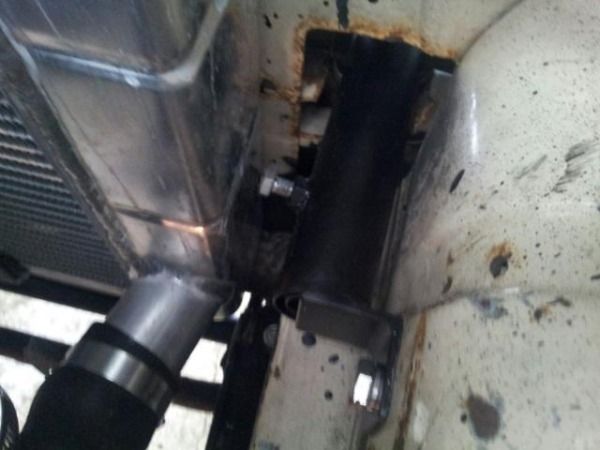
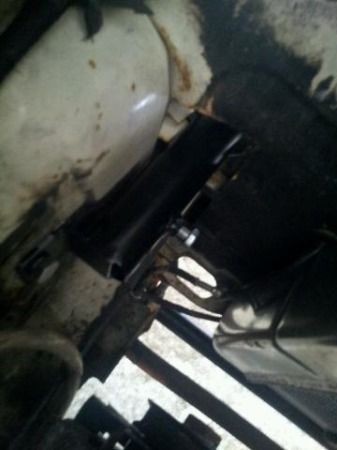
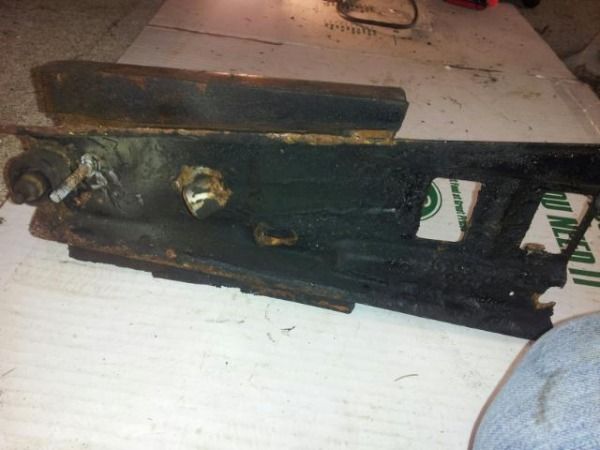
While waiting for the POR-15 to dry underneath the car around the shifter area, I decided to sand down, remove the surface rust, and POR-15 the rear valance. The before picture of the rear valance can be seen in a previous post. Here it is all rust proofed and looking good.
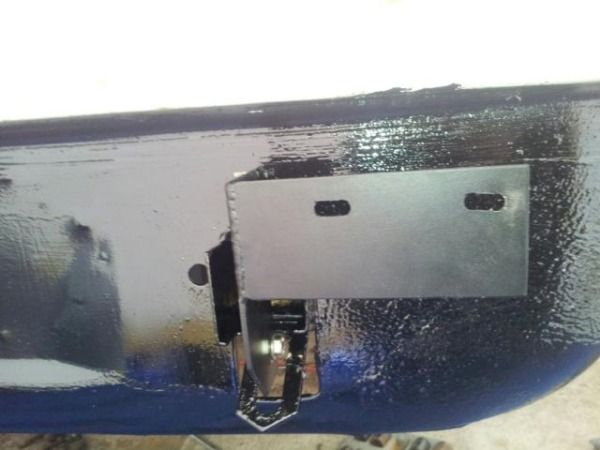
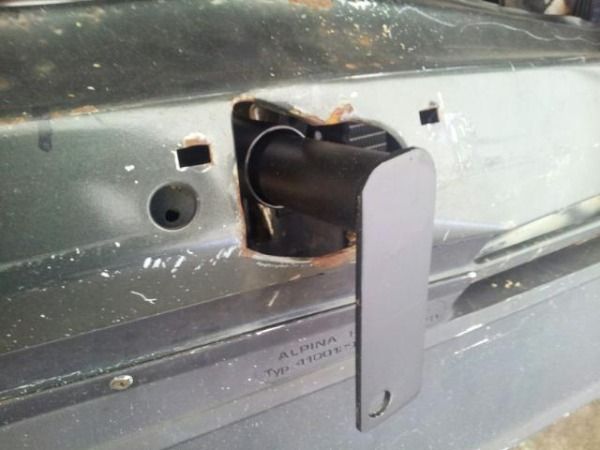
After the POR-15 was all dry, I went ahead and installed my rear euro bumper brackets that made and powdercoated previously. I just need to measure the space for the lower bolt so I can pick up a spacer and they will be installed for good.
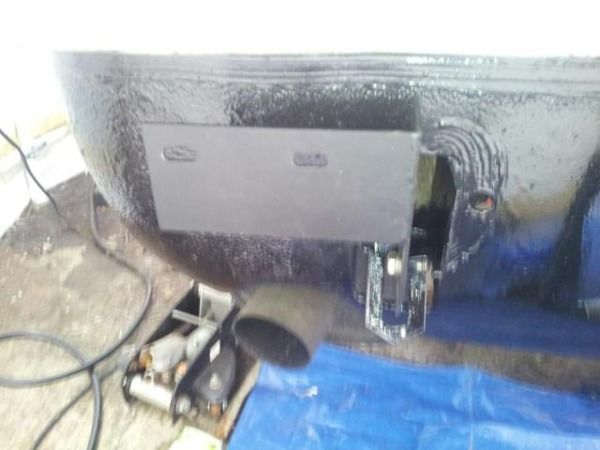
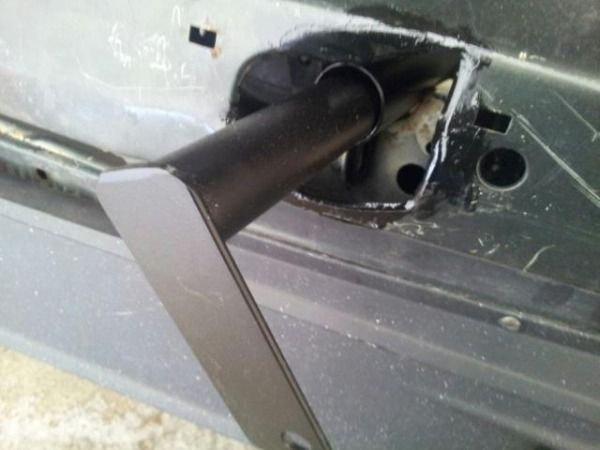
With those bolted up, I went ahead and installed the front euro bumper brackets that I powdercoated previously as well. These were simple since they bolted to the stock bumper shock points.
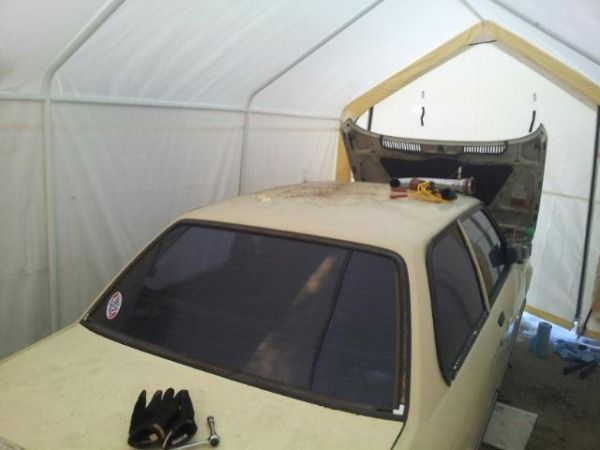
That was pretty much it for last weekend. Will hopefully get some more work done this weekend as well. Just to end it off, here is a shot of the work space I built for the beam for during the winter. Definitely came in handy with a nice propane turbo heater too!
-
LMFAO!!! No kidding!
-
Most of my e21 parts are less than other places offer them. I'm sure they are just as rare, no?

-
Yeah he was! Definitely hustled me tha SOB!! Its all good tho. I got rid of a non-running car and received one hell of a fun one in return. Granted it was a POS when I got it, I think I've slowly fixed everything that Fat Bob ruined in this car. Almost!
-
Welcome!!
-
Thanks man! I hope its a huge improvement, which I cant see it NOT being. Lol! Your car is coming along outstanding too by the way.
-
Thanks guys and certainly will do!!
-
Small Update:
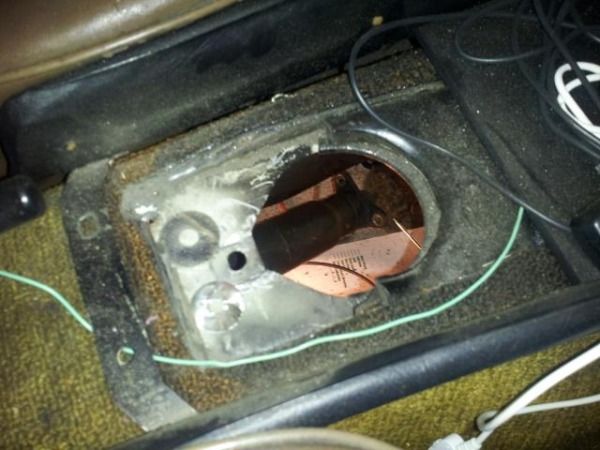
I havent touched the car in weeks, but finally got some time, motivation, and good enough weather to do something. I went ahead and removed the shifter plate and all other necessary parts that will be replaced. I now know why my shifter was so sloppy even when in gear.
Video of shifter before removal.
Wish I would have gotten a picture from underneath, oh well tho. I had to do some cutting and grinding with the dremel in order to remove the rear support pieces. The bolt/nut were completely. Also, the PO thought of the bright idea of putting a long bolt all the way through the tunnel and plate with a nut on the underside to hold things steady. How in the hell does one person hold the bolt head in the cab while removing the nut from under the car? I ended up cutting the nut with the dremel until i could loosen it a tad. Then I went into the cab and cut the head of the bolt off. Was a pain in the ass, but got it done eventually. After that the entire assembly could be taken off.
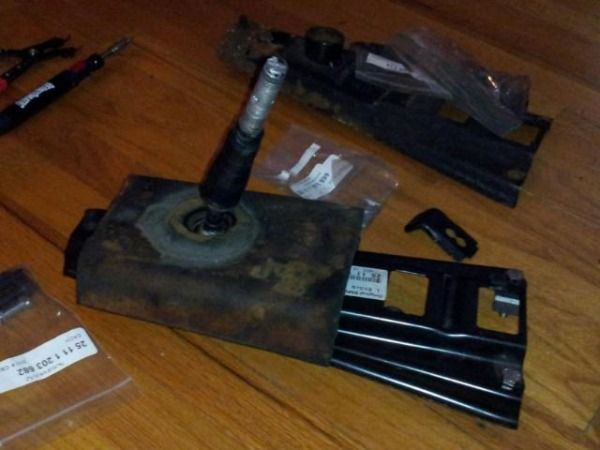
Old parts after removal.
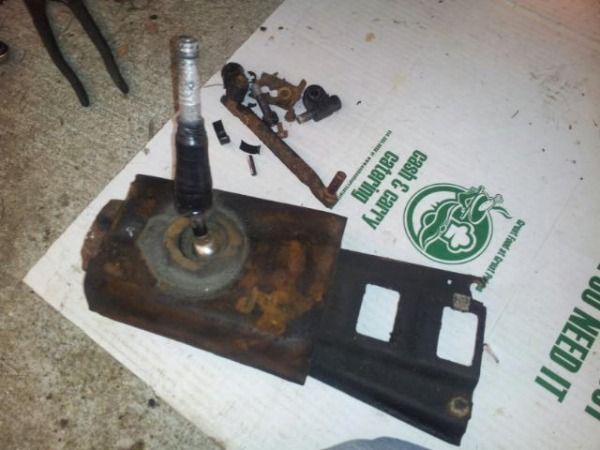
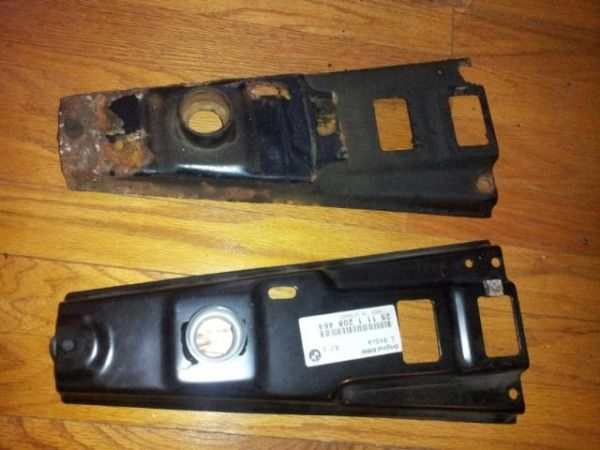
Here is the new plate vs. the old plate.
And after dissambling everything and replacing all parts with brand new parts from AutohausAZ except the shifter itself.
I am waiting for more por-15 to show up before installing everything back on the car. I want to hit the underside of everything with por-15. I will hopefully remember to take a pic of before/after the por-15 like usual. I will also take another video to compare the "slop" from before/after. Hopefully there will be none. *crosses fingers* Thats it for now.
-
I'd be all over that in a heartbeat. Especially since those heads go for WELL over $1500 easily. Damn!!! I want!!!
-
-
Thanks guys. And yes you are right, I did in fact buy front billy sports the other day. Hopefully they work as good as the guy says they do. Then all I need are some billy sports for the rear or get the ones I have rebuilt by bilstein. Then I can start mocking up the coilover sleeves.


E21 project thread
in Members BMWs
Posted
Well it looks like the car wont be on the road as soon as I wanted it to. I decided to go all out and pretty much do everything on the list NOW. Saturday I was working on getting the tapped s14 oil filter housing installed since the sandwich plate I was using before was preventing the alternator from swinging far enough to get the new belt on. Plus it’s a lot cleaner without the sandwich plate. Turned out I need to remove the AFM and fuel dizzy (FD) in order to get the top bolt off the oil filter housing. I removed the charge piping and noticed water and some oil coming out. Right then and there I decided to just go ahead and put the rebuilt head on since I had shit apart this far already.
AFM, FD and oil filter housing out
Intake manifold out
After draing oil and coolant, disconnecting wires and hoses and the exhaust manifold, the cylinder head was finally out
Now its time to do some clean up and prep work for the new head, arp studs and mls gasket to go on as well as clean and paint the parts removed that are going back on. As mentioned before, I jump around from project to project. I wanted to make a rear strut brace since it is a simple design and will help wonders with the new rear end and soon to come coilovers, so I started that. A member over on BF sent me a CAD file of the strut plates that he made awhile back. I ordered up some plate steel and steel tubing from Speedy Metals and went at it. Printed out the strut plate templates and transferred them to the plate steel. My brother ended up working Sunday morning (works at a machine shop), so he cut the templates out for me which took WAY less time than it would of if I cut them out myself.
All that’s left on that is to do some finish grinding and test fitments and see how long the cross bar needs to be. Cut the tubing to length, flatten the ends and weld them to the plates. A little black paint to finish them off and that will be that. I also figured more out on my rear coilover setup.
I will be grabbing some helper springs from Pegasus Auto Racing Supplies this week and then my brother is going to lathe some spring dividers for me. Once those are machined and installed that will complete the rear coilover setup and onto the fronts I go. That will be a different update tho.