m42b32
-
Posts
2441 -
Joined
-
Last visited
-
Days Won
85
Content Type
Profiles
Forums
Events
Gallery
Store
Posts posted by m42b32
-
-
All it took was one phone call to the parts department at International to send me over to Concours. That and my dad's f10 535i is leased from there and they have been spectacular through the whole thing
-
-
I think silver would look the best. If you wanted to be really cool with them. Paint them black and then polish the face. That would leave it black in between the spokes=)
You mean like this?
I think that would look really awesome, in fact that might be my favorite option now. I have until May to get these things done so I can do just about anything haha
-
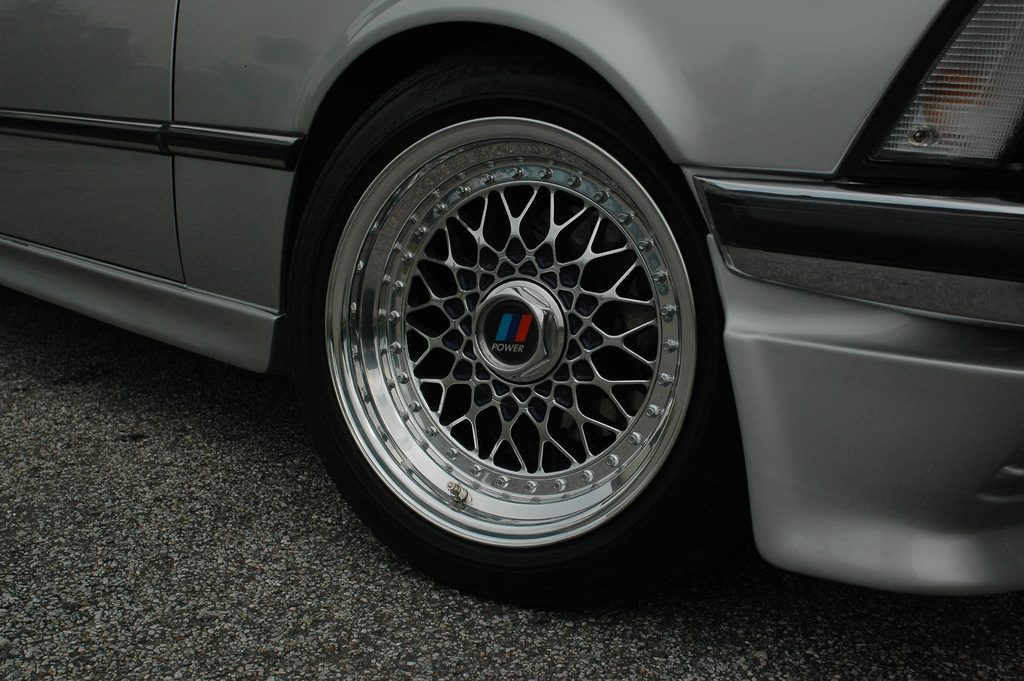
Looks great, what color are you planning on finishing them in?
Thanks! I'm not sure yet, I am split between a bright silver like the ones Earl posted, possibly a gunmetal color, or maybe even a bronze/gold color as I think it could look pretty good on alpine white. I am also debating blacking out the lug area like the older Alpina wheels, I will have to play around with photoshop to see what I ultimately like the most
-
-
I've never been a fan of them either unless they came on the car stock, but if you like them then do what you want, its your car! I believe depo makes projector headlights for the e46 that you can put angel eyes in pretty easily
-

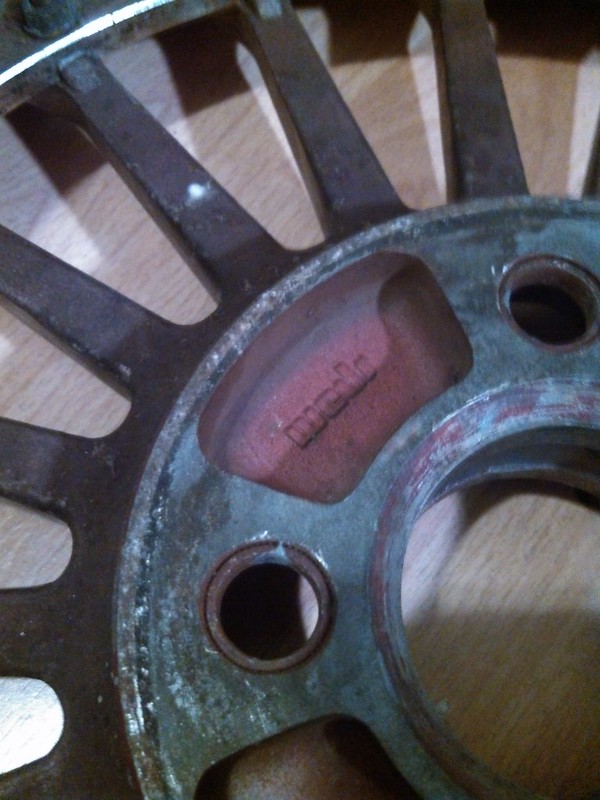
I split two of the wheels so far, the bolts are a pain to remove from the face, spent an afternoon with a block of wood pounding them out only to have two get very stuck so I brought the faces to the shop in the engineering building and pressed them out, much easier. The bolts are very nice stainless so no polishing or anything is needed which is awesome.
Did a bit of archaeology, the faces were originally painted black and then at one point were painted a sparkly purple/pink/red color and then were crappily rattle-canned silver. I have my work cut out for me with the paint stripper
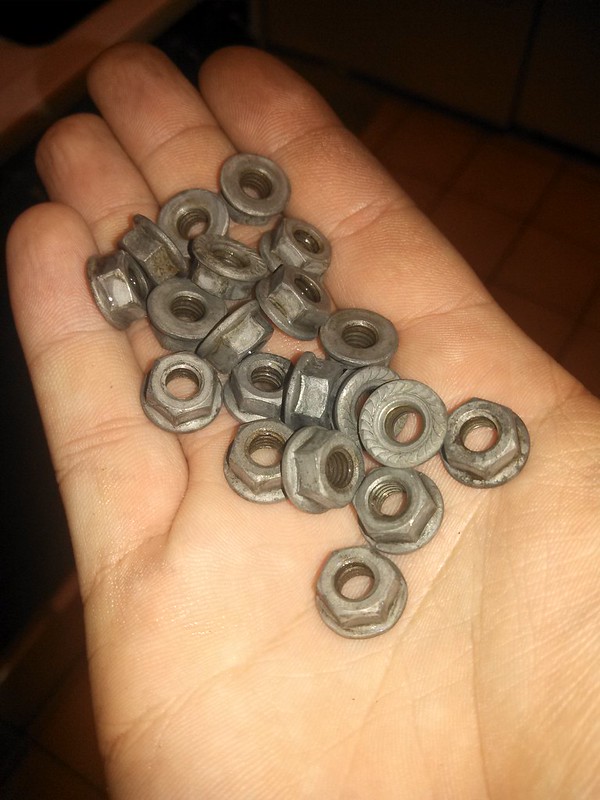
I soaked the nuts from the first wheel in white vinegar for the last three days just for shits and gigs...and it worked like a damn charm! I didn't have a before picture but they were a solid rust color and they are now perfectly bare metal
One wheel has a slight flat spot in one of the lips (it will still hold air just fine, but is visible if you look closely) so I may take that one to a wheel shop to get it straightened before I split it while I work on the others. More updates to come!
-

I always hated these uni-brow things, especially when they are part of the hood...makes the car look like someone drove it straight into a wall
-
Those mirrors look fantastic, the car is round enough that they work perfectly in my opinion
-
This the look youre going for?

Eventually yes! For now I am going to keep them as they are (original barrels) and just make them look as mint as I can
-
those look great!!
menards sells aircraft stripper
(save big money)
its like 9 bucks. kind of a rip off
Thanks!
Unfortunately the nearest Menards is 321 miles from me right now according to their website haha, there is an Ace a few blocks away but its like 16 bucks for a 32oz can...
-
Thanks guys!
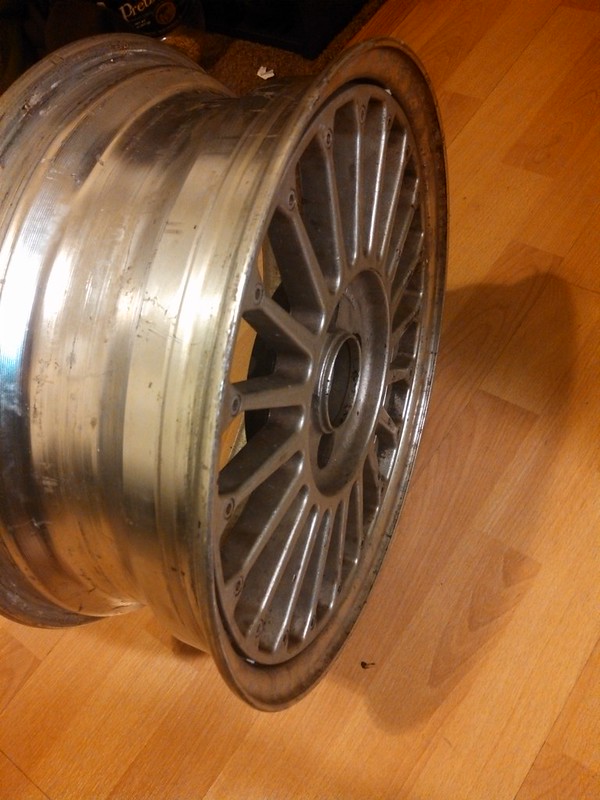
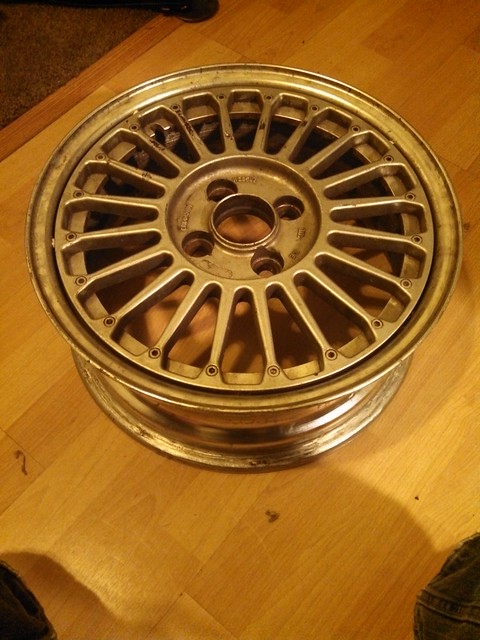
Had a bit of free time the other night so I decided to clean up two of the wheels, they are actually in much better shape than I thought!
It wont take much to make these perfect again! I will be picking up some aircraft paint stripper and the tools I need to take them apart sometime this week so I can really get going
-
getting custom lips made is $$$$ for real.
Yeah that's what I've seen, thanks for the info! I like them the way they are though thankfully, very period correct
-
use aircraft stripper to get the paint off, it takes all of 5 minutes.
Also, for lips. I also cannot think of anyone that makes 20 bolt 15" lips/barrels.
I do know that going from a 2 piece wheel, IE face and barrel/lip combo to a true 3 piece setup will require the face mounting point to be machined down on either the face side or the backside so you can sandwich them together. Worse comes to worse you can have Rotiform make you some 15" lips with step lip, or their 15" to 16" lip, slant lips look ugly though!
Great, that's what I wanted to hear. I hadn't seen many people use that method but I guess my research only took me to very high end wheel builds.
And with the lips (Thanks to Earl too as I know he commented on this earlier) since no company makes similar lips, having custom ones made looks to be the only option...which is fine because I won't be going nuts with these anyway, I was just curious. Too many other projects to do first!
-
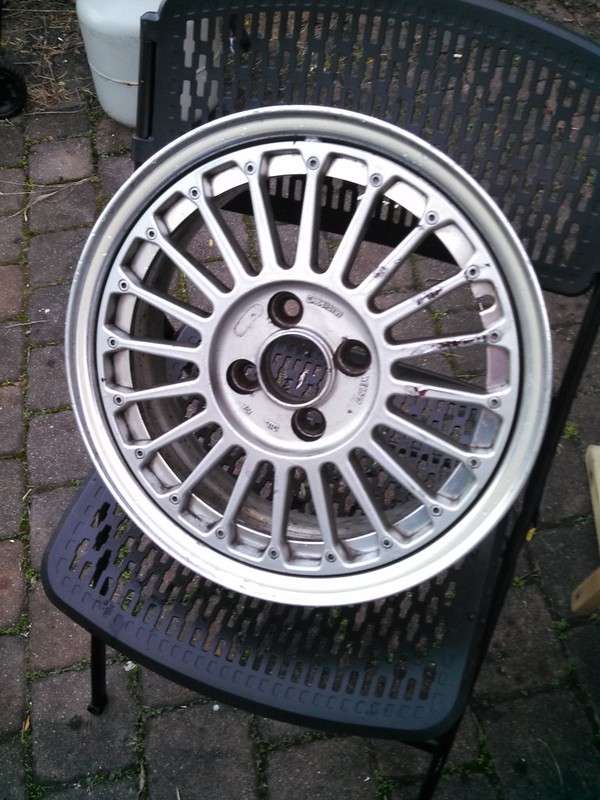
Got some fun things in the mail today!

Like I posted before they are 15x6.5 Weds Bavaria Fins. They weigh just over 13 pounds each which is on par with the equivalently sized d-force/kosei wheels to my knowledge. One has a very small flat spot in the lip so I may have that fixed but the plan is to refinish them back to like new condition in my free time here at school. I plan on running them with a stud conversion and 15mm spacers to basically emulate the fitment of euroweaves.
Does anyone know what would be the most cost effective method of taking the centers back to bare metal? I know media/sand blasting would be the best way but that can get pricey, maybe paint stripper?
-
What color is your car? Getting a door from the junkyard is your best and cheapest way to go, depending on the color.This, If you go to Wally's you-pull-it in Oshkosh they have about 6 e36's last I checked (a majority being sedans) where you could score a pretty decent door. Its been a while since I was there but they still might be around, getting a new door and having it painted will probably be very expensive. Worst case scenario you could get a nice door in the wrong color and have it painted
-
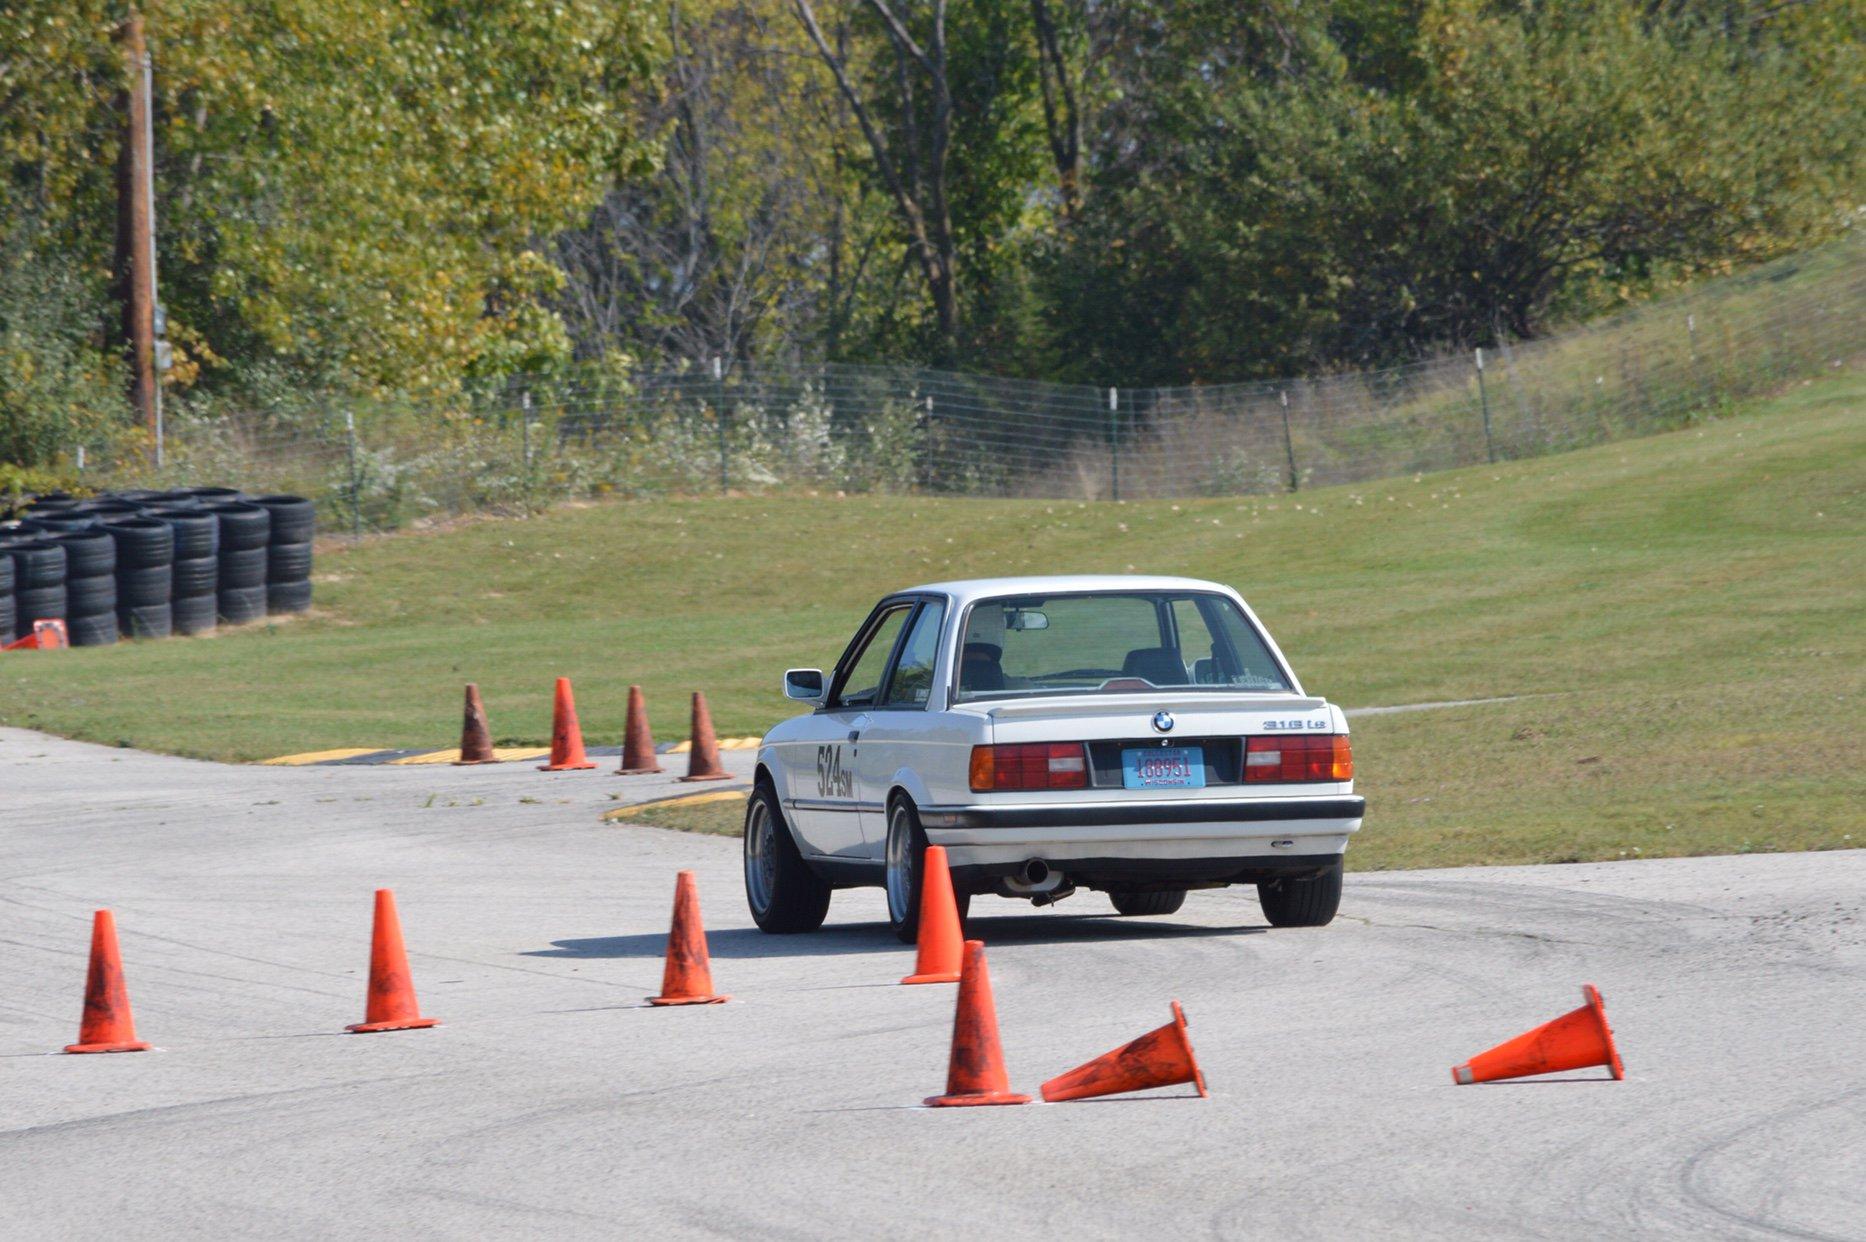
This whole build is just awesome, that exhaust looks great and I bet it sounds even better!
-
Thanks, I wish I had more time to work on the car but I go back to school tomorrow and it will sit again until thanksgiving, such a shame. This summer I will go nuts on it though!
Also, a little side note I forgot to mention, those Weds wheels are mine! It was like pulling teeth to get more information on them but I heard what I wanted to hear and scored a good deal! I will be sure to post pictures once I get my hands on them
-
I've been home for the weekend and I got the car out of my neighbors garage and decided to tackle some jobs today.
First off, the car wouldn't start yesterday. It was completely dead, even trying to jump start it wouldn't do a thing. So I replaced the battery and it started right up like nothing was ever wrong thankfully, I knew the batter was on its way out but didn't think it would get that bad.
I then decided to fix the thing that pissed me off the most about the entire car:
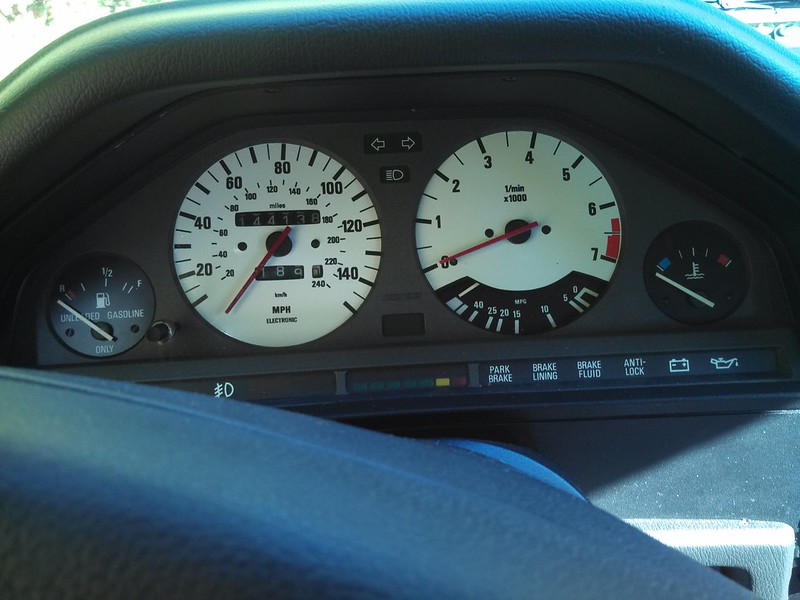
They look like crap and you can't read them at all at night at all so they had to go asap.
So this happened:
I took the cluster apart and removed those stupid stickers, thankfully they weren't hard to get off
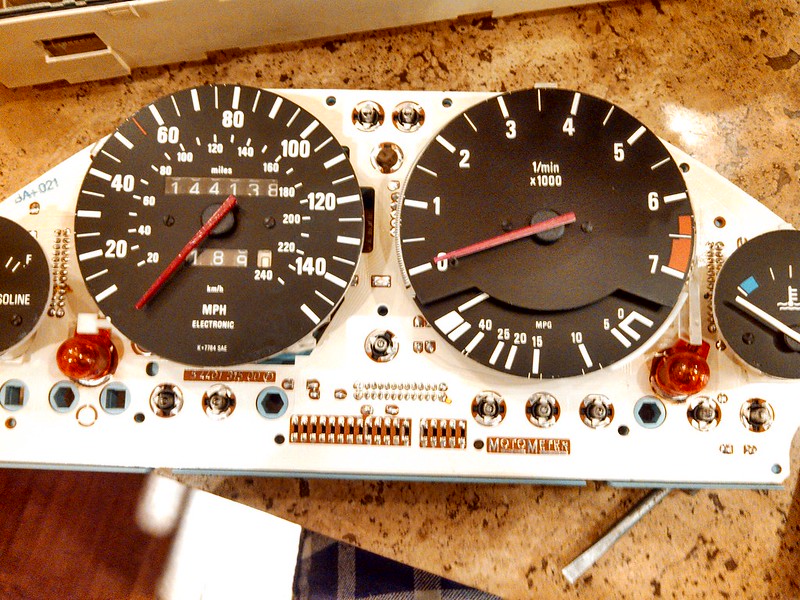 \
\The needles were painted red, so I decided to use some nail-polish remover and a q-tip and it took it right off thankfully! I got everything put back together and back in the car and it looks a million times better...and I can finally read them in the dark!
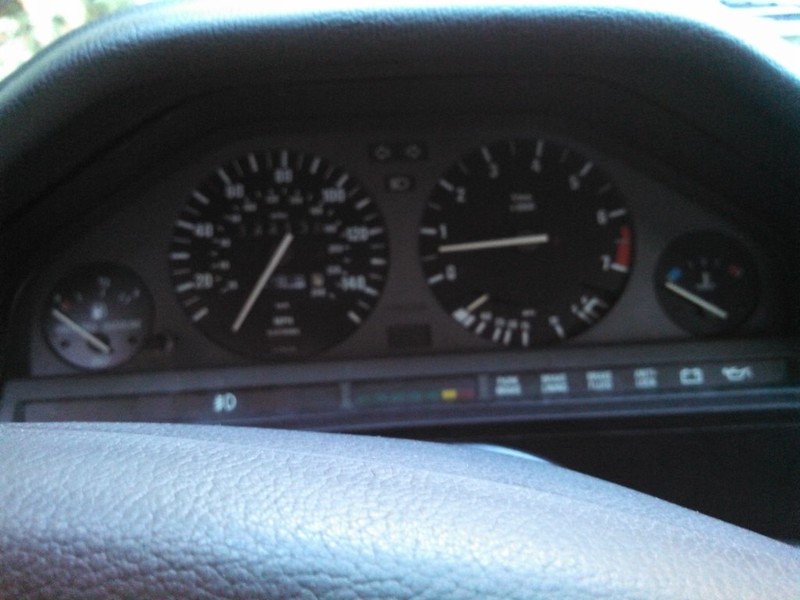
(Blurry picture I know, I didn't notice till now)
While I had it apart I also tightened the brass nuts that ground the fuel and temp gauges (The fuel's nut had completely fallen off and I found it caught in some wires believe it or not) and it completely solved my jumpy fuel and temp readings too, looks like no need for SI batteries for now at least
-
Well seeing as I'm about 800 miles from my car, Its going to do a lot of hibernating. Hopefully I'll get some time to work on it the little bit I am home this winter, I've got loads of parts just sitting around...
-
I would love to do ice racing/autocross! Now I just need a car to drive in the winter...
-
In for a video!
-
 = this whole thread
seconded

-
Holy crap that exhaust is going to be nuts, awesome build by the way

CL55 AMG > E39 M5
in BMW Discussion
Posted
Awesome read and incredibly impressive, I can't imagine driving at a sustained 100mph for anywhere near that long (or short?)