

merl
-
Posts
334 -
Joined
-
Last visited
-
Days Won
5
Content Type
Profiles
Forums
Events
Gallery
Store
Posts posted by merl
-
-
Where are you located Earl ?
****325 lb ft from factory ... Pretty sure mine took over 1000 to get off.
-
Well I was lucky enough to borrow the bmw tool and was able to wedge it against a steel cabinet. Then I heated the nut up for about 2 beers and laid on top of the engine while a 200 lb person hung off the cheater bar ... the noise it made was amazing...
If you have the flywheel on you can hold the crank from turning there but I am sure you don't have that on anymore ...
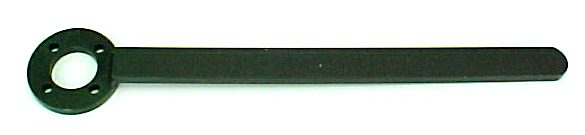
You need to build / buy one of these

-
Your supposed to get the nut off with the engine in the car ... I made the same mistake. You need to hold the crank from moving and apply a lot of leverage and heat. I could not believe how tight the one on my car was. We had over a 4 foot bar and we were hanging off of it. I think the heat finally did the trick.
-
-
On the rear support for the intake manifold ... There are 2 cutouts that hold them. They both go down to the side of the bell housing on the transmission
-
Hot tanked the block .... the head was done before I got it.
Fingers crossed .... This engine "may" go in this weekend !!!
-
Make sure your reference and speed sensor are not reversed.
-
just got work .. head is complete .. block is being dipped and will be back tomorrow ... oh ya !!
-
duh. haha i live on lincoln and kk. im pumped theres gonna be another bmw geek in the area!
I am about 1 mile north of you in Walker's Point

-
Engine assembly will start late this week or early next week so I will be sure to take a bunch of pictures.
-
LOL .. great minds think alike
-
just paint .. we'll see how it does.
-
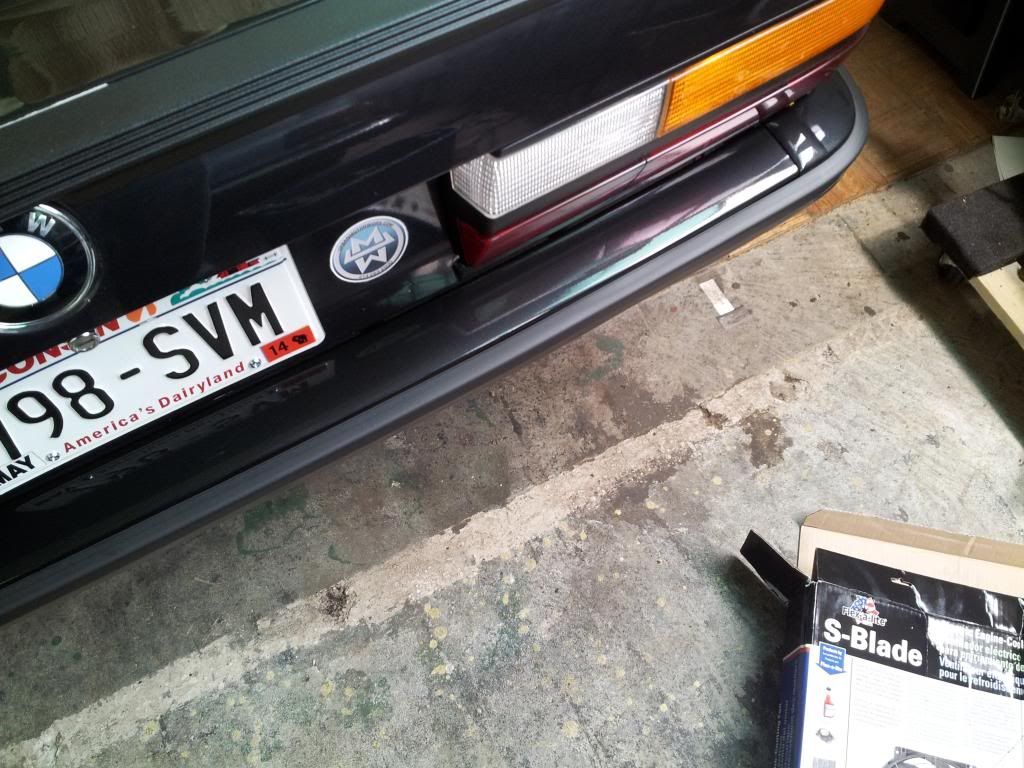
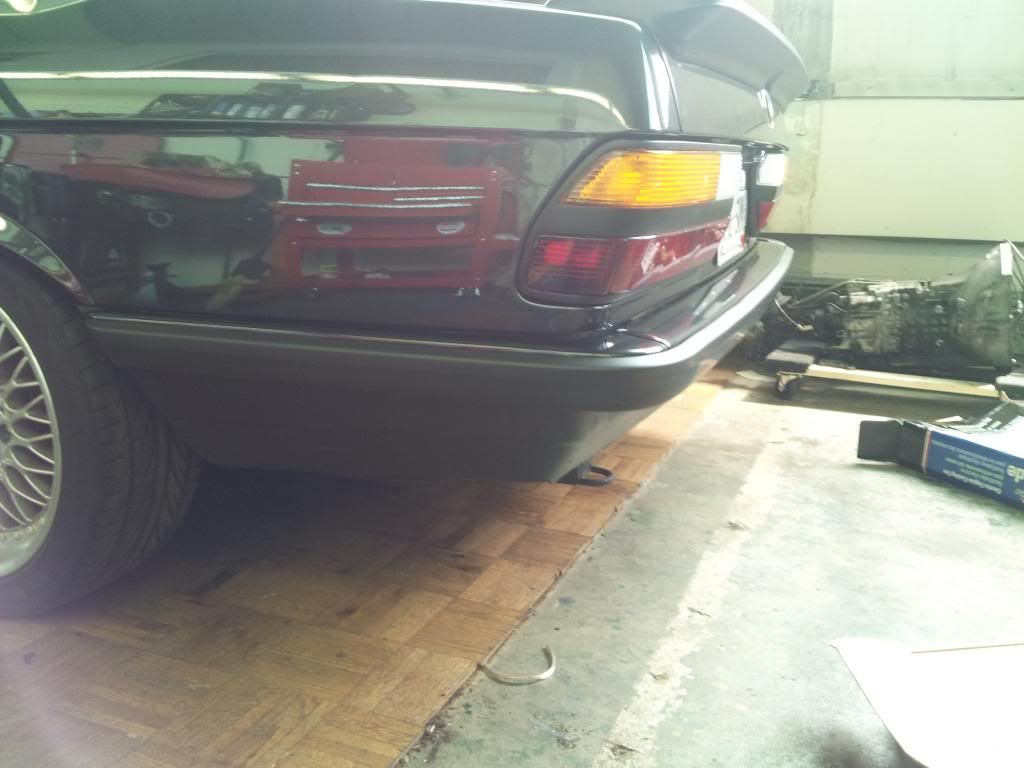
I know how much you guys like pictures ....
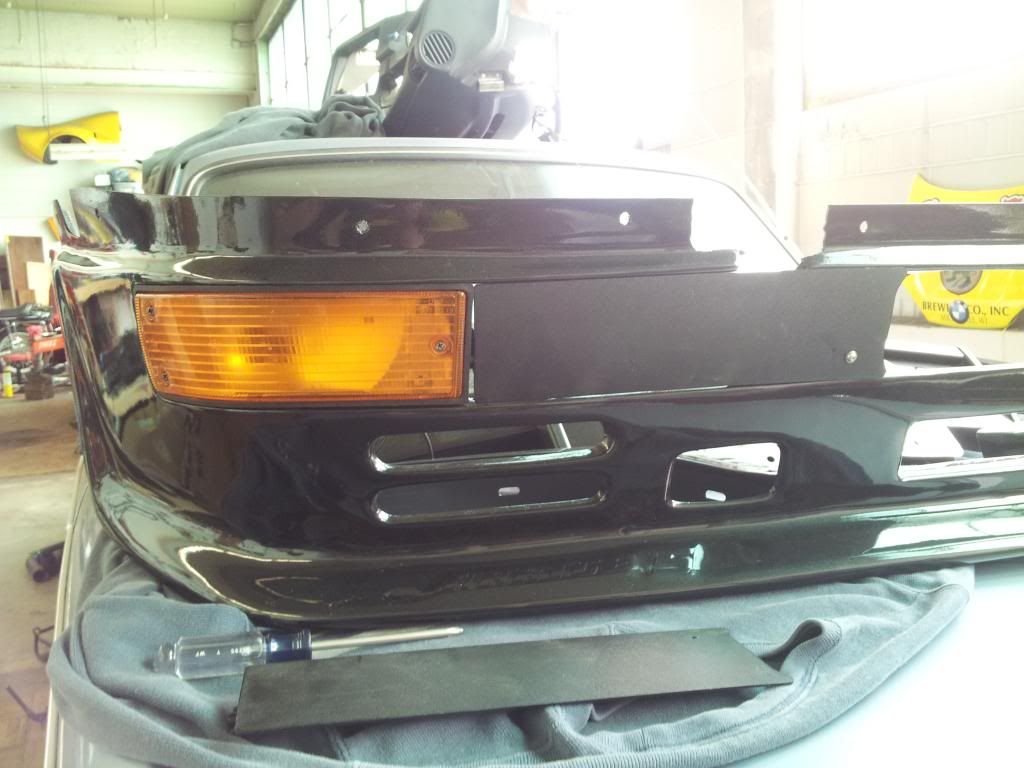
-
These pics really do not do the bumper justice ... the metallic in it is just great ... It's not perfect but falls well within our 85% rule for this car.
-
Double check that timing on assembly ... I would hate to see something happen after all that work ... no doubting, just reminding
-
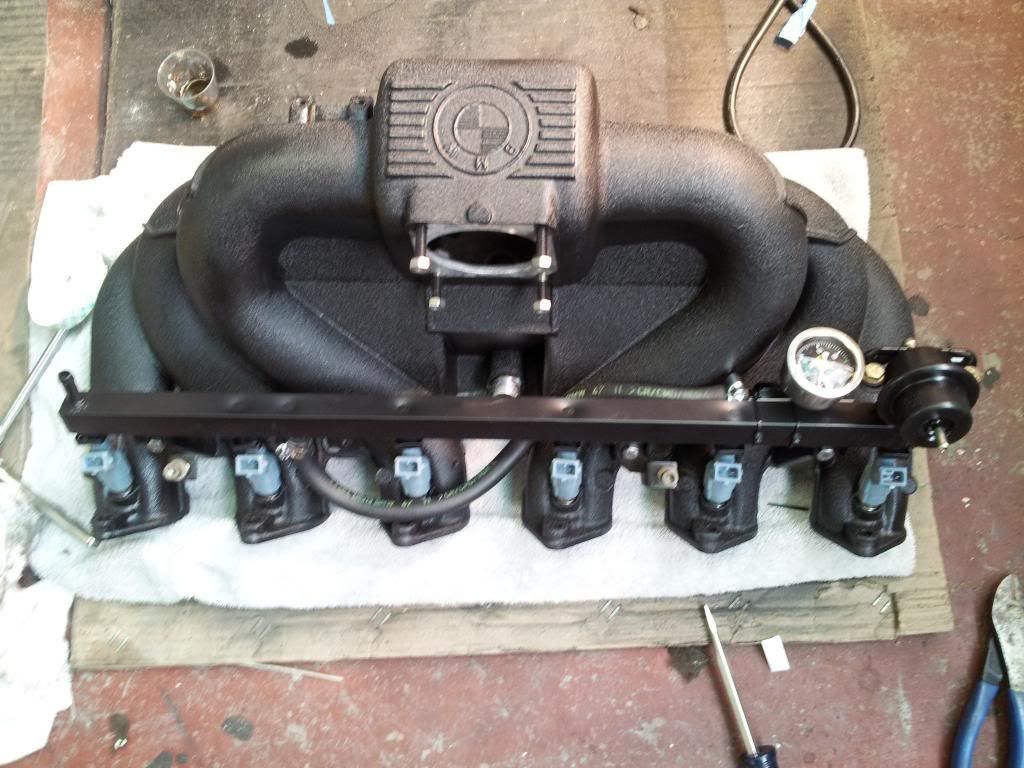
Been a while but here are some new pics ... getting oh so close
Rear bumper

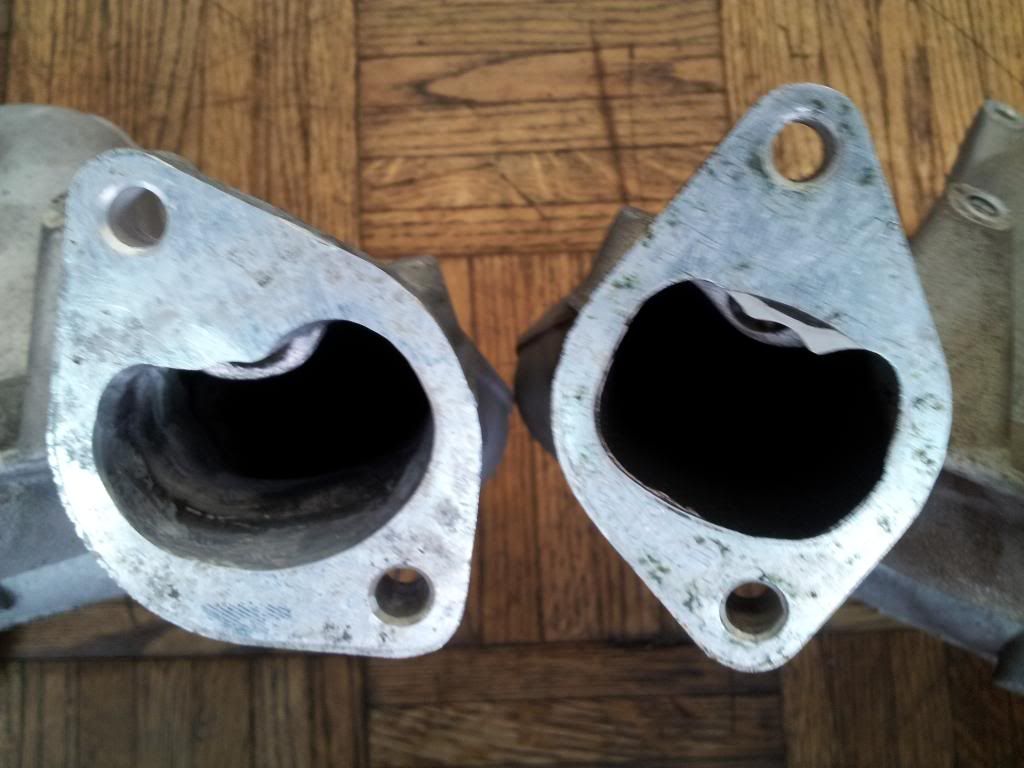
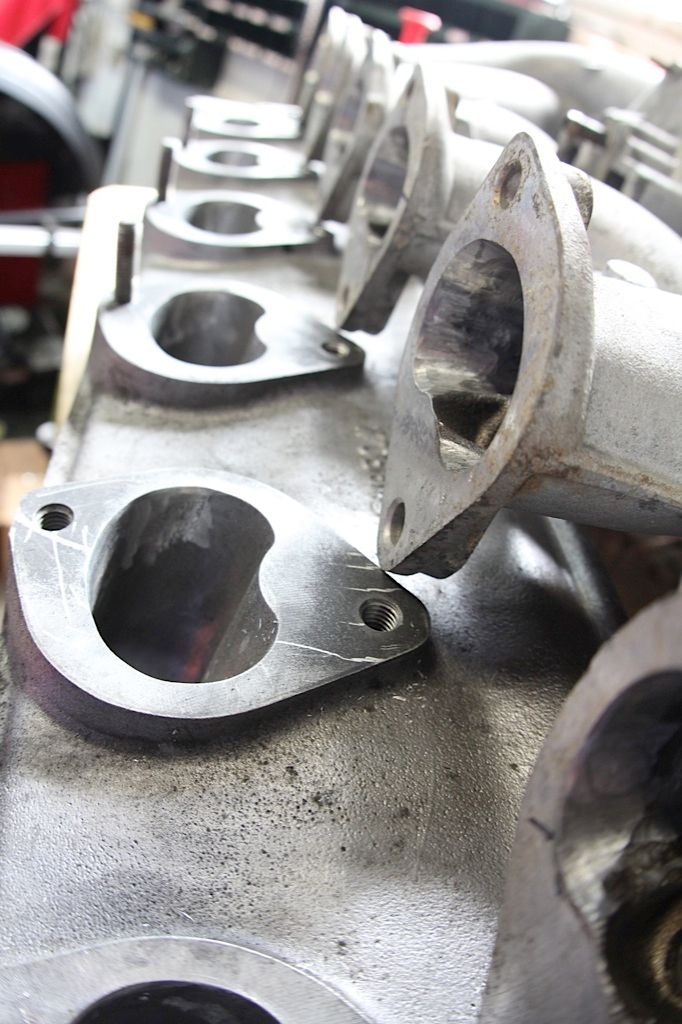
And port comparison on the intake manifold
-
I want to supermoto action

-
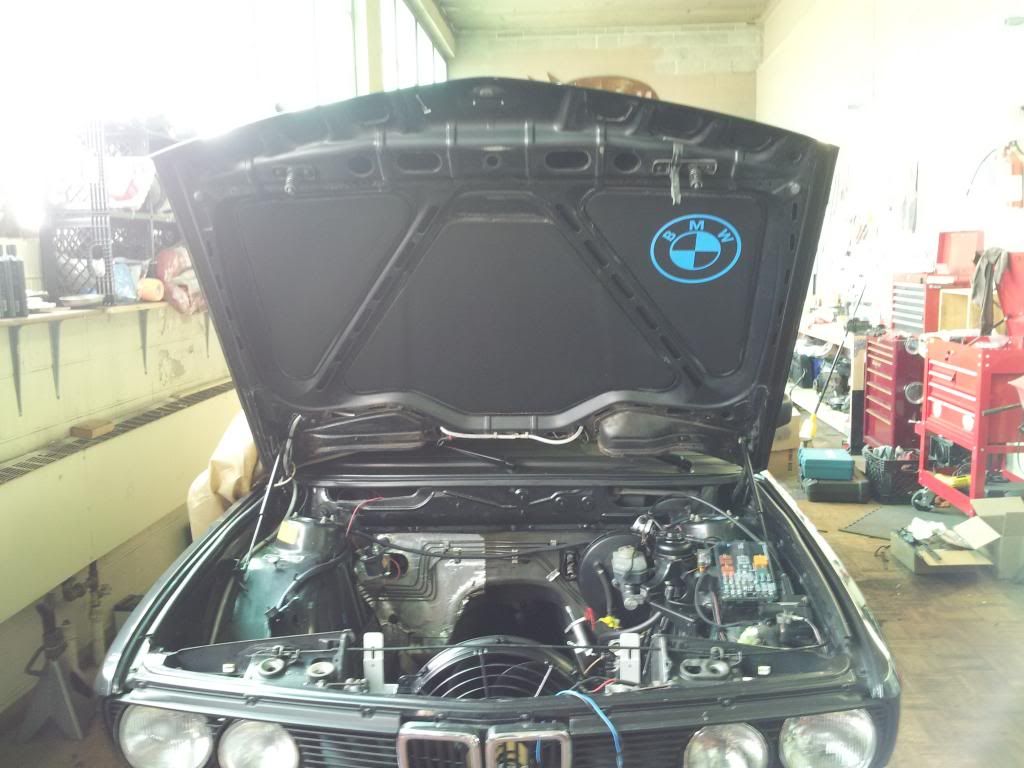
So I ended up ordering a reversible fan and did end up having to mount it as a pusher but that also means I can spin the mechanical fan on if needed. Thanks for the help on this guys.
-
spark plug wires --- unlikely that all 6 went bad at the same time but not impossible check resistance of the wires 5000 to 6000 ohm
Great info here !!!
Agreed about plug wires but ..... there is only one between the coil and the cap and that one could be bad ... ask me how I know

-
I just don't really see the long term need for it as I am NA but maybe you are right ... recommendations ??
-
Hi friends,
Anyone have one of these that I can borrow when I install my engine? This will be installed just to make sure my baseline is okay until I go to the dyno ... thought I would give it a shot ..
Thanks
-
Sounds like no spark ... cap, rotor, coil, and all plug wires. Main relay and timing sensor as well ... That is where I would start. If you don't have a Bentley manual, order one ... It will walk you through most of the troubleshooting for these items.
-
Okay ... this is from Mye28.com but I have read this same process other places and seems to be the way to do it ... Why are you going with ARP studs ?
- Set the #1 cylinder at TDC on the compression stroke. With everything apart it should be easy to tell.. There are 2 marks on the crank pulley, one for the IGNITION TIMING which is indicated by the dowel, and another TDC mark. This is marked by an O | T. There is a small nub on the lower timing cover. Line up the line between the O | T with this nub... it helps to have a helper for this because I wasnt able to hand crank the motor from the top..
Rememeber the crank turns 2 times for every 1 time of the cam, so look at the position of the cam lobes.. The cam lobes should be pointing down (toward the pistons), if they arent you need to turn the crank pulley again a full turn..Basically, the bolts are at 12, 3, 6, and 9 in relation to the motor. Also, there is a sort of "pointer" on the top of the head, and the 12o'clock bolt hole will line up with this.
I removed the 4 bolts on the cam sprocket and zip tied the chain to the sprocket... HOWEVER, I would plan on checking the timing again, dont assume you can do this without double and triple checking the timing.. If I were to recommend this to someone I would just do the timing again to be safe. Basically all you do there is line the bottom end at TDC as per the mark, align the cam using the aforementioned, slide the chain on the sprocket and the sprocket on the cam, thats the fool proof way of doing it. -


My name is Earl, and I have a Stainless Steel bolt fetish =)
in Members BMWs
Posted
I want to help you but I am a bit tight on time since I am taking the day off tomorrow to assemble the core of my engine and continuing through the weekend for installation. I am not sure when I could get there ..