

KaiserRolls
-
Posts
5222 -
Joined
-
Last visited
-
Days Won
291
Content Type
Profiles
Forums
Events
Gallery
Store
Posts posted by KaiserRolls
-
-
-
New crank sprocket and chain takes up a lot of the slack, did the same thing instead of installing a tensioner
- AsparagusMike and timmer
-
 2
2
-
3 hours ago, Rekpoint said:
So happy you finished this. What's next? Putting everything else on?
Timing chains/timing cover/time it/oil pan/gaskets etc etc etc
-
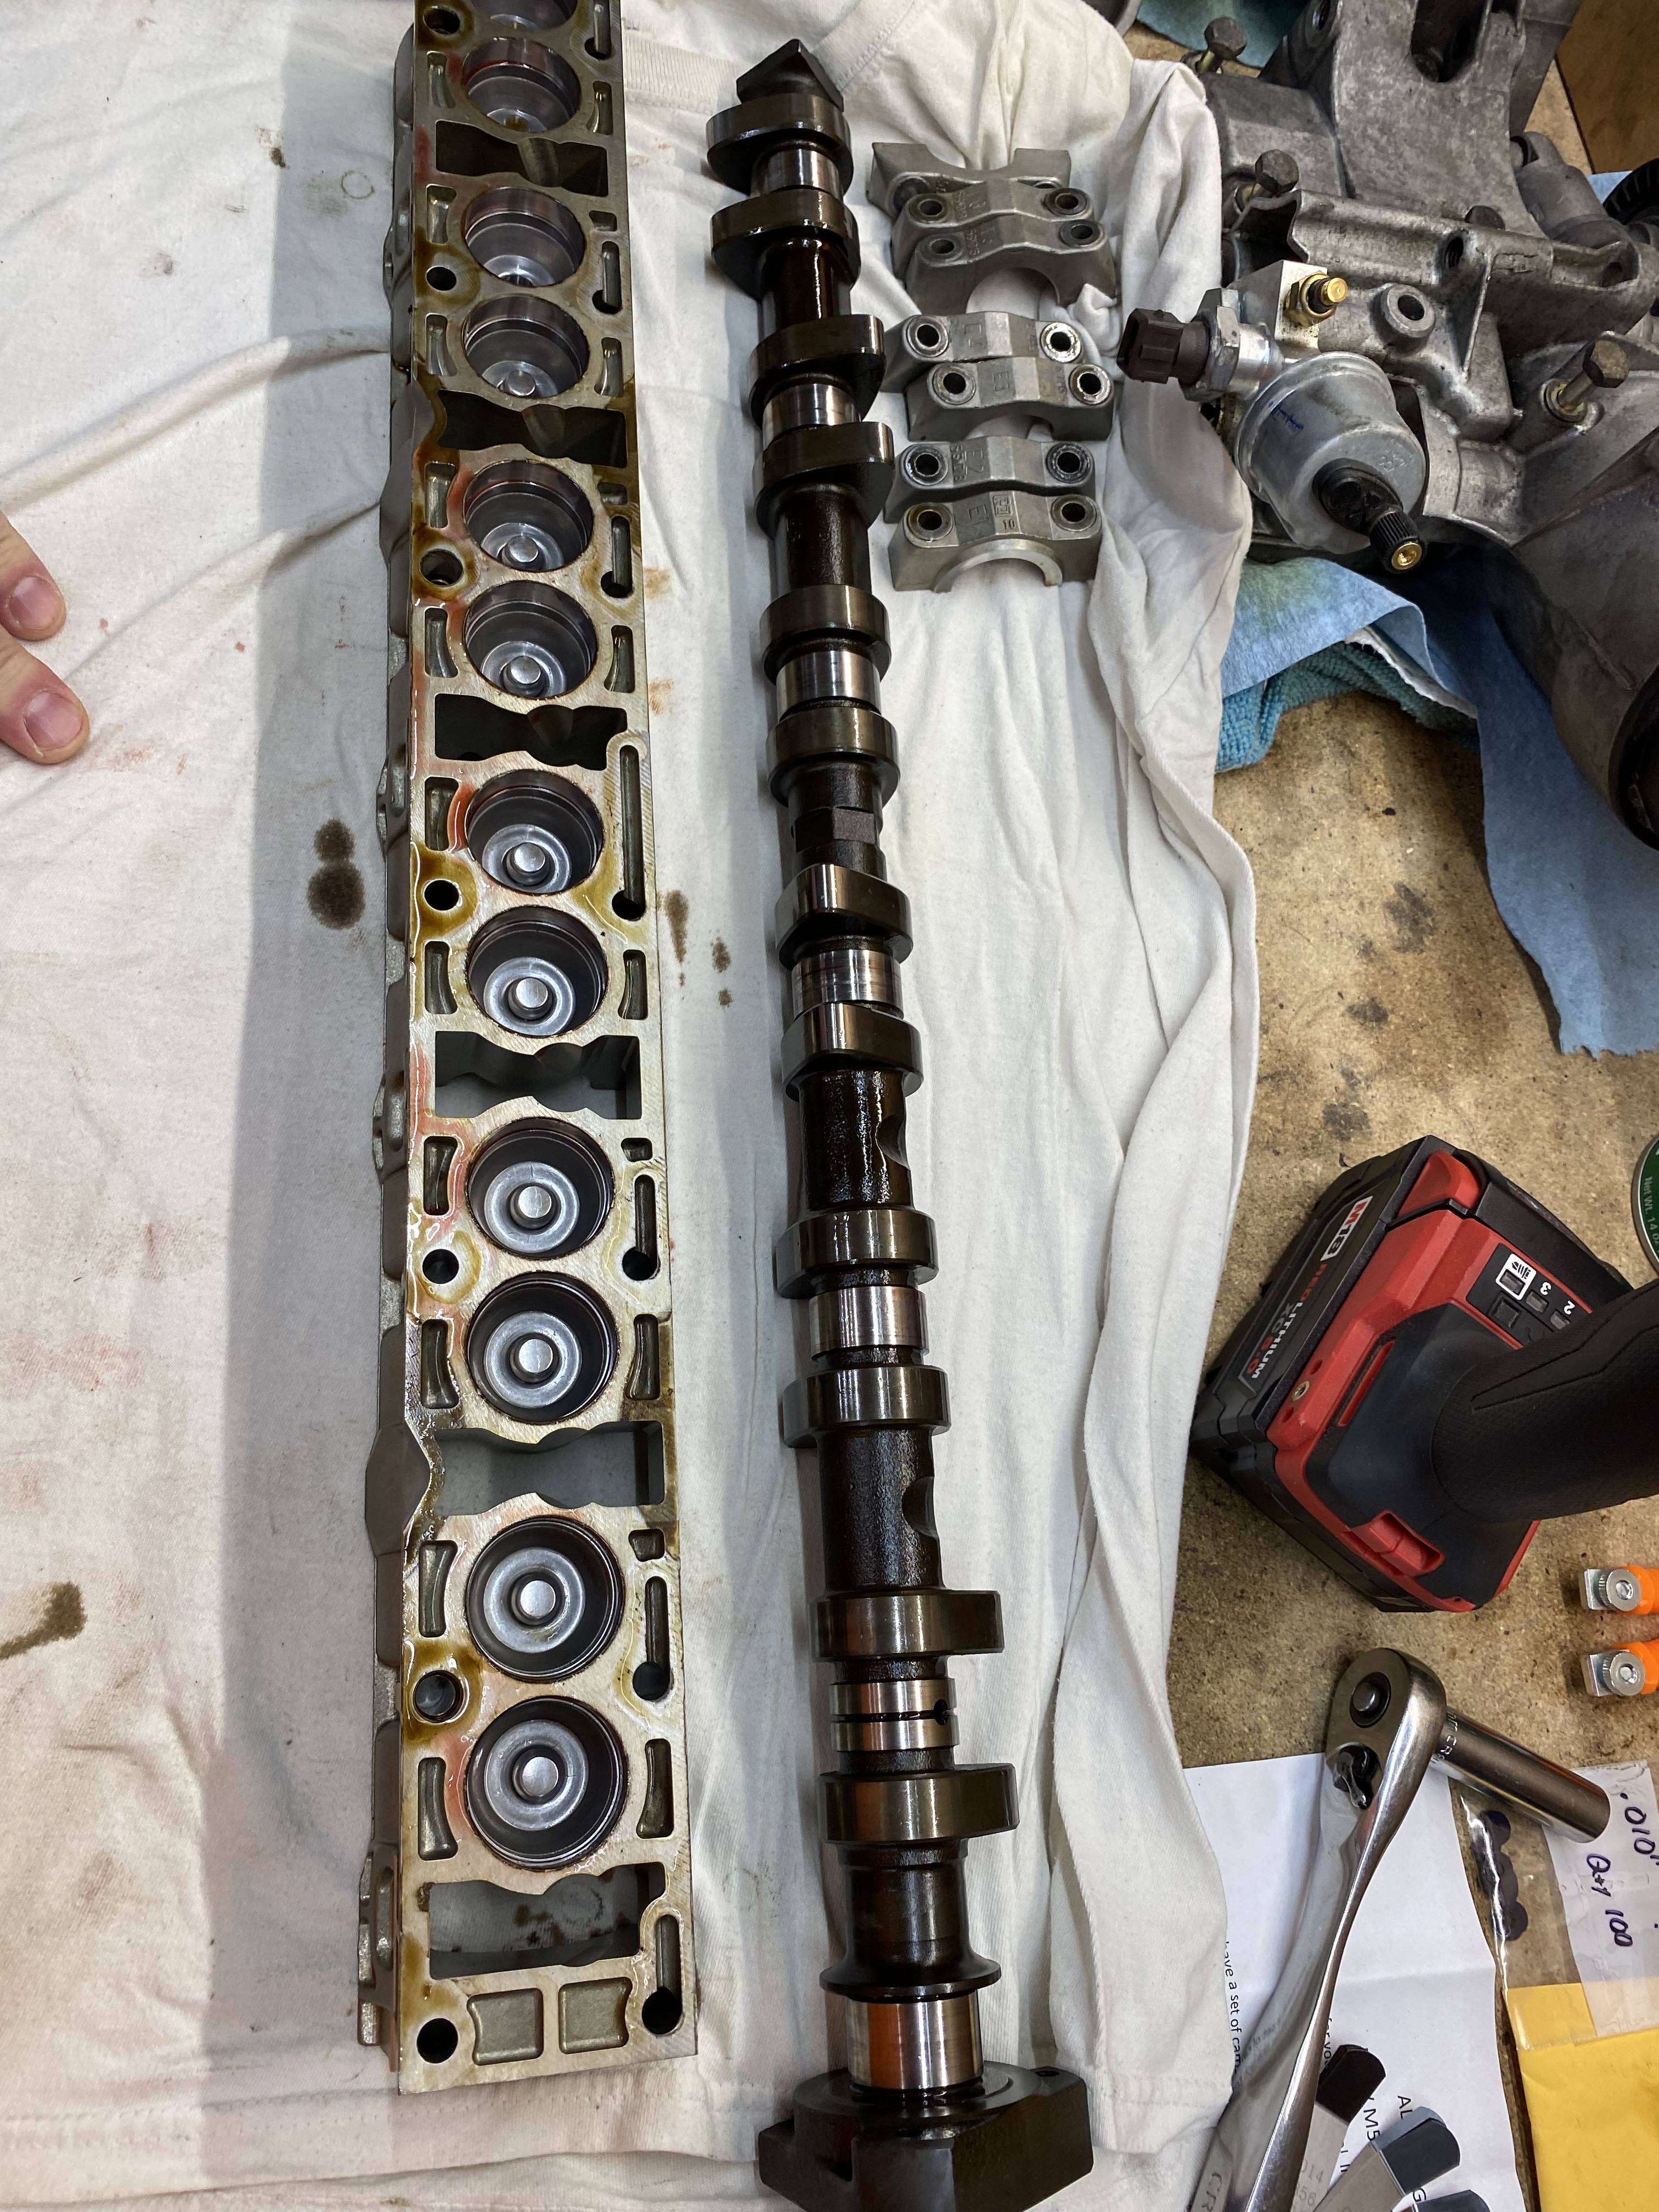
Solid lifter conversion is about 99.9% done. Cams were in and out a bunch while setting lash.
this kit uses the stock lifter/hydraulic adjuster, but the hydraulic adjuster is basically gutted and you use shims that are .010” and .008” thickness
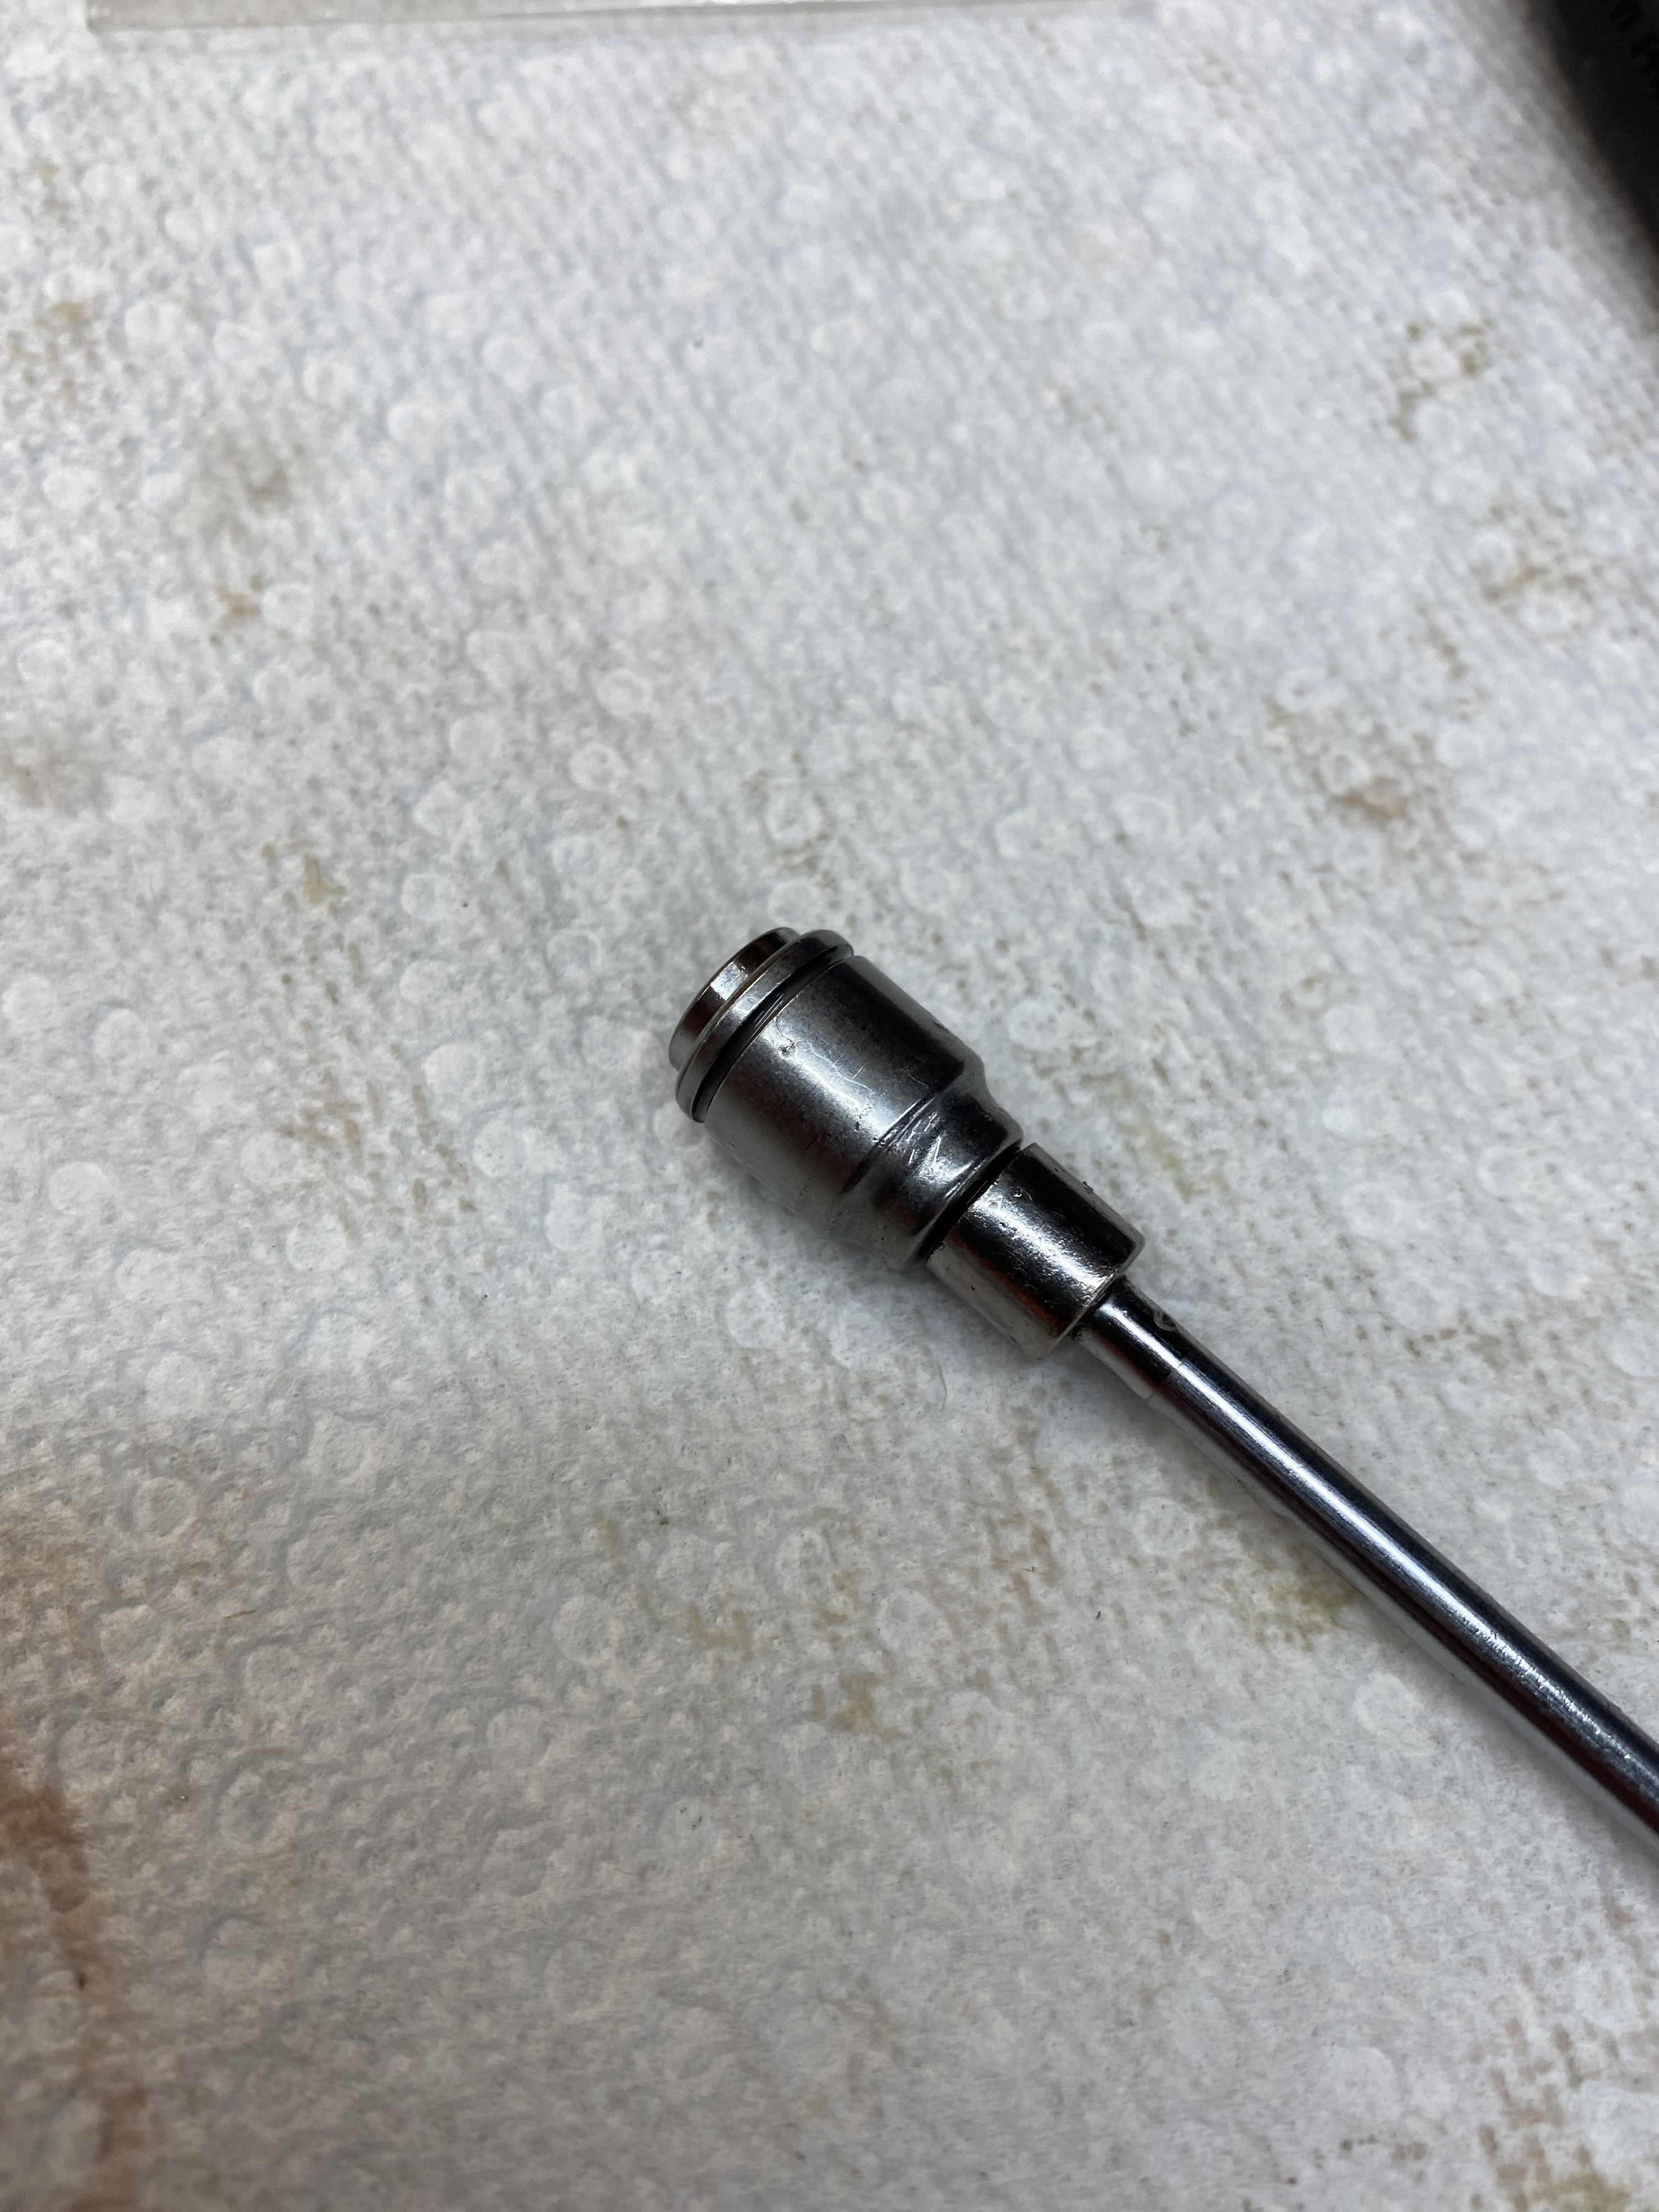
stock adjuster removed from lifter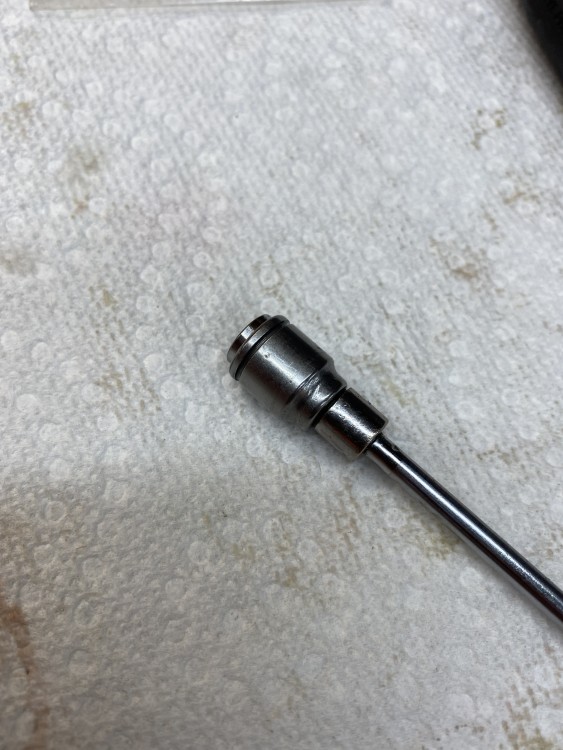
dropping in shims

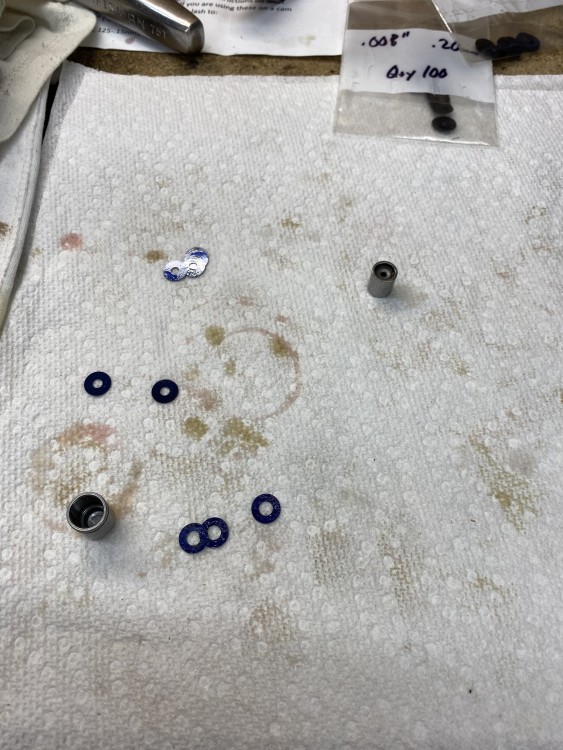
and back in the trays

still using the stock s52 cams for now
-
10/10 find
-
-
-
That last shot is really cool
-
-
Dyno tunes have their place for sure. Street tuning and dialing in drivability is awesome though
-
-
1 hour ago, YoungCR said:
^ thats the same tee used in the stock position in the rear. I hear ya on the diy flaring, you’re right though the tools have always been the problem. The split die style flaring tool makes perfect flares about 95% of the time. The only time it doesn’t work is because the line wasn’t square. Remembering to put the flare nut on the line is the hardest part 😂
That is the exact part for the rear T lol, wanted a m10 bubble flare fitting, figured that would be the easiest to find 😁
-
OEM lines don’t show up pre bent, at least for the long run to the rear brakes
on my old red e30 I ran chase bays line for the main rear run, it was quick and easy
my current car I went the copper nickel route and re did all the front line and flared stuff. Also super easy to work with

-
-
3 hours ago, Boris3 said:
I owe an apology to someone, not sure who. Wet last Monday night (the 21st), around 8:30 pm, I94 westbound coming up on State Fair park. I was in the faded red 318is. Someone pulled alongside me (blue/black?) and stayed there for a bit, I was focusing more on the sheriff tucked away up ahead off to the right and doing my typical minding my own business so didn't look over. Saw the roundel when you passed and I followed over to and on 894SB until I pulled off at National.
Wibimmers missed connections
-
-
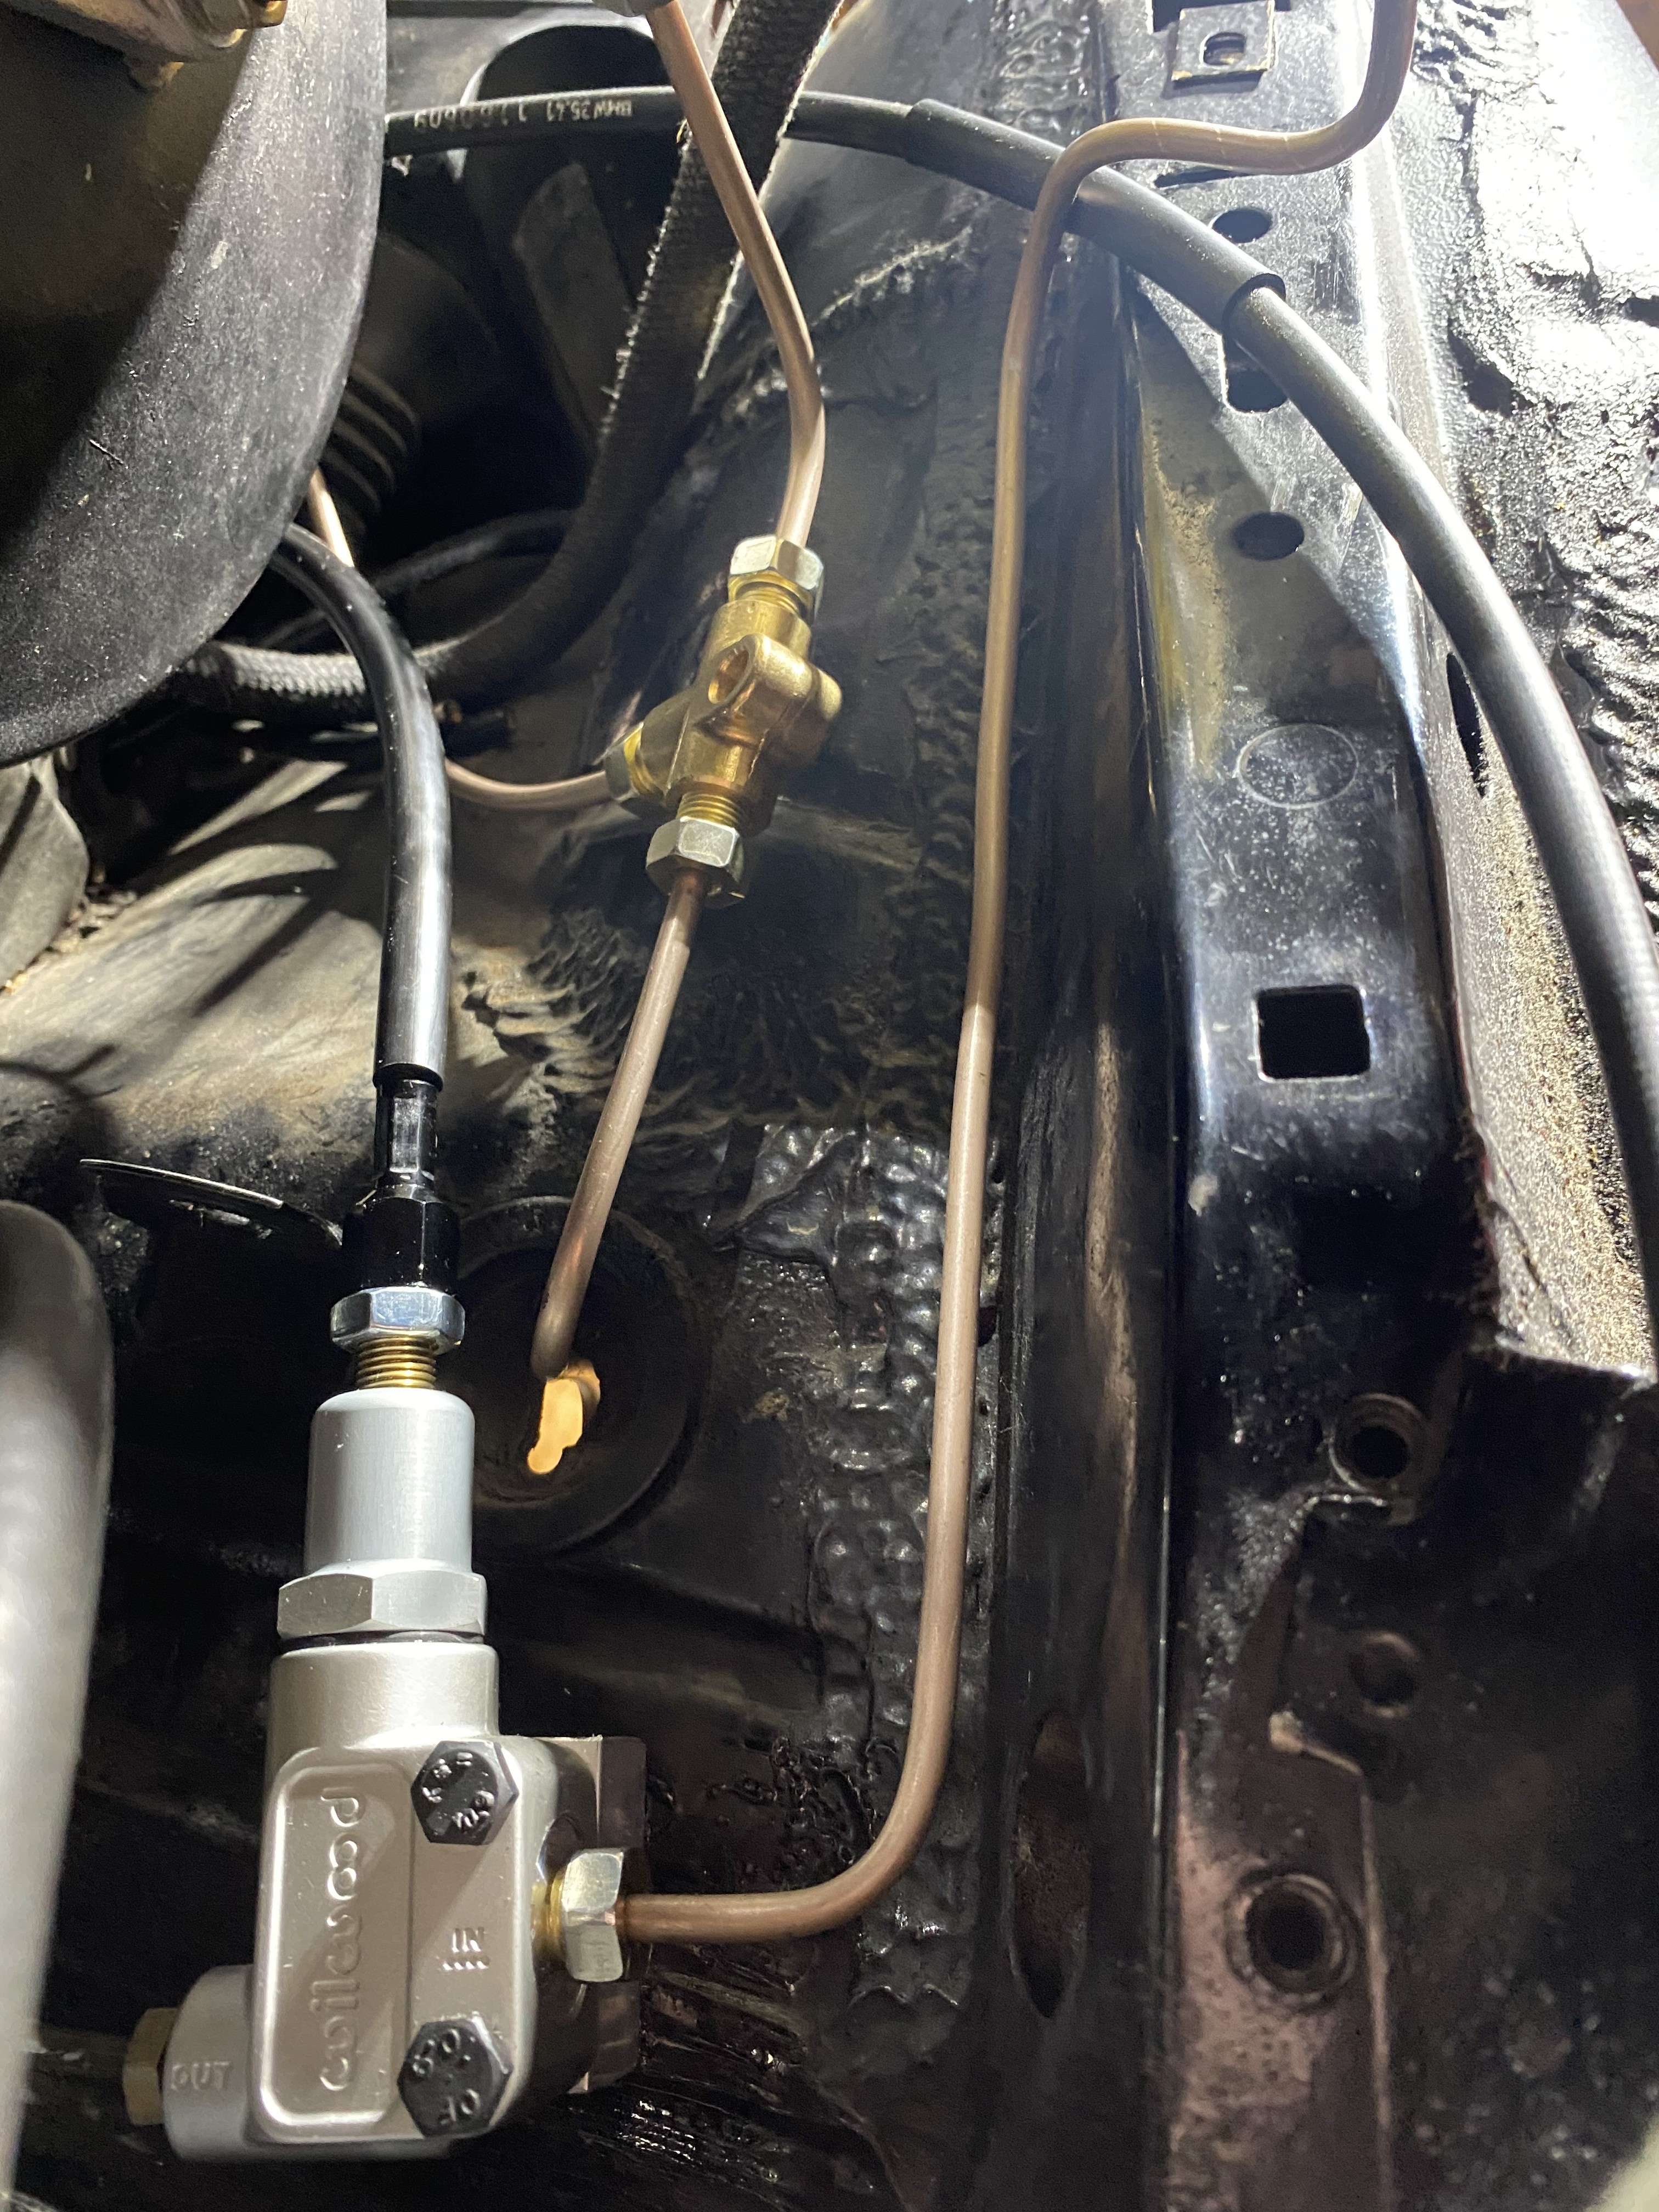
Drivers side front brake line good to go, passenger line will be the longest run from the T
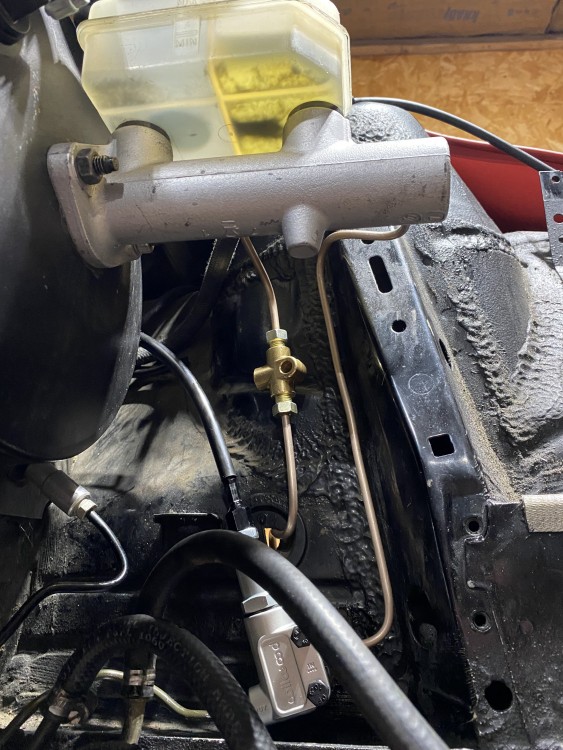
might even be able to use the stock brake line metal clip things with a little finesse
-
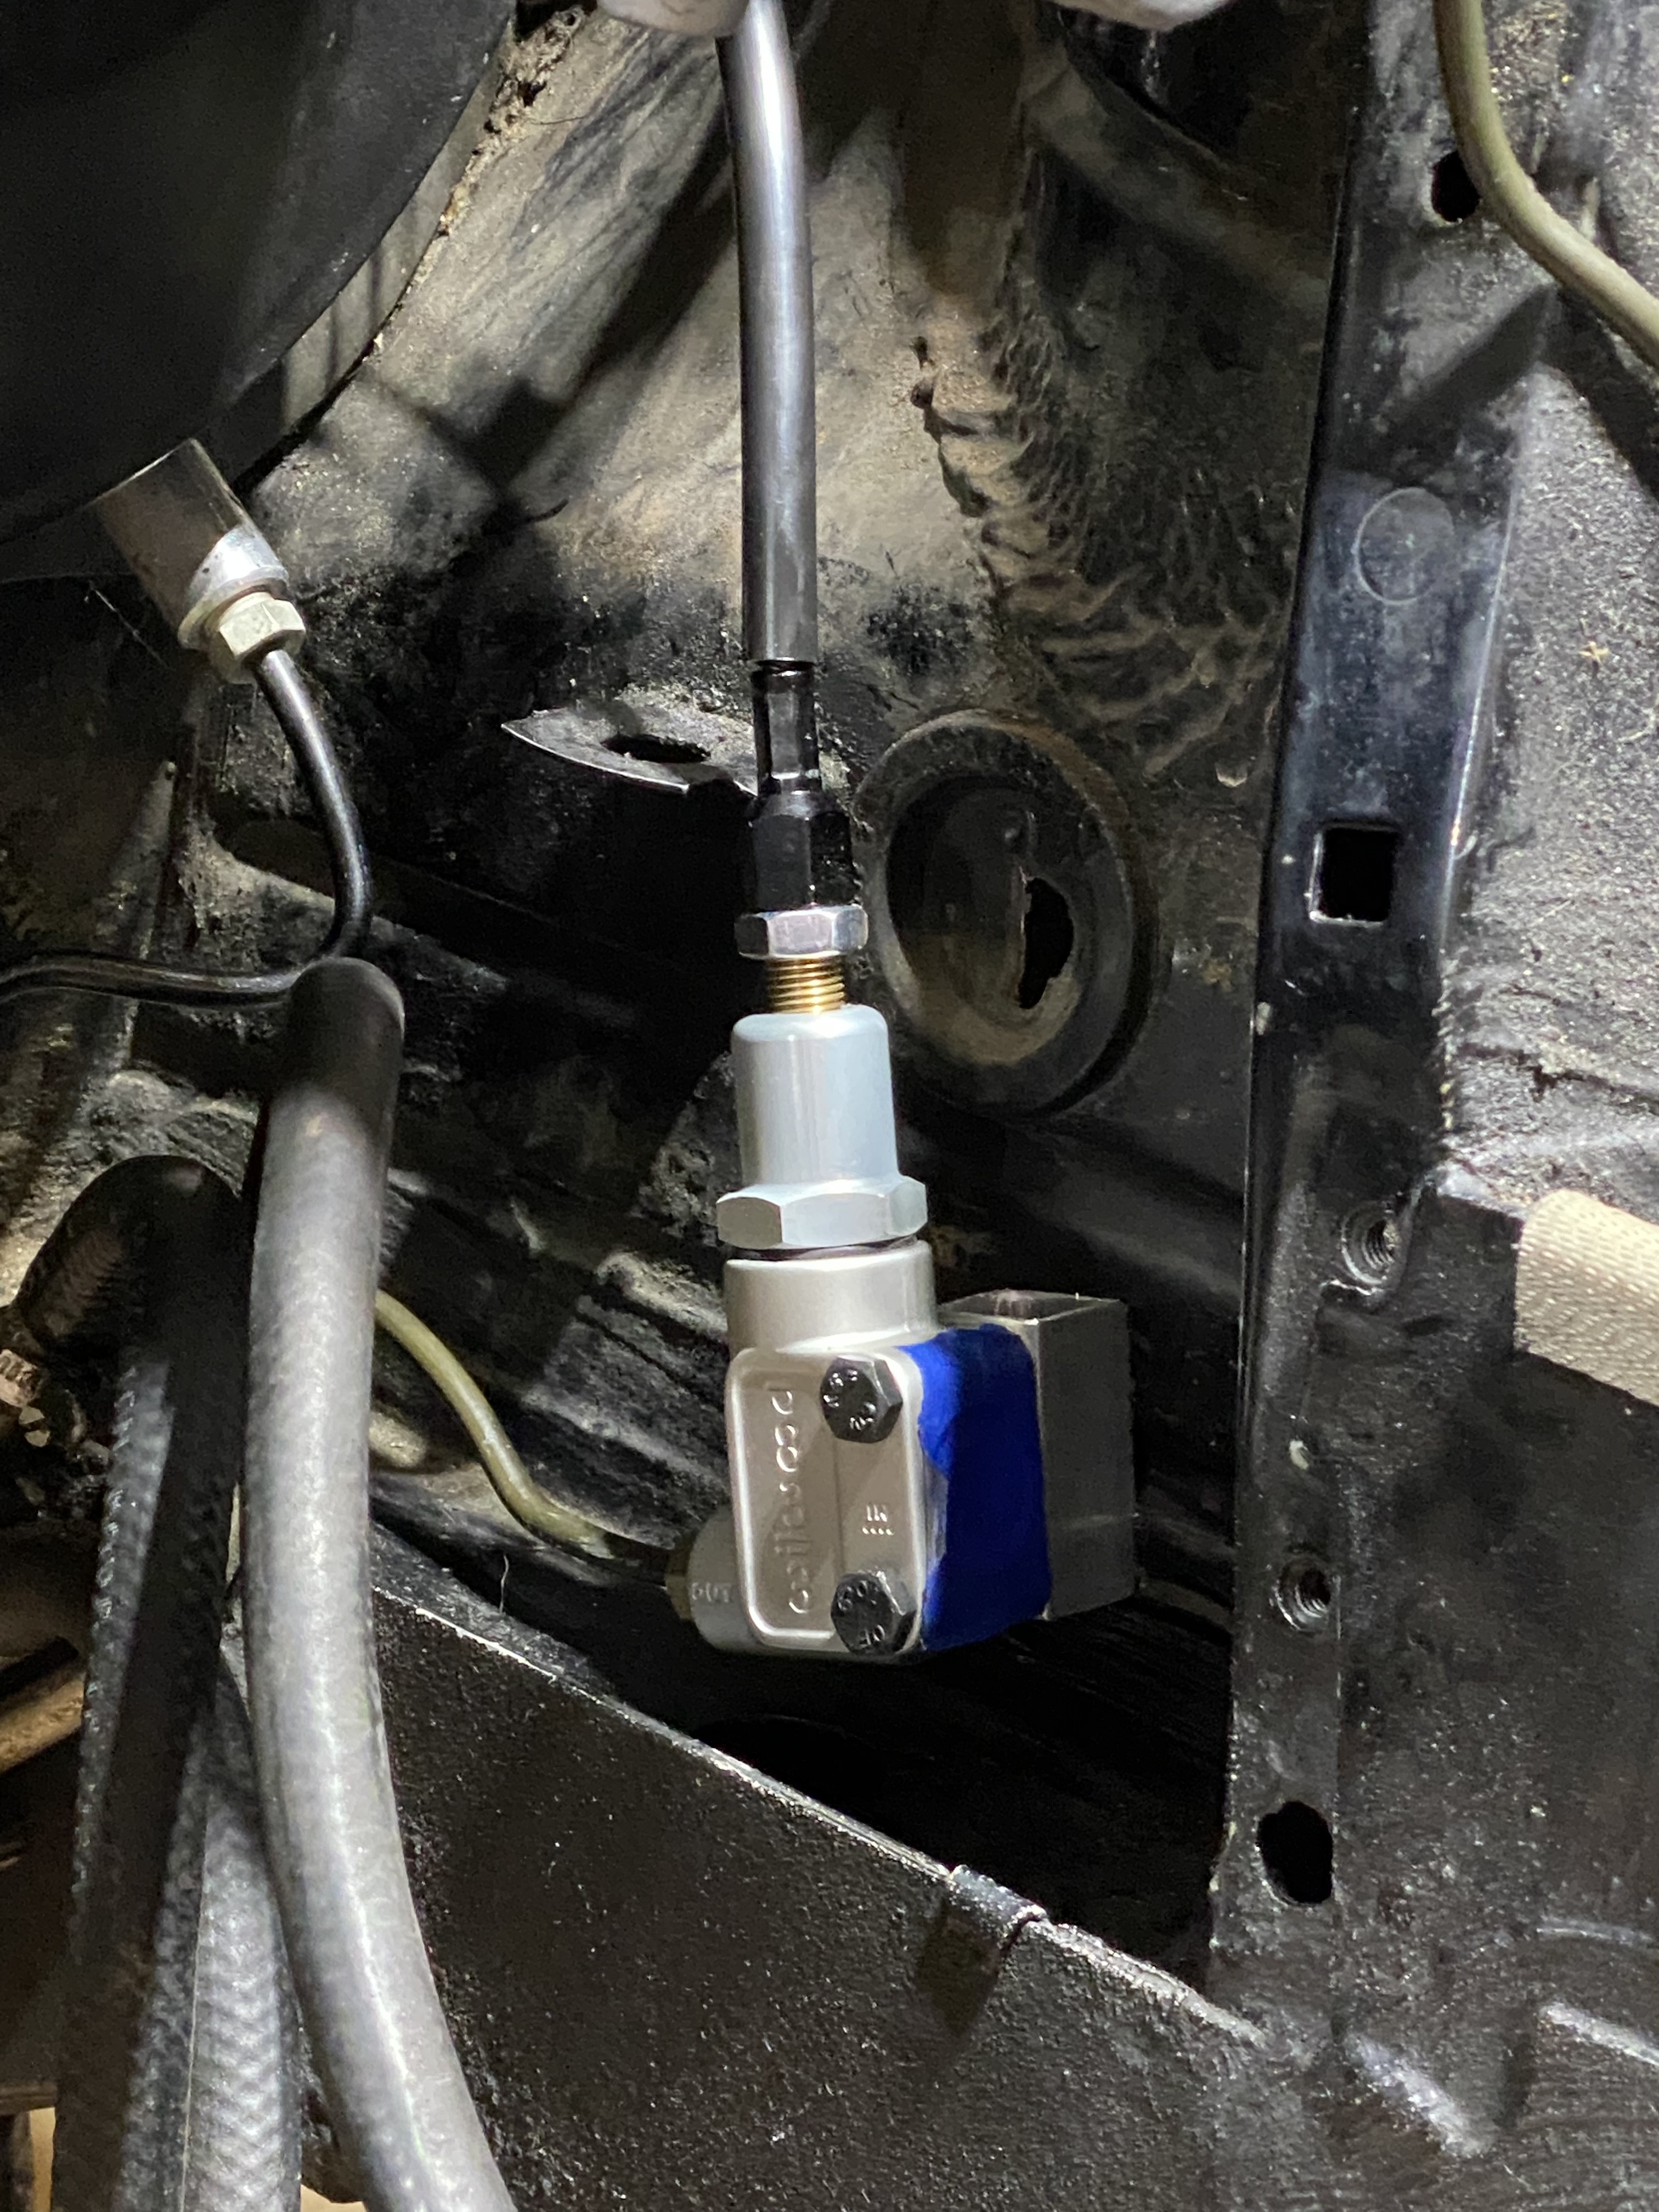
Master to bias line done for rear brakes
-
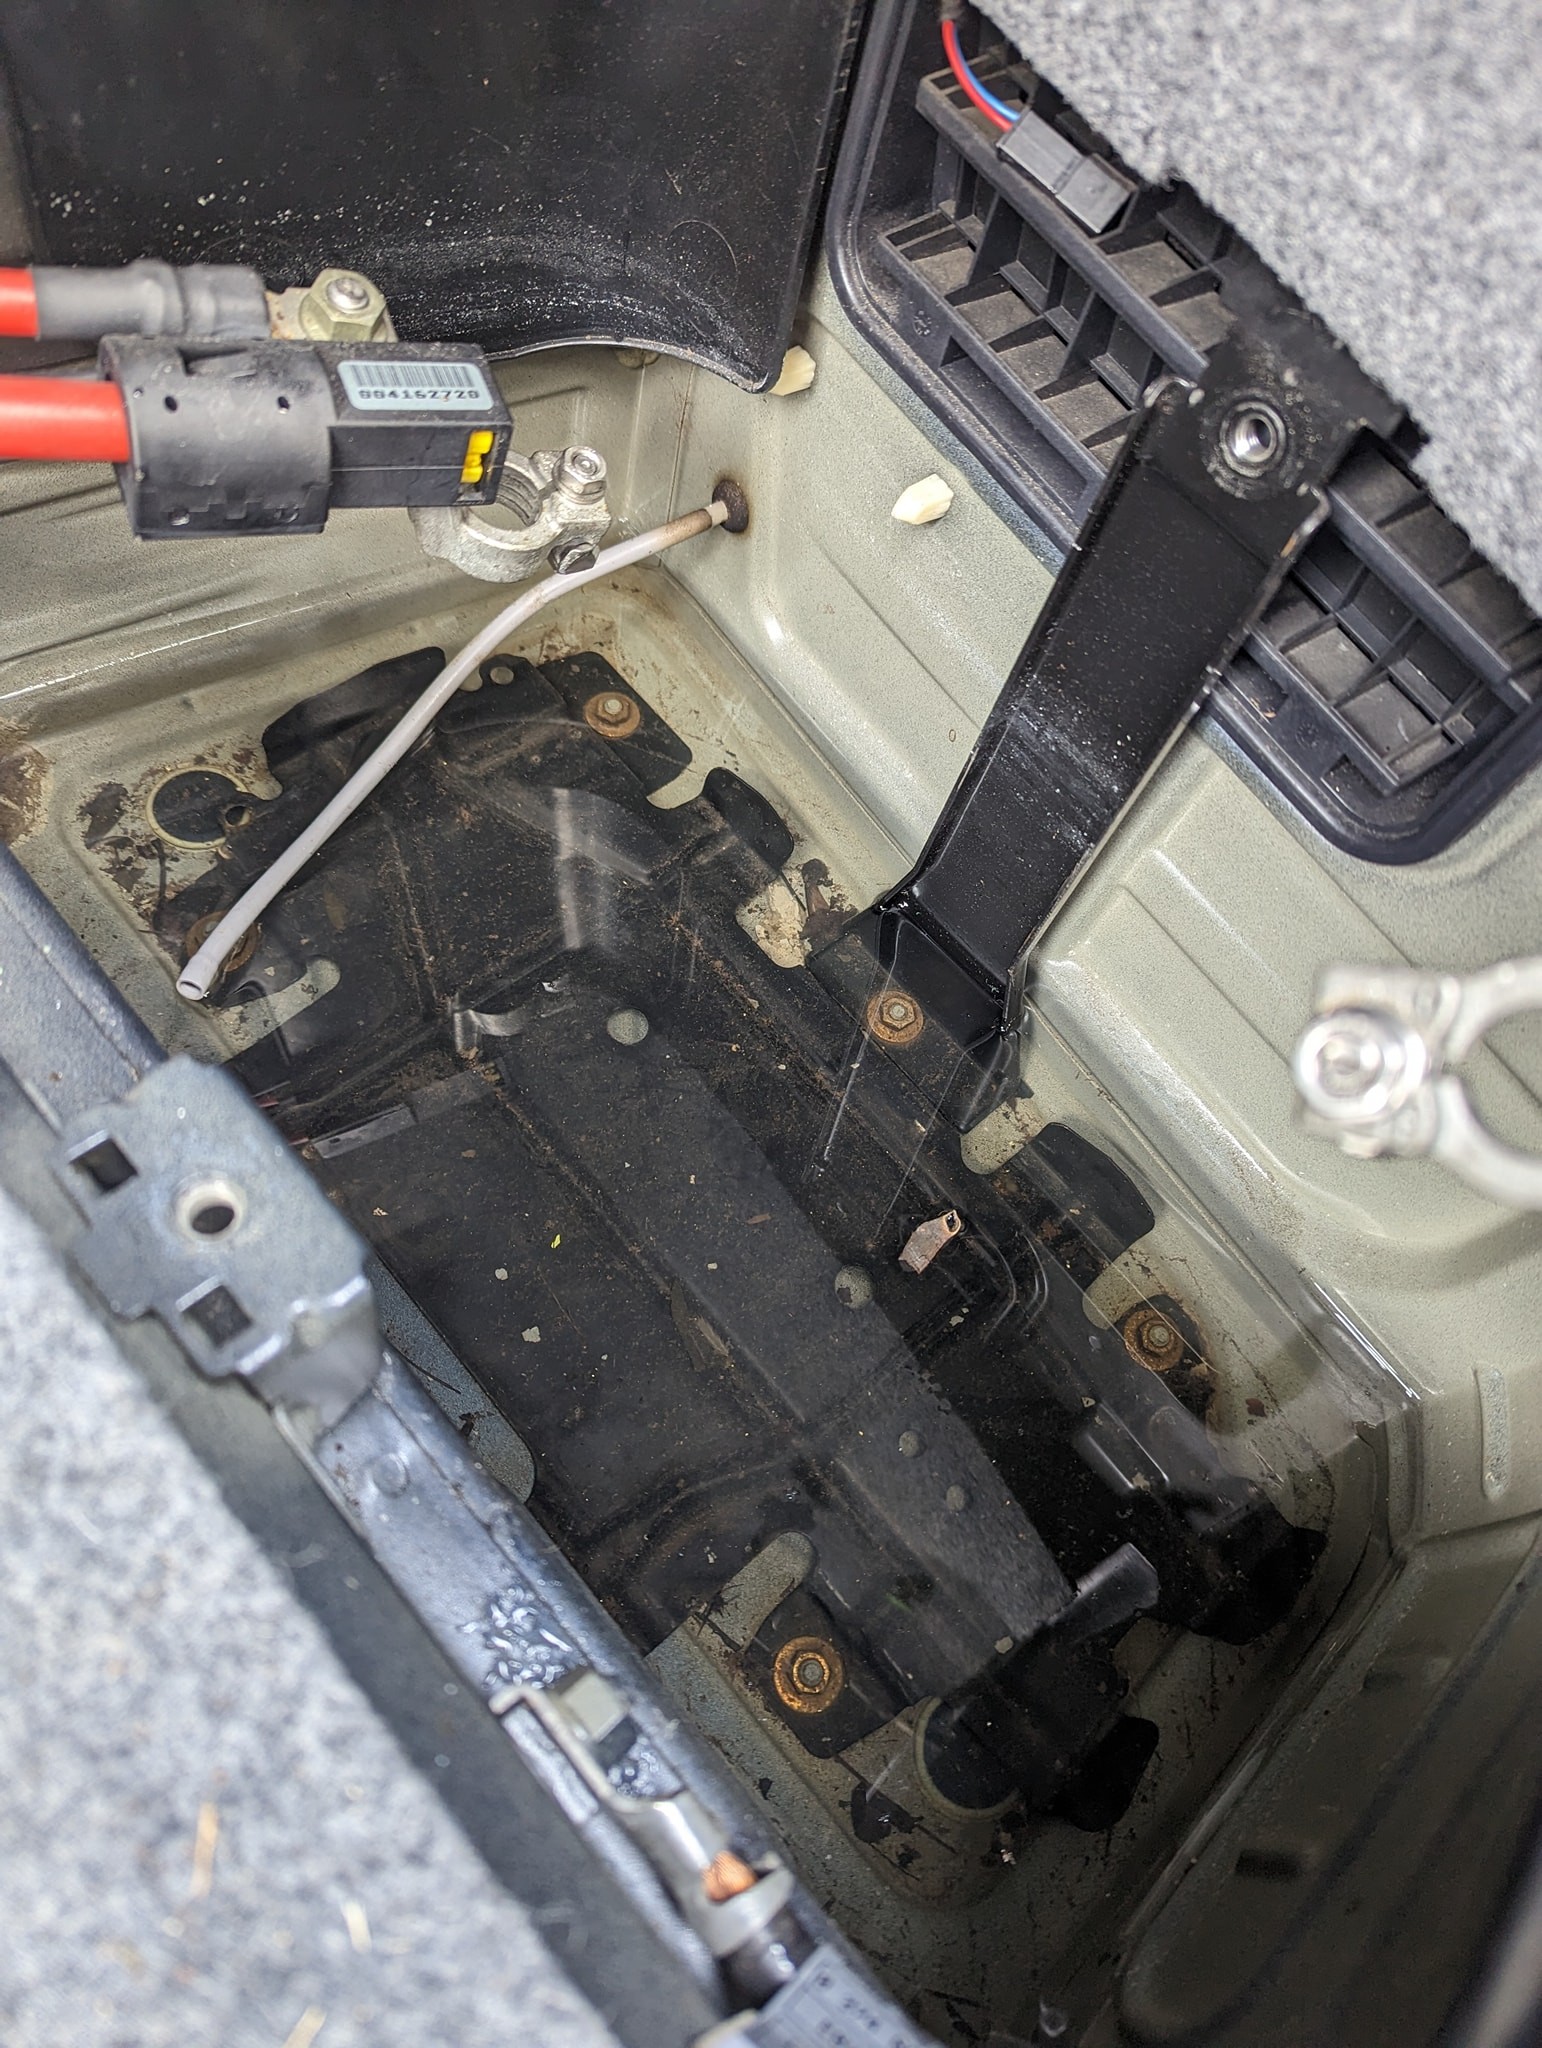
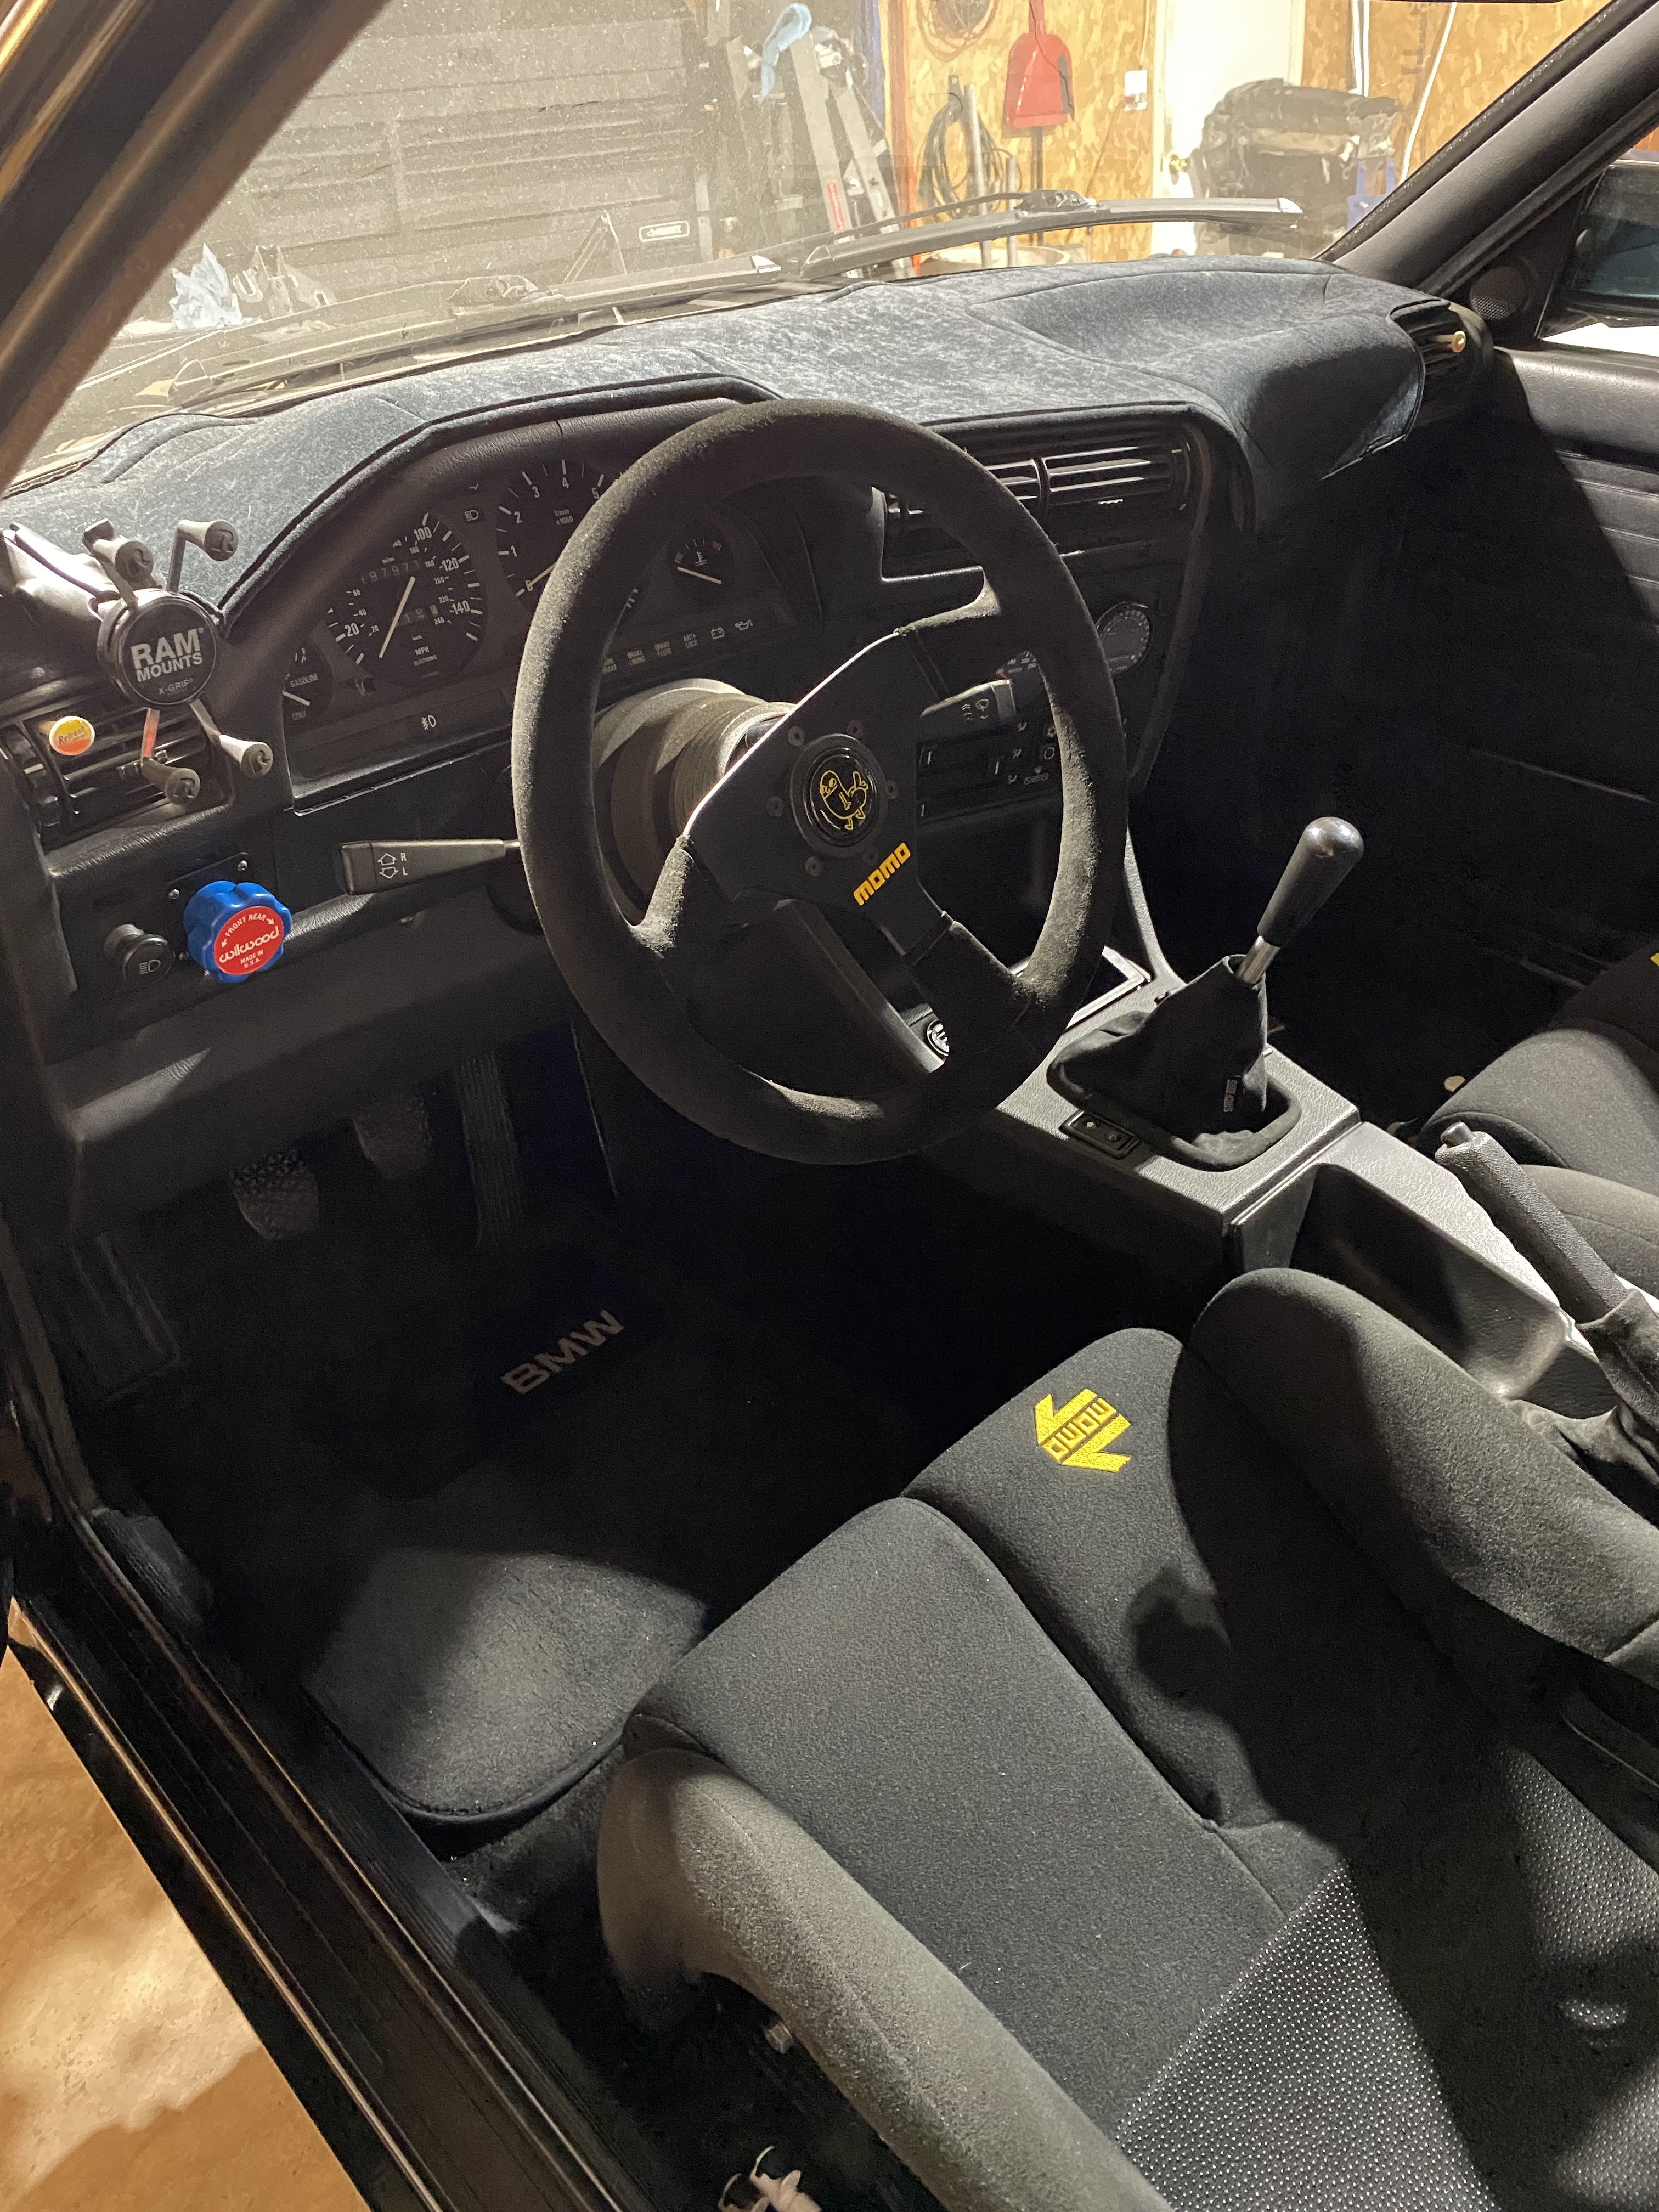
Interior stuff is all done, remote Knob used the area for the fog lights (which Are being removed for the OEM “delete” panels)

hoping I won’t have to touch interior stuff anymore for this chapter (wideband is already routed, just not connected to anything)made a quick “bracket” for the bias adjuster out of some scrap 3/4” alum square tubing.

removed the factory heat shield for the exhaust (firewall area, still running the one in the tunnel) as it was pretty disgusting and had seen better days.
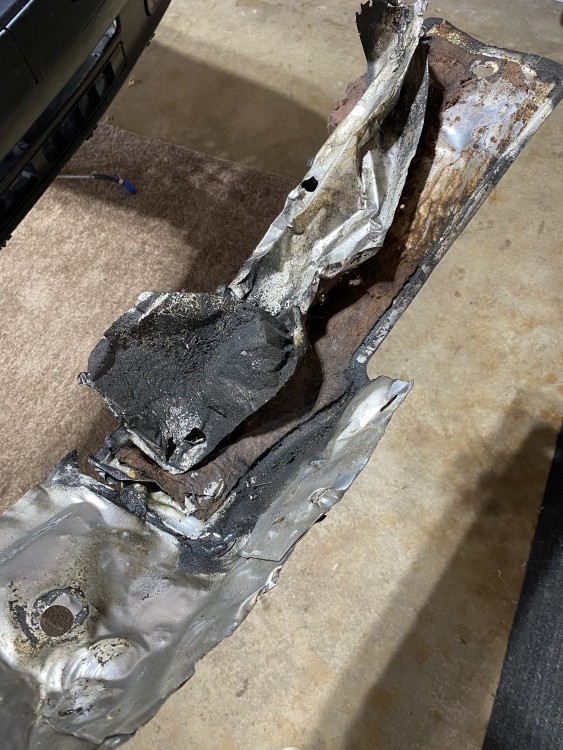
Eventually I’ll add some DEI stuff if needed. Also removed the factory sound deadening thing from the firewall/tunnel. After removing the flanged plastic nuts the stuff basically fell apart as I removed it. It was also gross. Have seen rot behind these before on other cars, but luckily this car has never seen winter. Removed all the studs with an angle grinder as well.
should have a lot more room to access trans stuff now if I need to.
next up is to finish making hardlines to go from master to bias valve and master to front brakes. Once that’s done I can start on the engine stuff- patsbimmer1 and Rekpoint
-
2
-
Dropping it out of the bottom Is the way to go
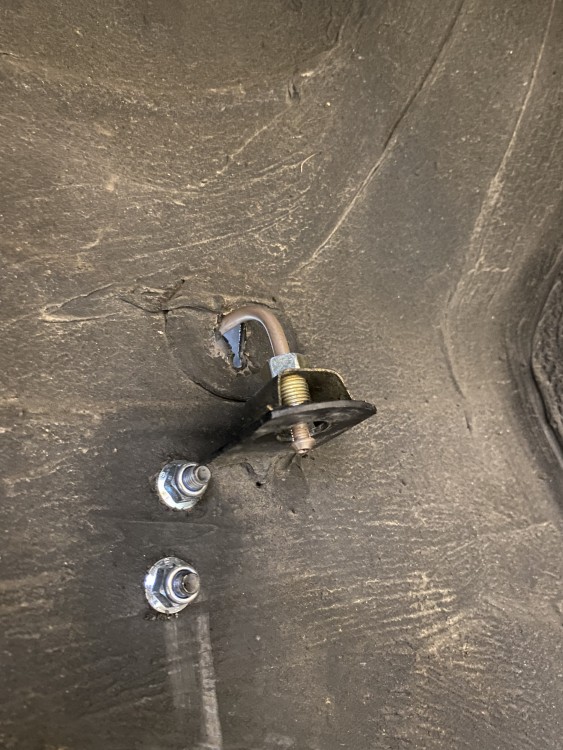
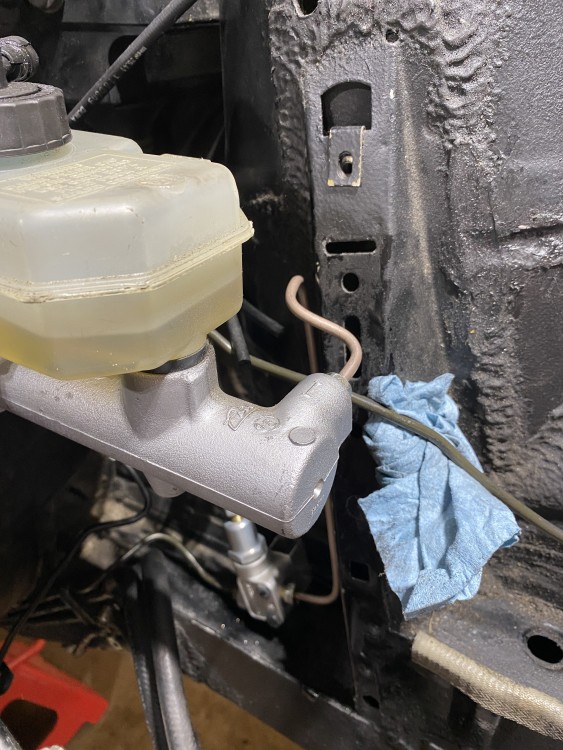
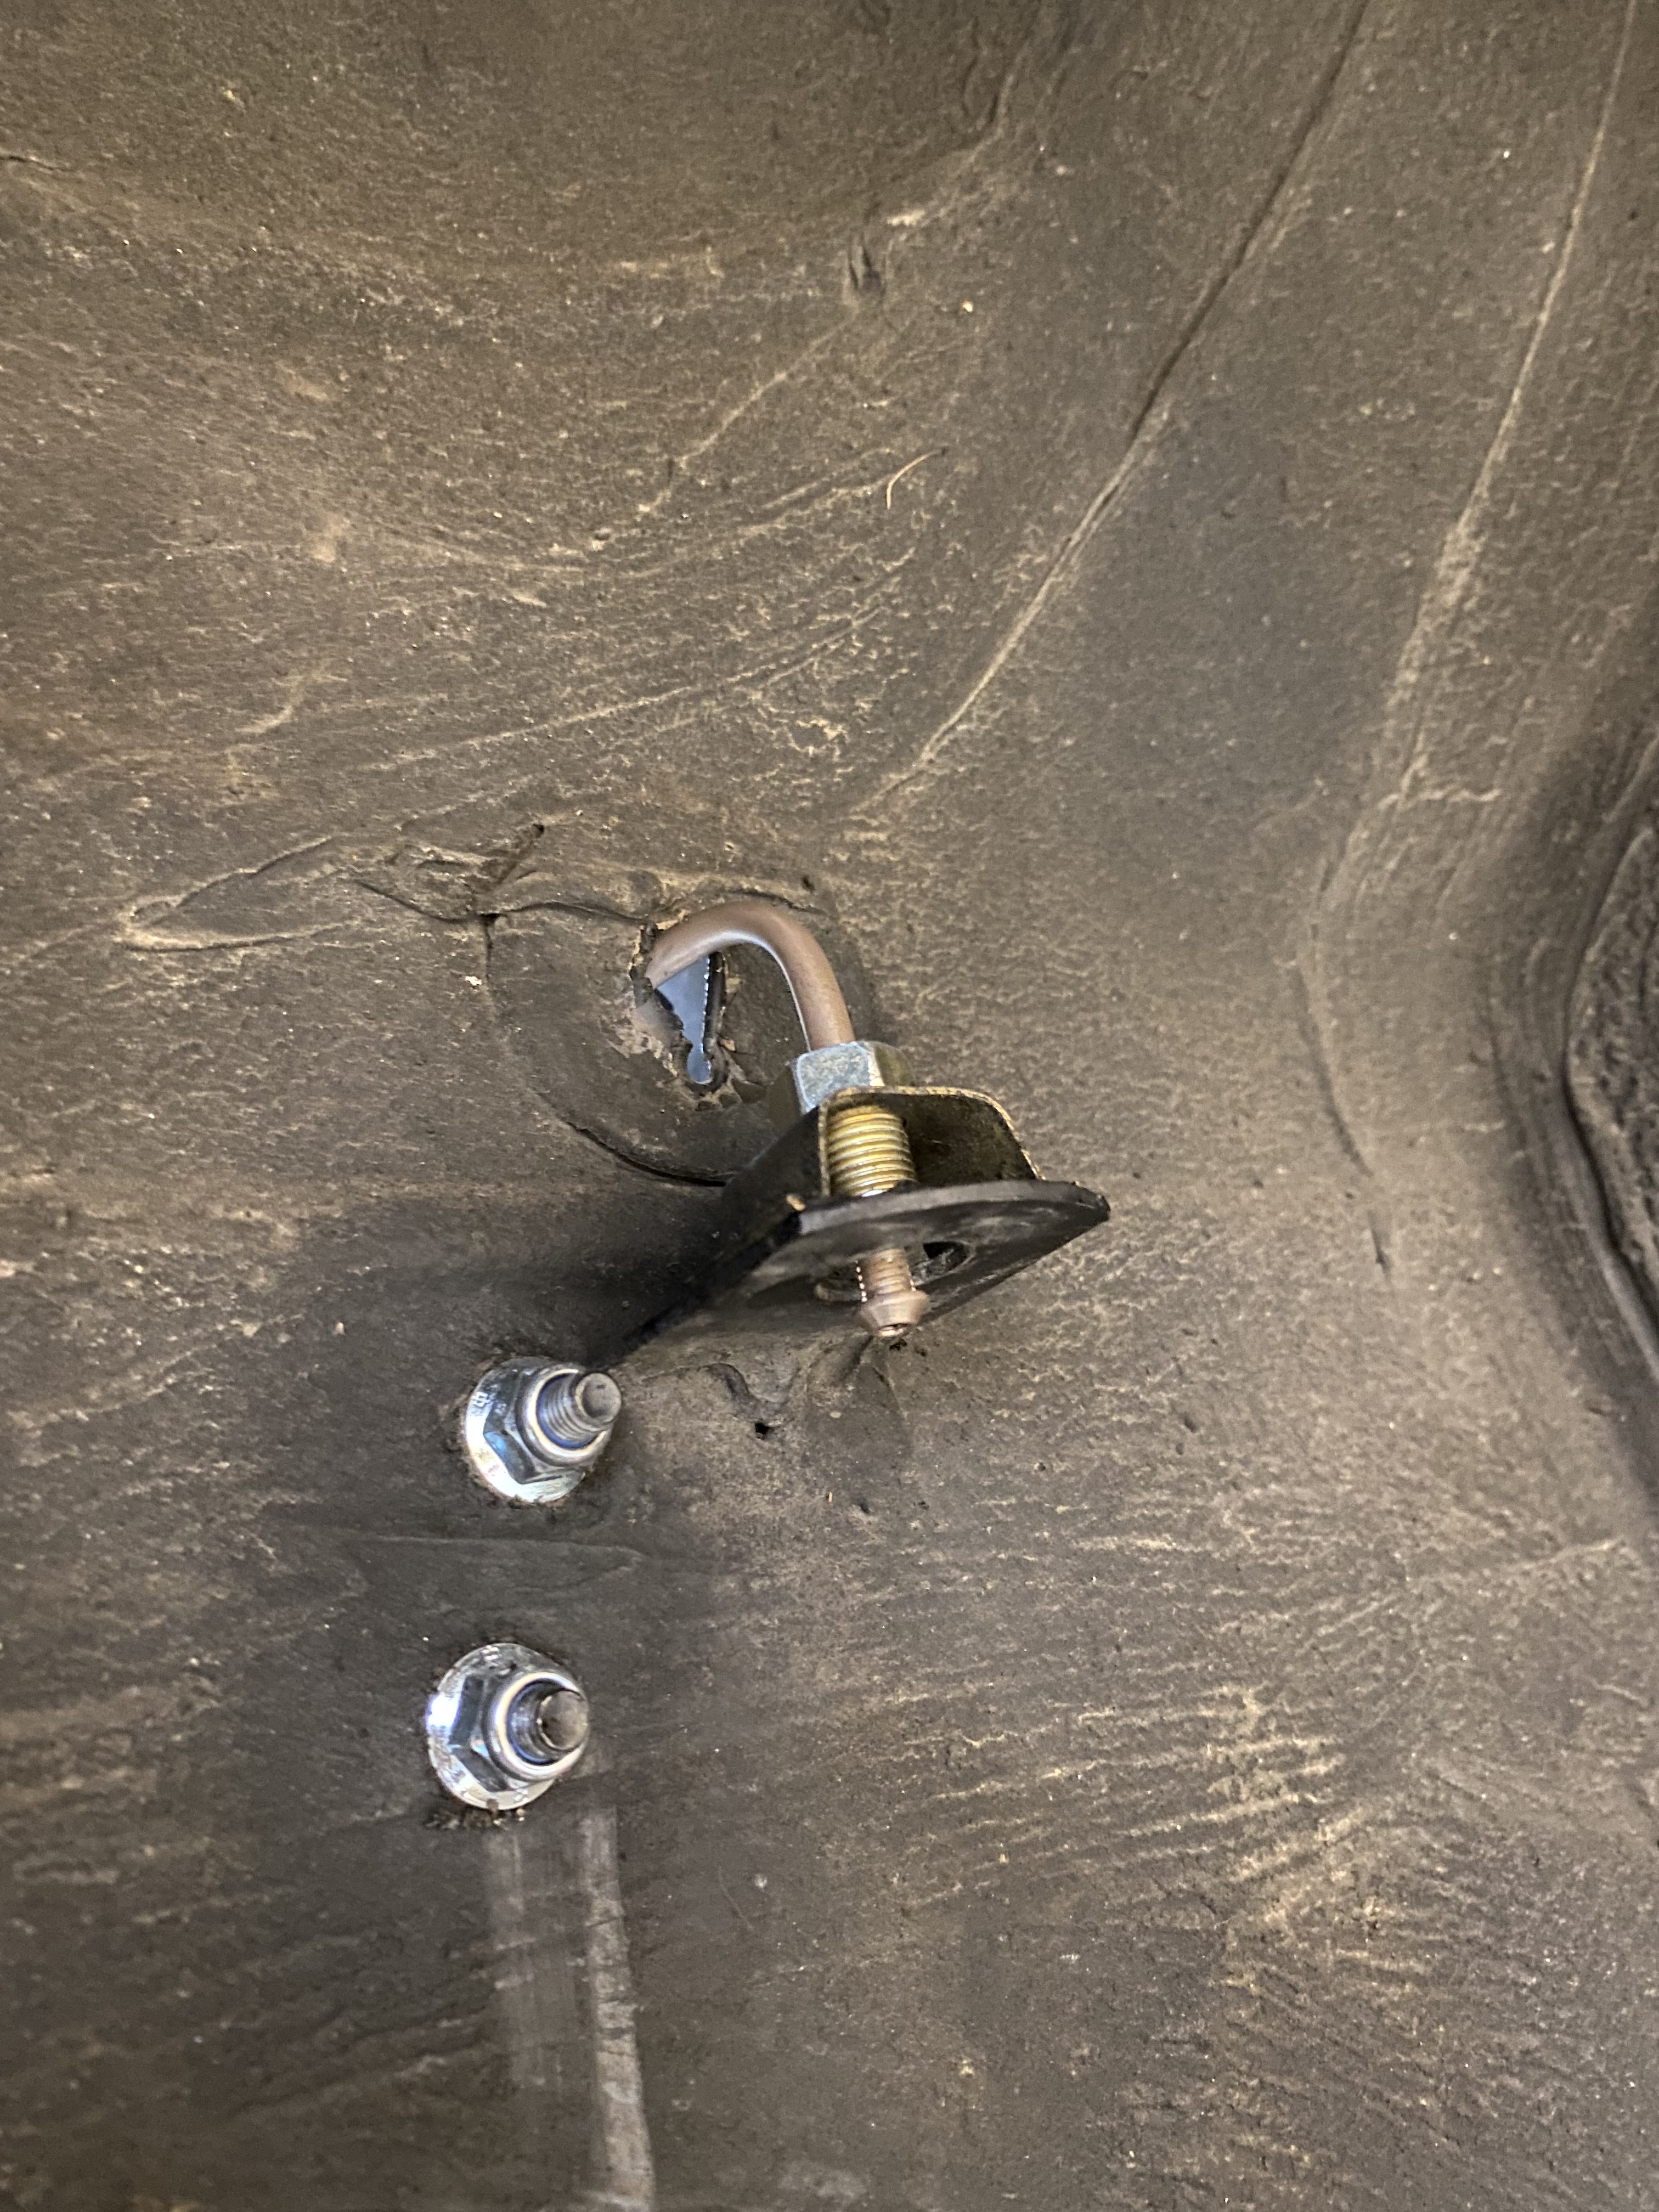
ABS pump is already gone, as well as all the front brake lines. Working on getting the bias adjuster mounted and remote cable ran.
quick bend of the rear line gets the angle right for the cable to run to an already existing grommet in the firewall next to the main fuse box harness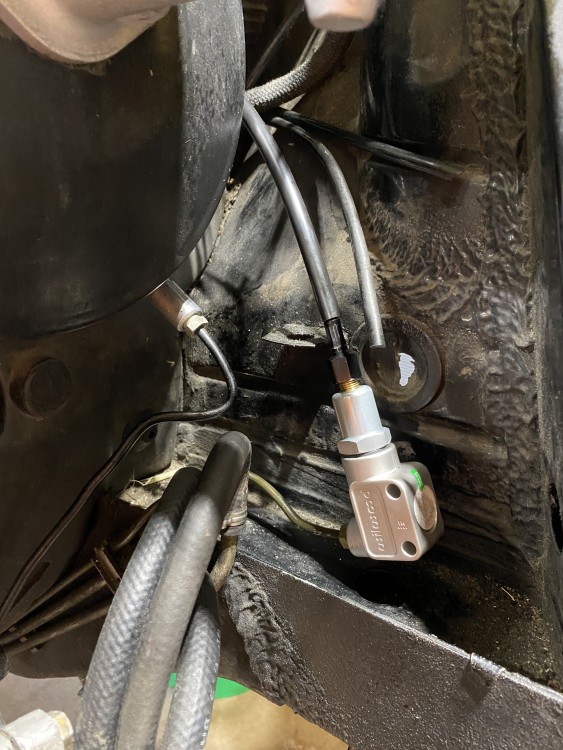
- YoungCR, pynacl, straight6pwr and 1 other
-
4
-
-
Edit: ignore me on the diff studs I see them now lol
Any plans to replace the clutches in the diff while it’s out?
-
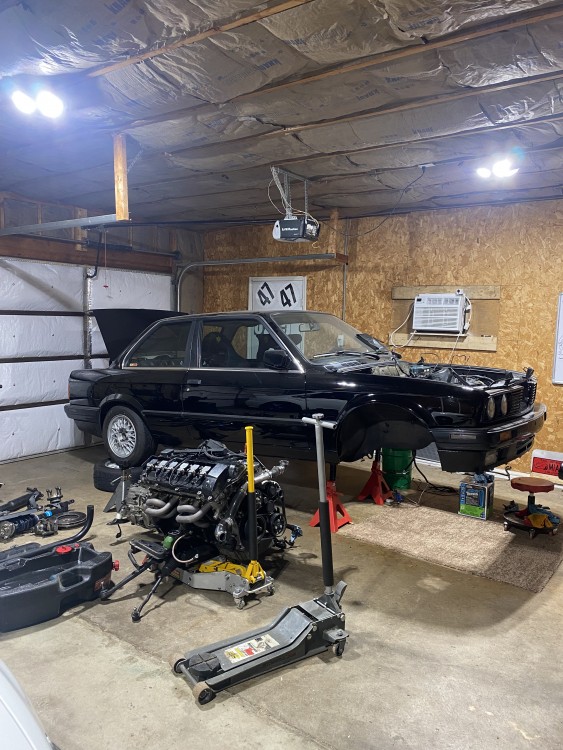
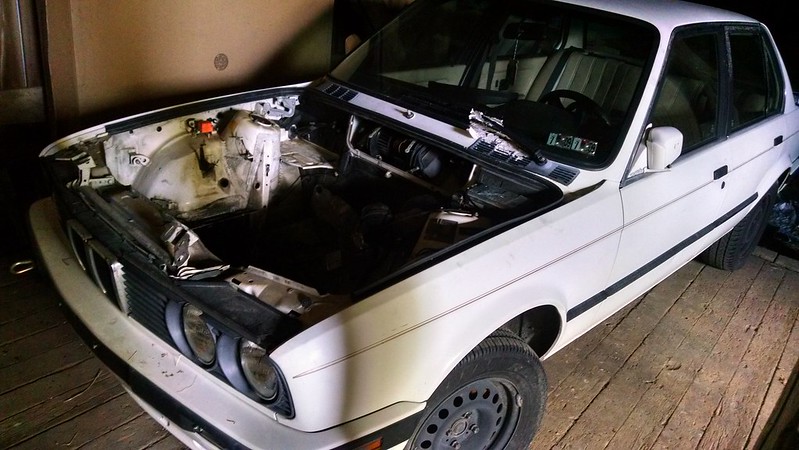
Almost ready to drop the m52.
Need to remove: Fuel lines, heater core hoses & front suspension (to make it easier to manage on a jack)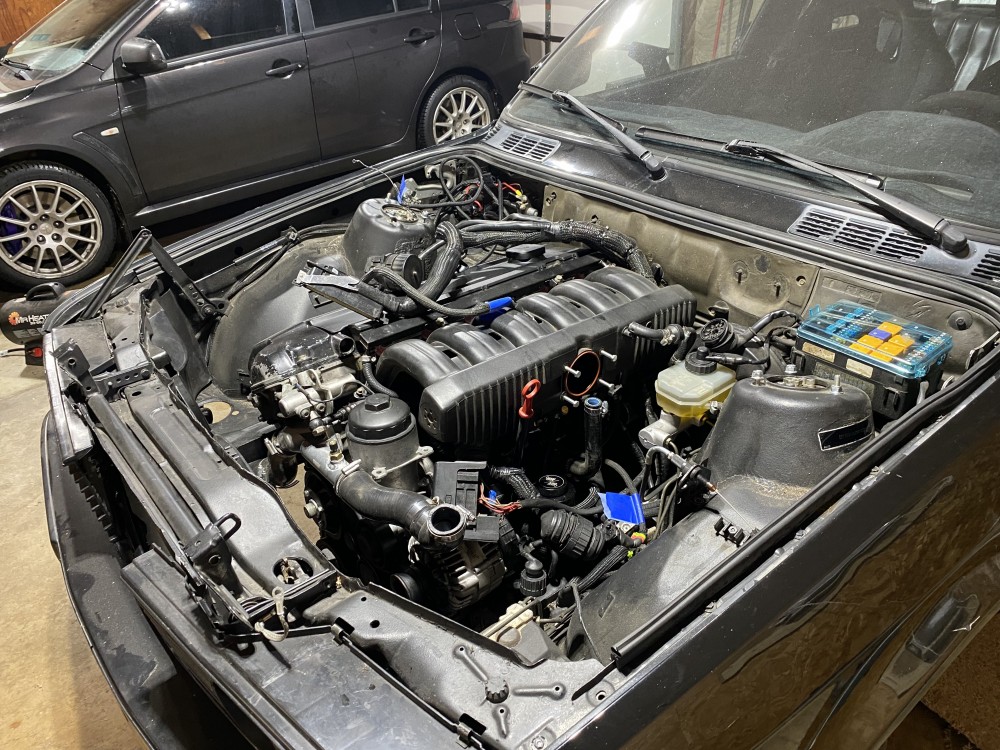
- Rekpoint, Bassboy3313, YoungCR and 3 others
-
6
-
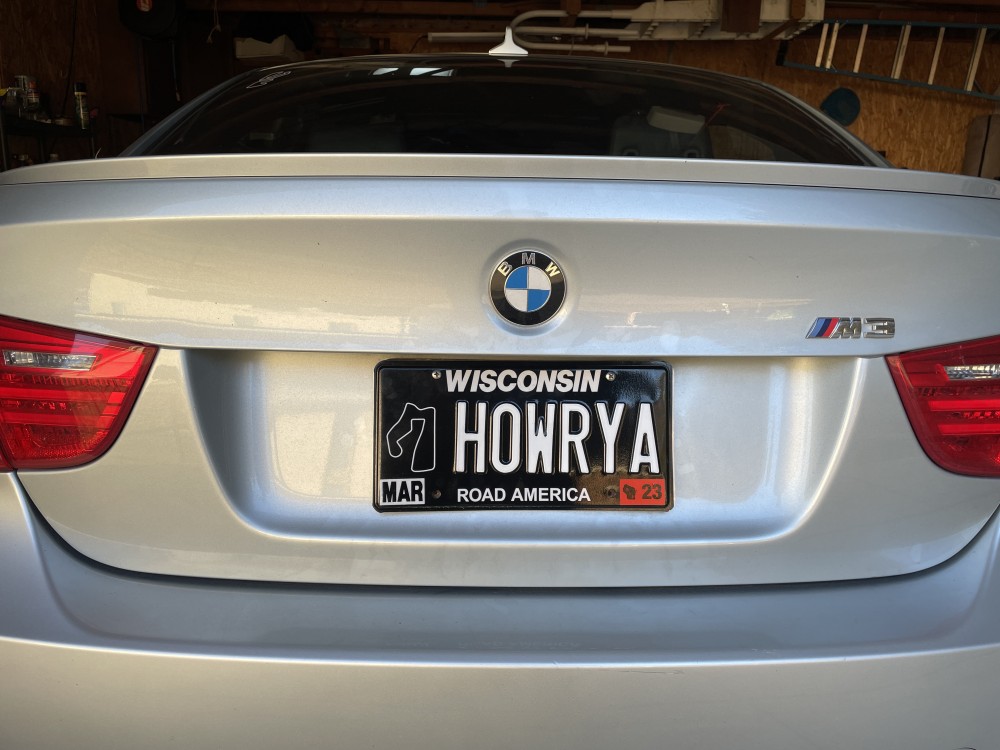
On 2/20/2022 at 5:43 PM, patsbimmer1 said:
My new plate
- patsbimmer1, Rekpoint, m42b32 and 2 others
-
 5
5


the one and only e30 s52 engine swap
in Members BMWs
Posted
The tensioner I had was from SLG (think it was a PRD one they just resell) the shitty URO part wouldn’t have even worked with their included diagram/instructions for where to drill - @Rekpoint is my witness for that garbage