-
Posts
5222 -
Joined
-
Last visited
-
Days Won
291
Content Type
Profiles
Forums
Events
Gallery
Store
Posts posted by KaiserRolls
-
-
14 hours ago, m42b32 said:
Nice driving!! You car sounds fantastic, did the solid lifter conversion eliminate any post-run ticking?
E36 video isn't working for me unfortunately.
Solid lifters sounded the same at the start and end of every run, happy with that.
I reloaded the e36 vid, hopefully it works
-
Forgot to add the e36 part
- Jdesign and damnboy037
-
 2
2
-
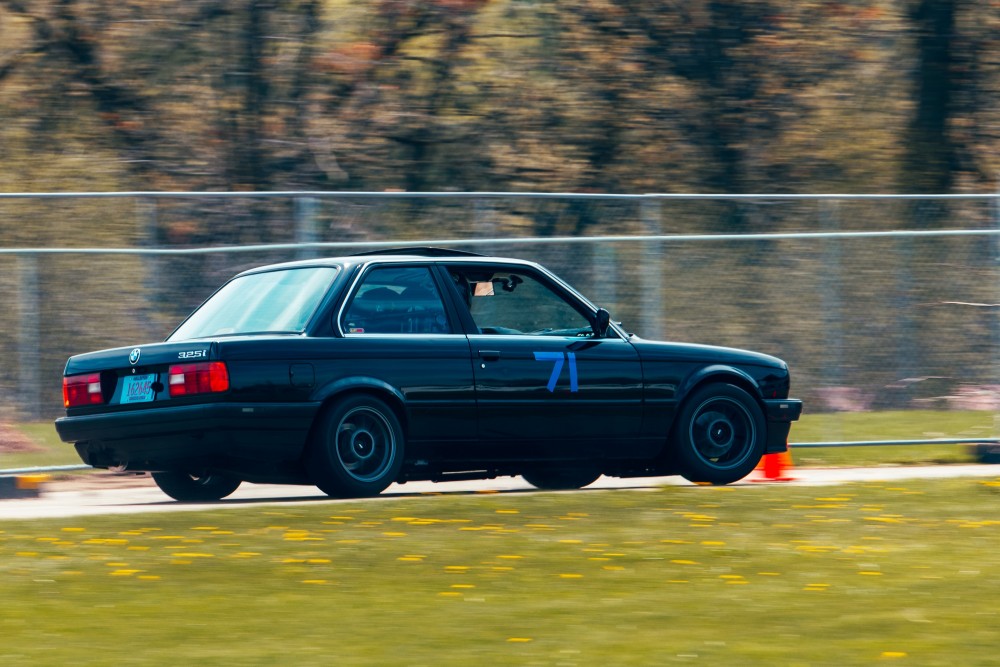
First autox event of the year (ignoring ice racing) & the car did great.
probably needs an alignment after having everything out of the car for the swap but it was close enoughTook fastest raw time of the day.
Unfortunately was only able to run the 4 morning runs as the fan??(tbd) died.
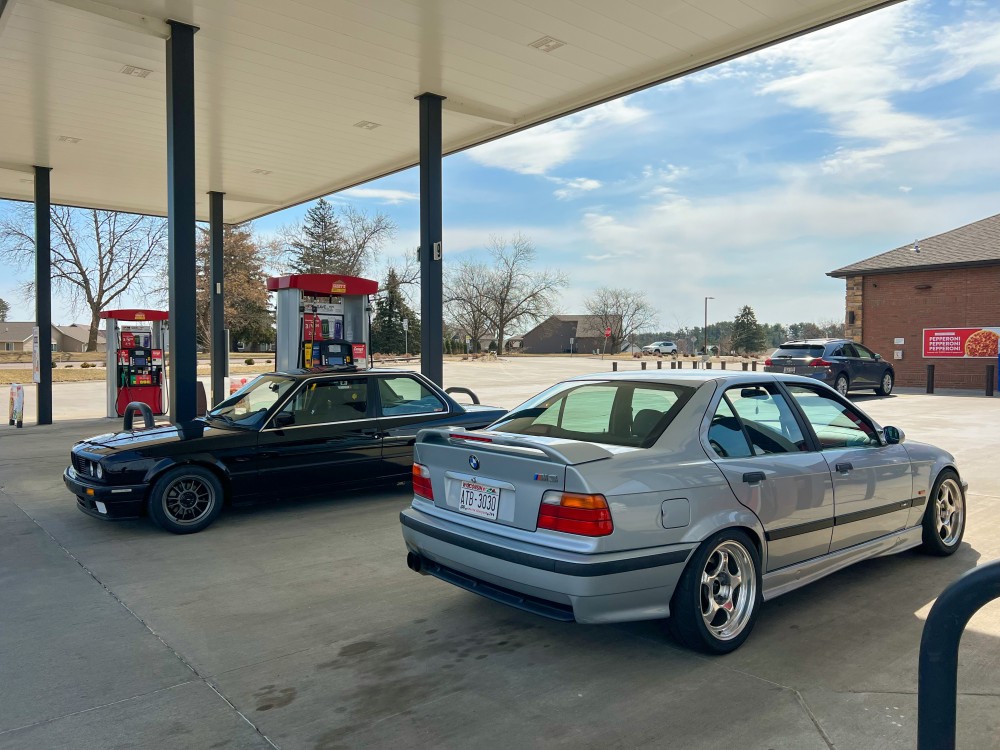
GF was supposed to co drive it but I couldn’t get the fan going which is necessary for the conga-line style this club had for grid. Tried everything short of directly powering the fan but gave up attempting to fix it. Quick ran the car home (local event) and grabbed the e36 so the GF could at least get her full 8 runs in. She did great and took second overall raw timeive been messing with some cheap wireless mics for the GoPro, had this one too close to the exhaust though I think
-
Probably have around 5hrs of drive time on this thing -have been letting VE analyze do it’s thing after adjusting the afr targets/idleVE/rescaling the tables.
I had the valve cover off just to double check the cam stuff, good to go there, but I have developed the smallest oil leak from the valve cover on the passenger side rear of the cover, true to bmw form
- m42b32, Jdesign, damnboy037 and 1 other
-
 4
4
-
Changed the oil/filter on this as I was just using some cheapo 10w-30 as a way to get the storage crud knocked out of this thing. Filter looked as expected as this engine has been sitting for almost 3 years under a trash bag & I’ve messed around with the cams in and out a ton, new lifters, etc etc. no big magnetic chunks- just dirt/old crud.
pulling the valve cover off to double check the torque on the cam caps and other miscellaneous hardware in the head after a few heat cycles - once that is good to go just going to button everything back up and get it bolt checked for a local autox in early May.
-
-
I should really just buy headlights from you lol.
interior looks awesome
-
-
-
V2 voyage went decent, only annoying thing is having the cluster temp gauge, vdo temp gauge and a laptop reading the blue e36 temp gauge - all are slightly different lol. The laptop reading from the MS3 (blue e36 sensor) seems to be hotter than the other 2 gauges by a decent amount, kind of annoying
ive bled the thing like 2 or 3 times so I’m not too worried about it overheating, but on the laptop I’m seeing like 200-210, while the stock cluster is reading less than center and the vdo gauge is right around 190
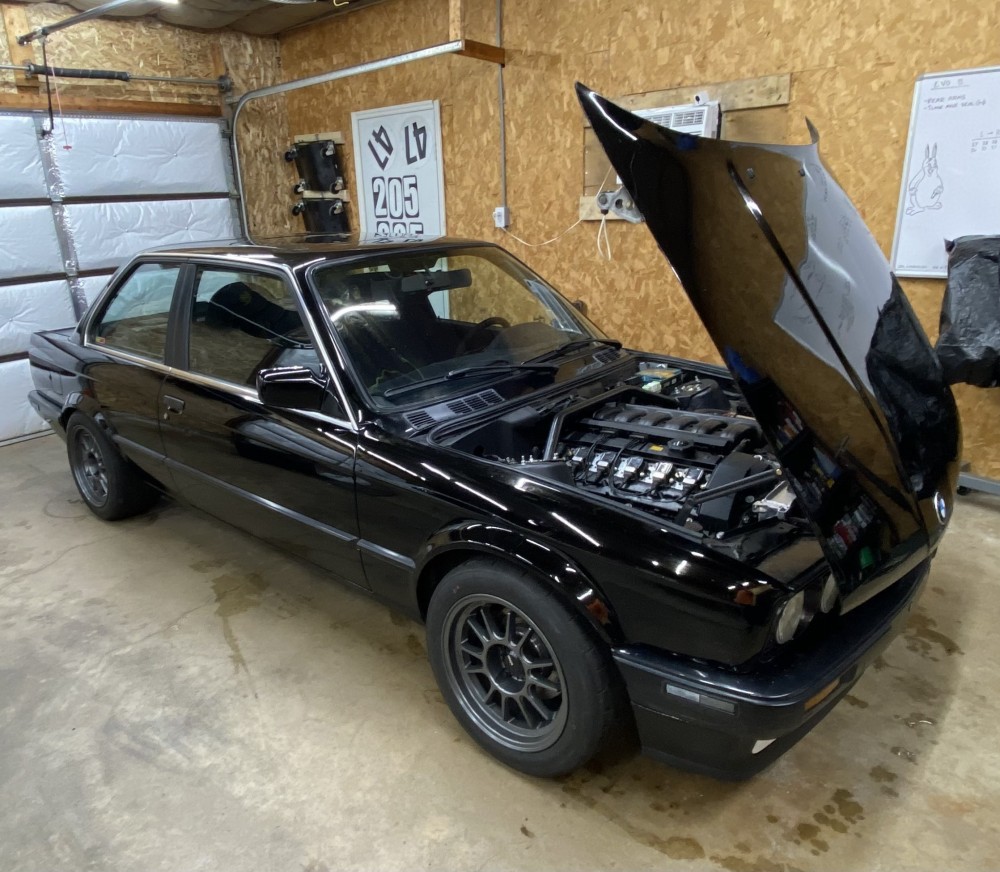
need to get the fog light deletes painted yet, but I think most of the stuff is wrapped up. It’s been a year since I’ve heard this thing run, so I’m trying to get re-acclimated to “new” vs “normal” noises lol
-
Added some DEI heat sleeve to the fuel lines/brake line by the header, PS bled, coolant bled (had to do that a few times). Ended up changing tooth#1 angle from 327° to 324.5° BTDC, set it to fixed timing and cranking at 0° which allowed me to confirm TDC on the damper was aligned with TDC on the timing cover.
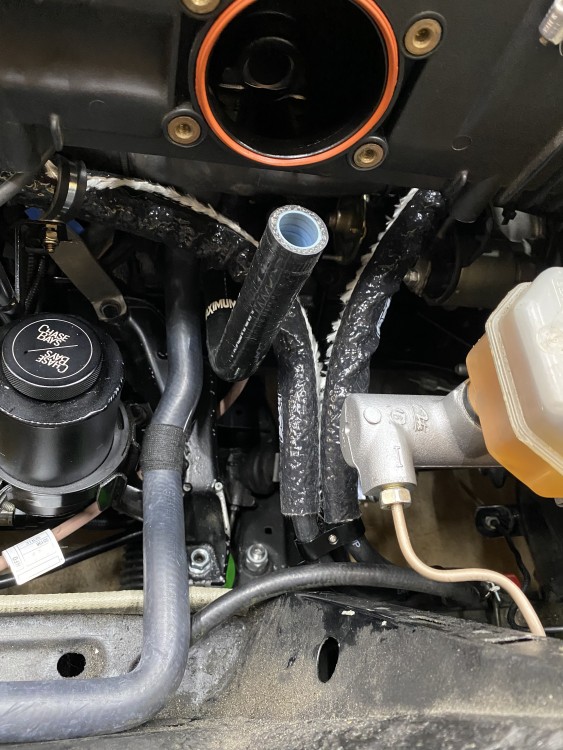
All washed up an swapped over to the non storage wheels
I did end up taking it out for a quick 3 mile blast and honestly the base map that’s provided is pretty decent. It was for s50 originally but changed all that with reqfuel settings and such to work with the s52
maiden voyage v2 coming soon
-
Catch can fittings/hose showed up yesterday so I got that installed. Hose routes with core support, we’ll see if that routing works - if not I can re route it.
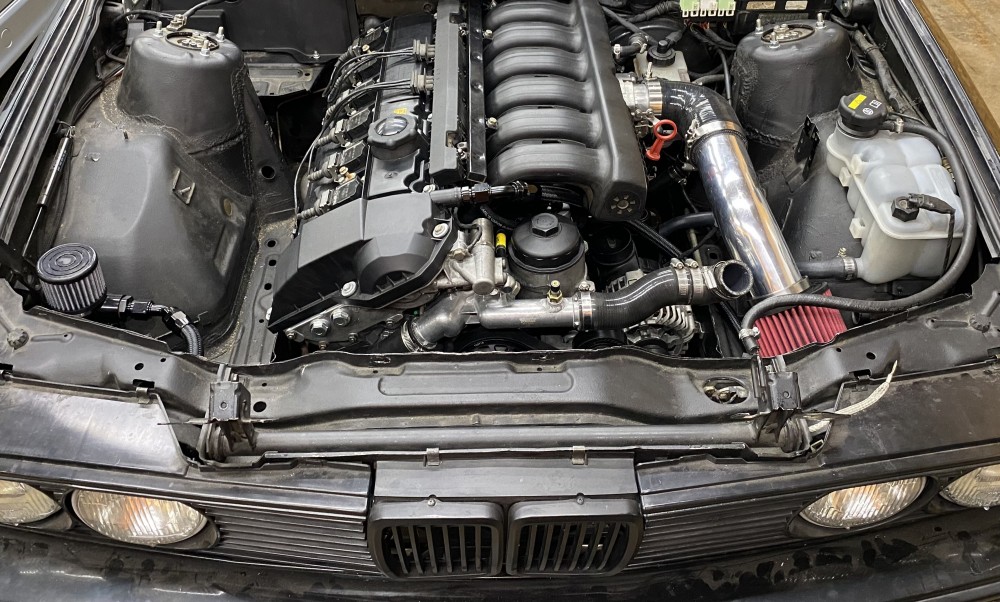
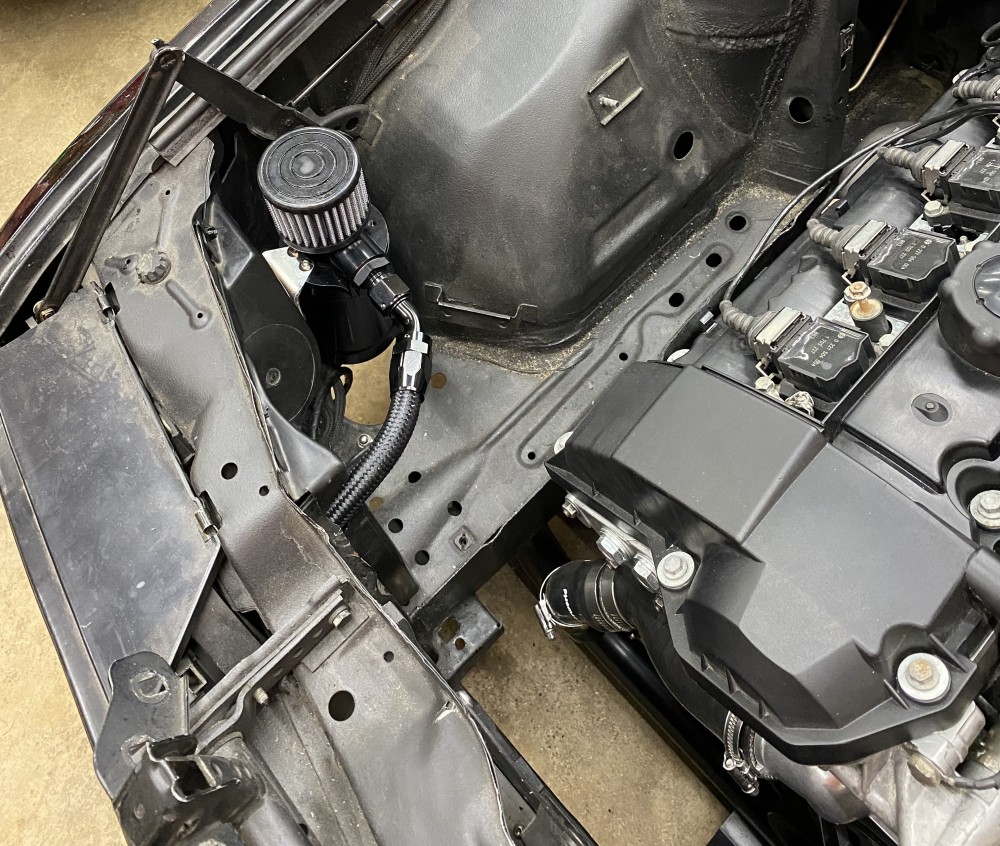
radiator mount thing shows up today (holds the rubber isolator in place) - going to install the radiator stuff after messing with some tooth #1 angles in tunerstudio to make sure commanded timing is lining up with what I’m seeing with the timing light. Hoping to maybe drive this thing around a bit Friday afternoon/this weekend
-
All the MS3 stuff is good to go after some help on injector dead time voltage curves from a friend, figured I’d burn it to the ecu & then wanted to see if it would start. This was the first time I put the fuel pump relay back in
didn’t let it run too long without the radiator, just wanted to see if it would hold idle. It was in warm up enrichment so the idle was pretty high, but should be enough to verify base timing and then toss the radiator in and get everything bled.
- patsbimmer1, m42b32, Jdesign and 1 other
-
 4
4
-
new AEM filter that isn’t a cone shape so it fits better
wired up the MS3 pigtails for the WBo2 signal and the IAT. Dropped the 2017 battery in the car and hooked up the MS3 to the laptop. Before turning the key I removed the fuel pump relay. Key on and we’re live
i bought this MS3 back in like 2017, so needless to say I had to update stuff a few times ha. Firmware updates wiped some oem temp sensor calibrations so had to re-enter the coolant temp, IAT was no big deal as I’m using a GM sensor and would’ve changed it anyway.
-Calibrated TPS, changed to GM IAT, added values for stock CTS, switched to wbo2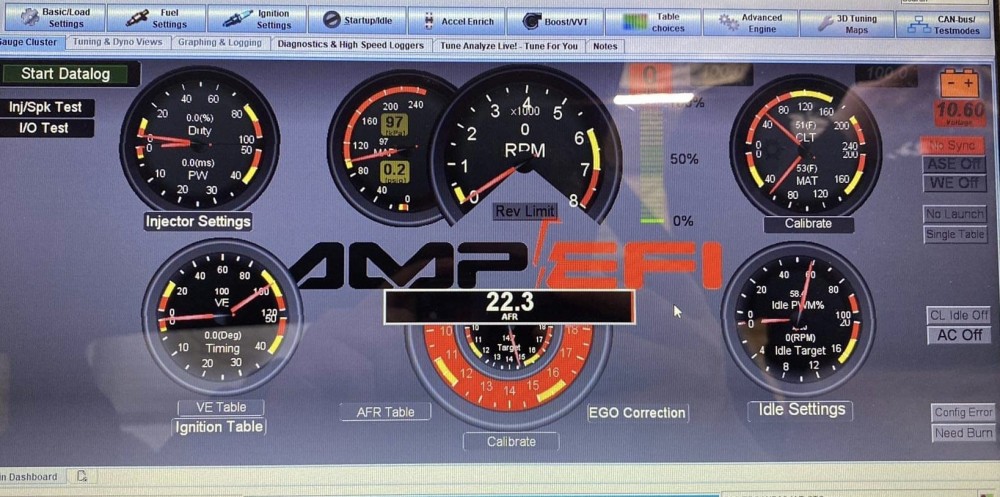
I was going to continue on, but the battery voltage was dropping fairly fast, so I wanted to get a few cranks in to get some oil moved around. It quickly dropped to around 7 volts and wouldn’t really take a charge. Bought a new agm battery a day later, have that on the tender for now. Pulled the oil filter cap off and it was full of oil, will probably do some more priming before putting the fuel pump relay back in. Can probably remove the stock O2 relay now toonext up is to jump into the reqfuel & injector settings as I’m running some EV14 380cc (36lb) injectors - when I bought them 3 years ago 380cc was the smallest they offered, now they offer 315cc (30lb)
after that’s adjusted can probably attempt a first start. Once it’s idling I can then verify/set base timing. Bought a LS(?) plug wire to use as an extension to go from coil pack to spark plug so I can grab cyl1 signal.
assuming that goes smoothly I can drop the radiator in and get PS/coolant bled and go for a first drive
-
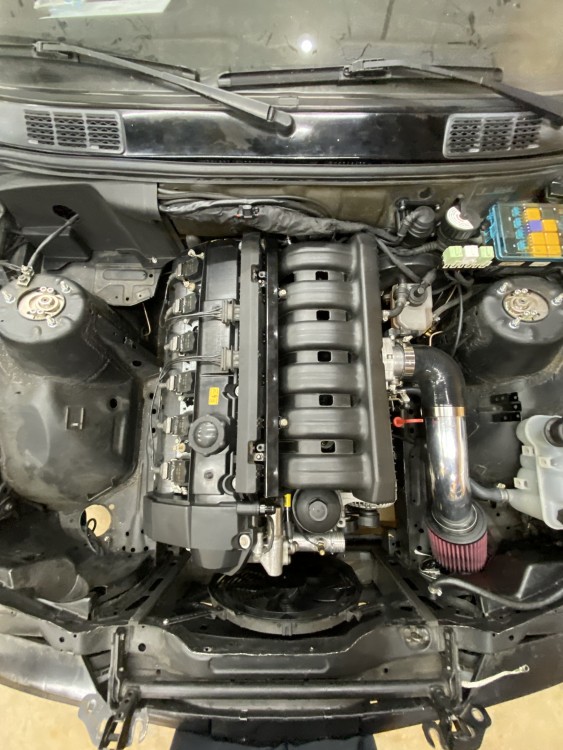
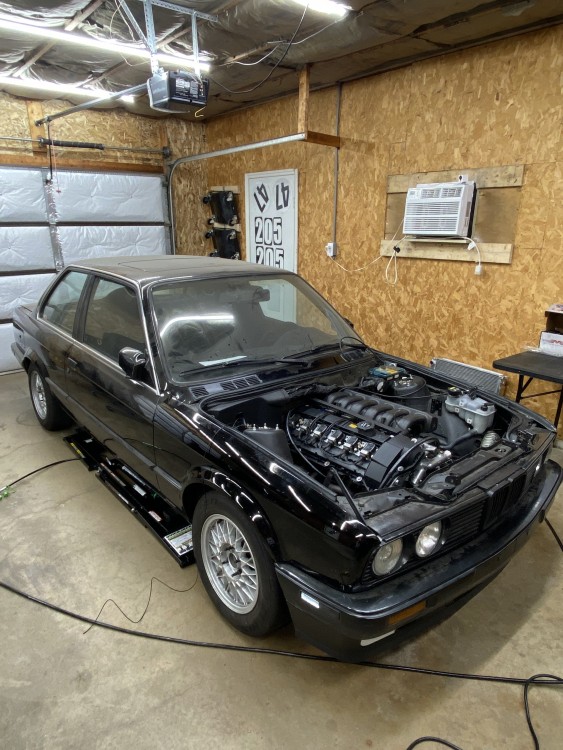
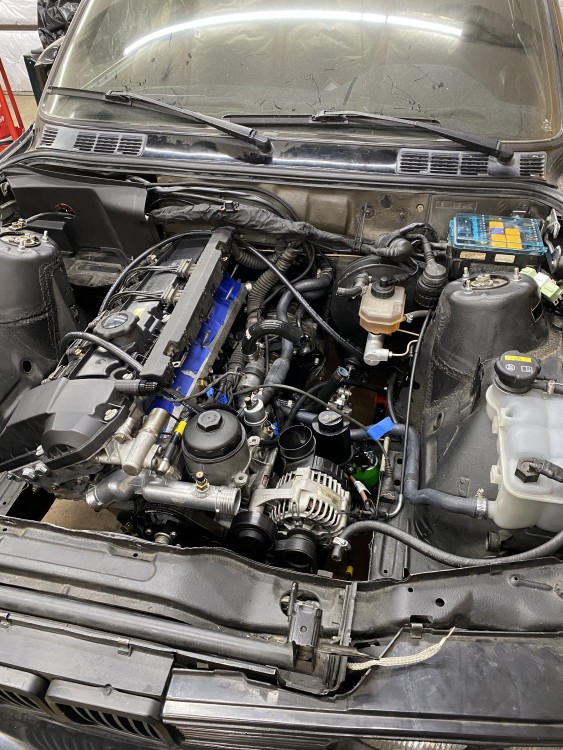
Poked around a bit on Sunday, everything is hooked up in the engine bay now(other than radiator), just need to have the IAT bung welded up to the intake tube
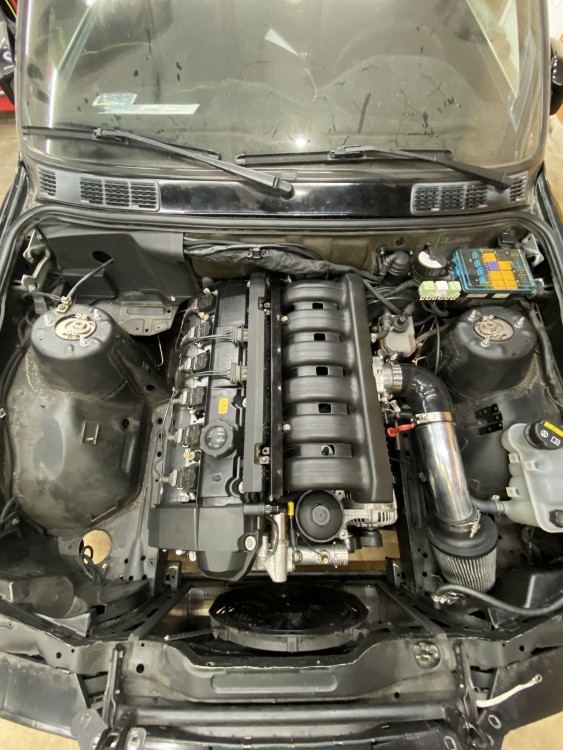
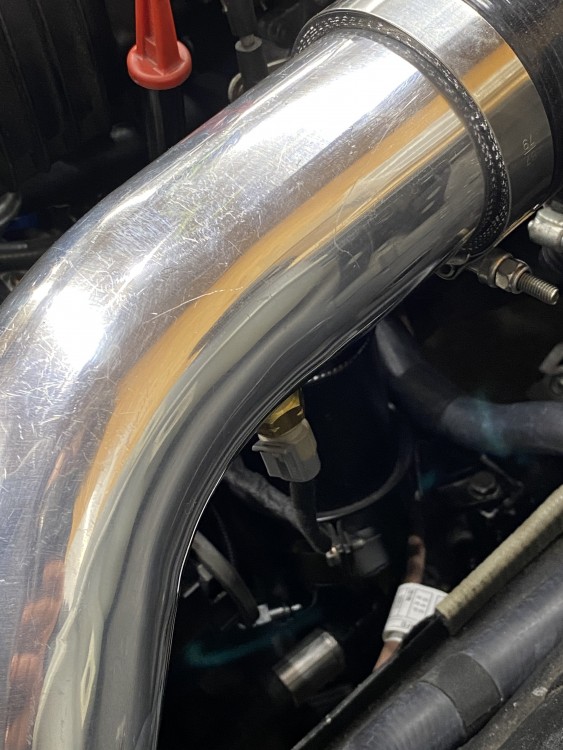
Here’s a better pic of the duct routing for the intake
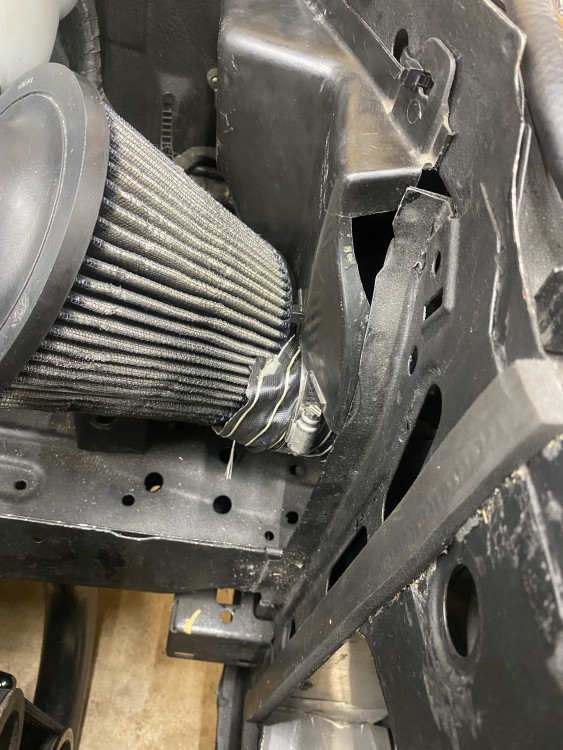
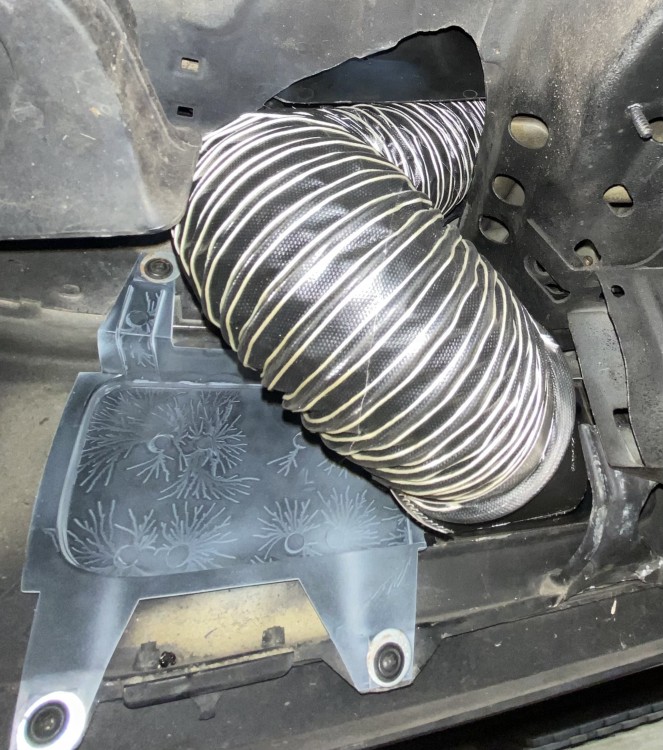
TBD if it will help or not, they’re fairly tight bends - eventually will add a ‘heat shield’ of sorts along the drivers side frame rail to block what heat I can coming off the rad
Added oil & PS fluid, brake fluid level is good, getting closer to hitting the key & finding out if I screwed anything up
-
5 hours ago, Boris3 said:
Nice work!
I also noticed the Quickjack (?) in the latest picture. Experience with it so far?
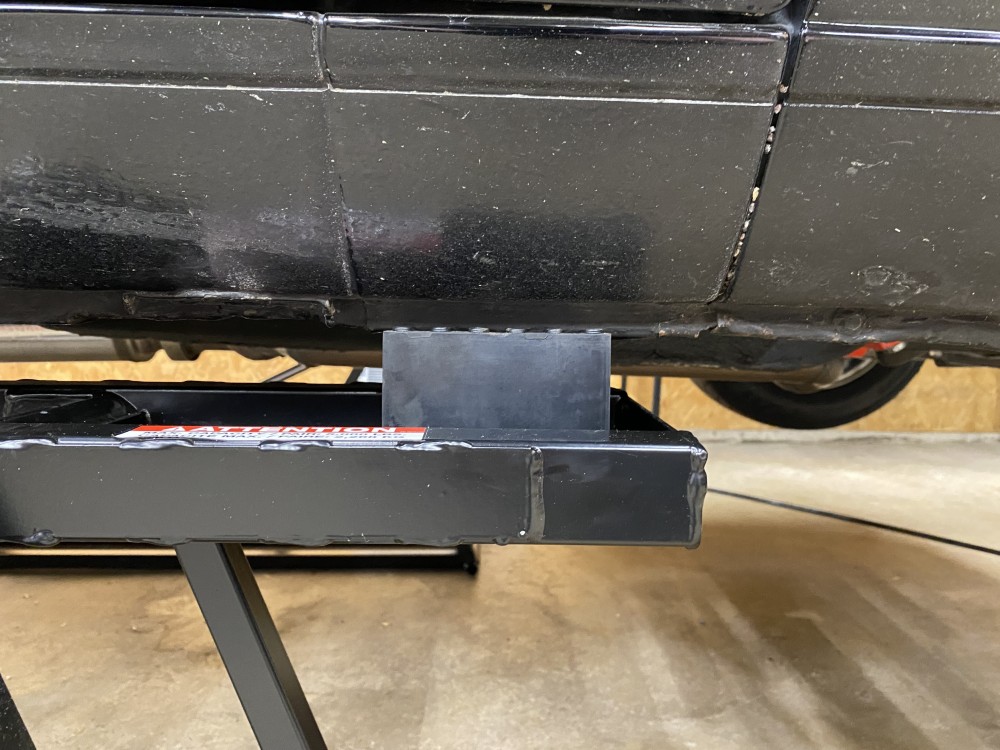
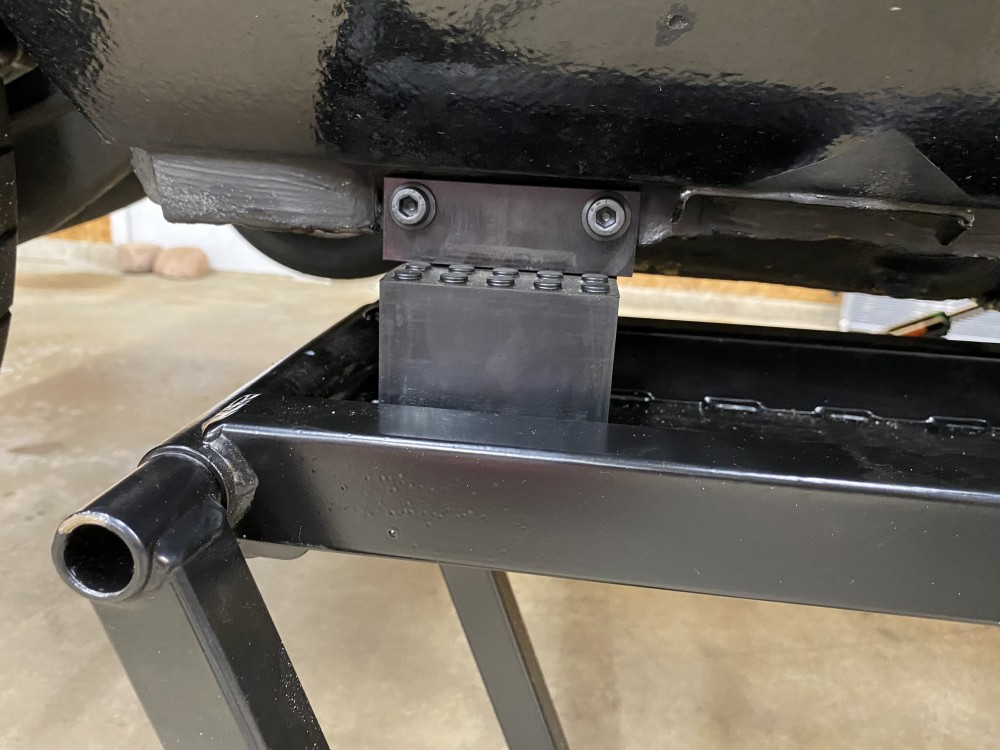
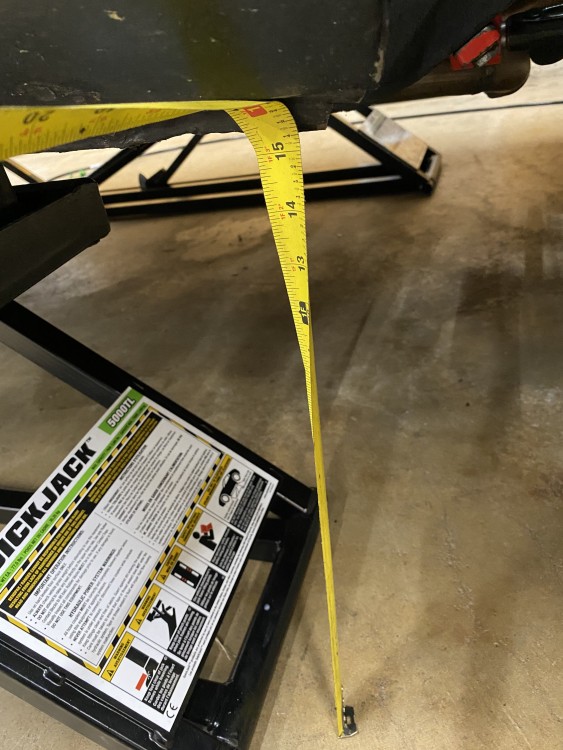
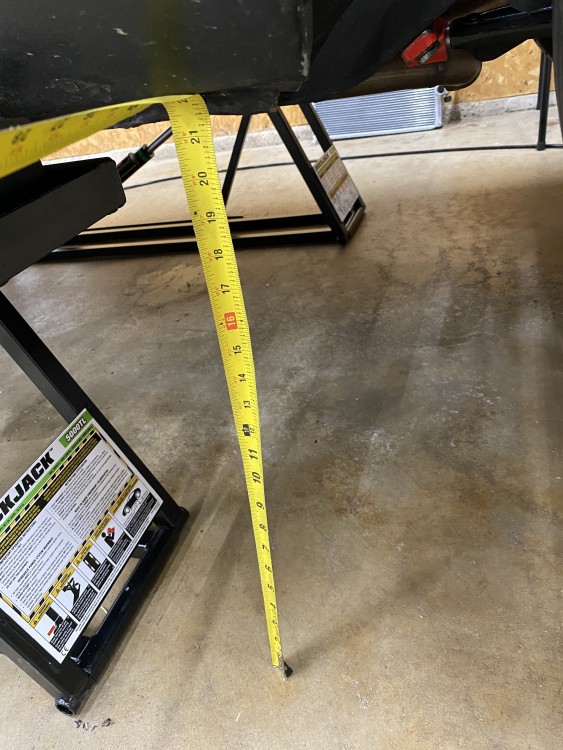
It’s the quick jack 5000TL (110v) So far have had evo x, nb miata & e30 up on it. Nb miata is about the smallest wheelbase I think you could fit with it.
Works well with the e30, I’m lifting off the subframe pinch weld connector area (added “race German” extended plates) & pinch weld under the front of the door.Once you figure out which liftblocks/orientation works best for the car, setup is a breeze.
They are a little on the cumbersome side for maneuverability, the wheels they have on them are hilariously small - but I really didn’t have the room for a 2 post lift.
these store nicely against my wall on the hooks when not in use.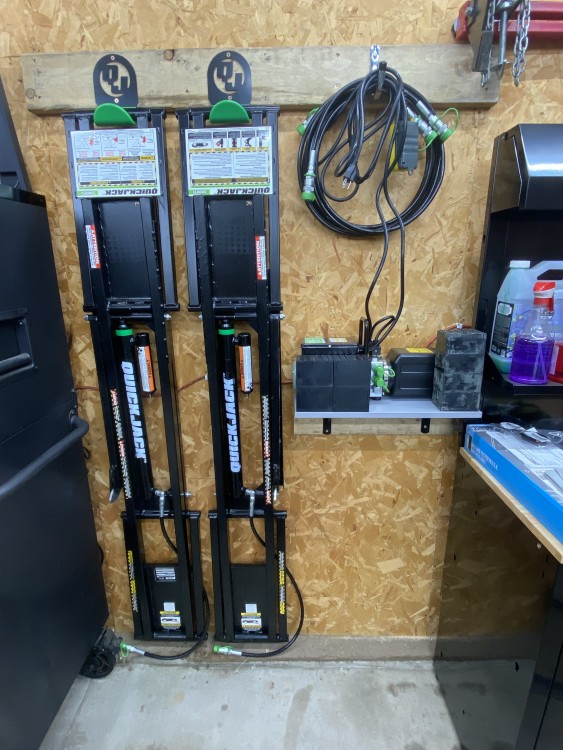
super easy setup, bleeding them was kind of annoying as the ATF went everywhere. I opted to use Teflon tape instead of the “updated” pneumatic sealant they provide. (They used to all ship with Teflon tape, but apparently people couldn’t figure out how to tape things and sent it into the pump)Here are the 2 locking positions when using the tall blocks
Lowest lock
these pics are only using the “tall” set of lift blocks, they include both a short/tall set that do have the ability to be stacked together, I don’t do that though
Because of how they lift, the car will move about 12” front to rear, just something to keep in mind if you don’t have much room in front of/behind the car
what’s nice is if you plan on the car being up for a while (lol) you can lower the jacks onto the locks and disconnect all the lines
I waited for a while for these to go on sale and due to some Home Depot shipping mess ups, ended up getting these for like $1200.
overall I really like them, changing wheels/tires/oil changes/bleeding brakes is all super easy -
Wiring in the engine bay is done now, IAT wiring shares the same loom with my VDO gauge wiring & obviously the wideband is it’s own thing. Both have been grounded
The only wiring left is to add the MS3 pigtail to the wideband analog output(yellow) and the MS3 Pigtail to the IAT wire(brown), both of which meet up in the glovebox. Vac source for the MS3 is waiting in the glovebox as well.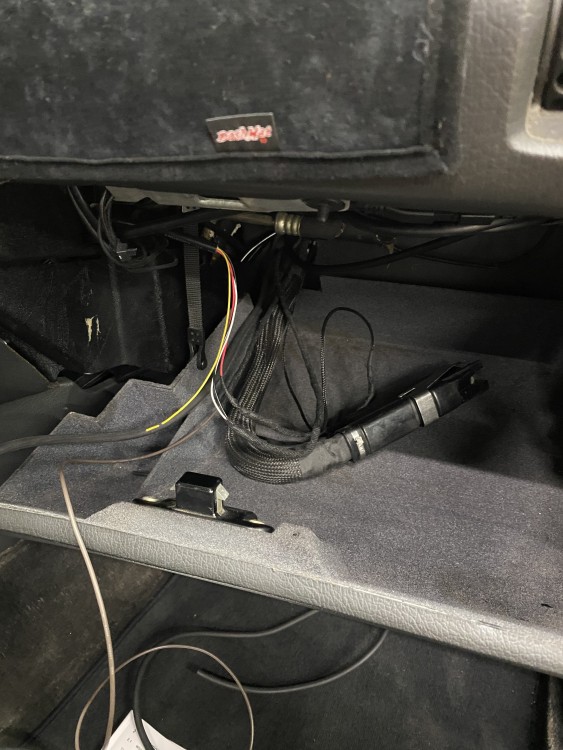
I still need to bolt down the intake manifold, cut fuel lines to proper length, trim vac line for the FPR, install fuel rail, injectors, injector harness, throttle body, intake.
will need to add oil, PS fluid & coolant eventually.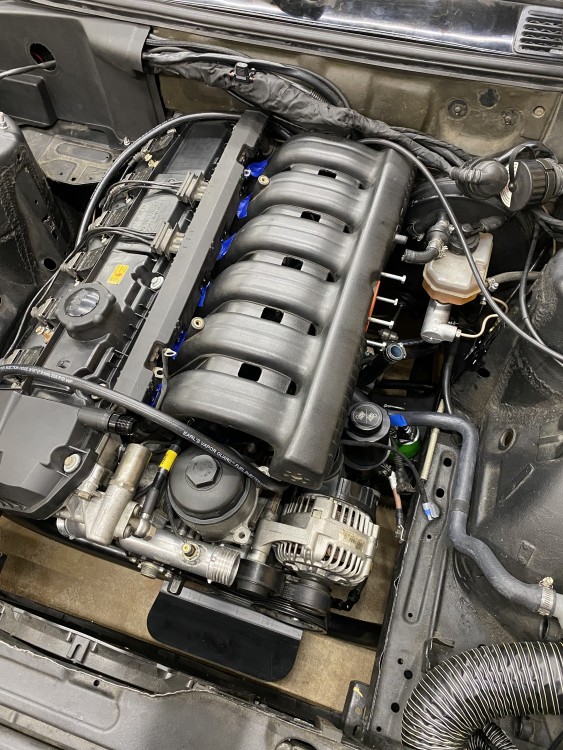
coolant will most likely be the last thing as I need to verify base timing with MS3 and it’s way easier to do that without a radiator in the way.
intake tube also needs a bung welded to it for the sensor.
Catch can location TBDeventually once the intake/air filter are in their final spot I want to build an ‘air box’ of sorts or just a heat shield for the filter. Bought some 3D printed brake duct adapters that will be feeding the air filter area with air that isn’t coming directly off the hot radiator
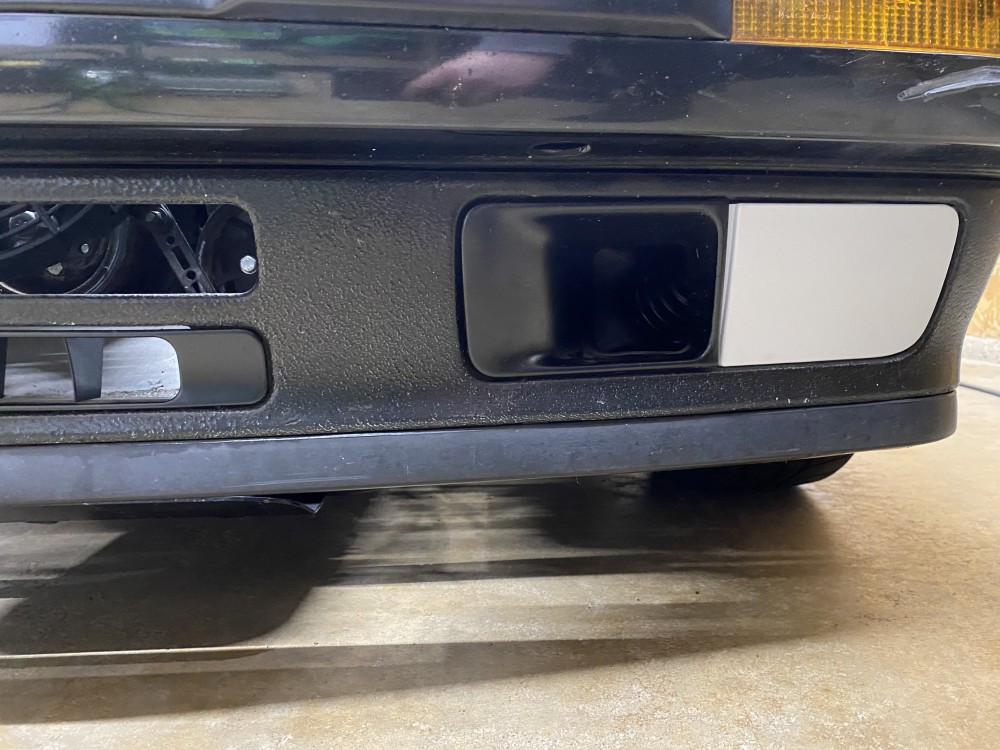
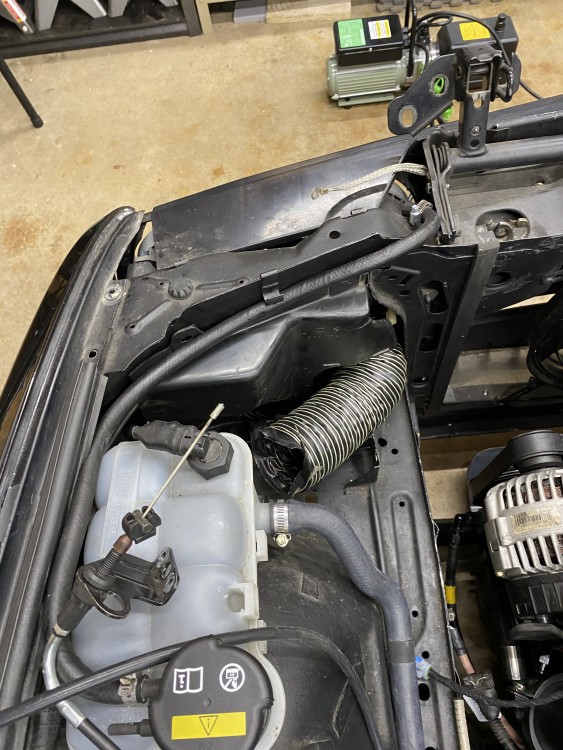
still need to trim that hose a bunch, just tossed it in to see if it could make the right bends
might work on it a bit more tonight to get some more engine bay stuff wrapped up, would be fun to attempt a start this weekend
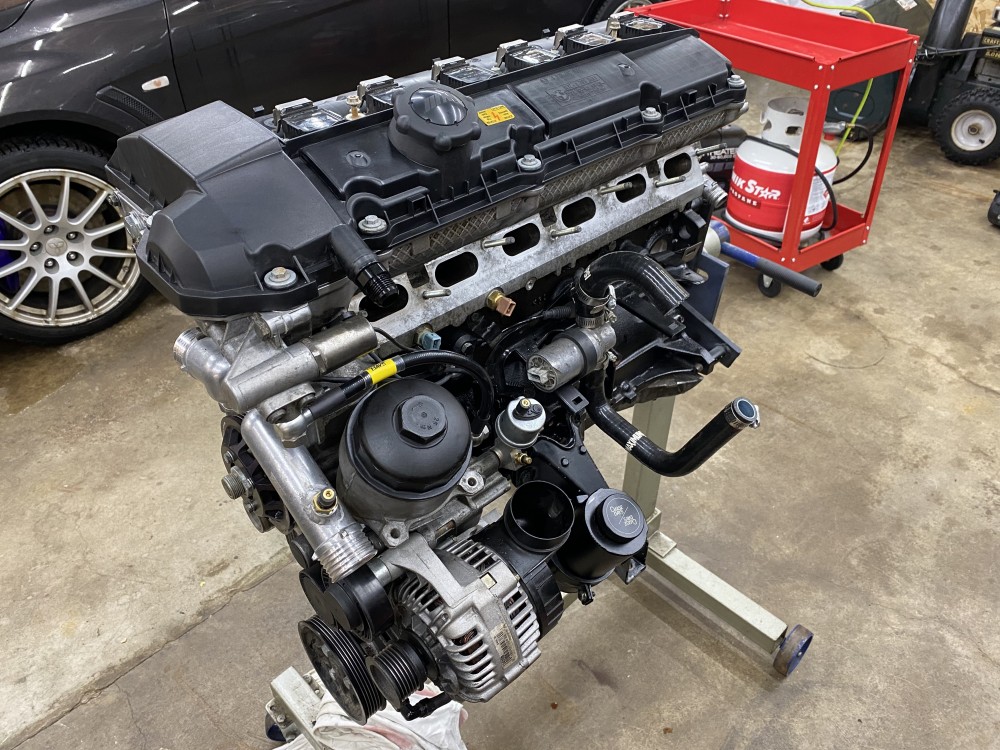
I’m using an OBD2 valve cover with OBD1 harness. I hate painting, so plastic it is. also using the m52 oil filter housing instead of the metal lid s52 OFH - mainly because when I was running the m52 I bought a brand new PS pump for it & the OFHs are slightly different with pump mounting.
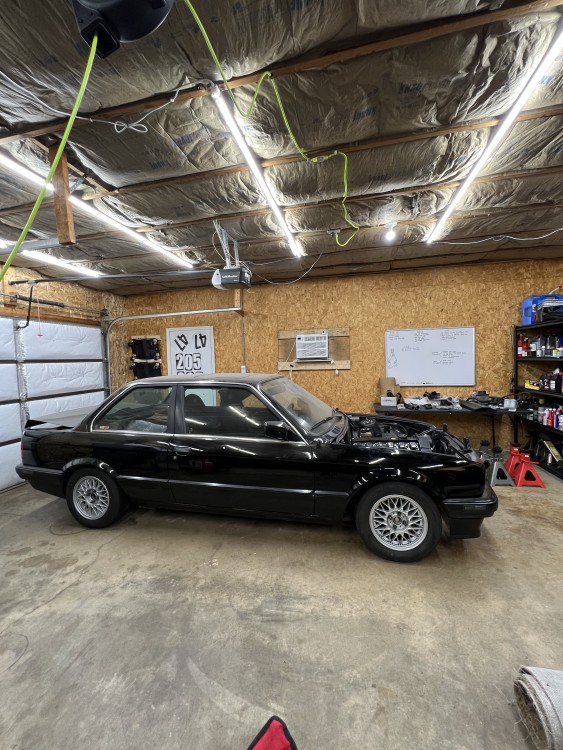
Mirrors still folded in as it’s still in storage lol
-
This is where I stopped over the weekend. Heater core/expansion tank lines are in. Most of the wiring harness is in.
since I’m going with MS3, I don’t need to use the factory O2, MAF, or IAT wiring- I still left them in the harness just in case, but tucked them out of the way.
wideband O2 is routed, just needs to be wired. IAT wiring is most likely next up- m42b32, patsbimmer1, timmer and 1 other
-
 4
4
-
Car is on the ground after like 14 months on jackstands lol - slapped the driveshaft/exhaust/heat shields back in, got the front suspension in and torqued. Bled the brakes/clutch and thankfully had no leaks after I remade all the lines when I ditched the abs. Shouldnt reeeeaally need to get back under the car anymore other than to hook up the wideband
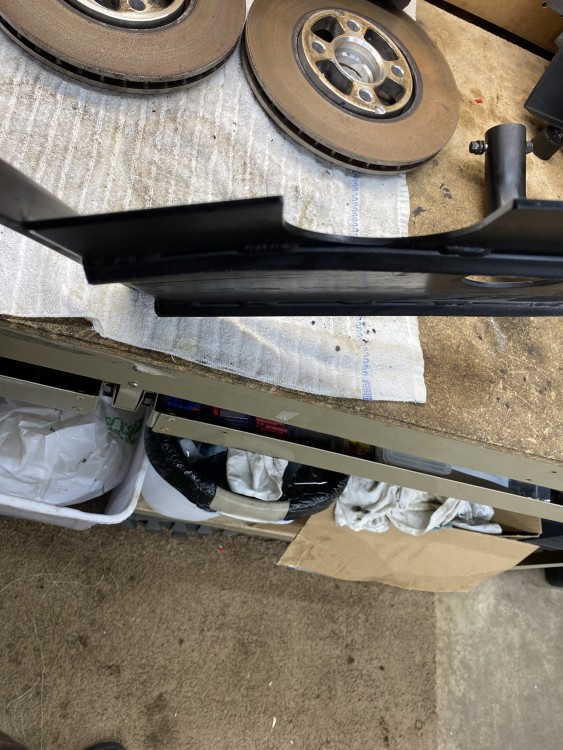
the press was able to straighten out the bend in the skid plate pretty easily
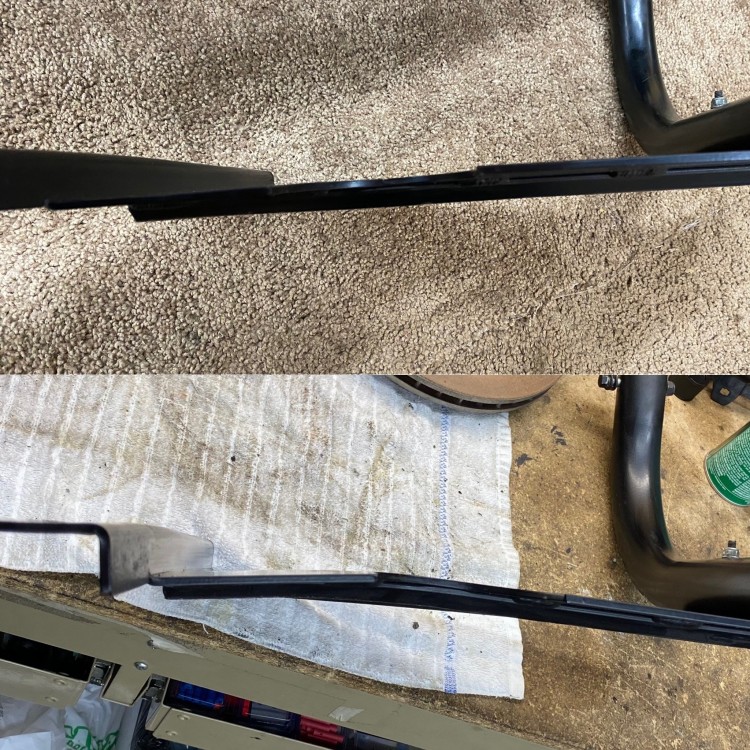
Tomorrow going to start on the wiring in the engine bay/wideband/possibly IAT sensor. -
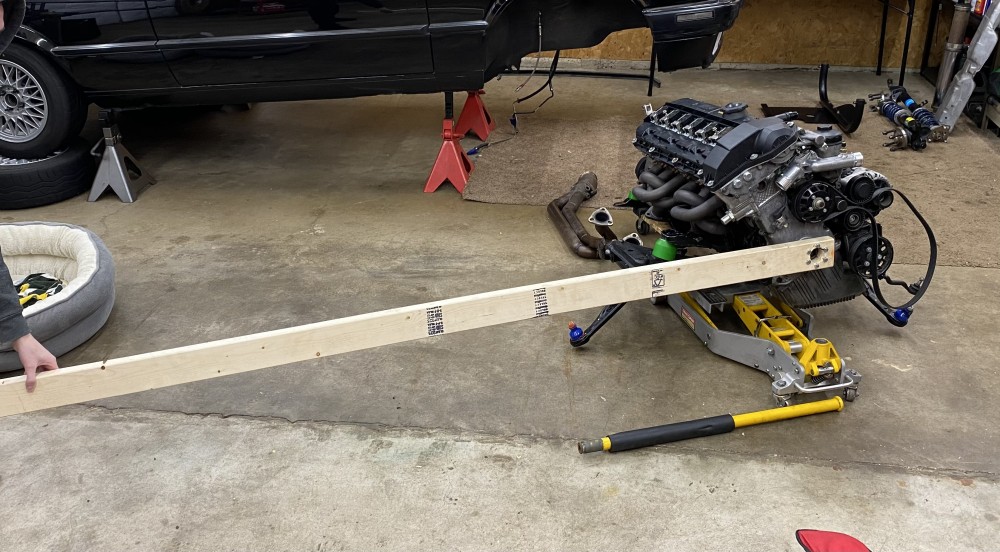
@Rekpoint stopped by and we got to work. Instead of just blasting away at the crank bolt with an impact I figured I’d pick up a torque wrench that went to 300ftlbs - still needed a way to hold the crank as I don’t have that tool.
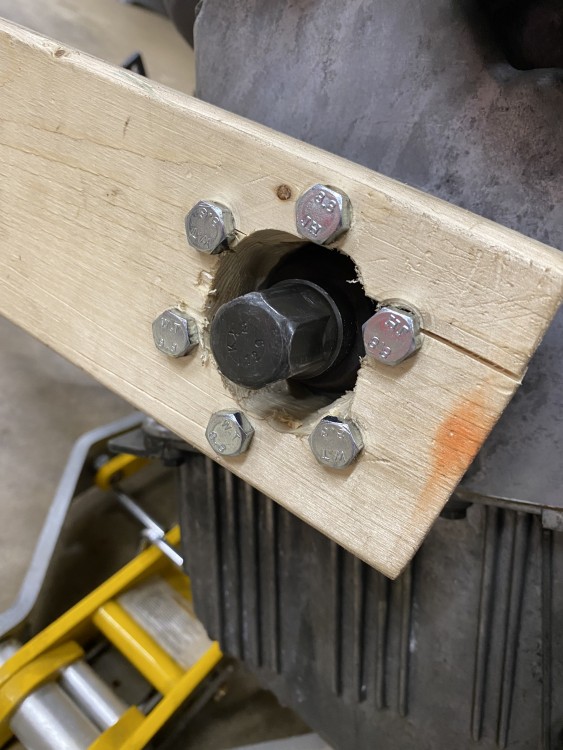
the Amish-Inspired crank hub holder was born.
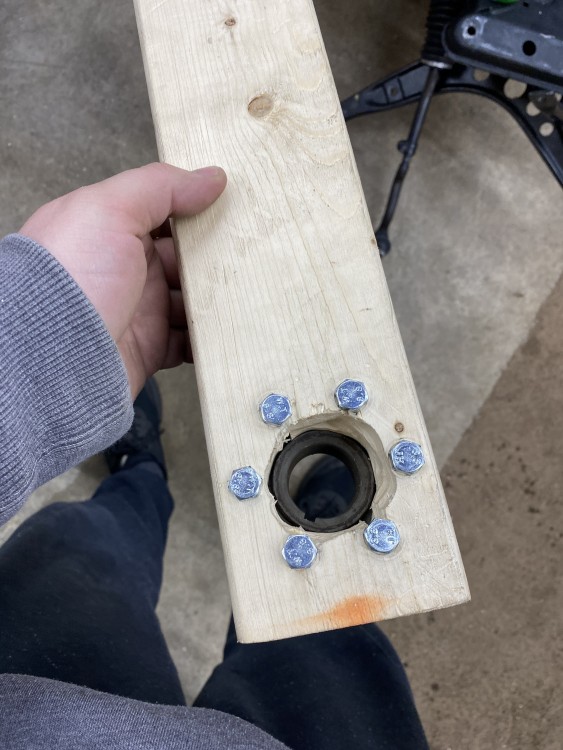
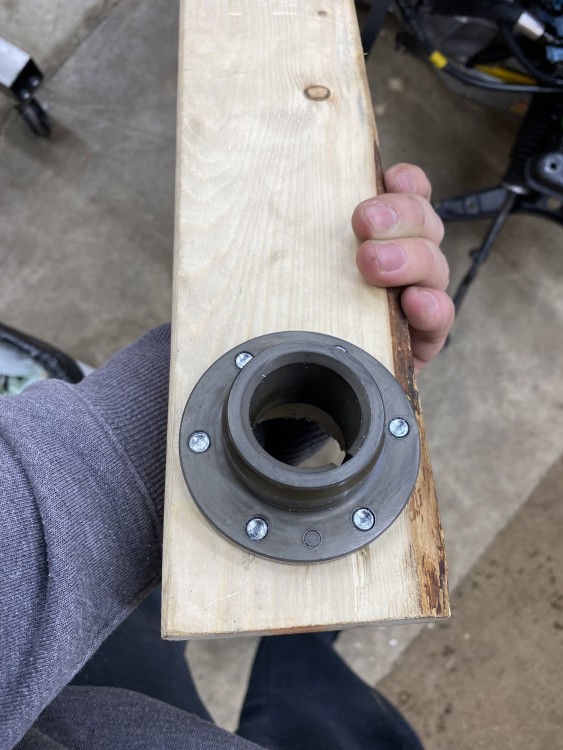
in case it isn’t obvious I don’t own a hole saw. Drilled out what I could with a step bit and went after the rest with a die grinder lol
Glen was the leverage and this stupid thing worked lol. Right around the last bit of torque, the end started to split but we made it to 300ft lbs lol
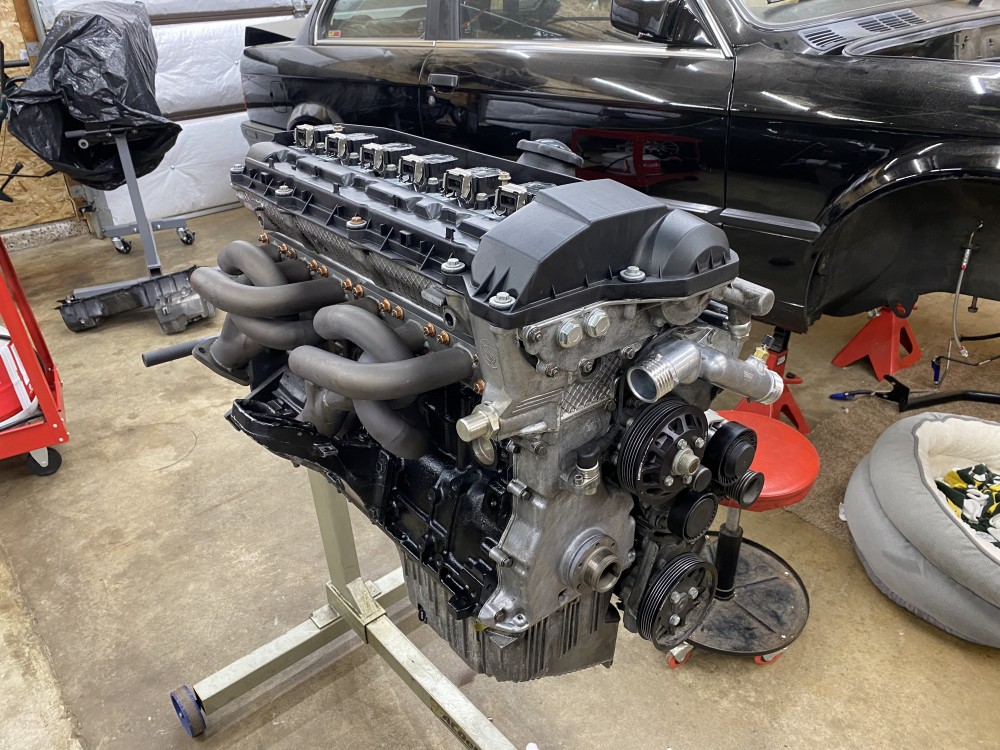
Once that was torqued we made pretty quick work of it, still a fan of lifting the engine/trans/y pipe into the car all together vs using a hoist
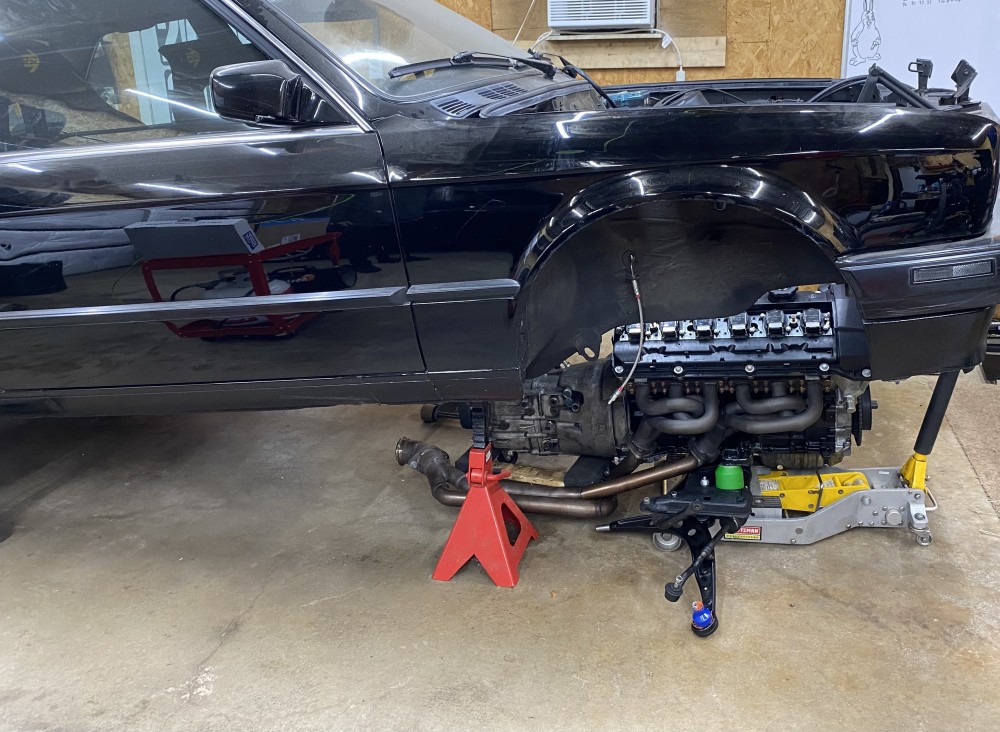
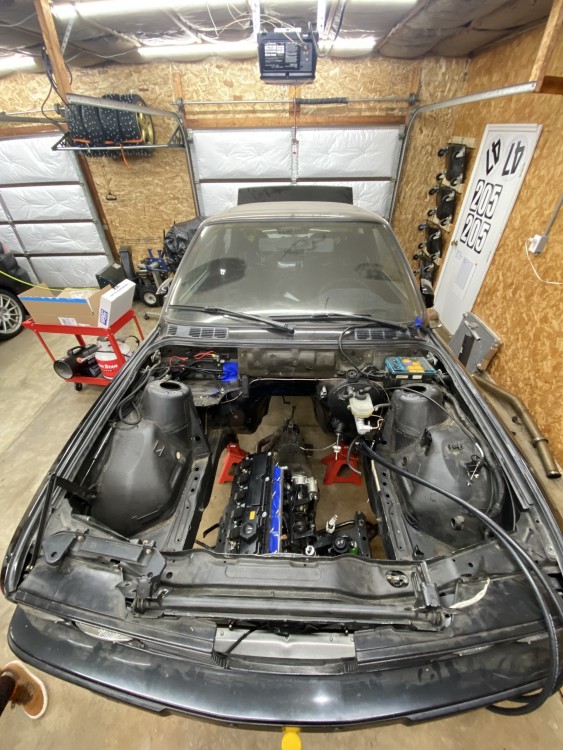
all jacked up and bolted in
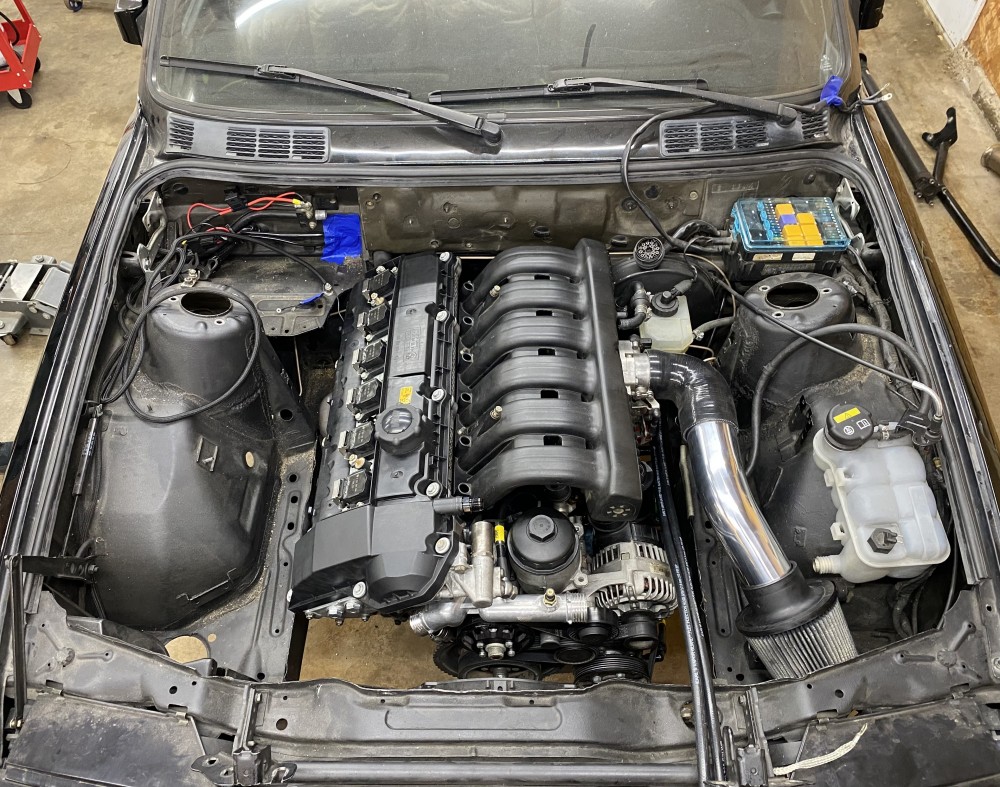
intake isn’t bolted up yet, just wanted to make sure the 45° bend pipe was going to work for the intake - won’t be running a maf with MS3next up is to make the car a roller again and get it down on the ground so I can get the harness in and connected as well as coolant hoses/radiator/etc etc
-
1 hour ago, P_Roloff said:
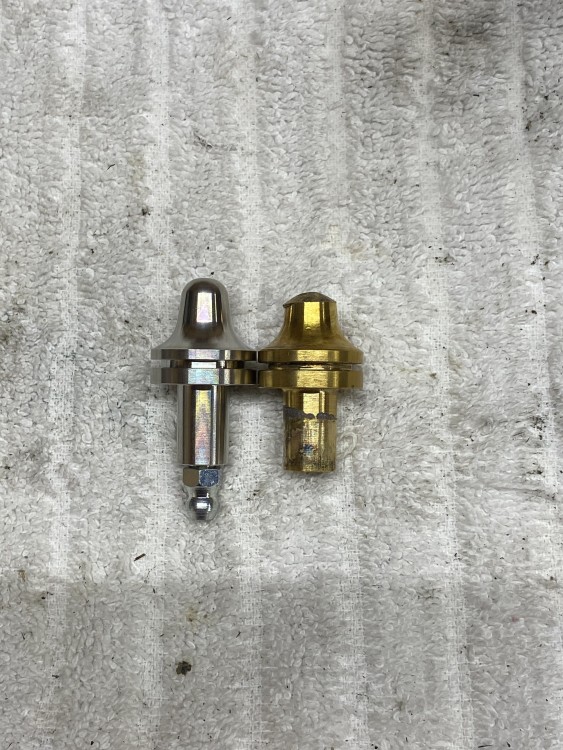
What’s the one on the left made out of? Is that a grease zerk that I see on it?
It is stainless steel, that is a grease zerk
https://leogranderacing.com/products/greasable-stainless-steel-clutch-fork-pivot-pin
- YoungCR, Bassboy3313 and P_Roloff
-
 3
3
-
Popped the front main in, installed the damper (still need to torque that, which basically means set the impact to max and send it home) engine is on the subframe now, m20 FW on with arp hardware, new spec clutch/pressure plate,TOB/PB, clutch pivot pin with grease fitting, trans put on, new control arms, bushings, etc etc
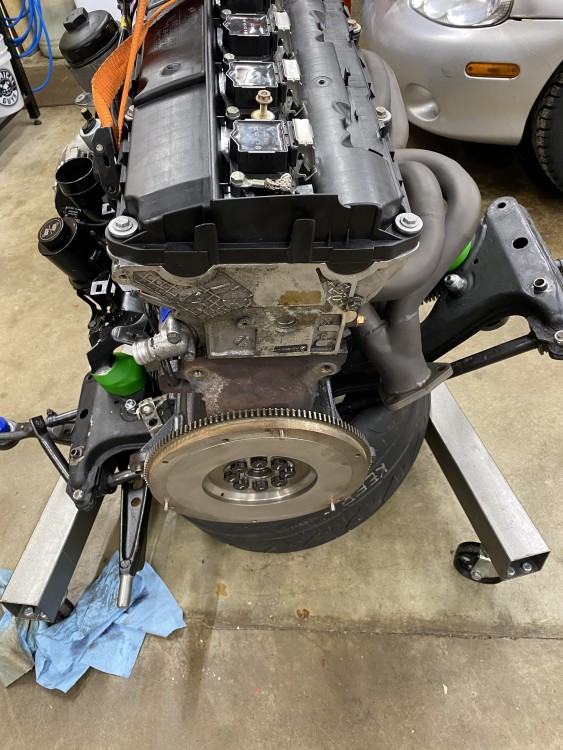
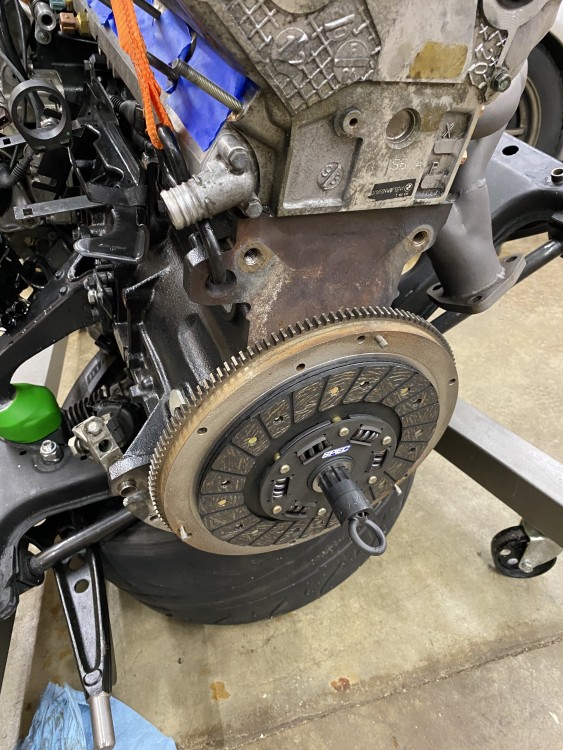
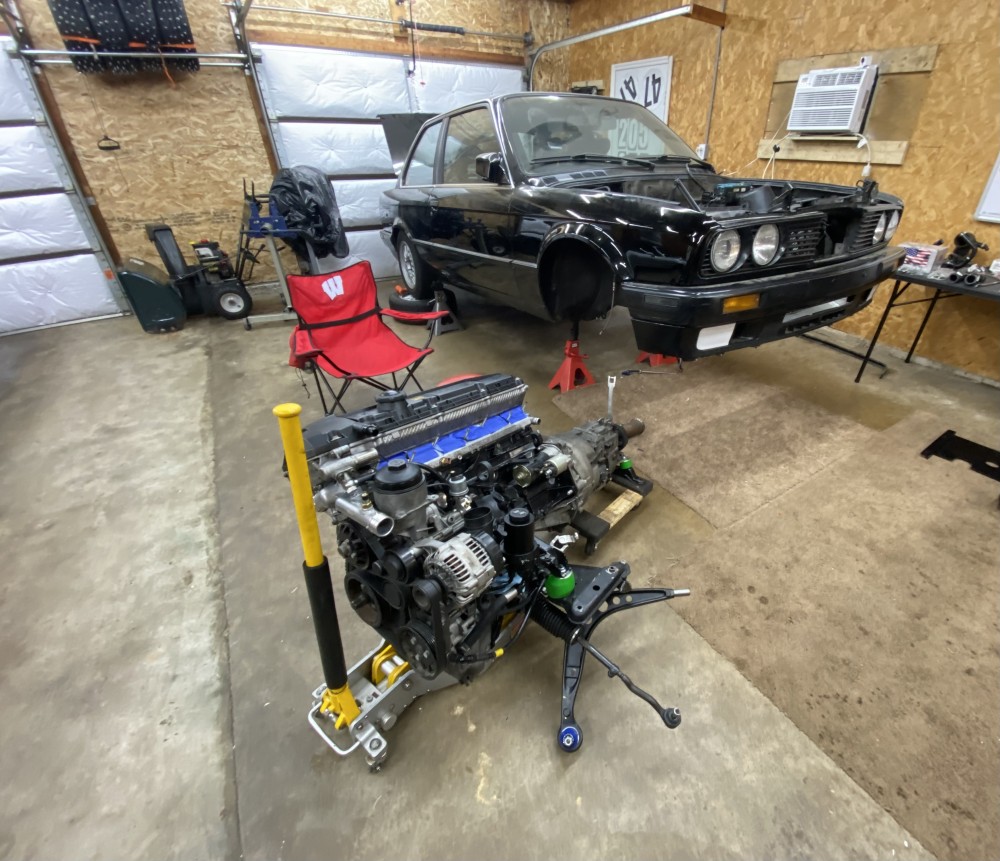
@Rekpointis stopping by to help toss this thing in
side note, this hikfab plate has probably saved me from purchasing around 70 oil pans
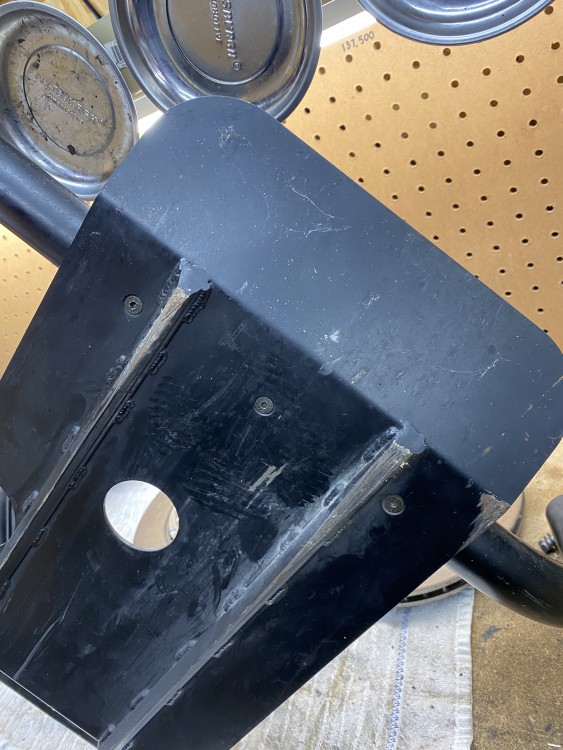
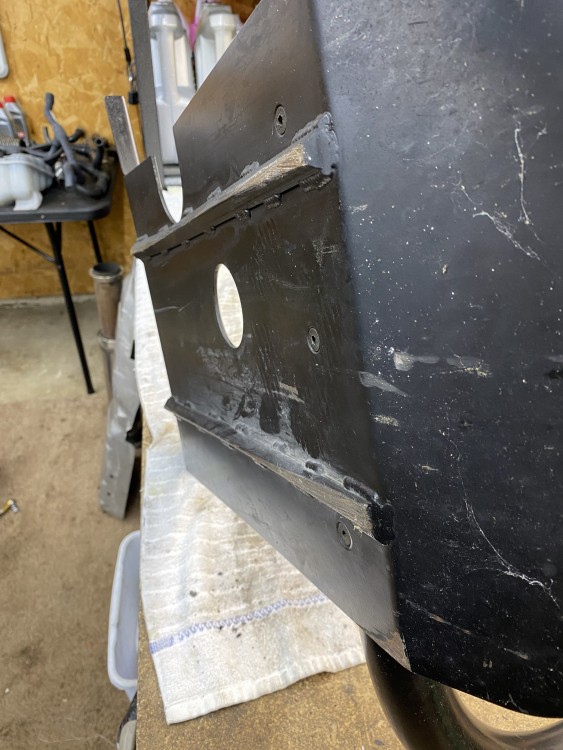
it did pick up a slight bend, but I’m going to toss it in the press to see if I can’t straighten it back out a bit
also, say no to brass pivot pins lol. This maybe had like 4k miles on it - was previously running a south bend stg3 street clutch/pp
- P_Roloff, AsparagusMike, m42b32 and 1 other
-
 4
4
-
-
2 hours ago, suspenceful said:
I think it's safe to say I have a problem at this point. Is there a # of BMWs one must own at the same time for it to be classified as an addiction?
Only an issue when you run out of room for them



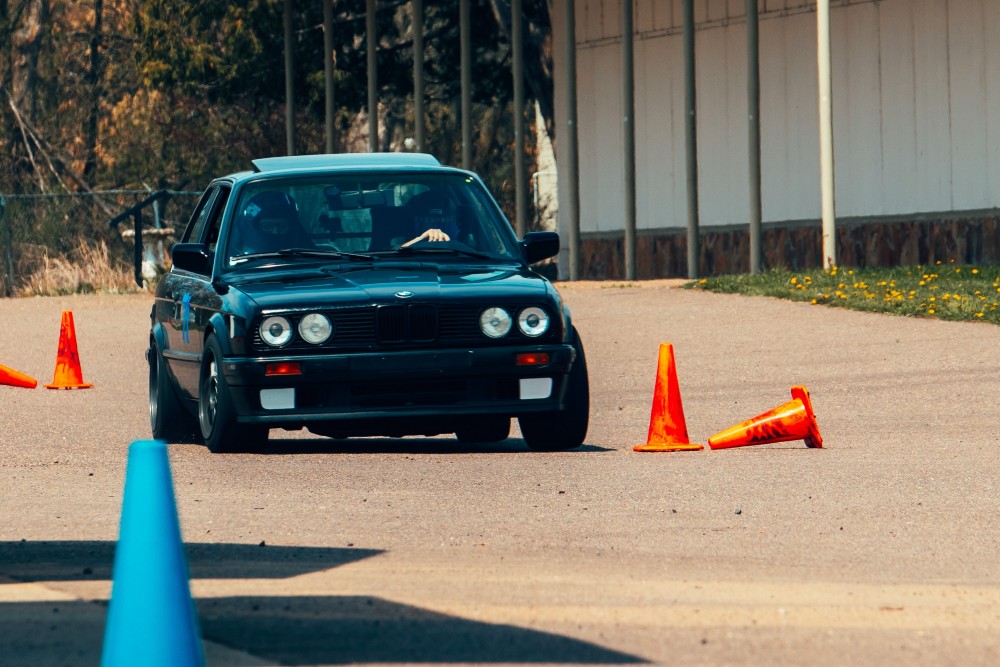


Official-look-what-i-found-thread (craigslist, other-forums, etc)
in Cars For Sale & Wanted
Posted
Saw that pop up as well, thought the same thing lol